Editing Navigation Links
How to add, edit, remove, and organize your site's pages and navigation links
Tip: The procedure for managing navigation links changed in July 2026. If you are familiar with the old style read on to learn the new way to do it.
Open The Pages Panel
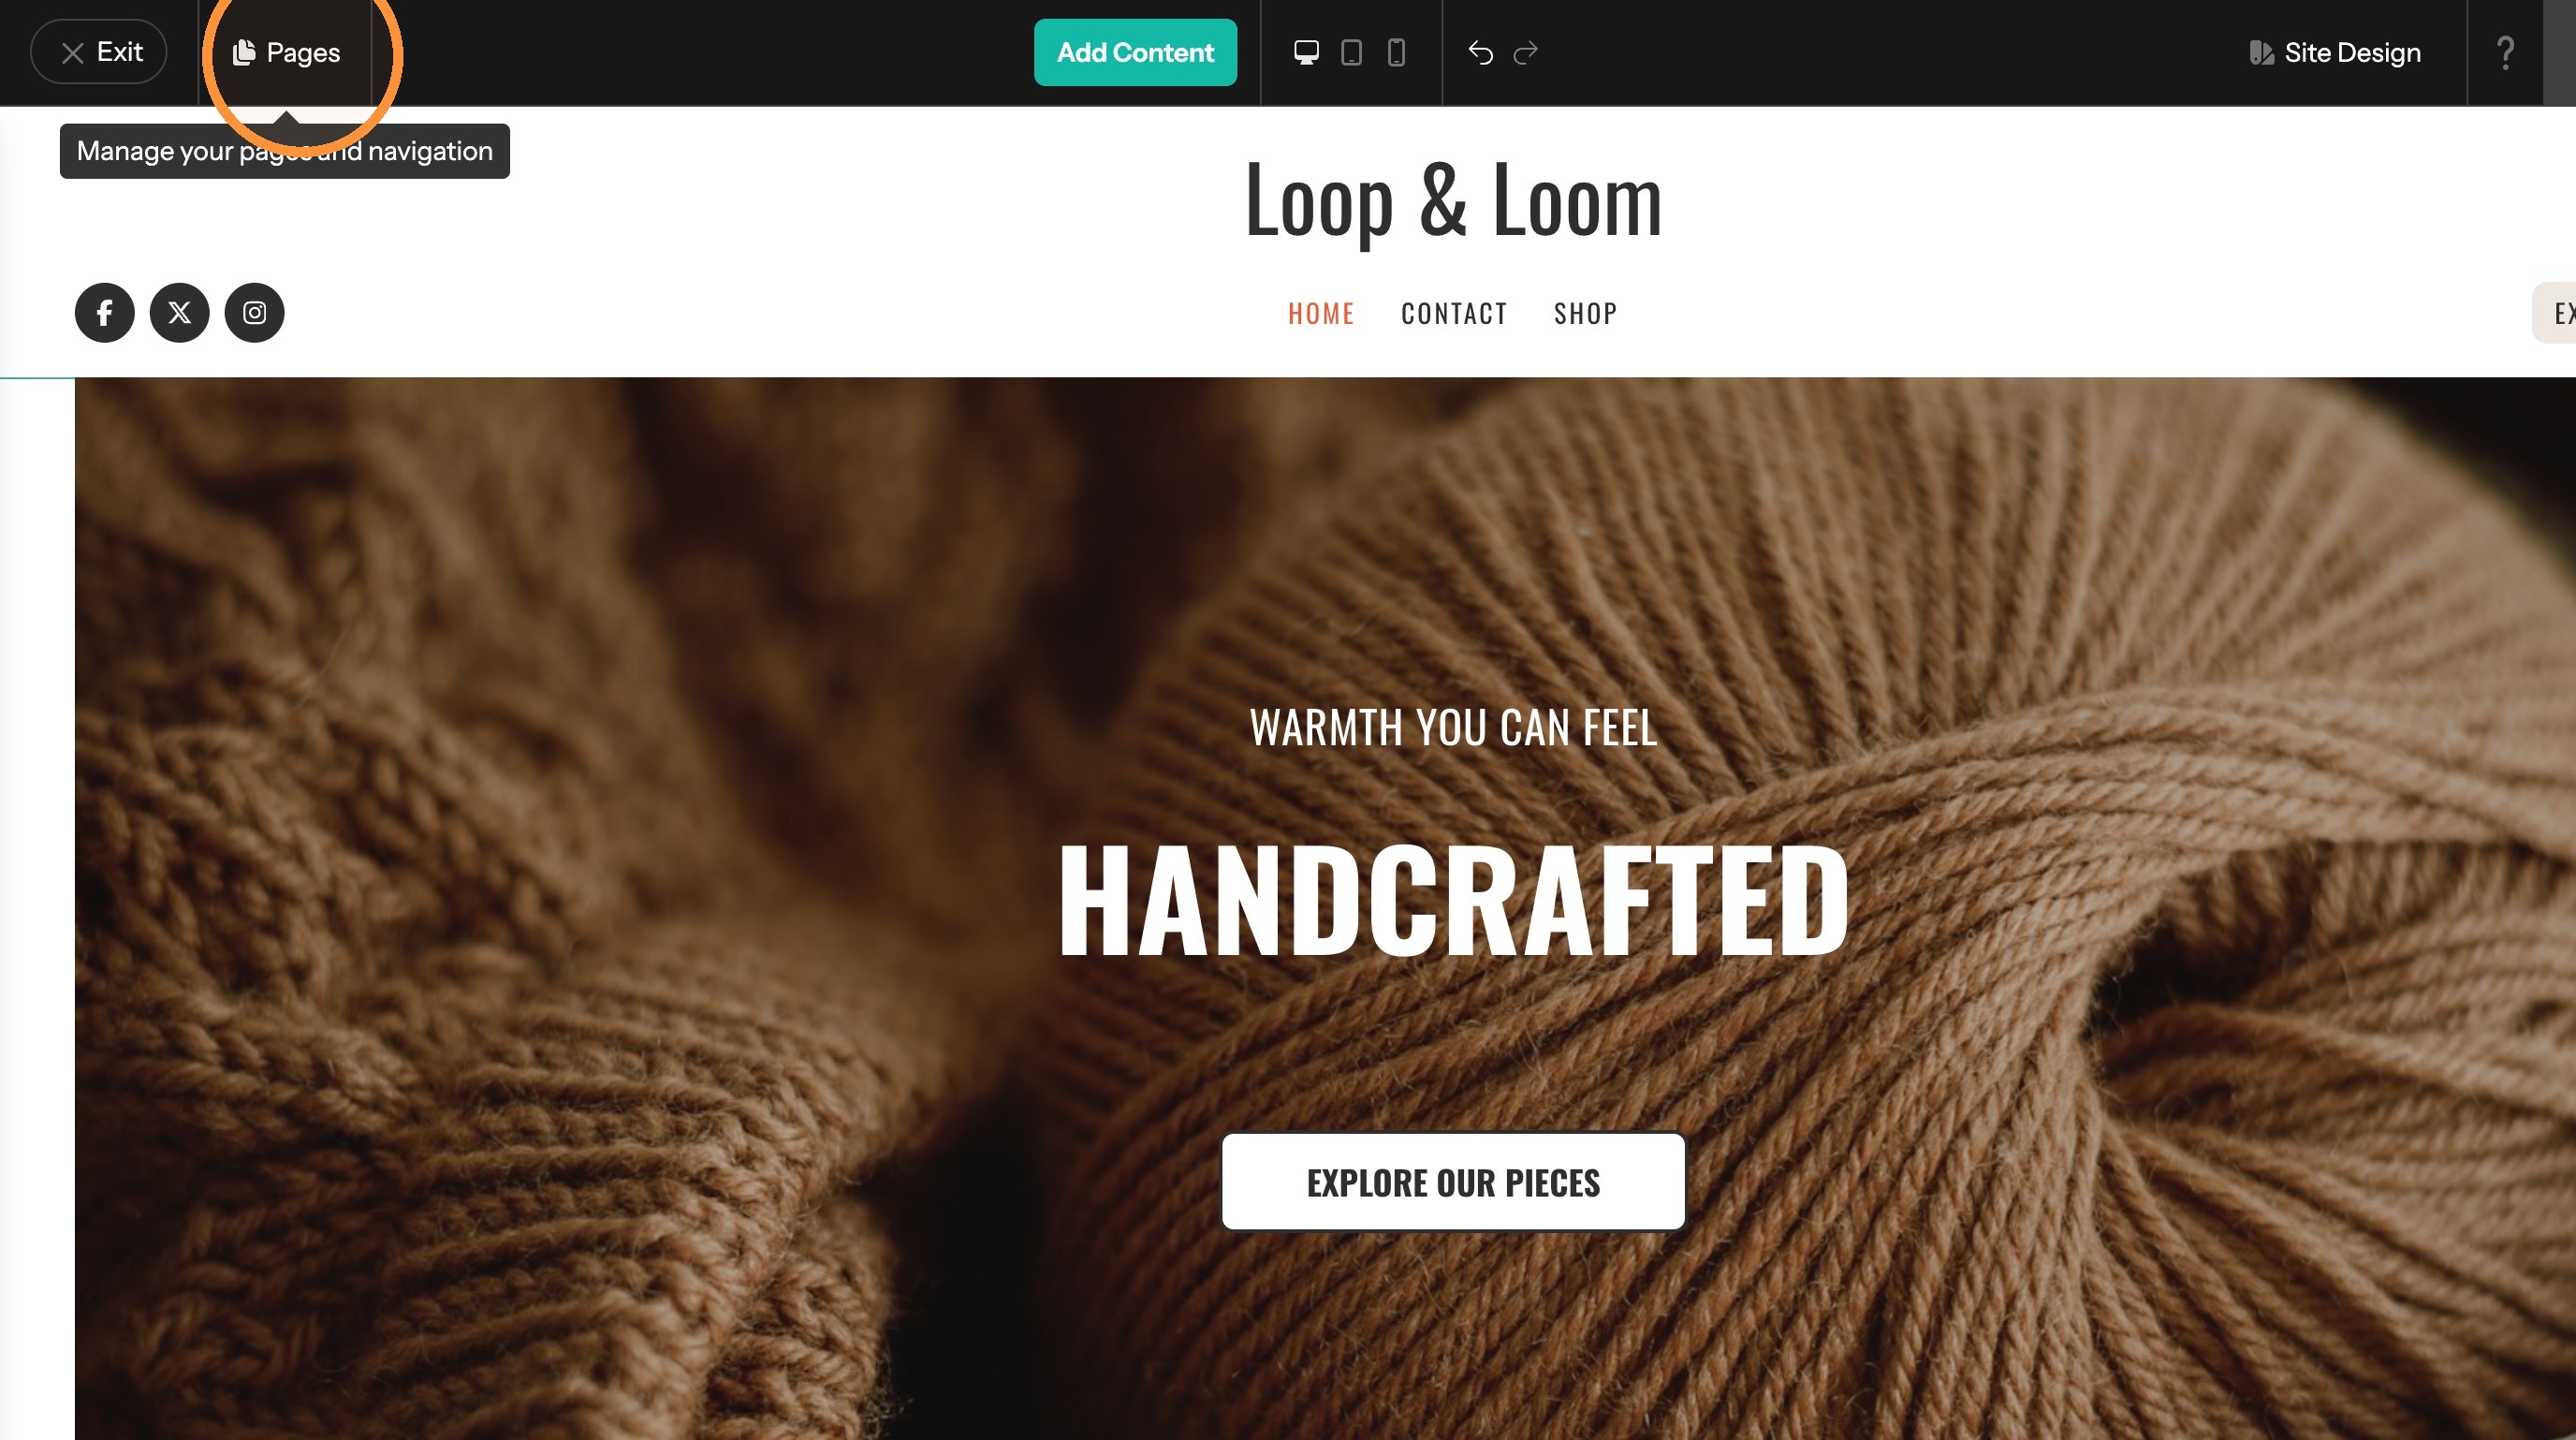
1. Start from the website editor

2. Click "Pages"
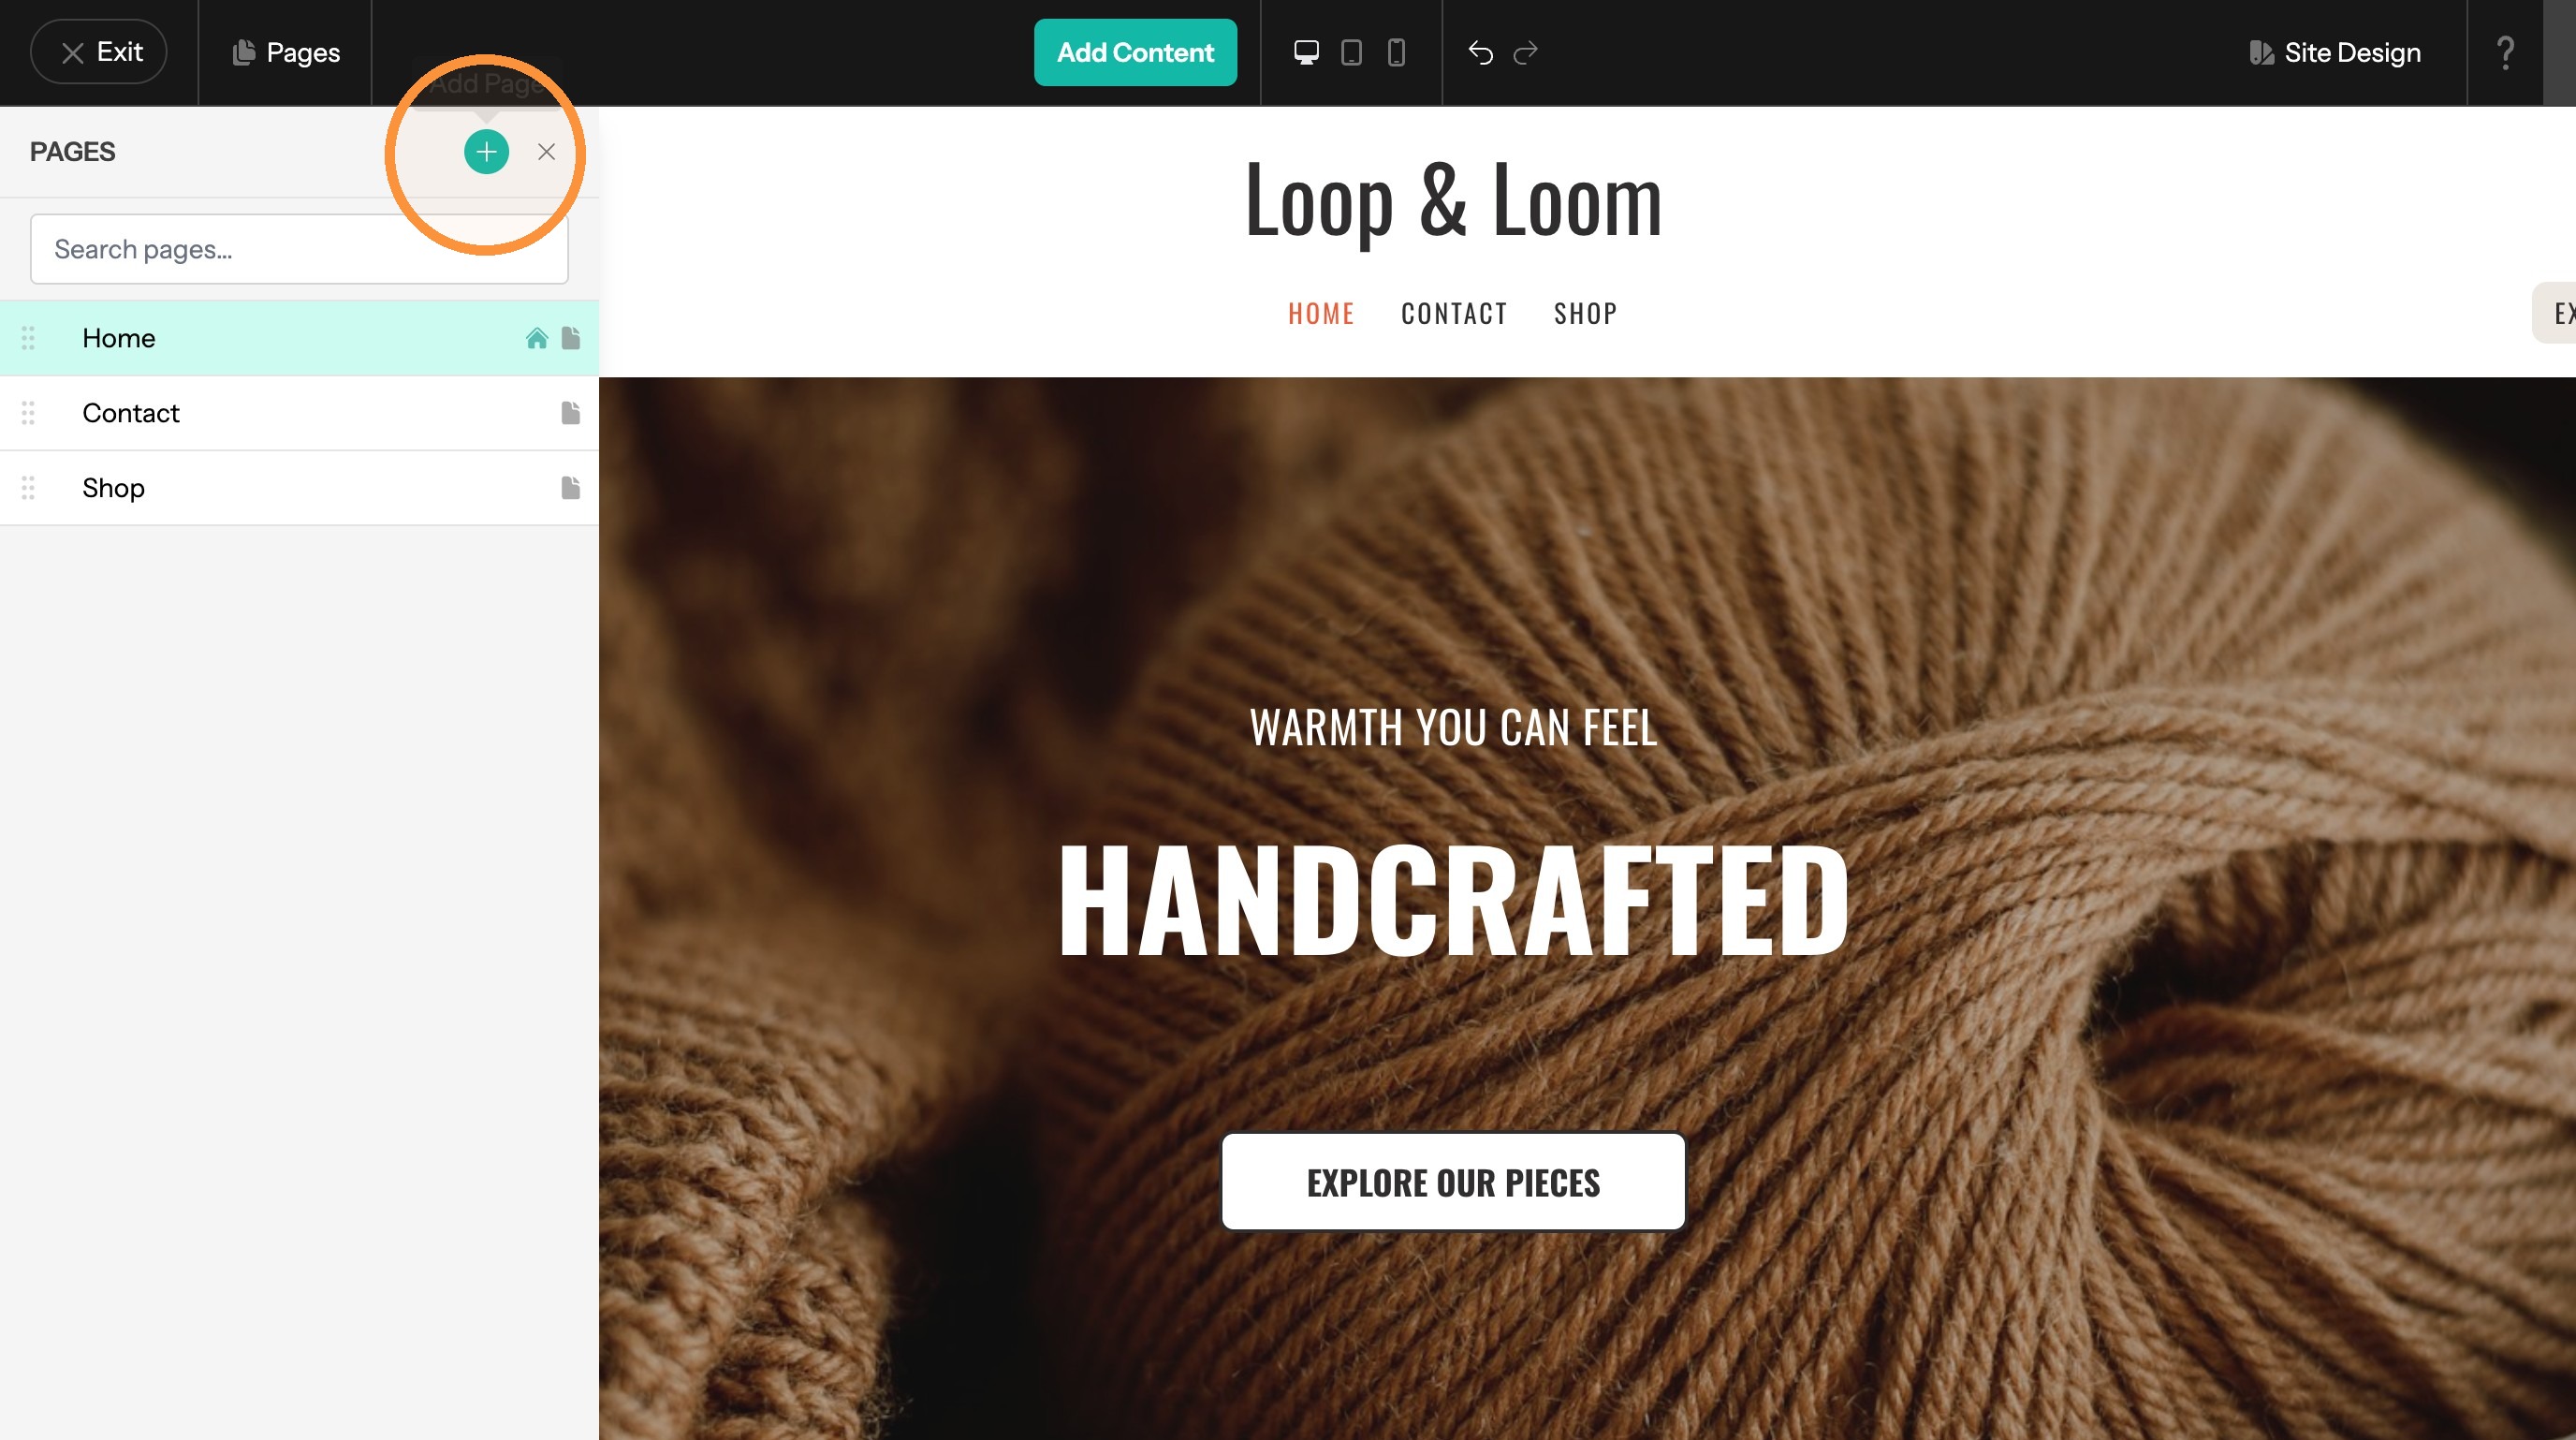
Add a Page
3. Click this icon.
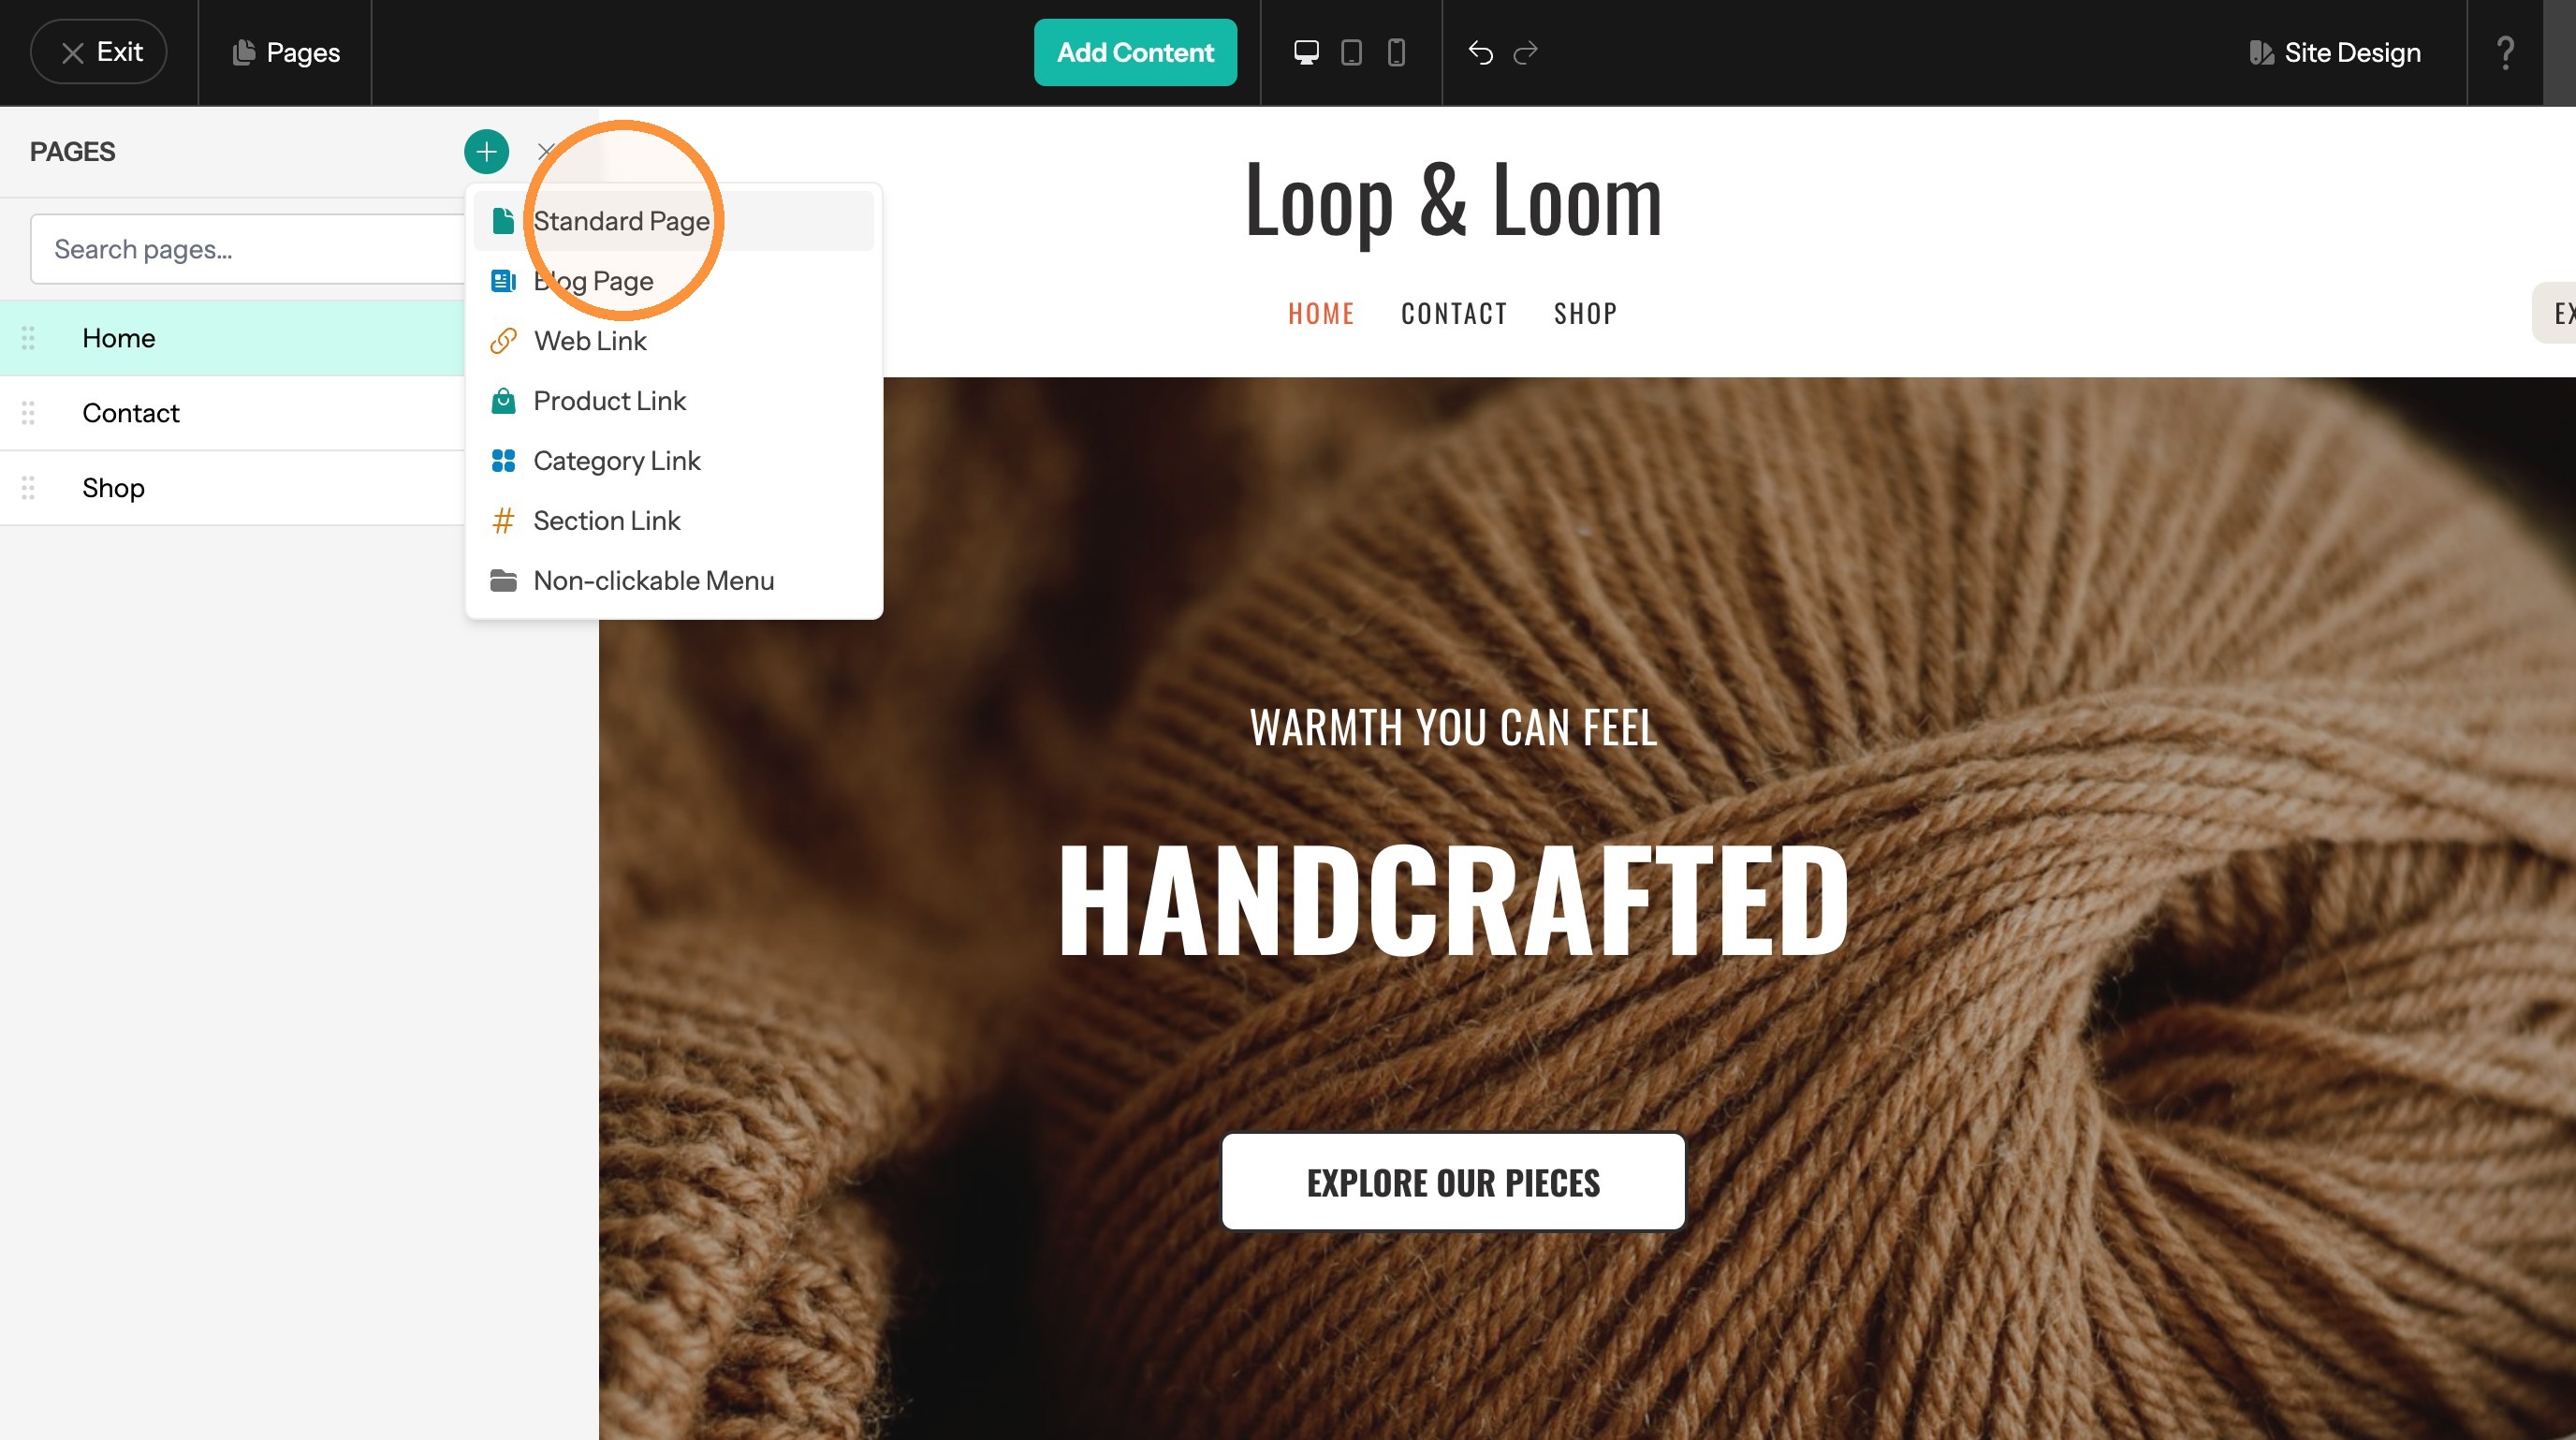
4. Click "Standard Page"
5. Enter the page name
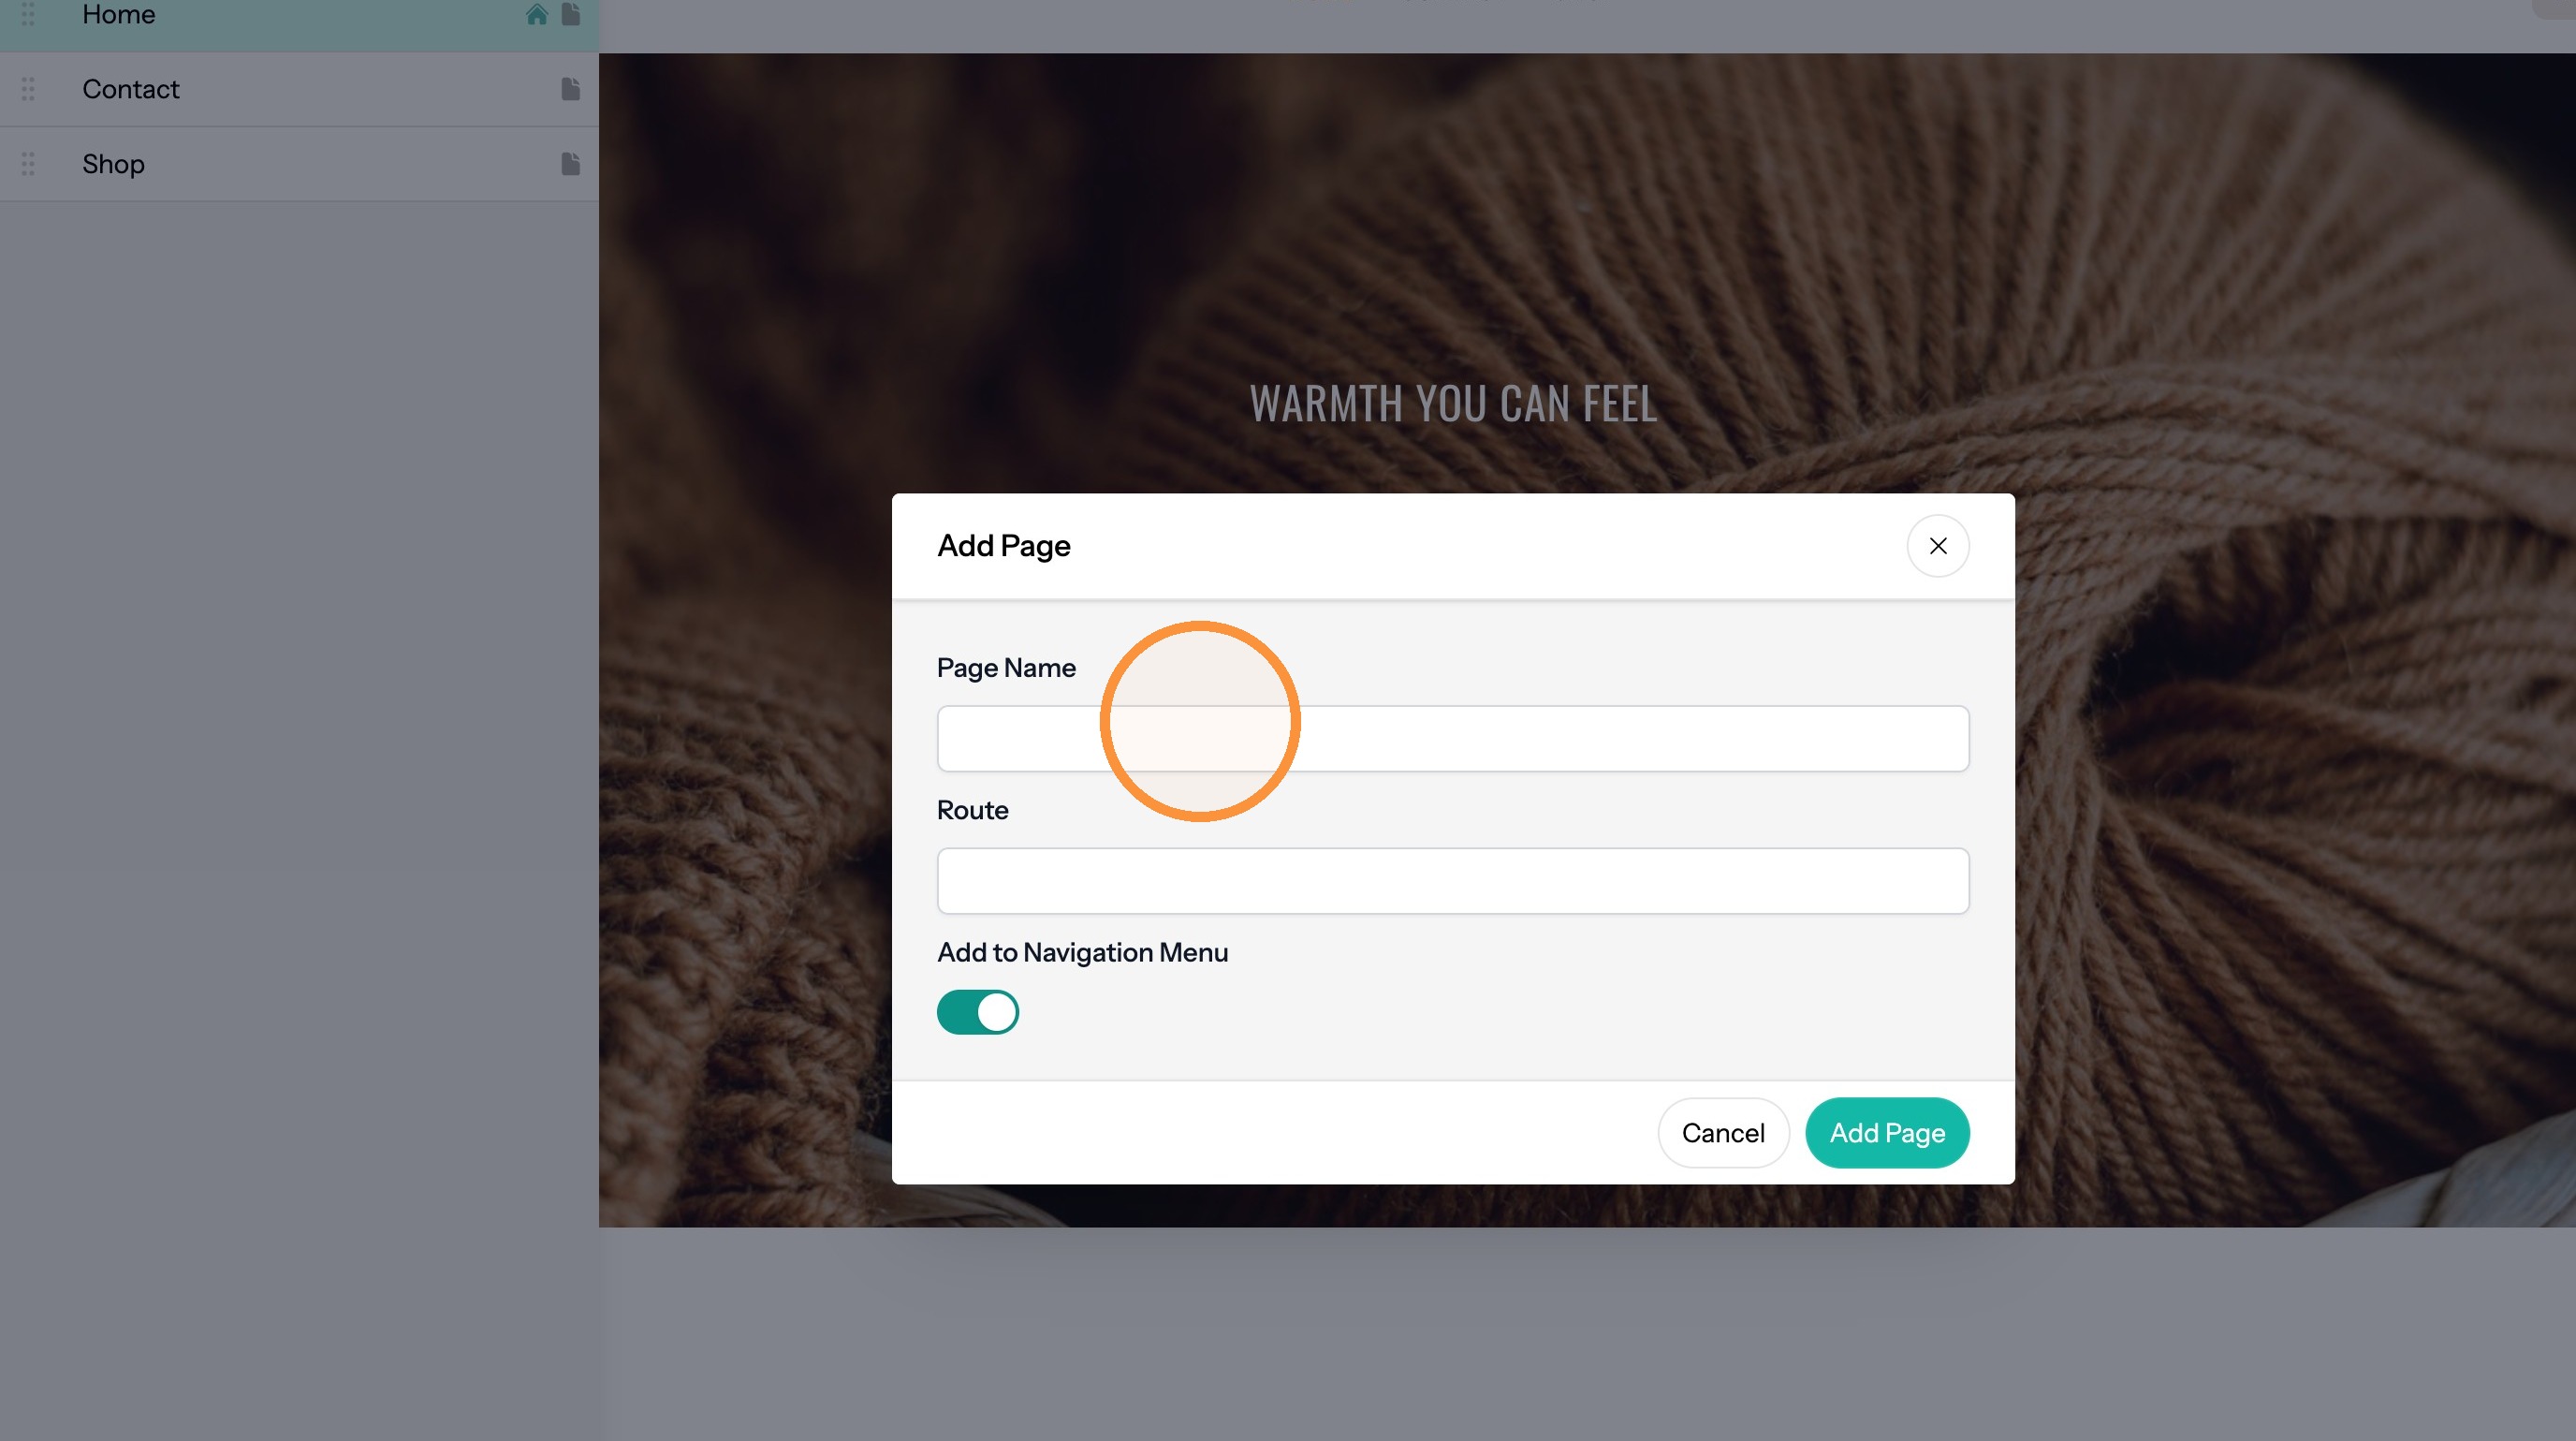
6. Click "Add Page". Leave the "Add to Navigation Menu" option enabled to have the page automatically add to the site's navigation.
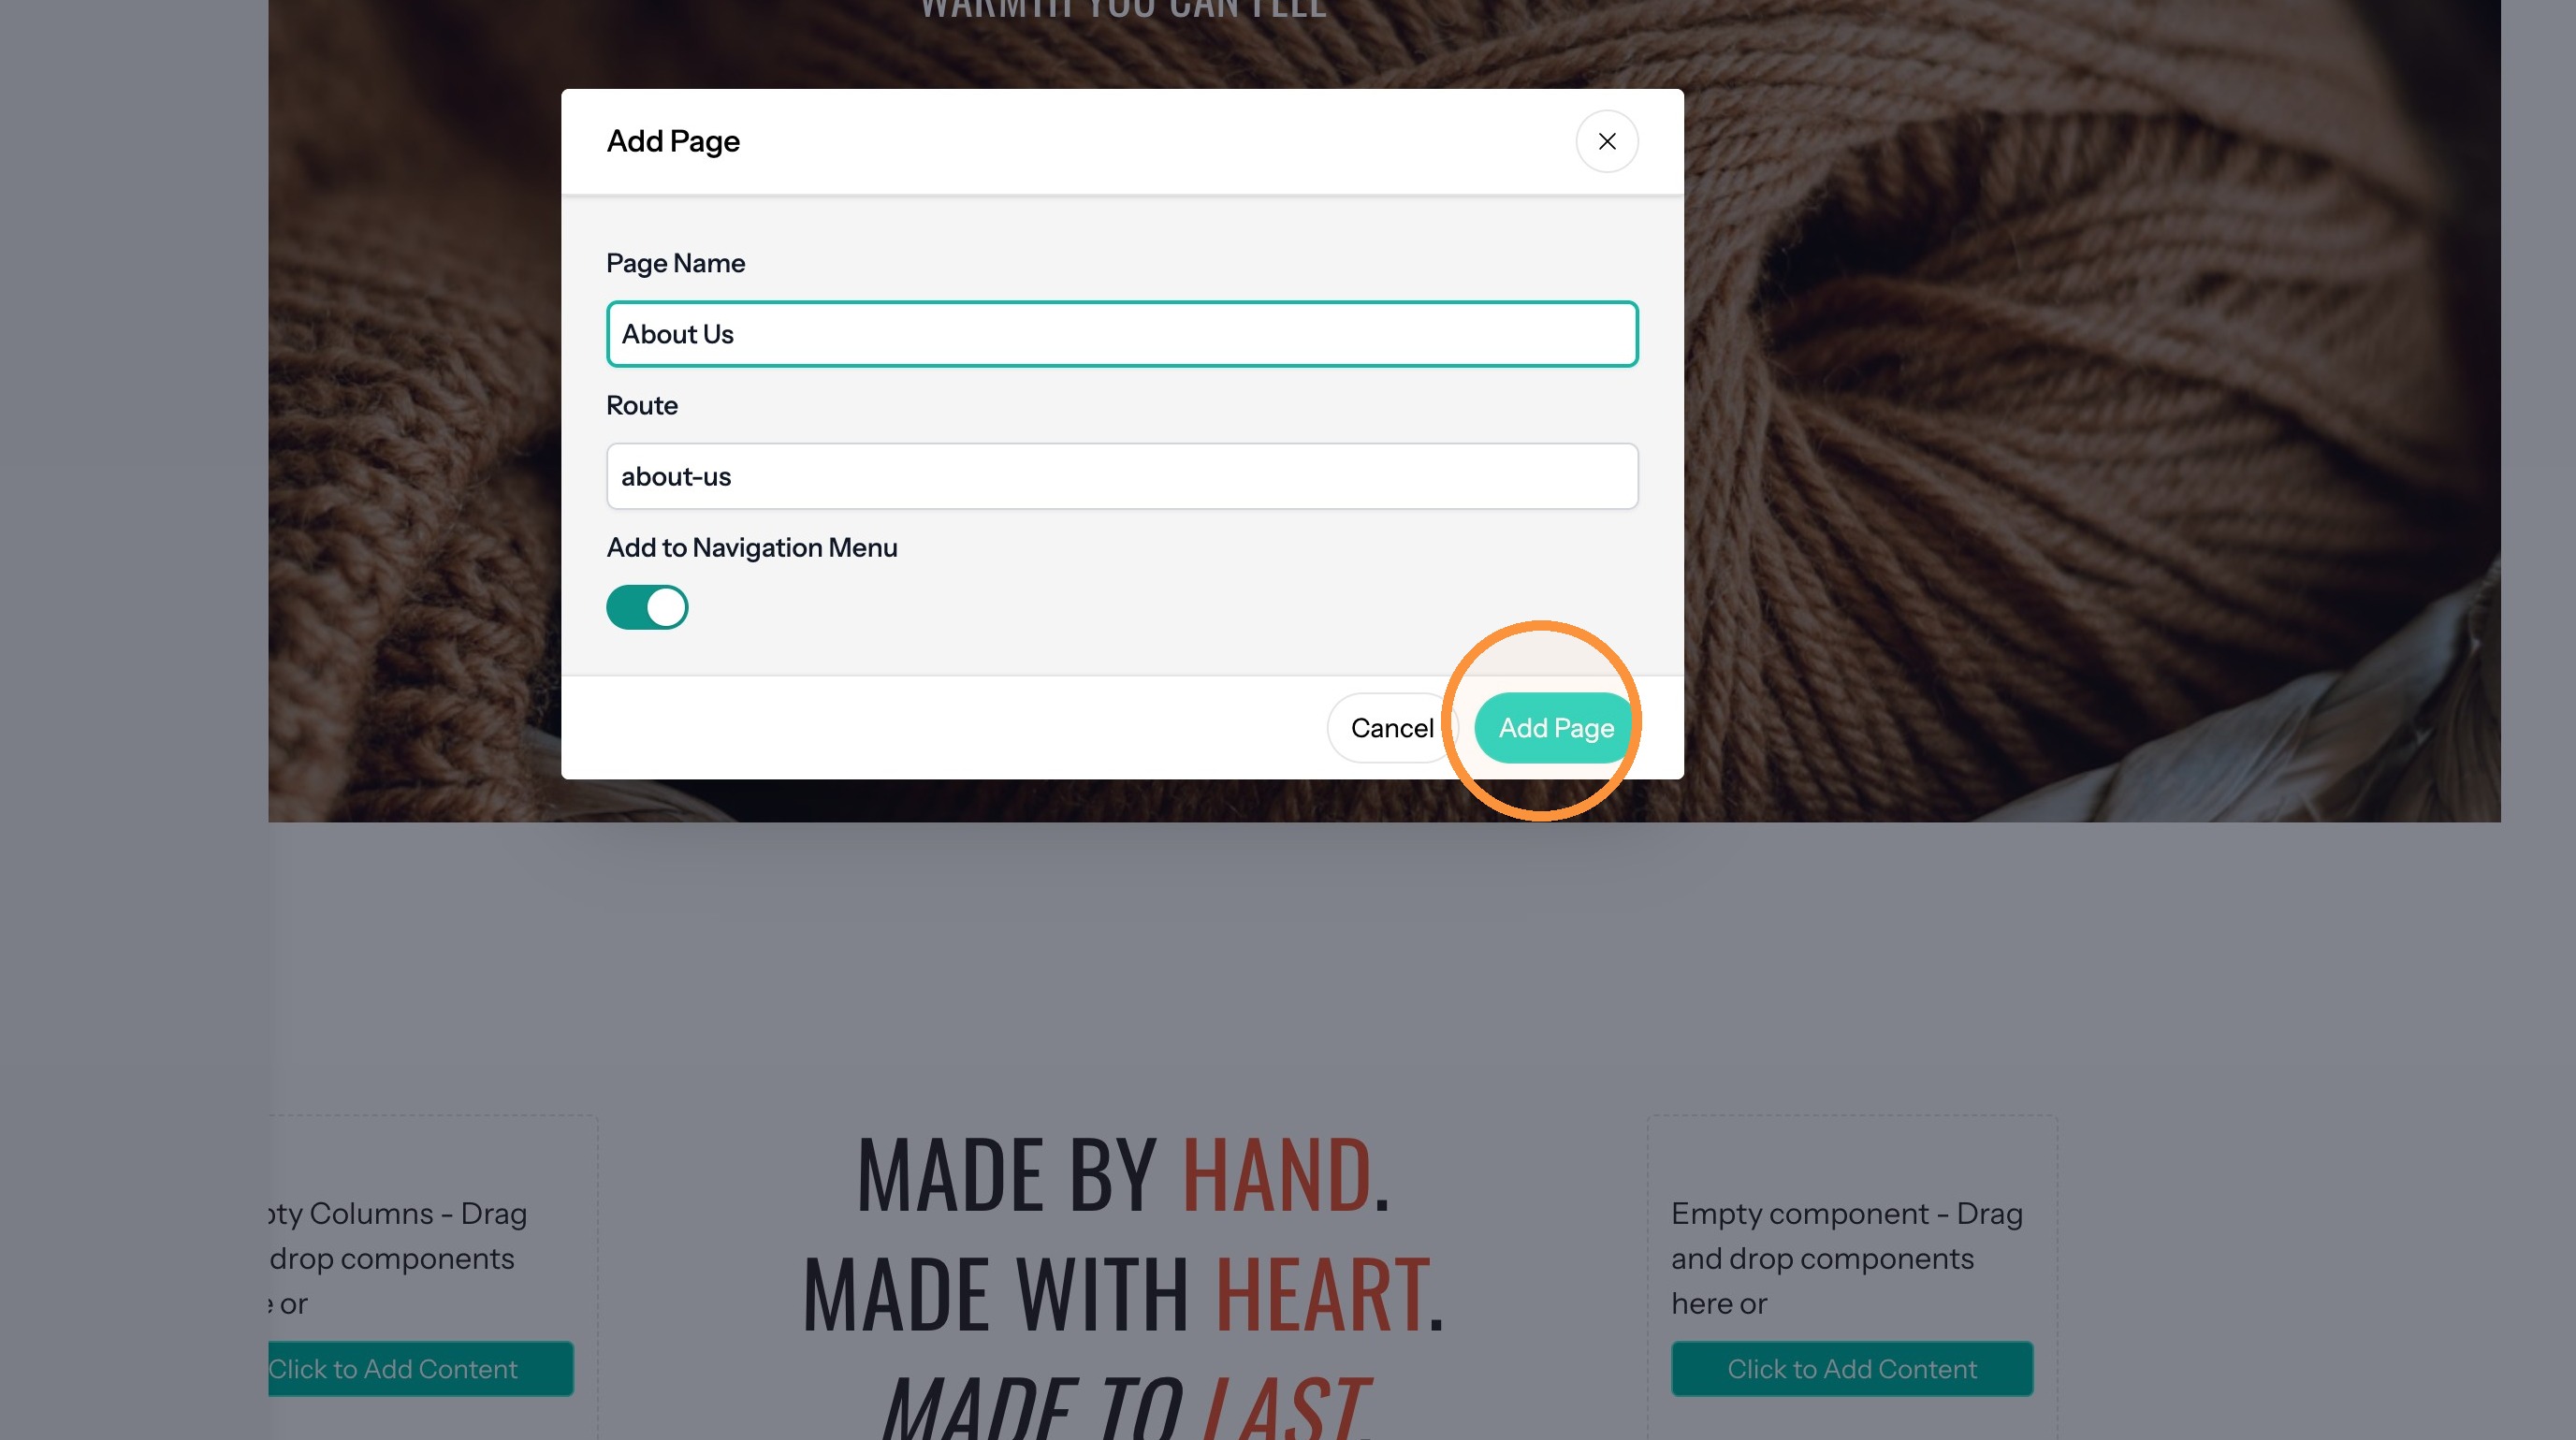
Add a Page Hidden from the Navigation Menu
7. Click "+" to add a page
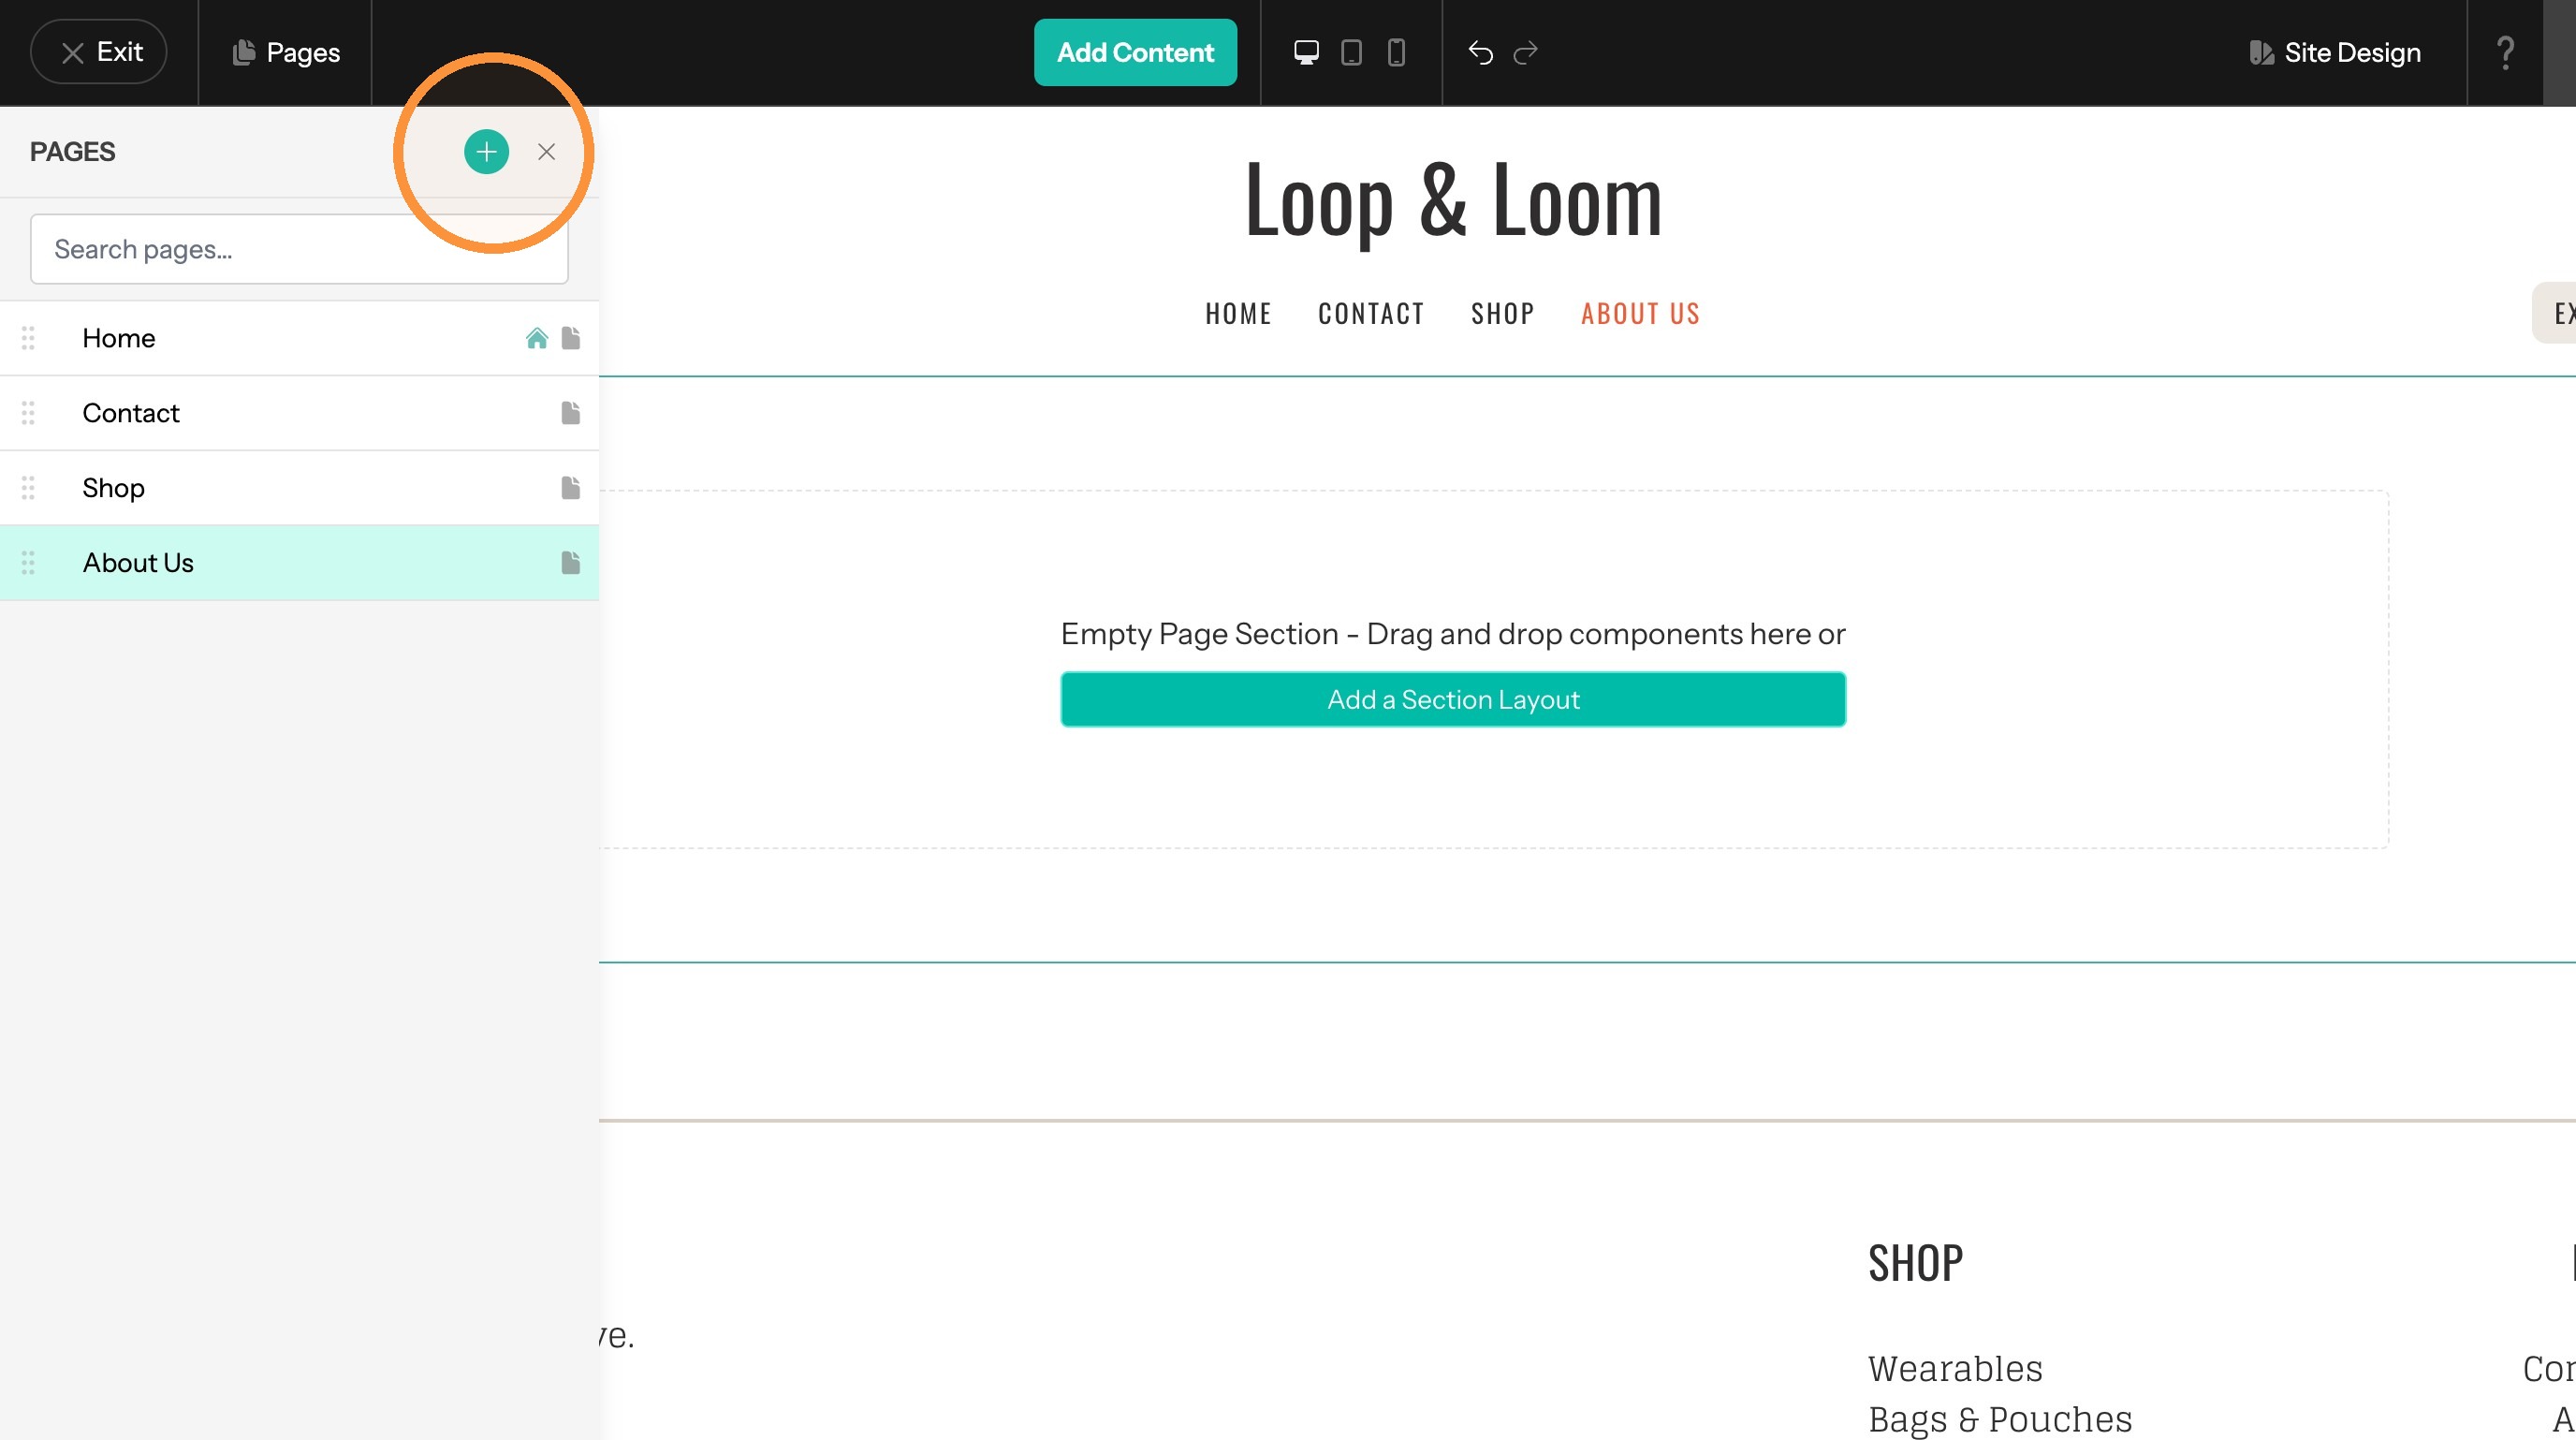
8. Click "Standard Page"
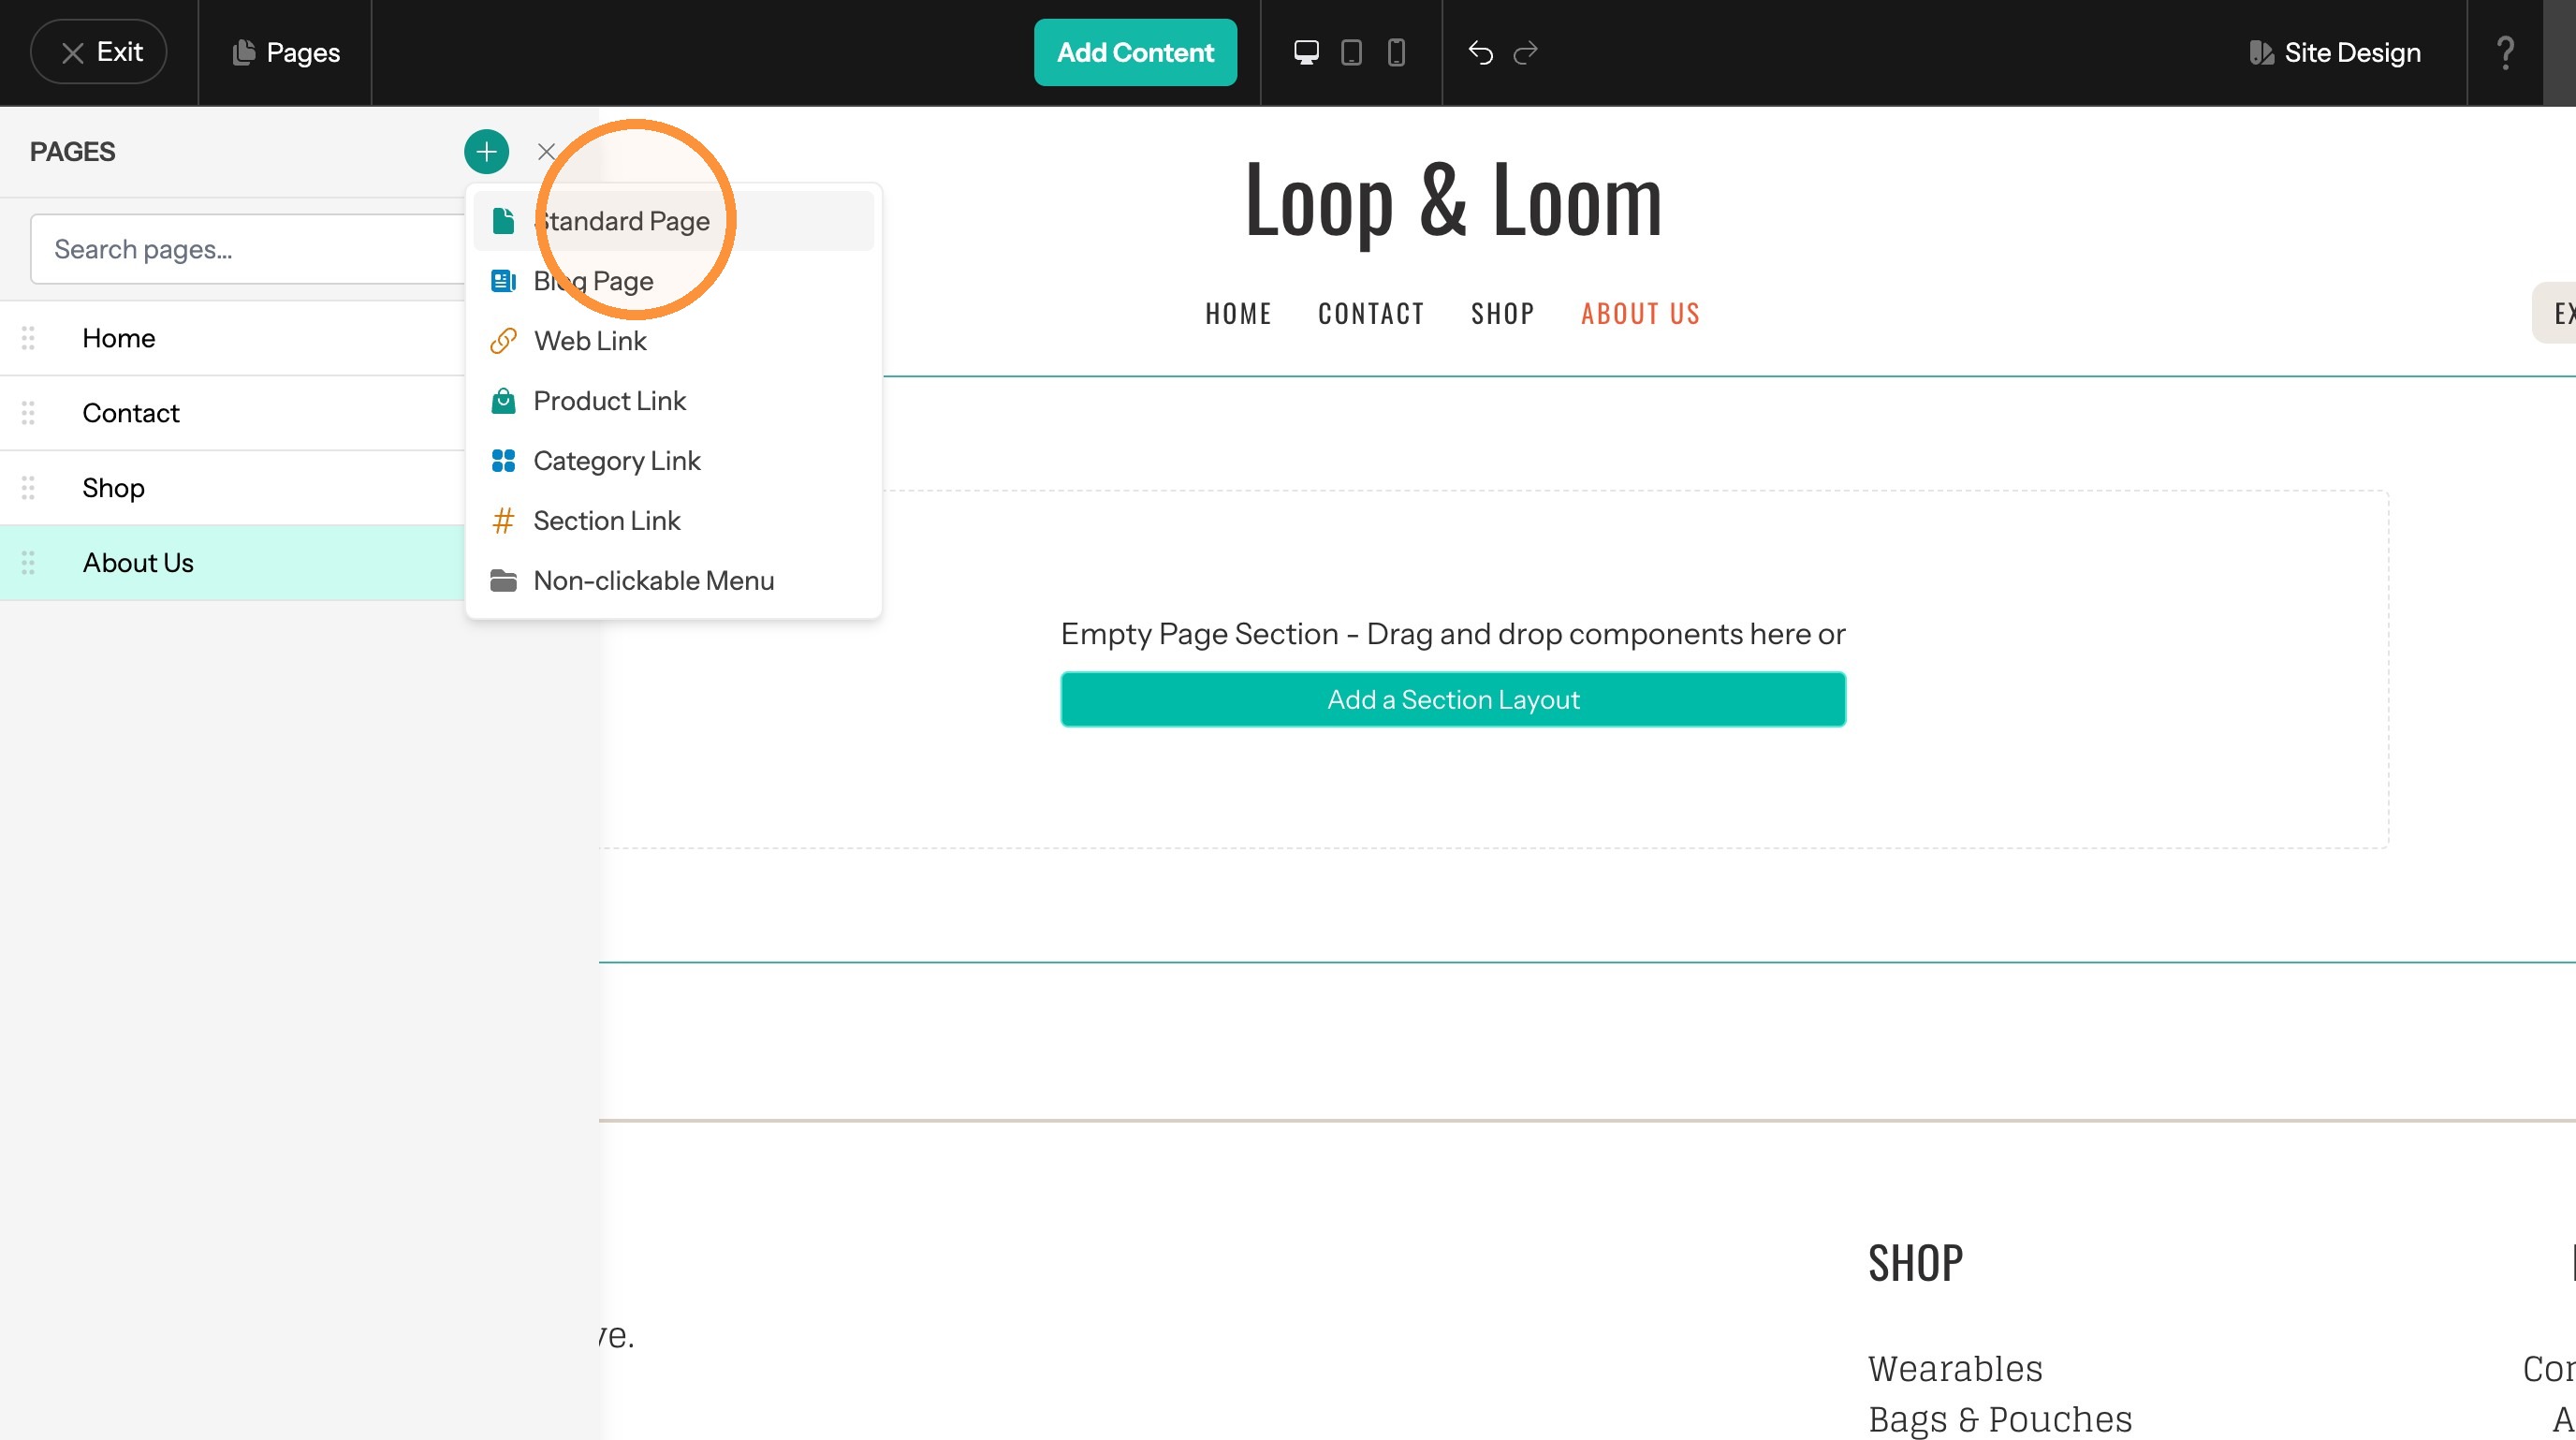
9. Enter the page name
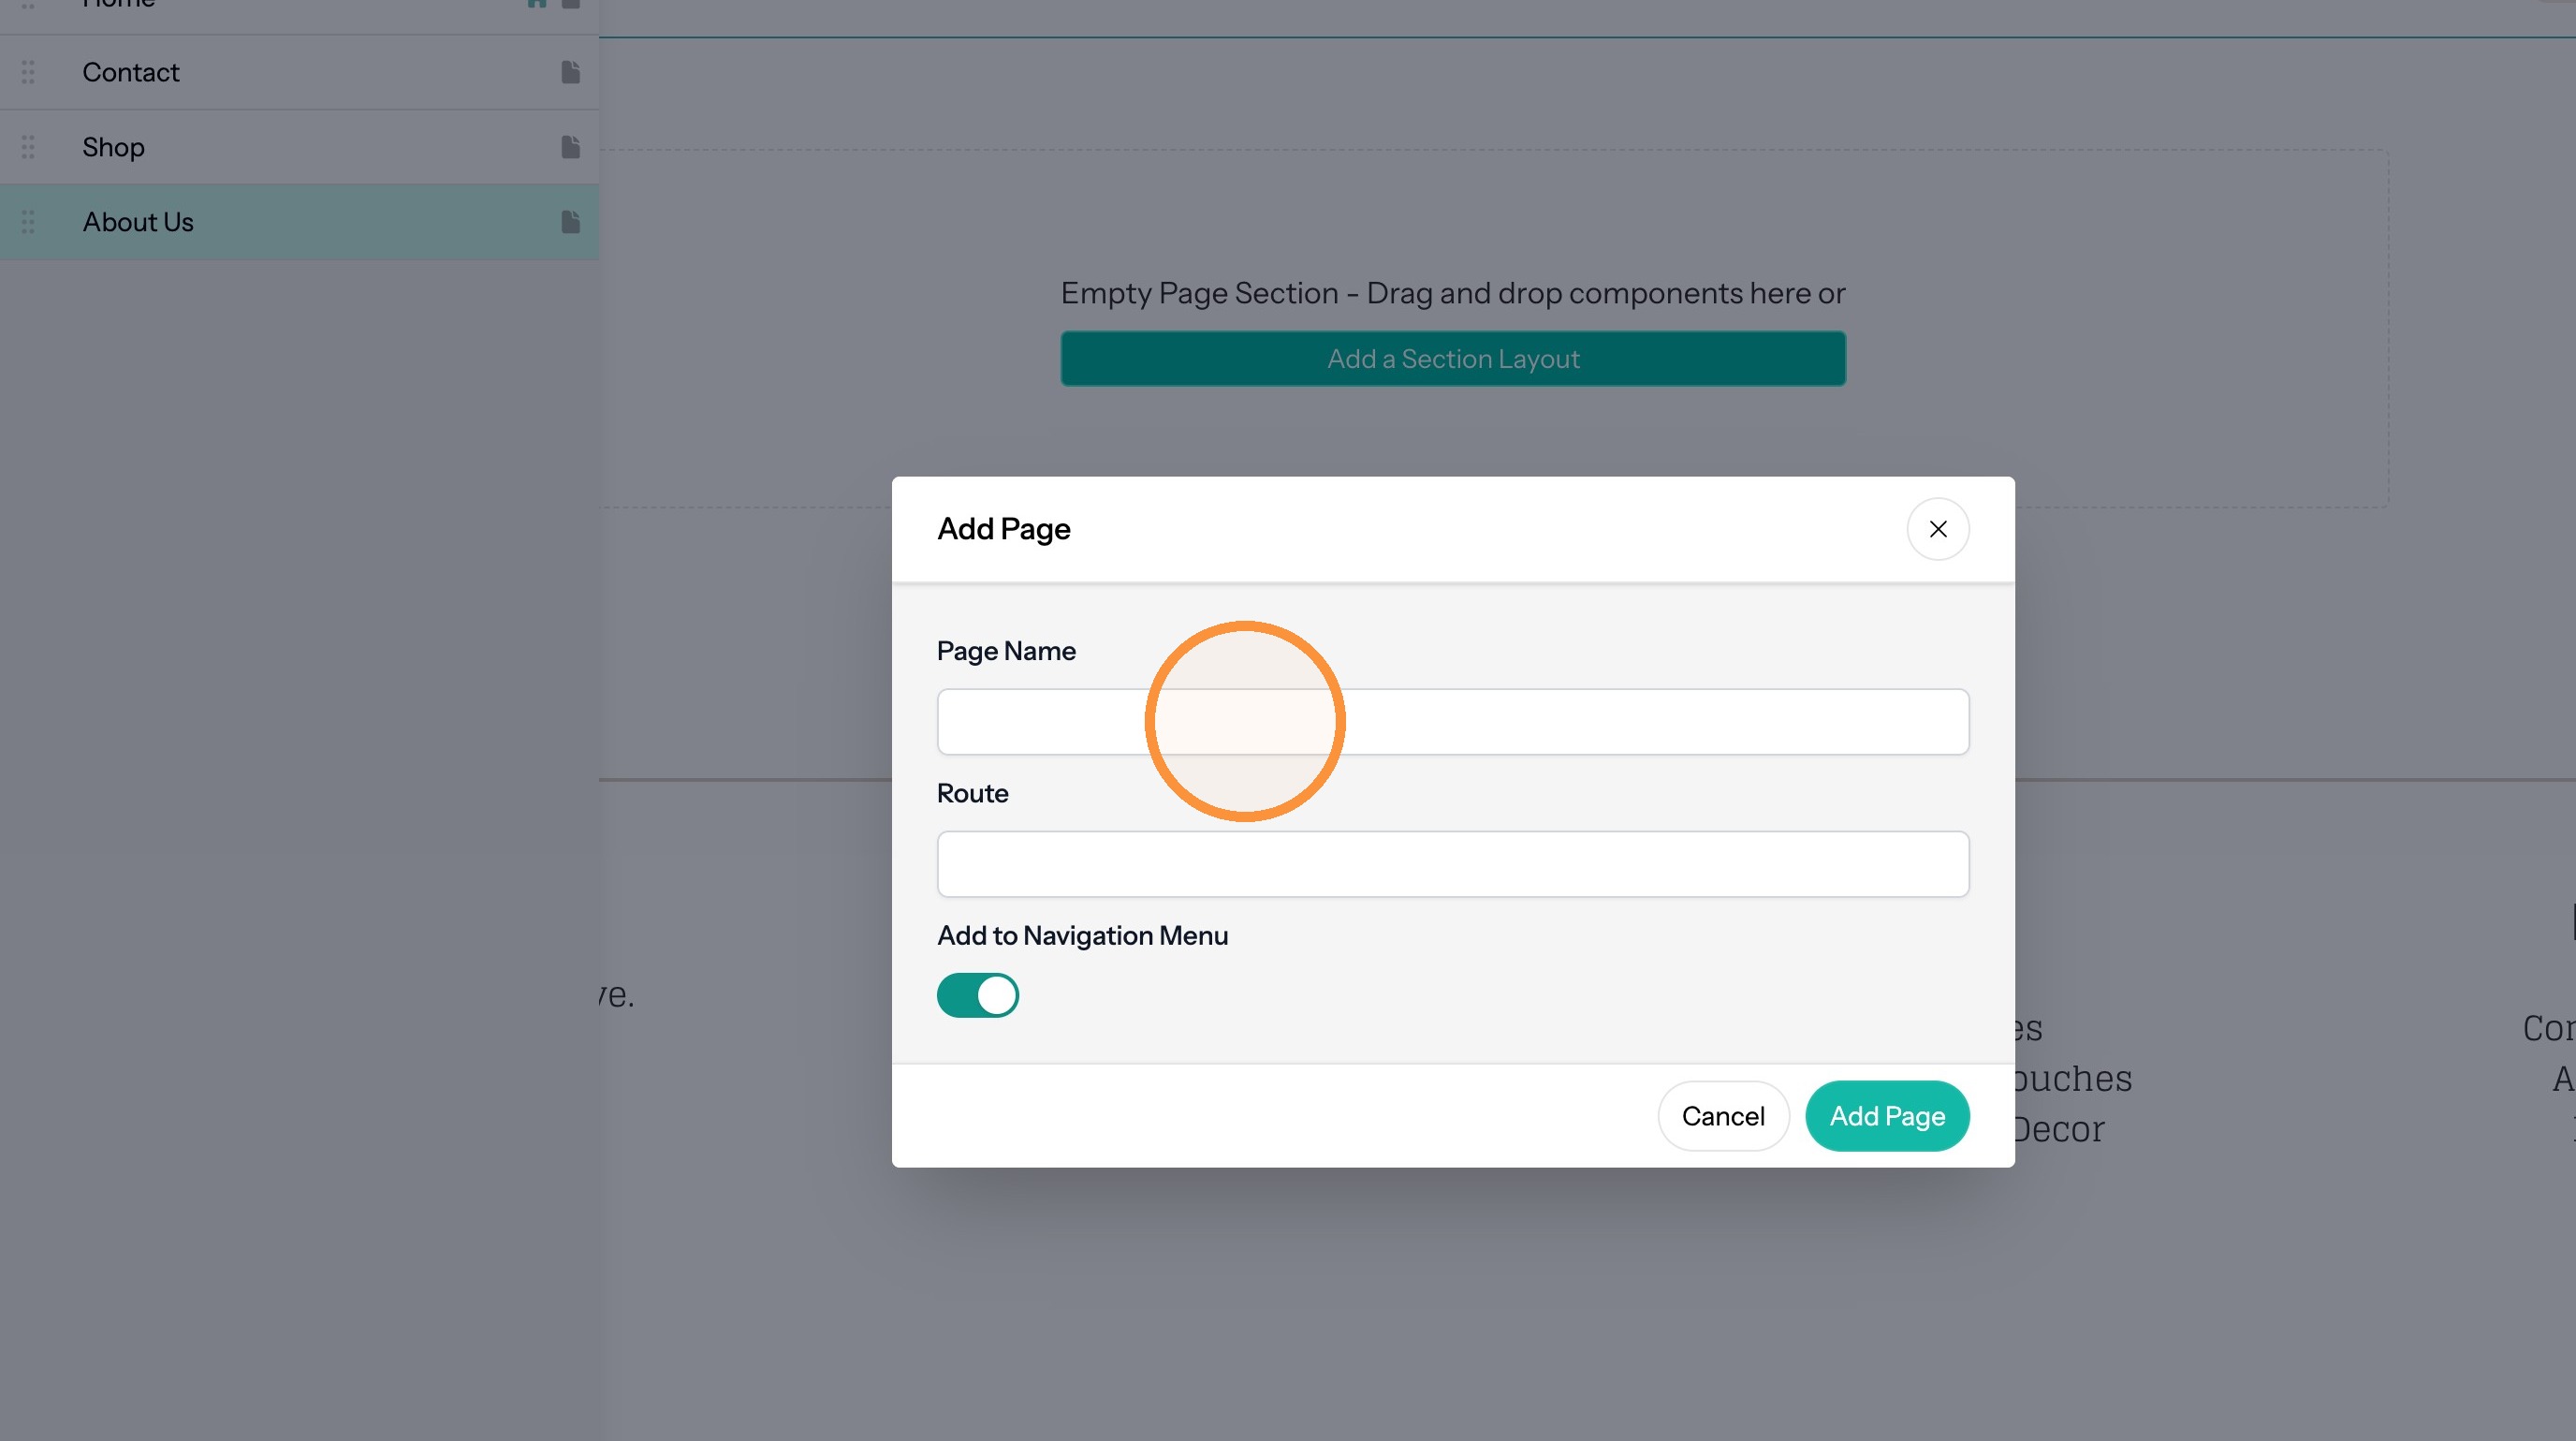
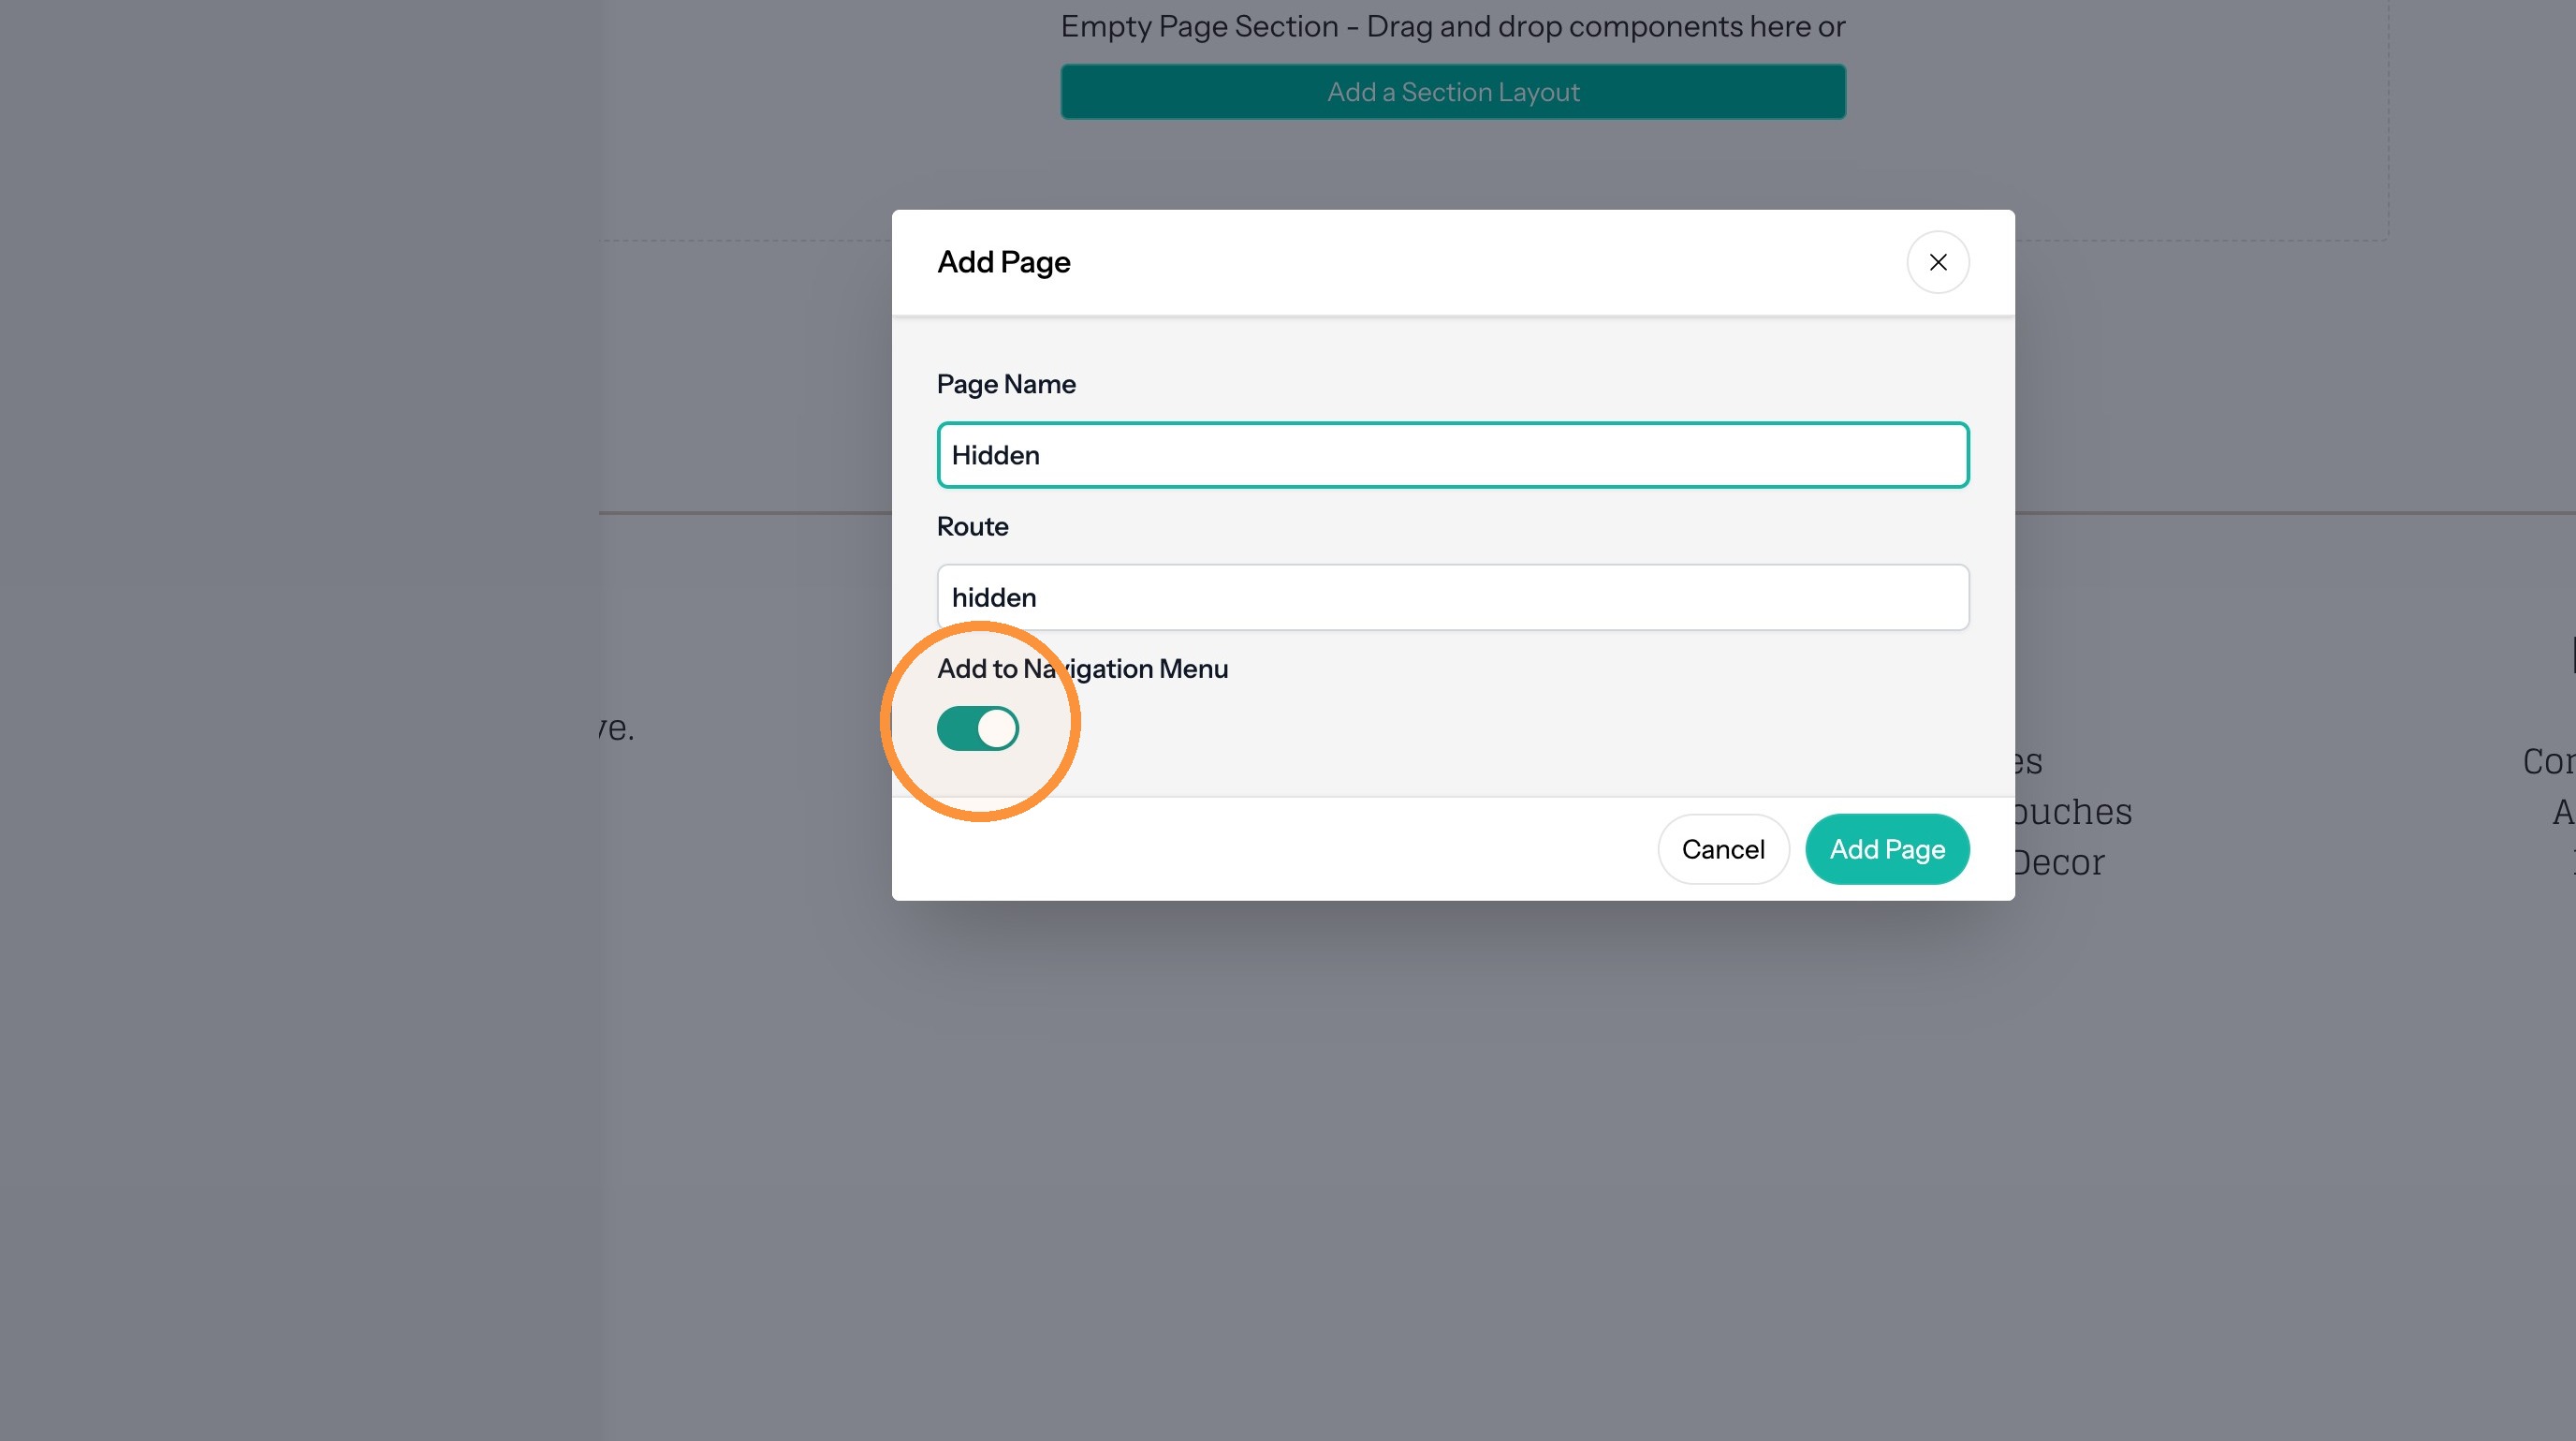
10. Toggle off "Add to Navigation Menu"
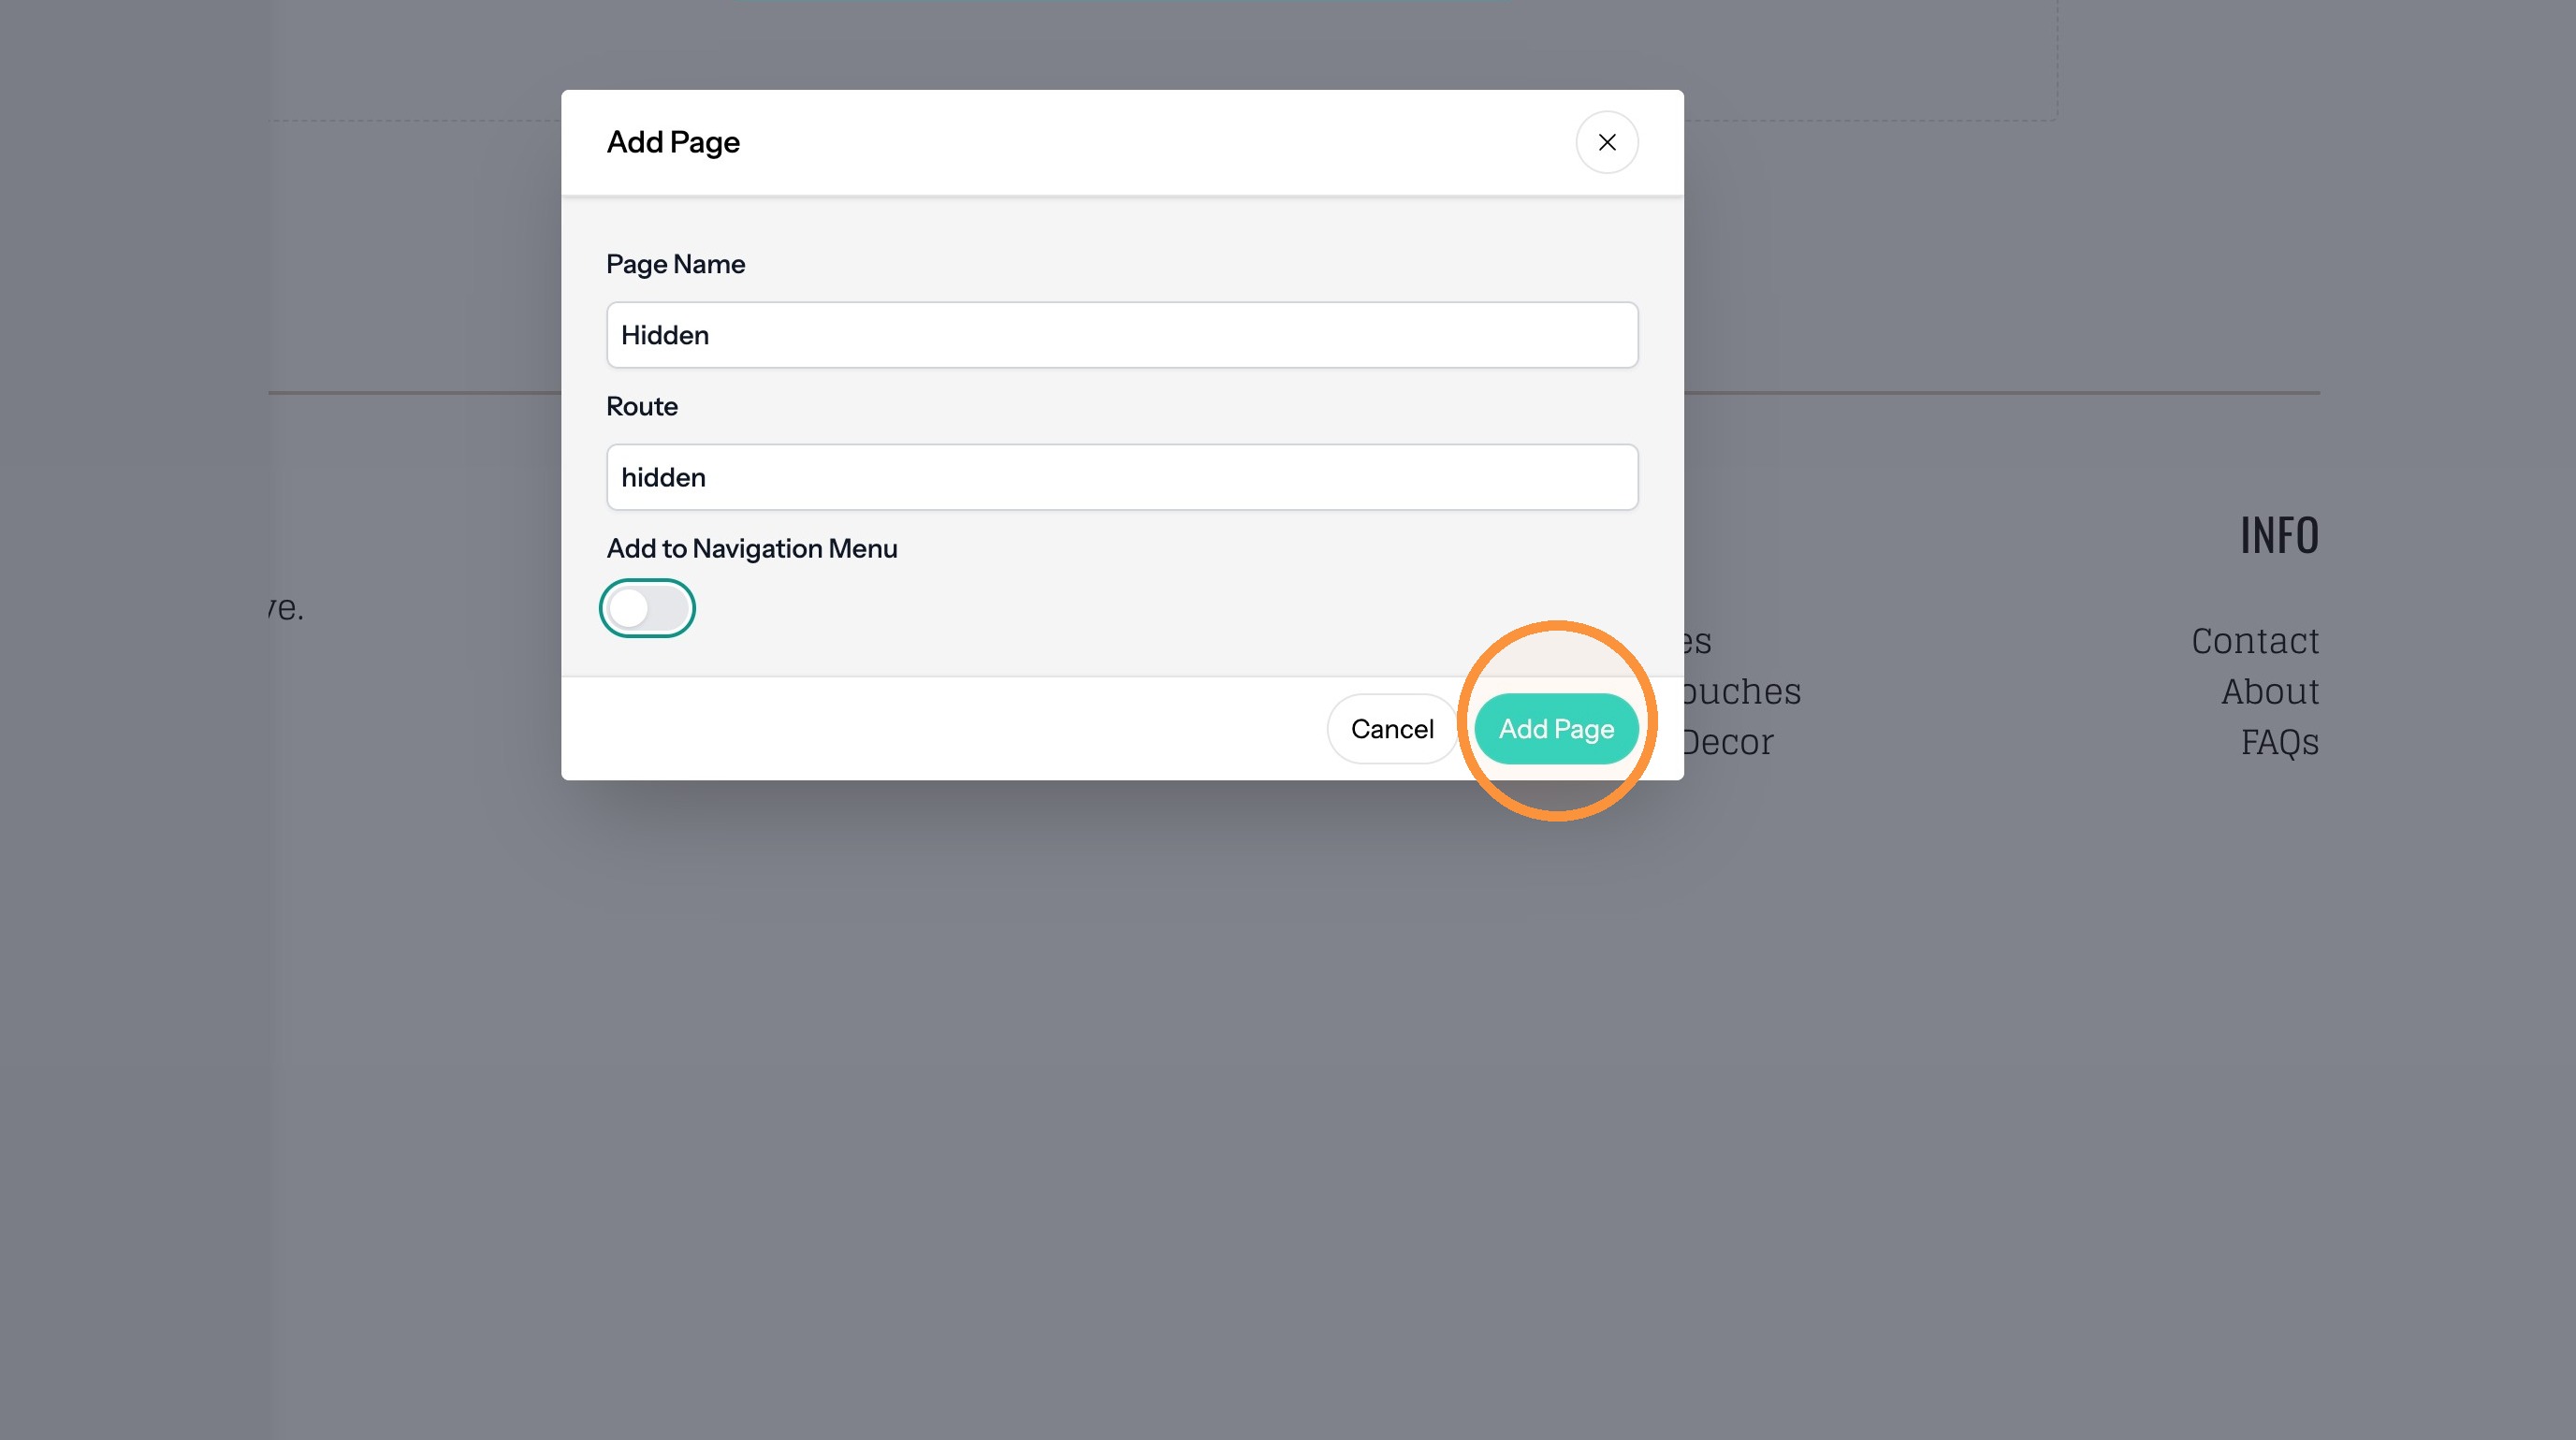
11. Click "Add Page"
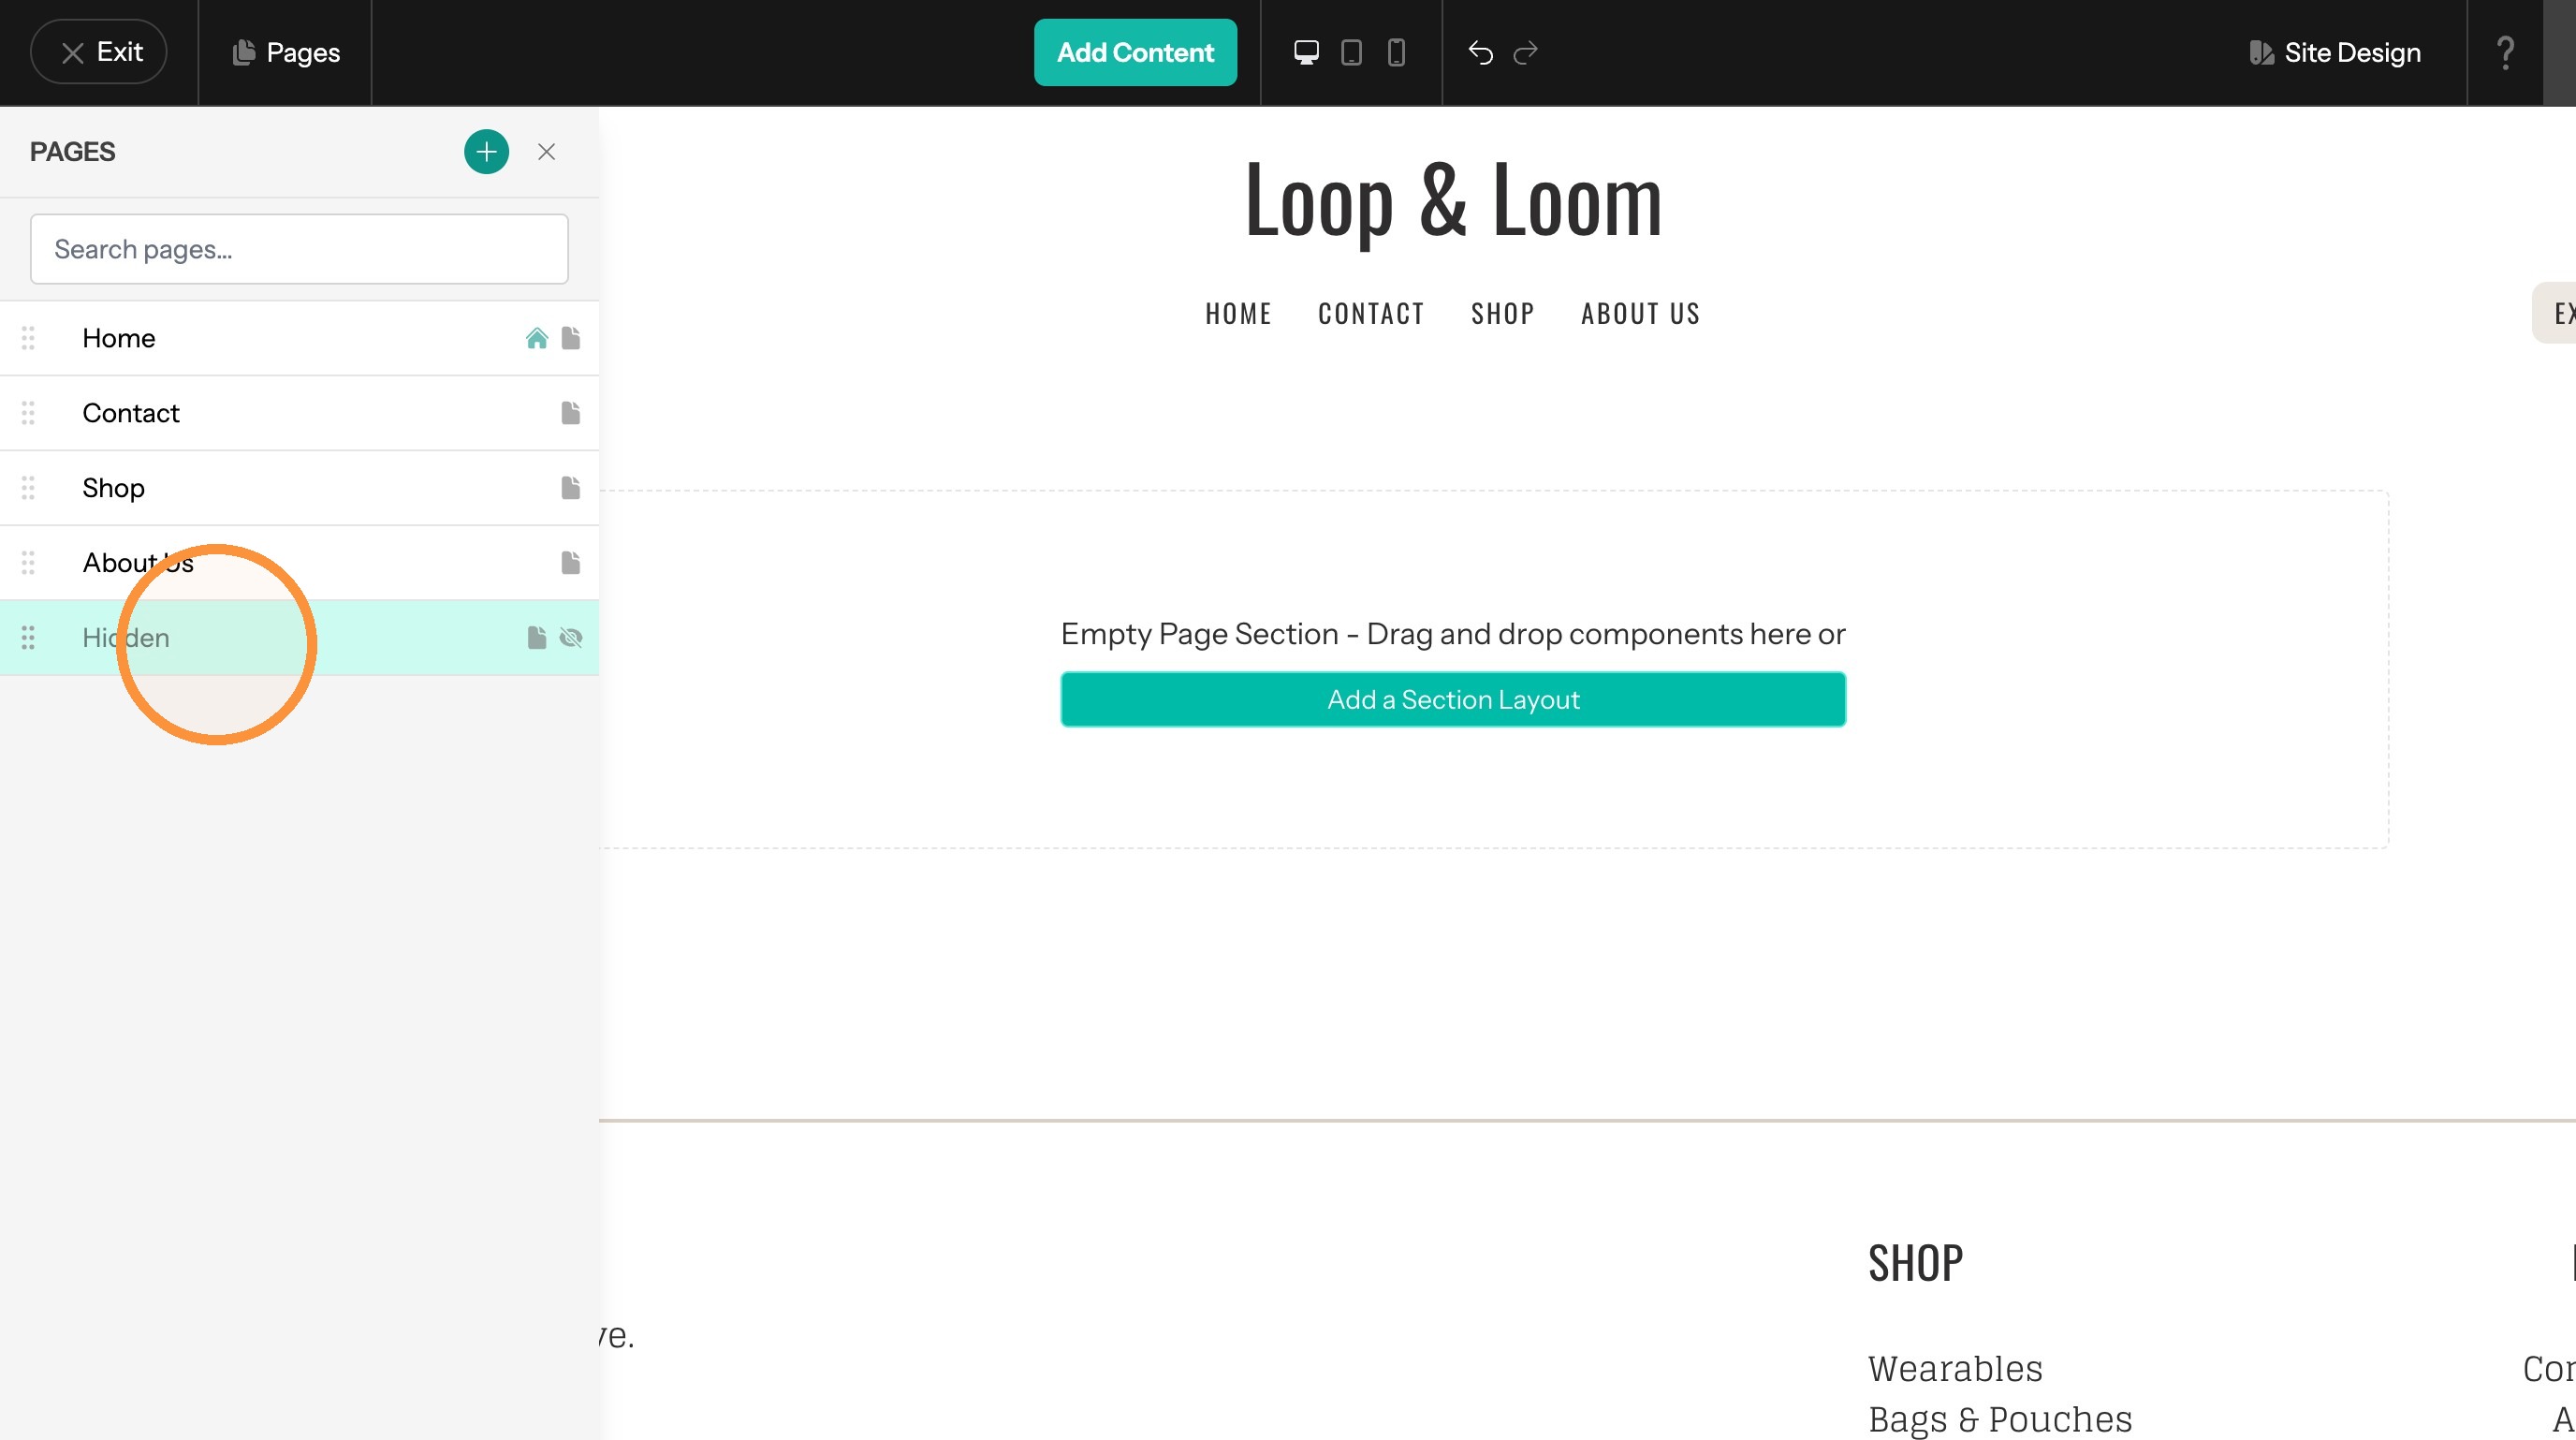
12. The page is not in navigation menu. An icon in the Pages Panel shows it as hidden.
Add an Existing Hidden Page to the Navigation
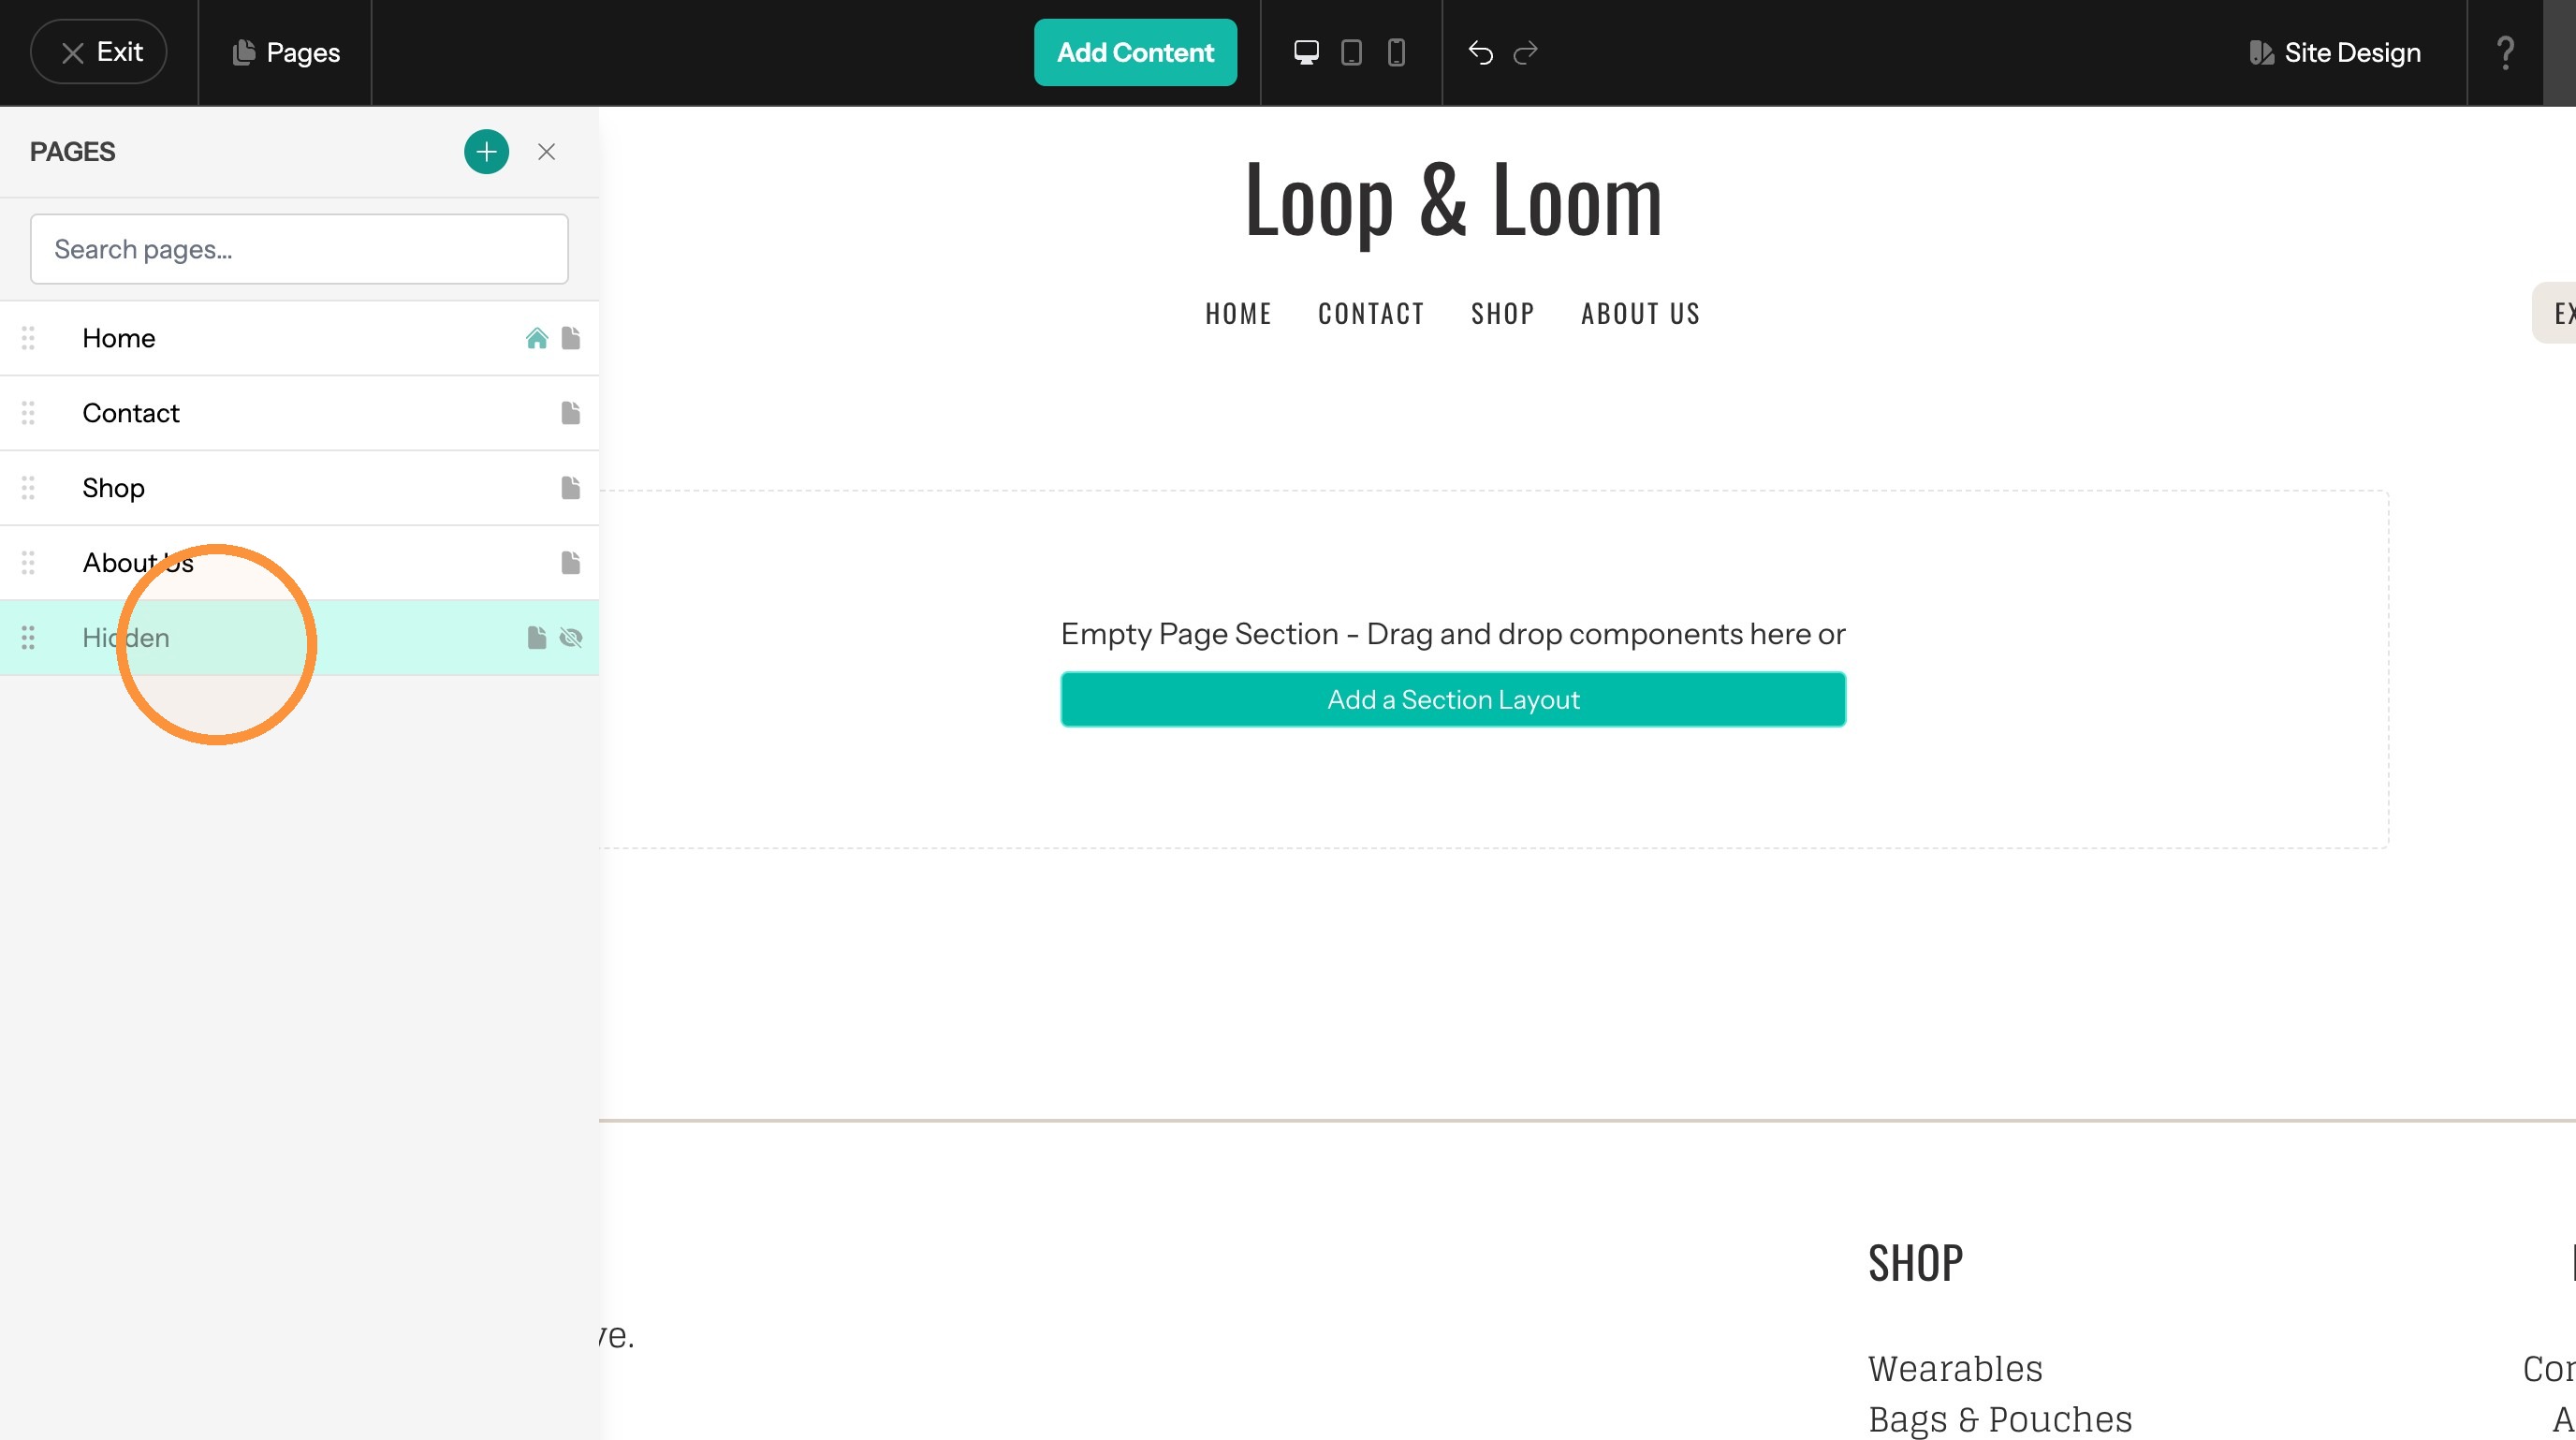
13. Click on the page in the panel to view its options.
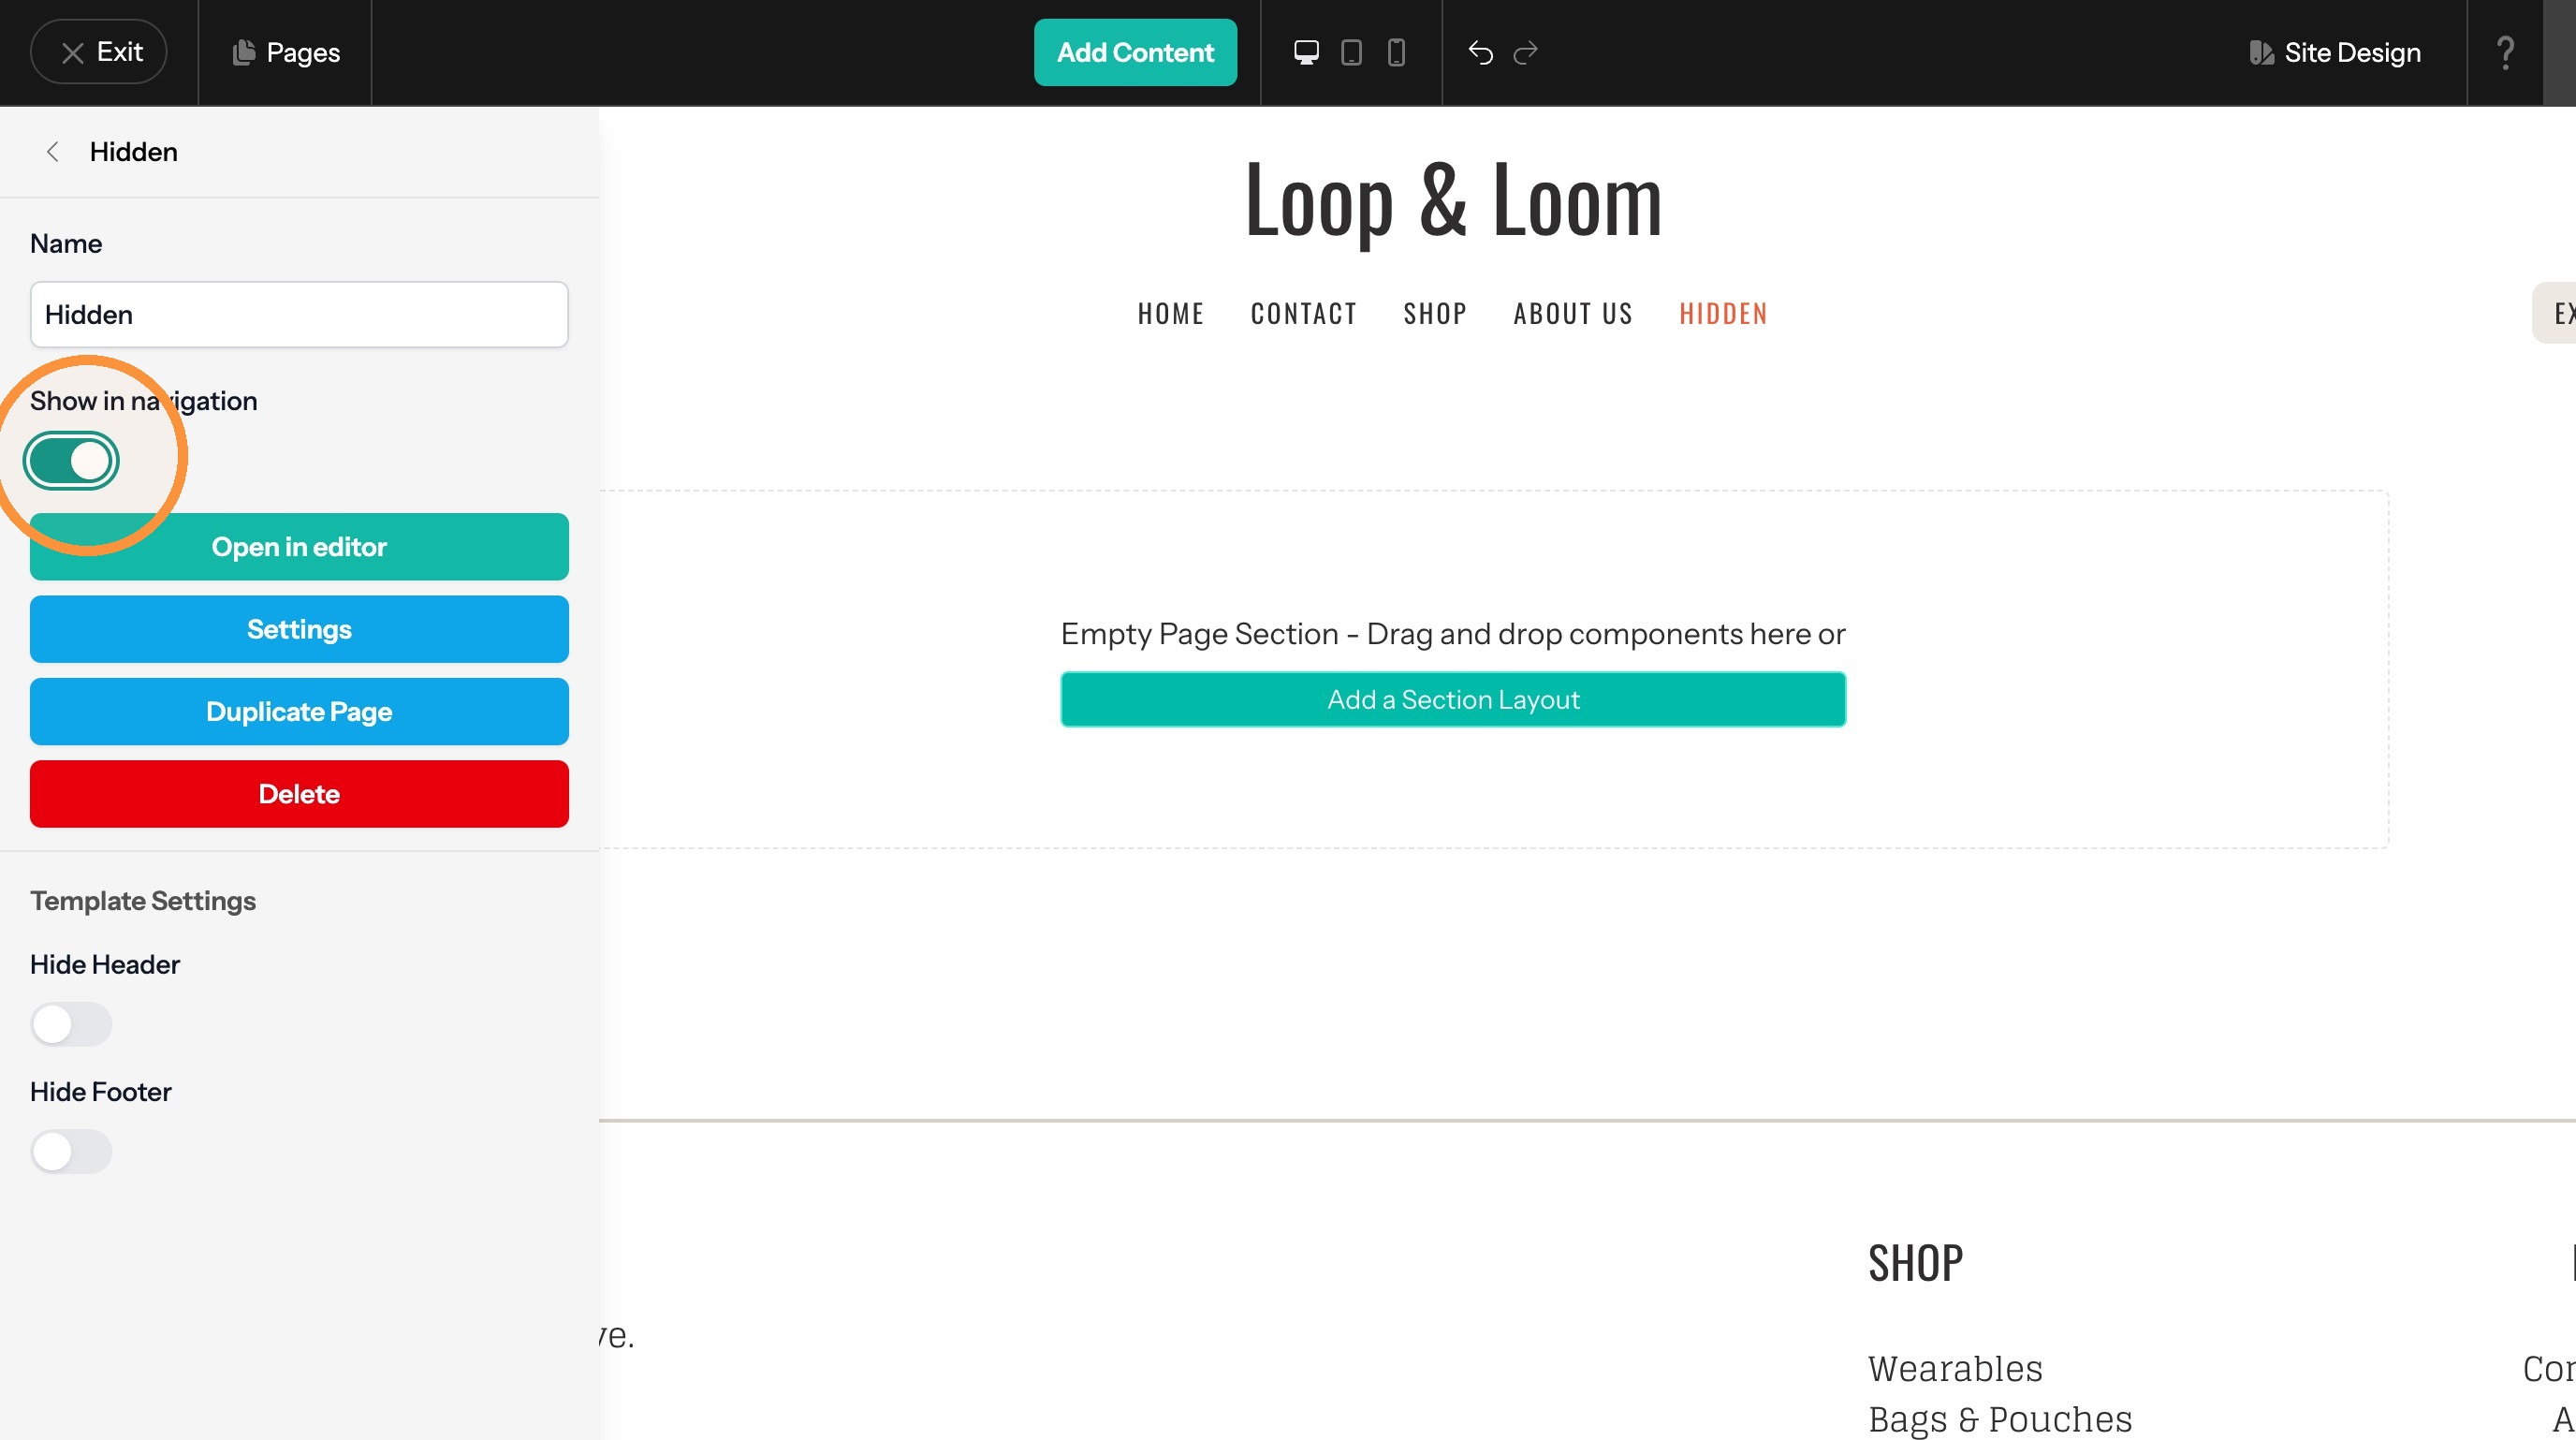
14. Toggle "Show in navigation"
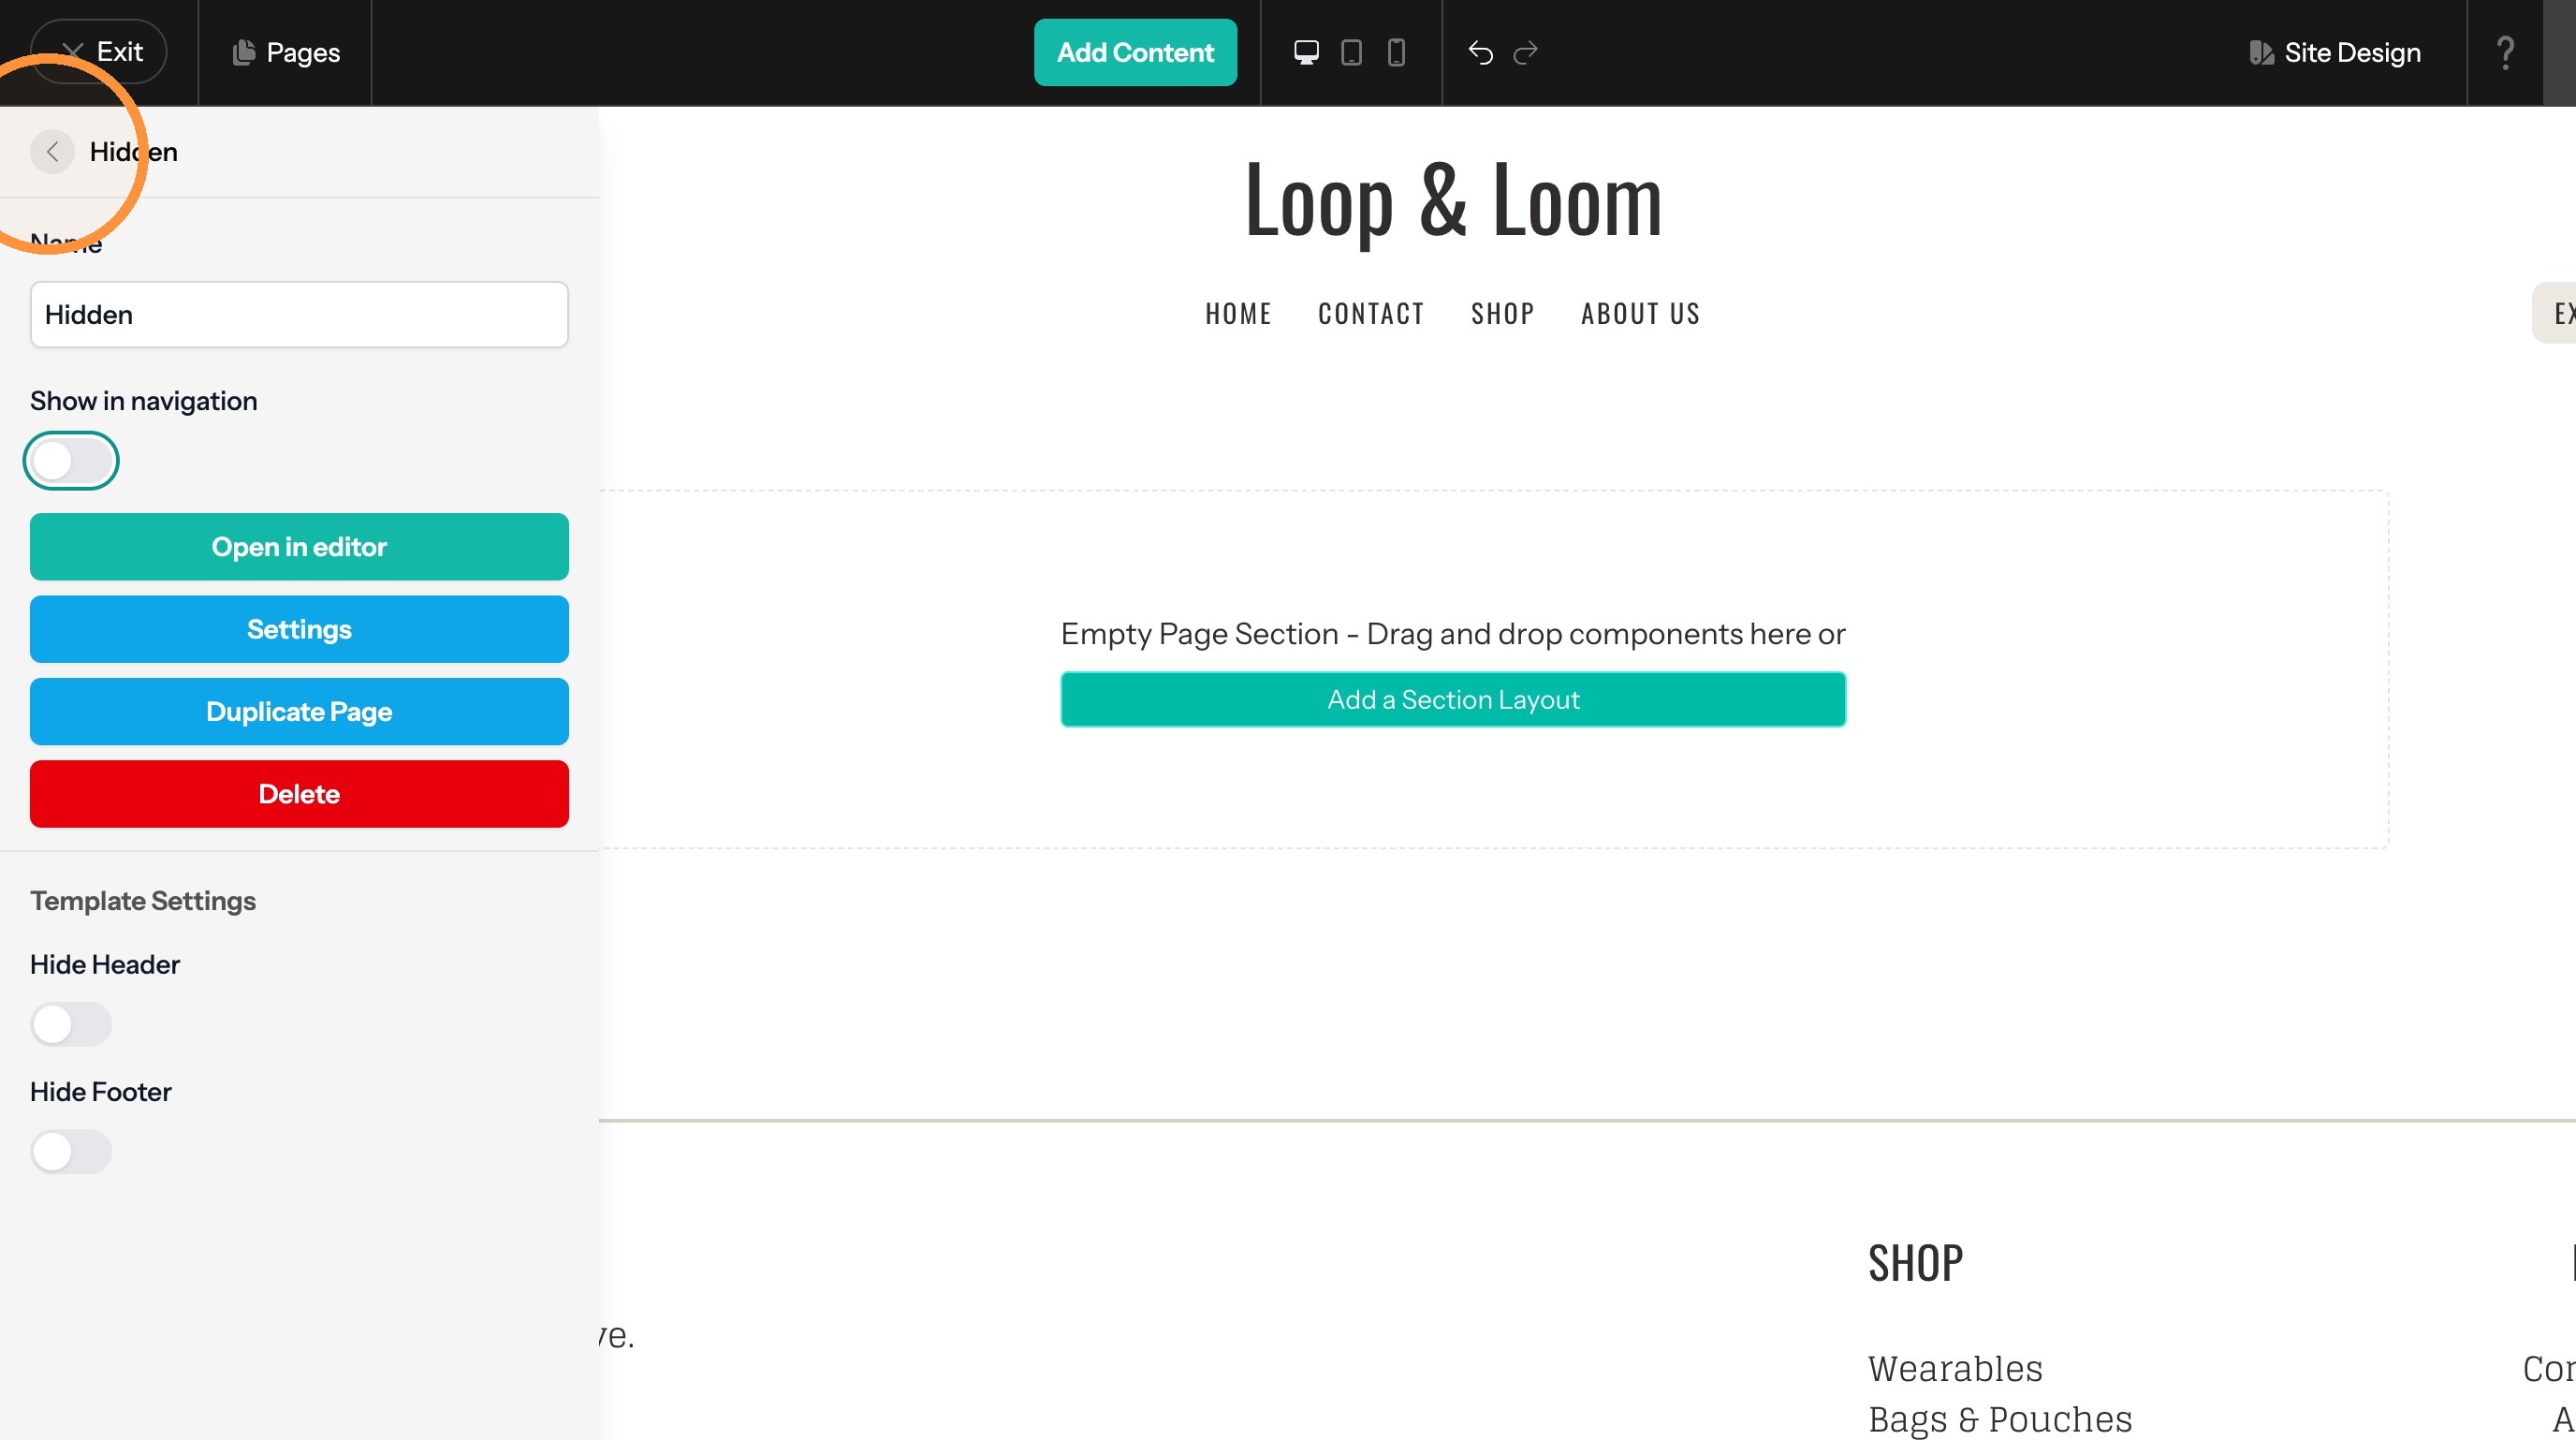
15. Click back arrow to return to Pages list
Add a Link to an External Website Page
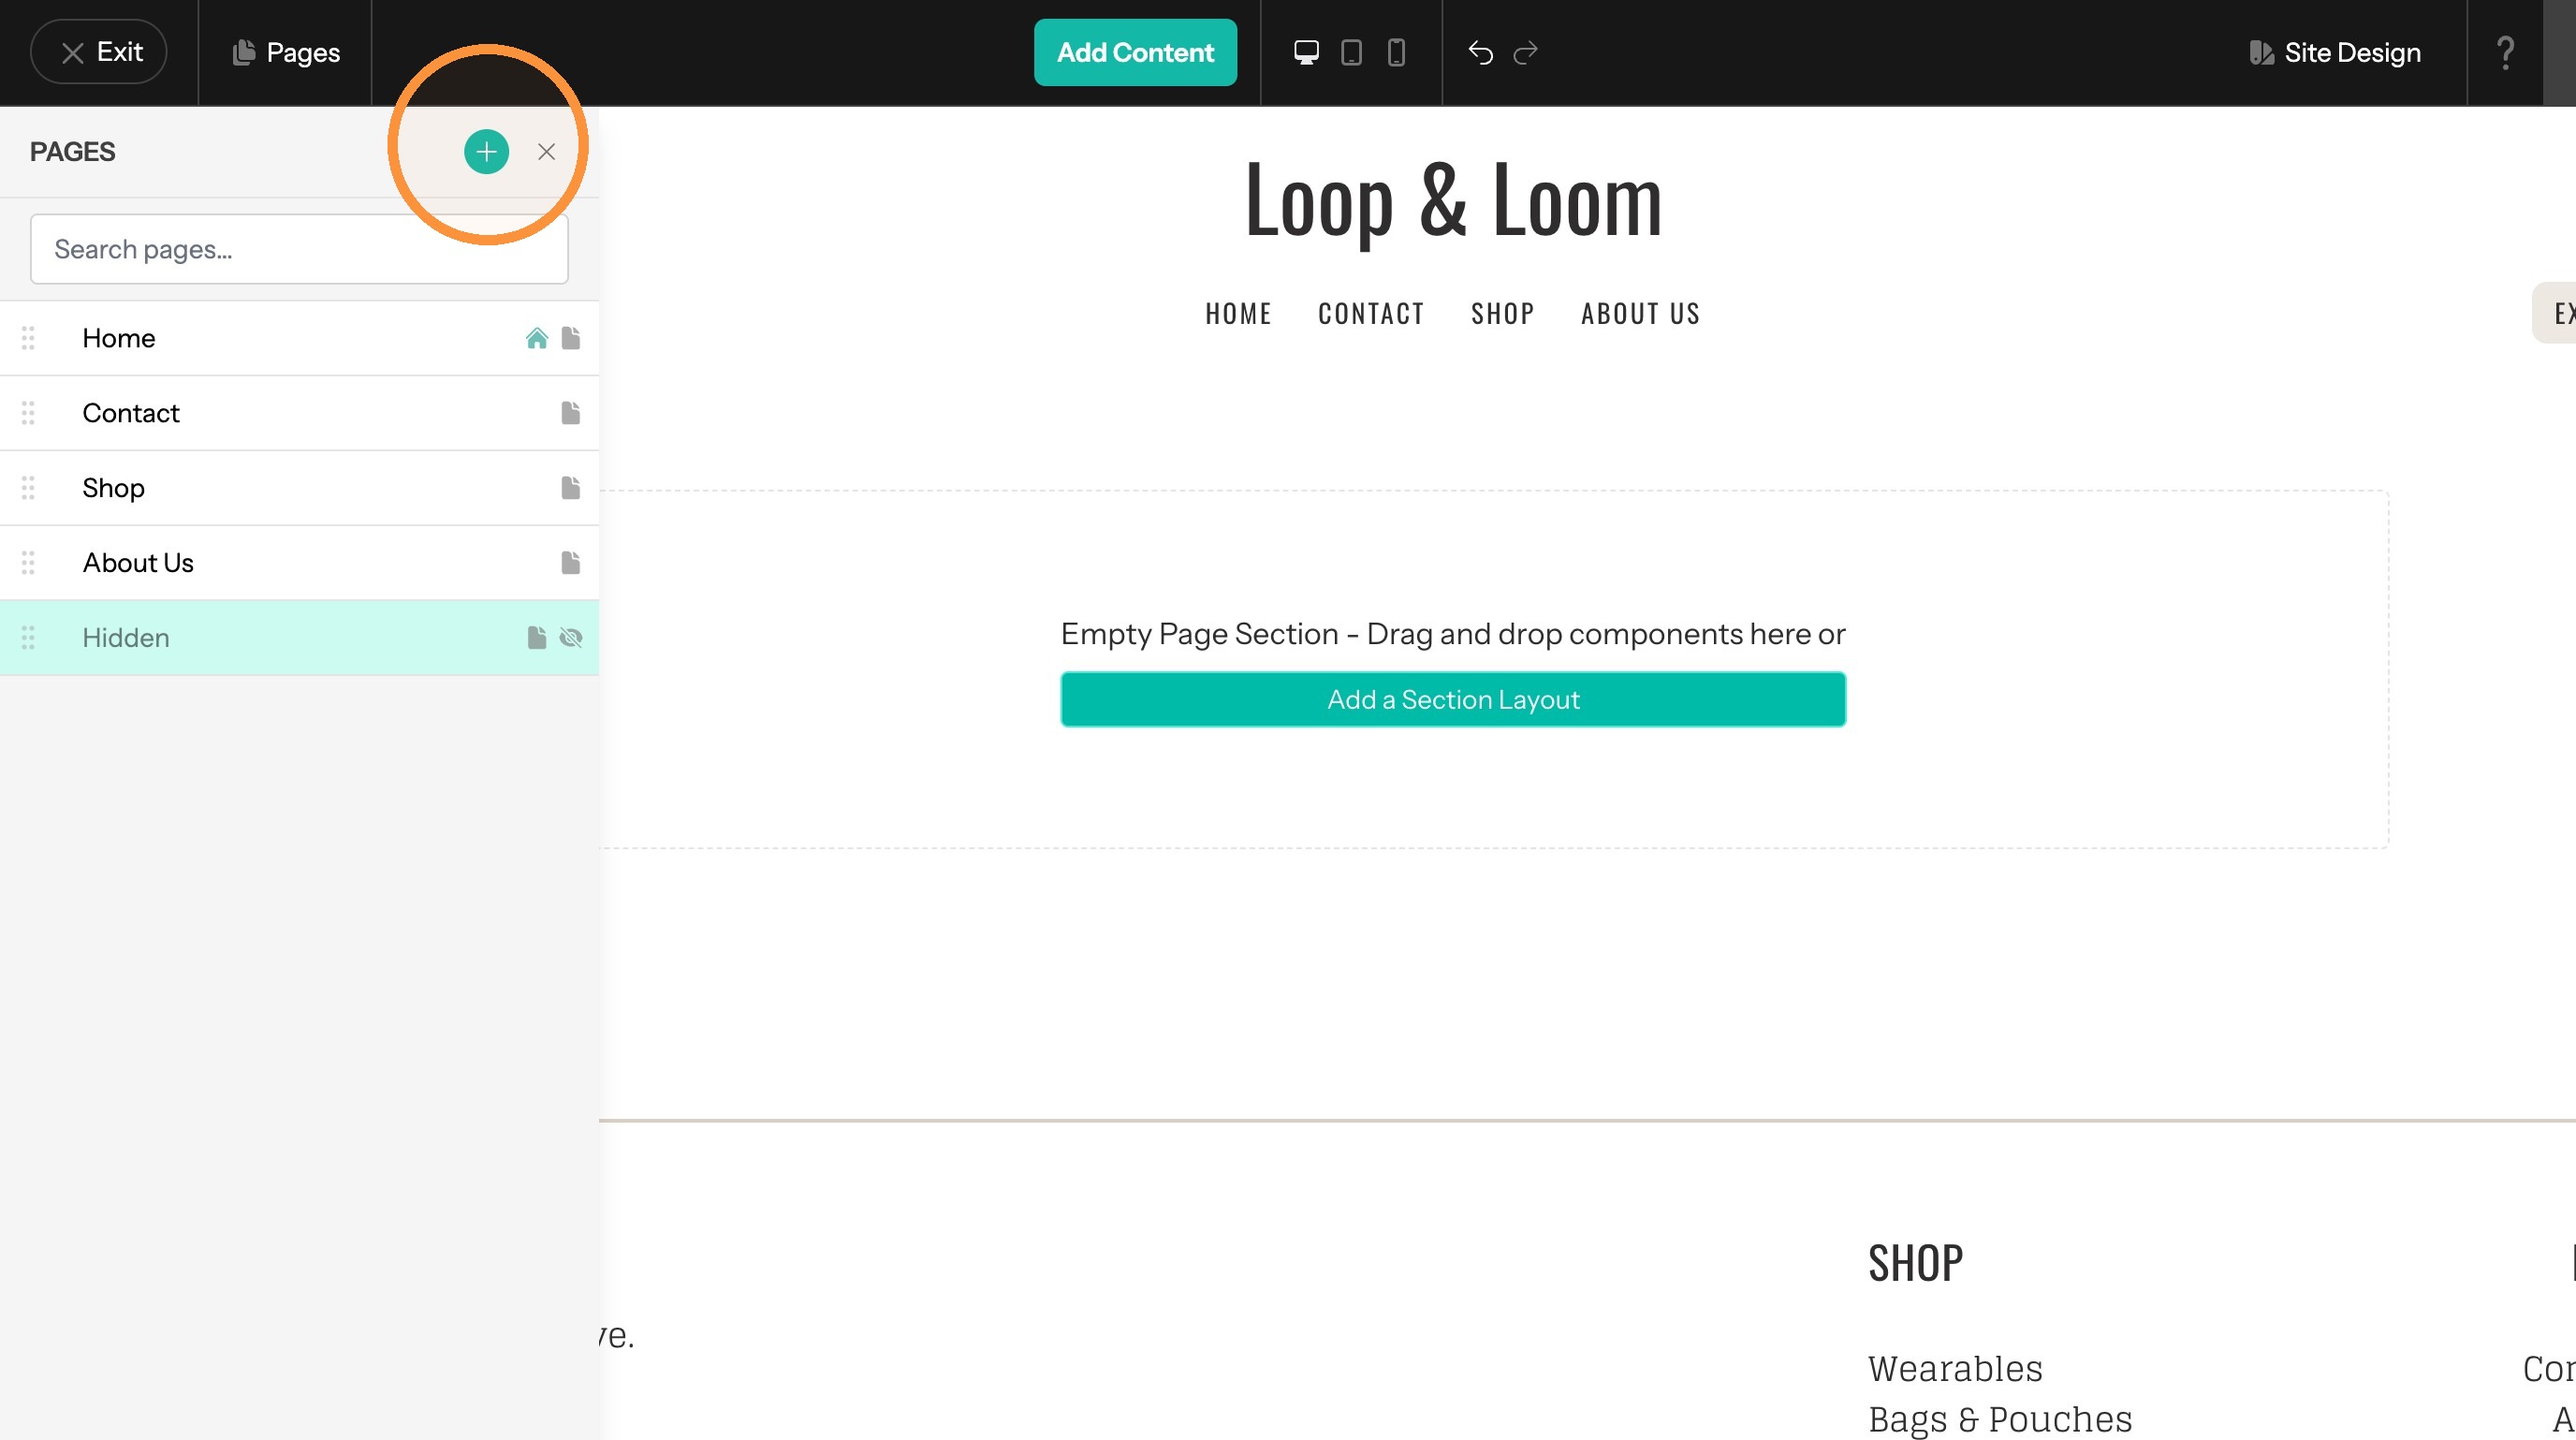
16. Click "+" to add link
17. Click "Web Link"
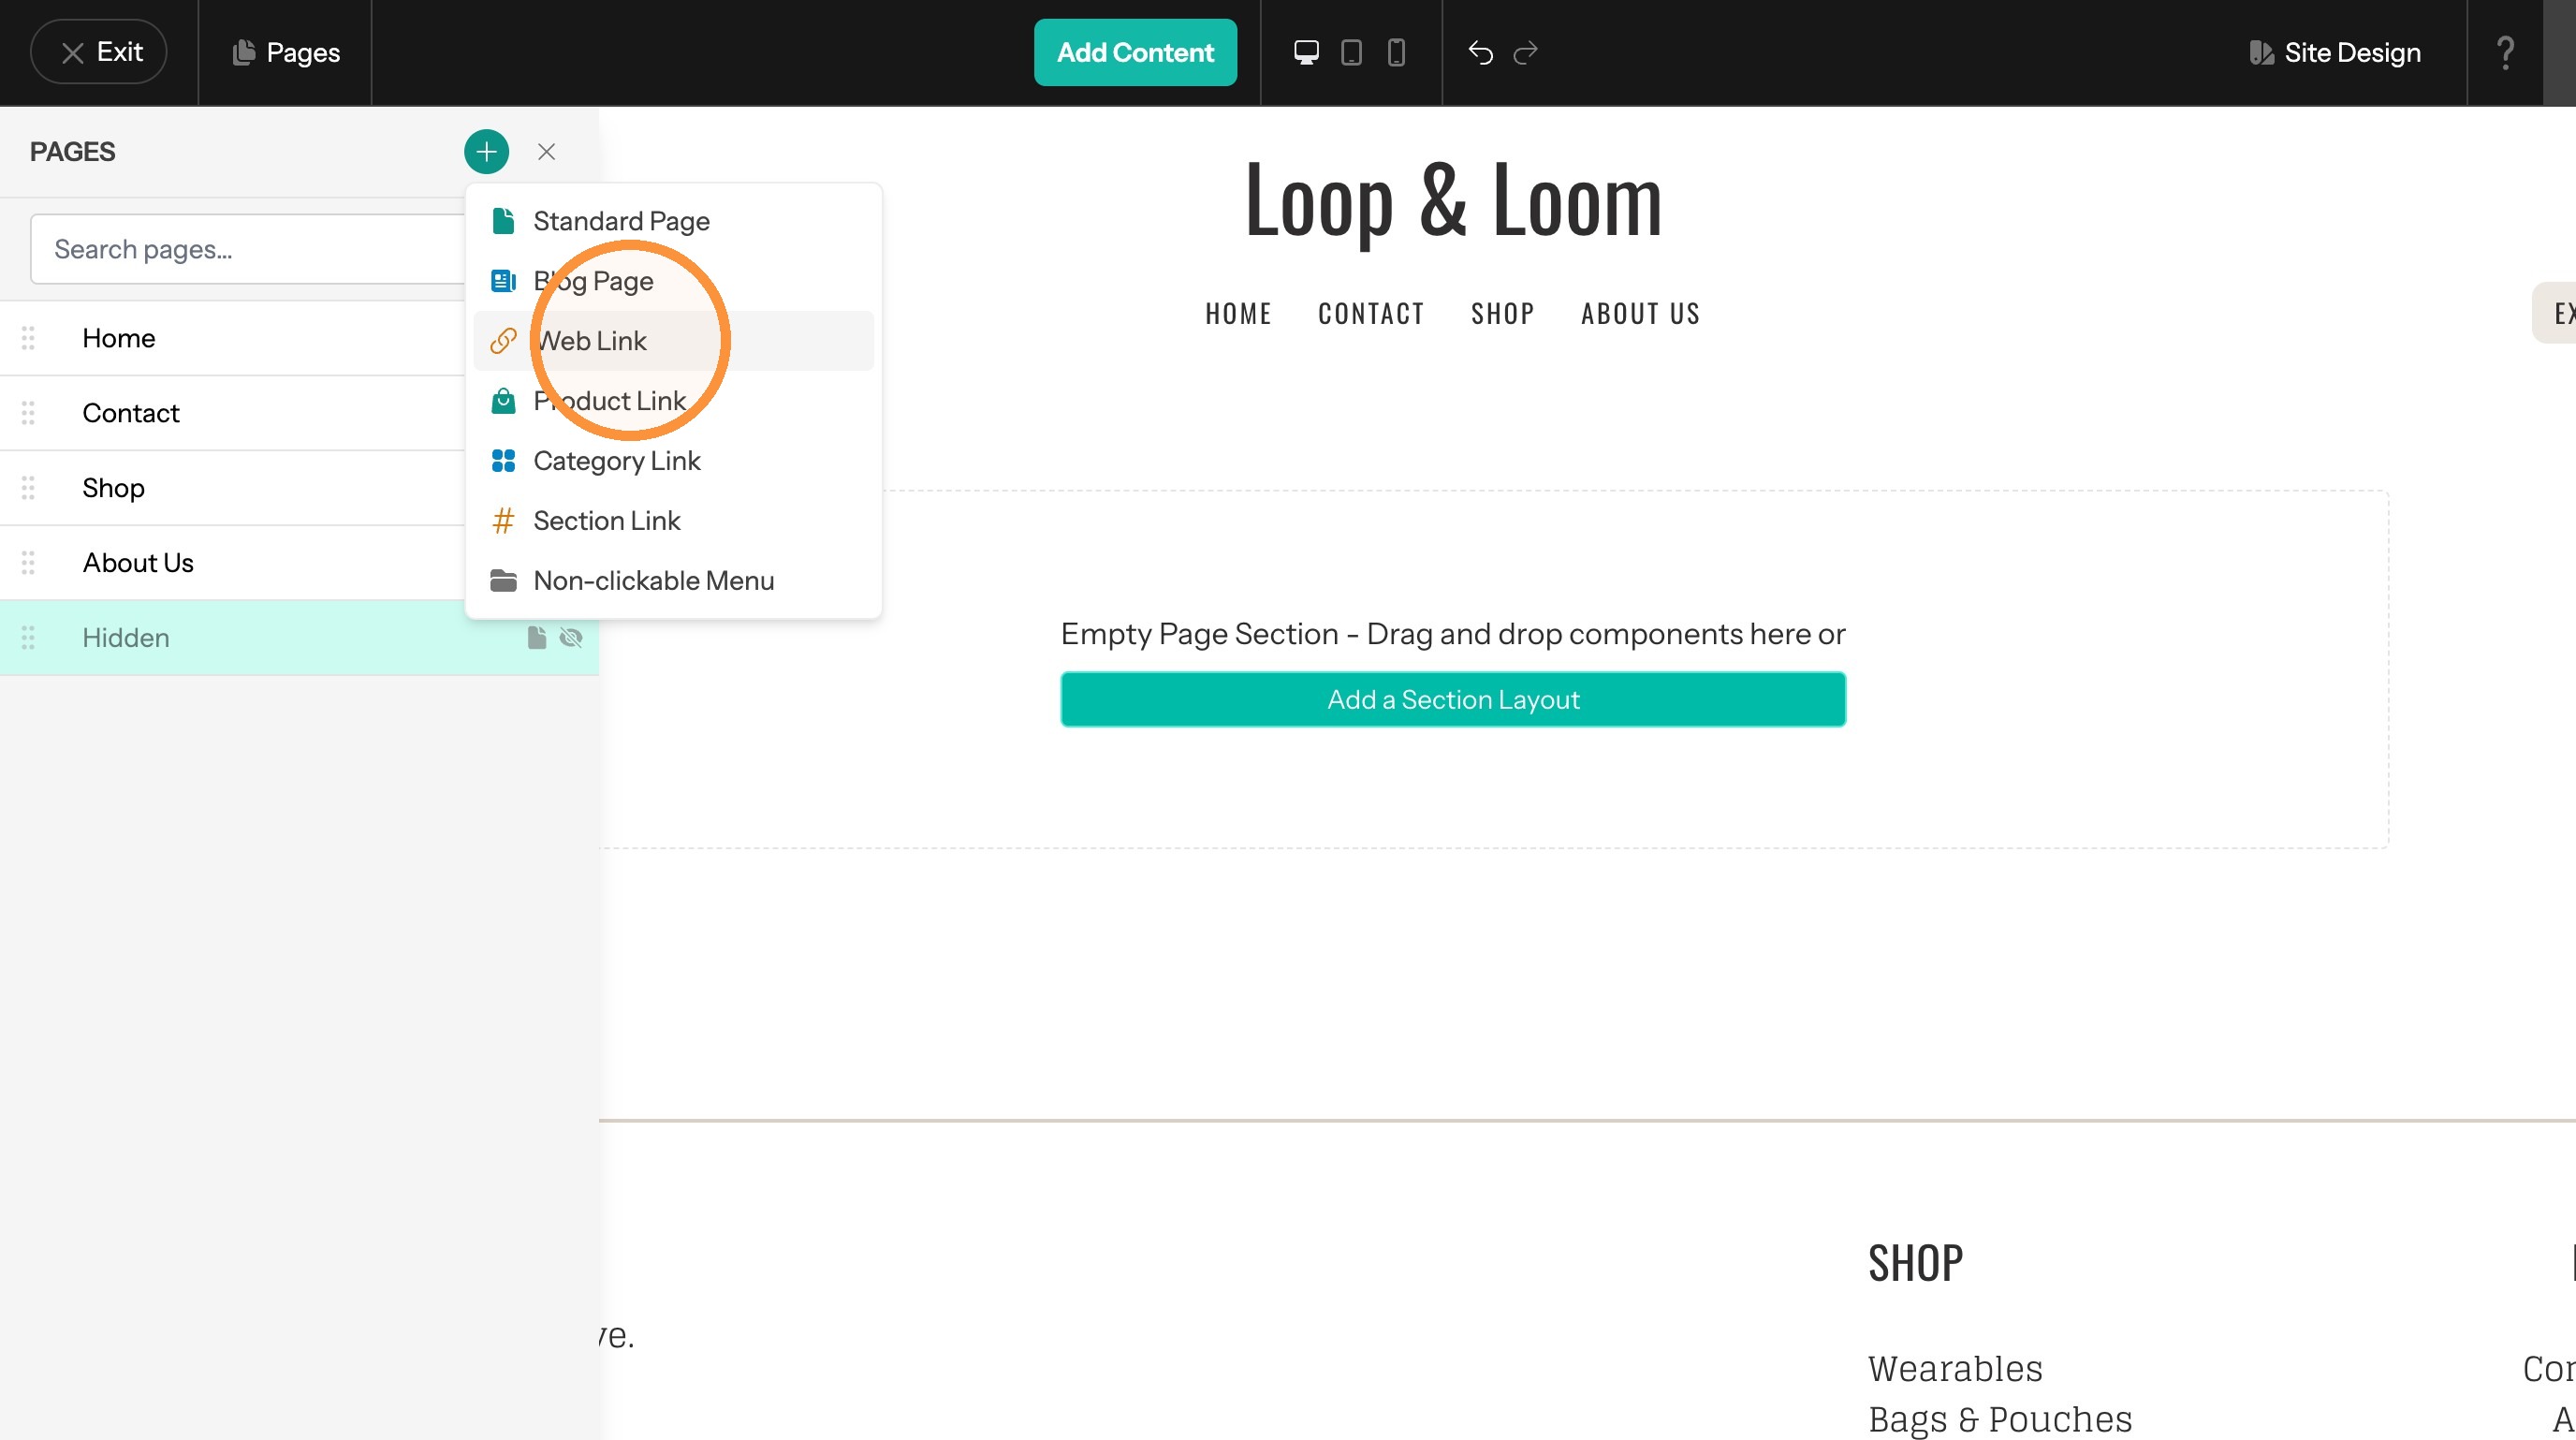
18. Enter the name
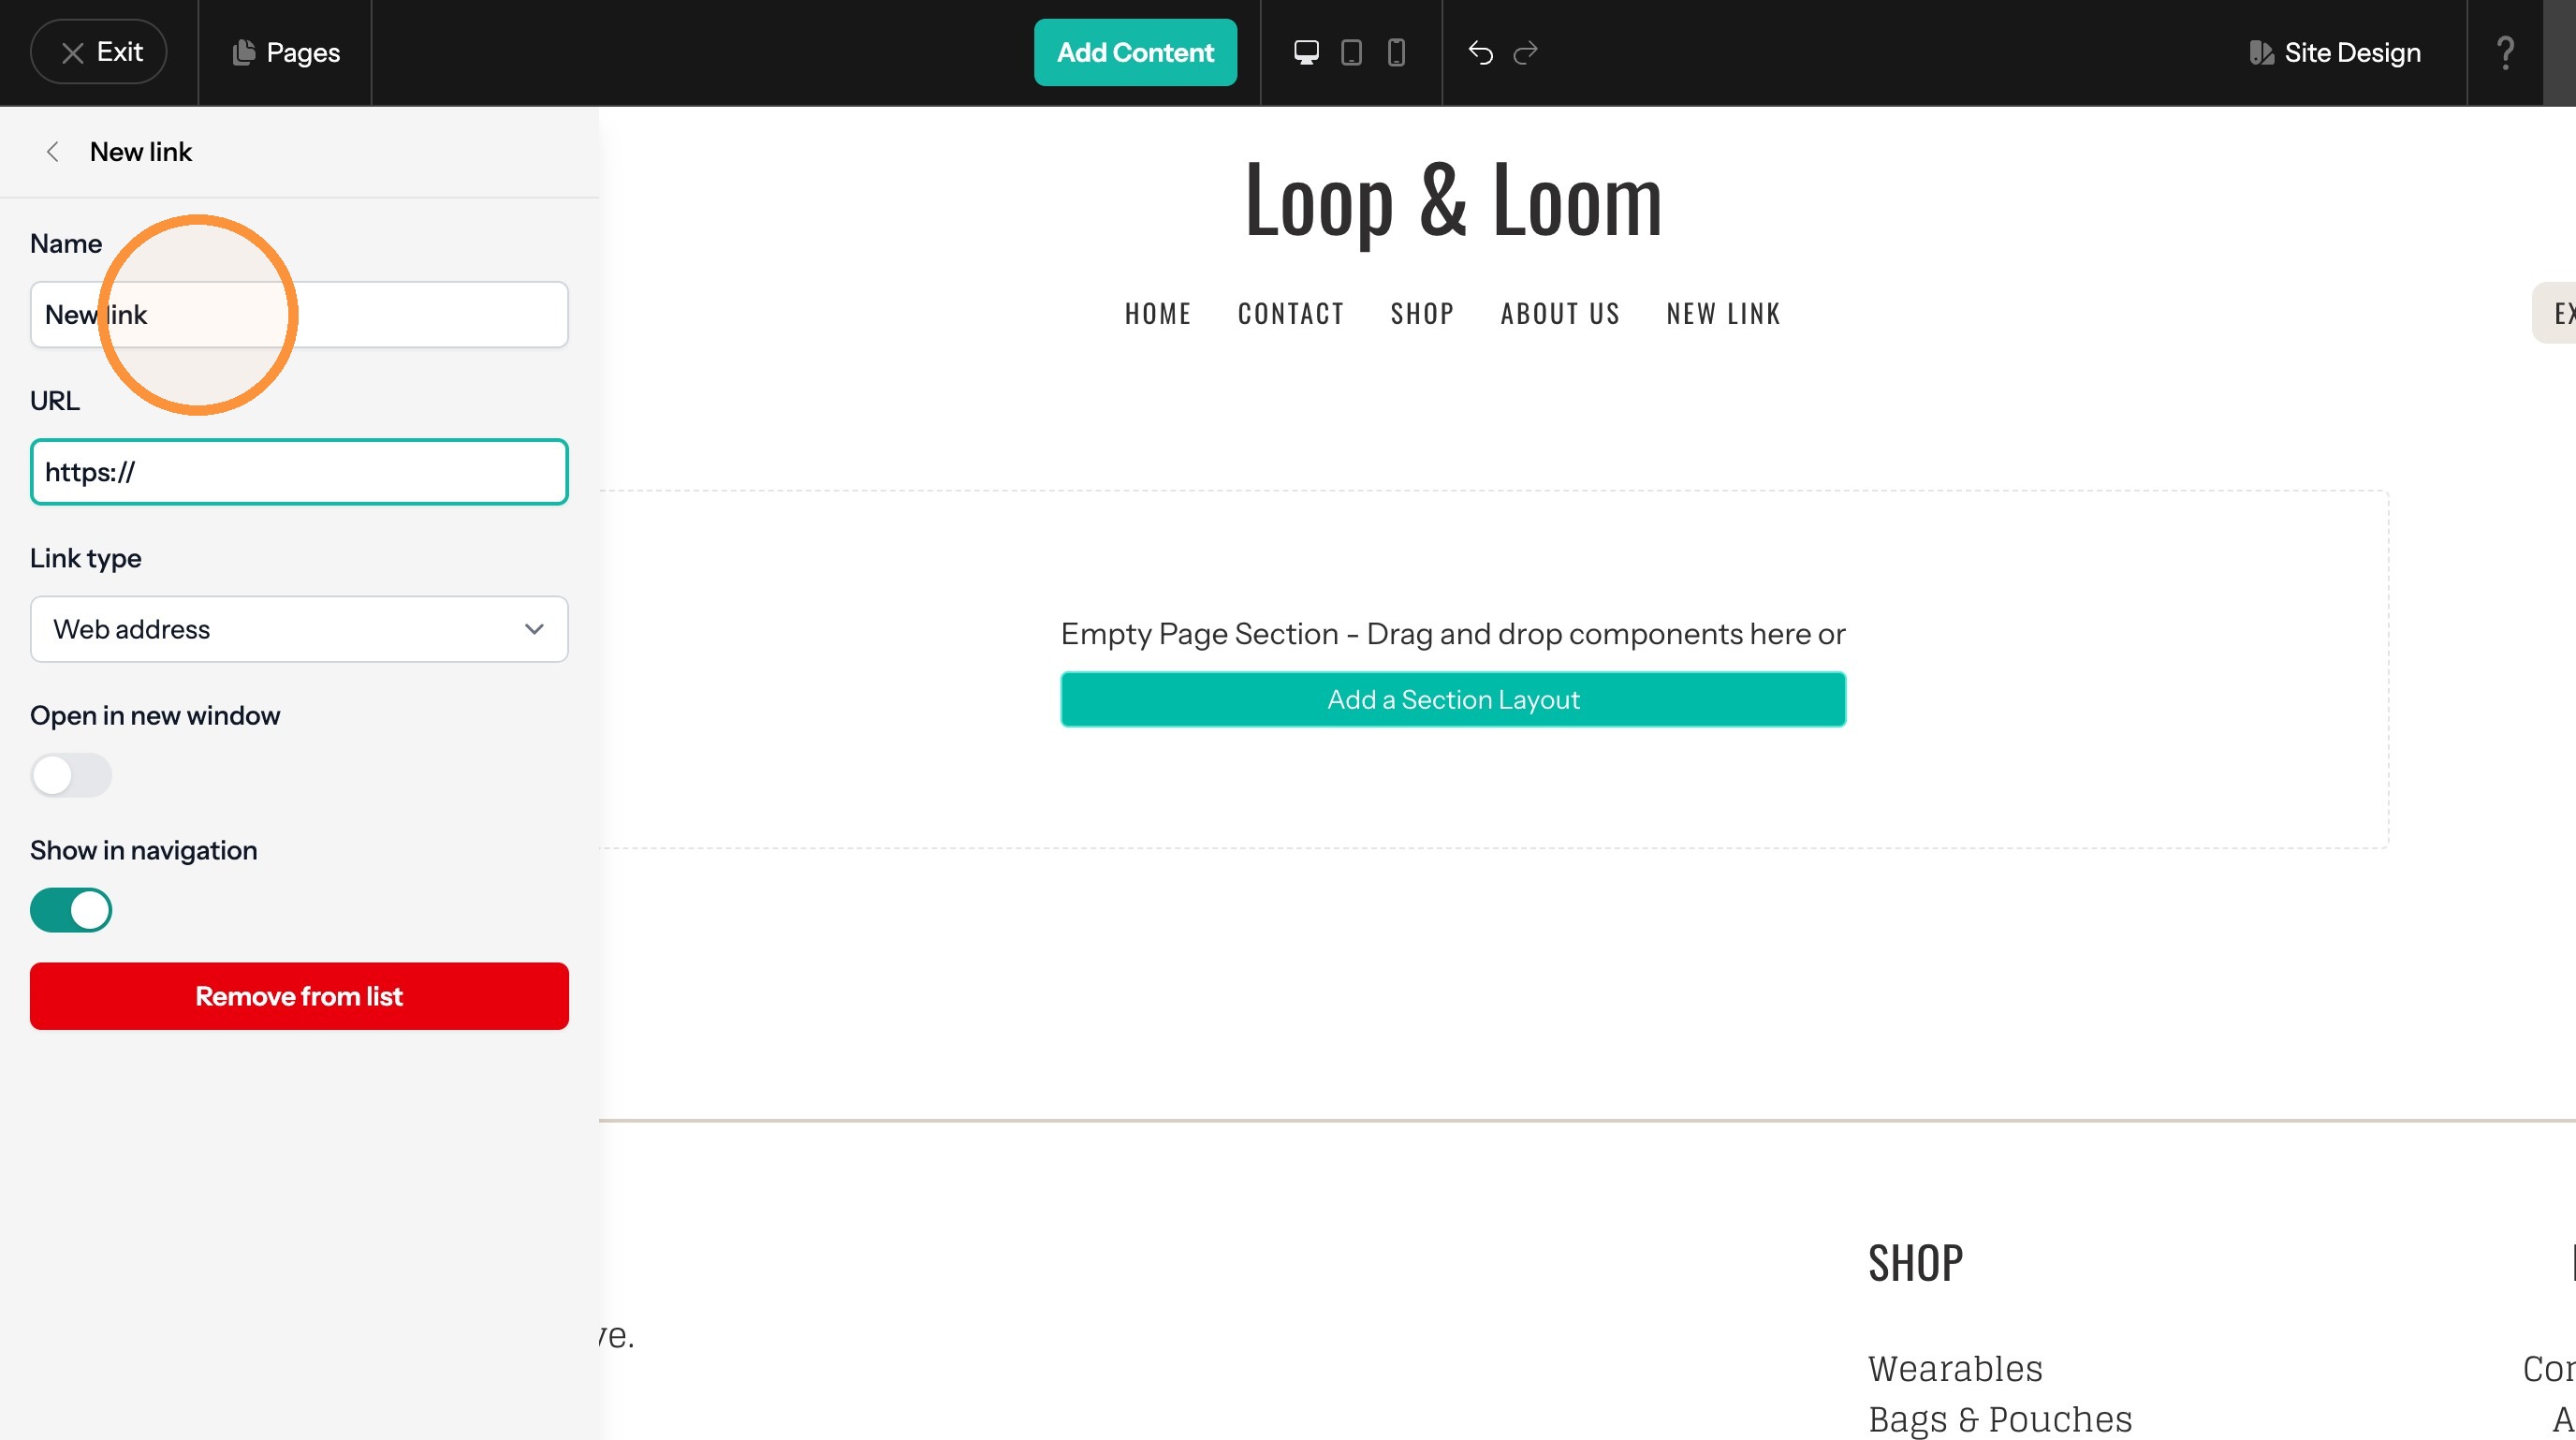
19. Enter the URL
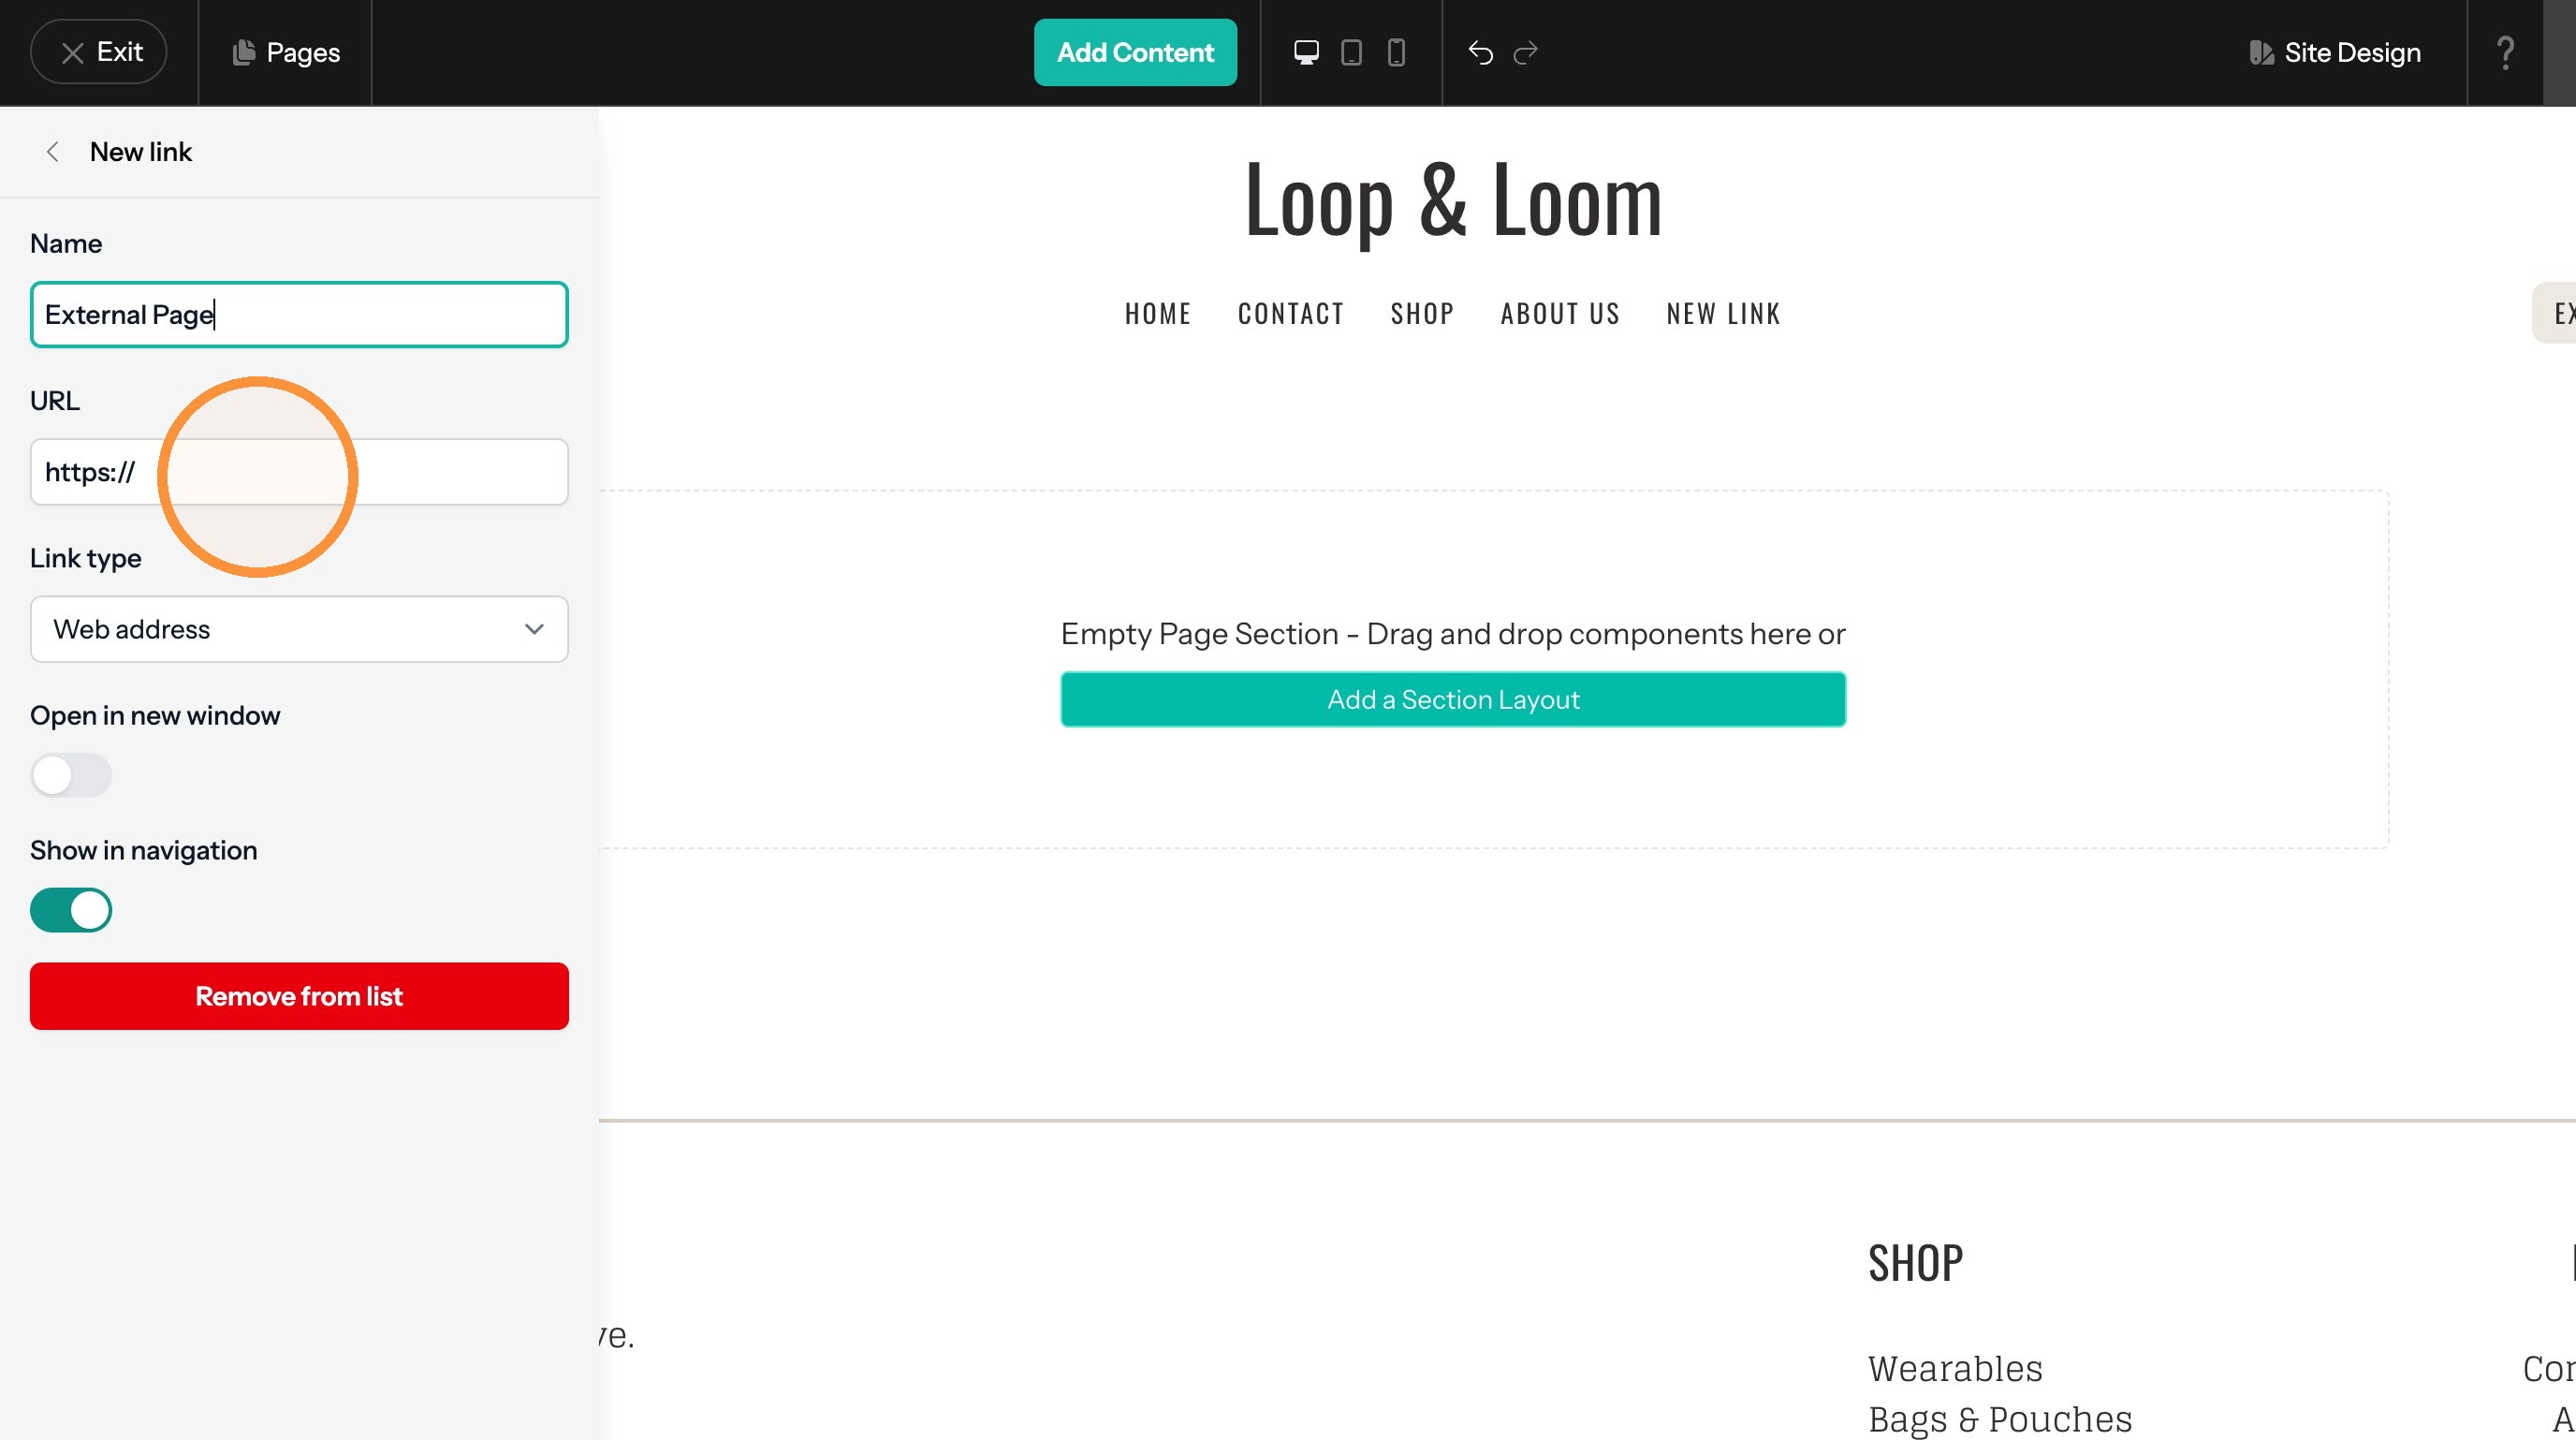
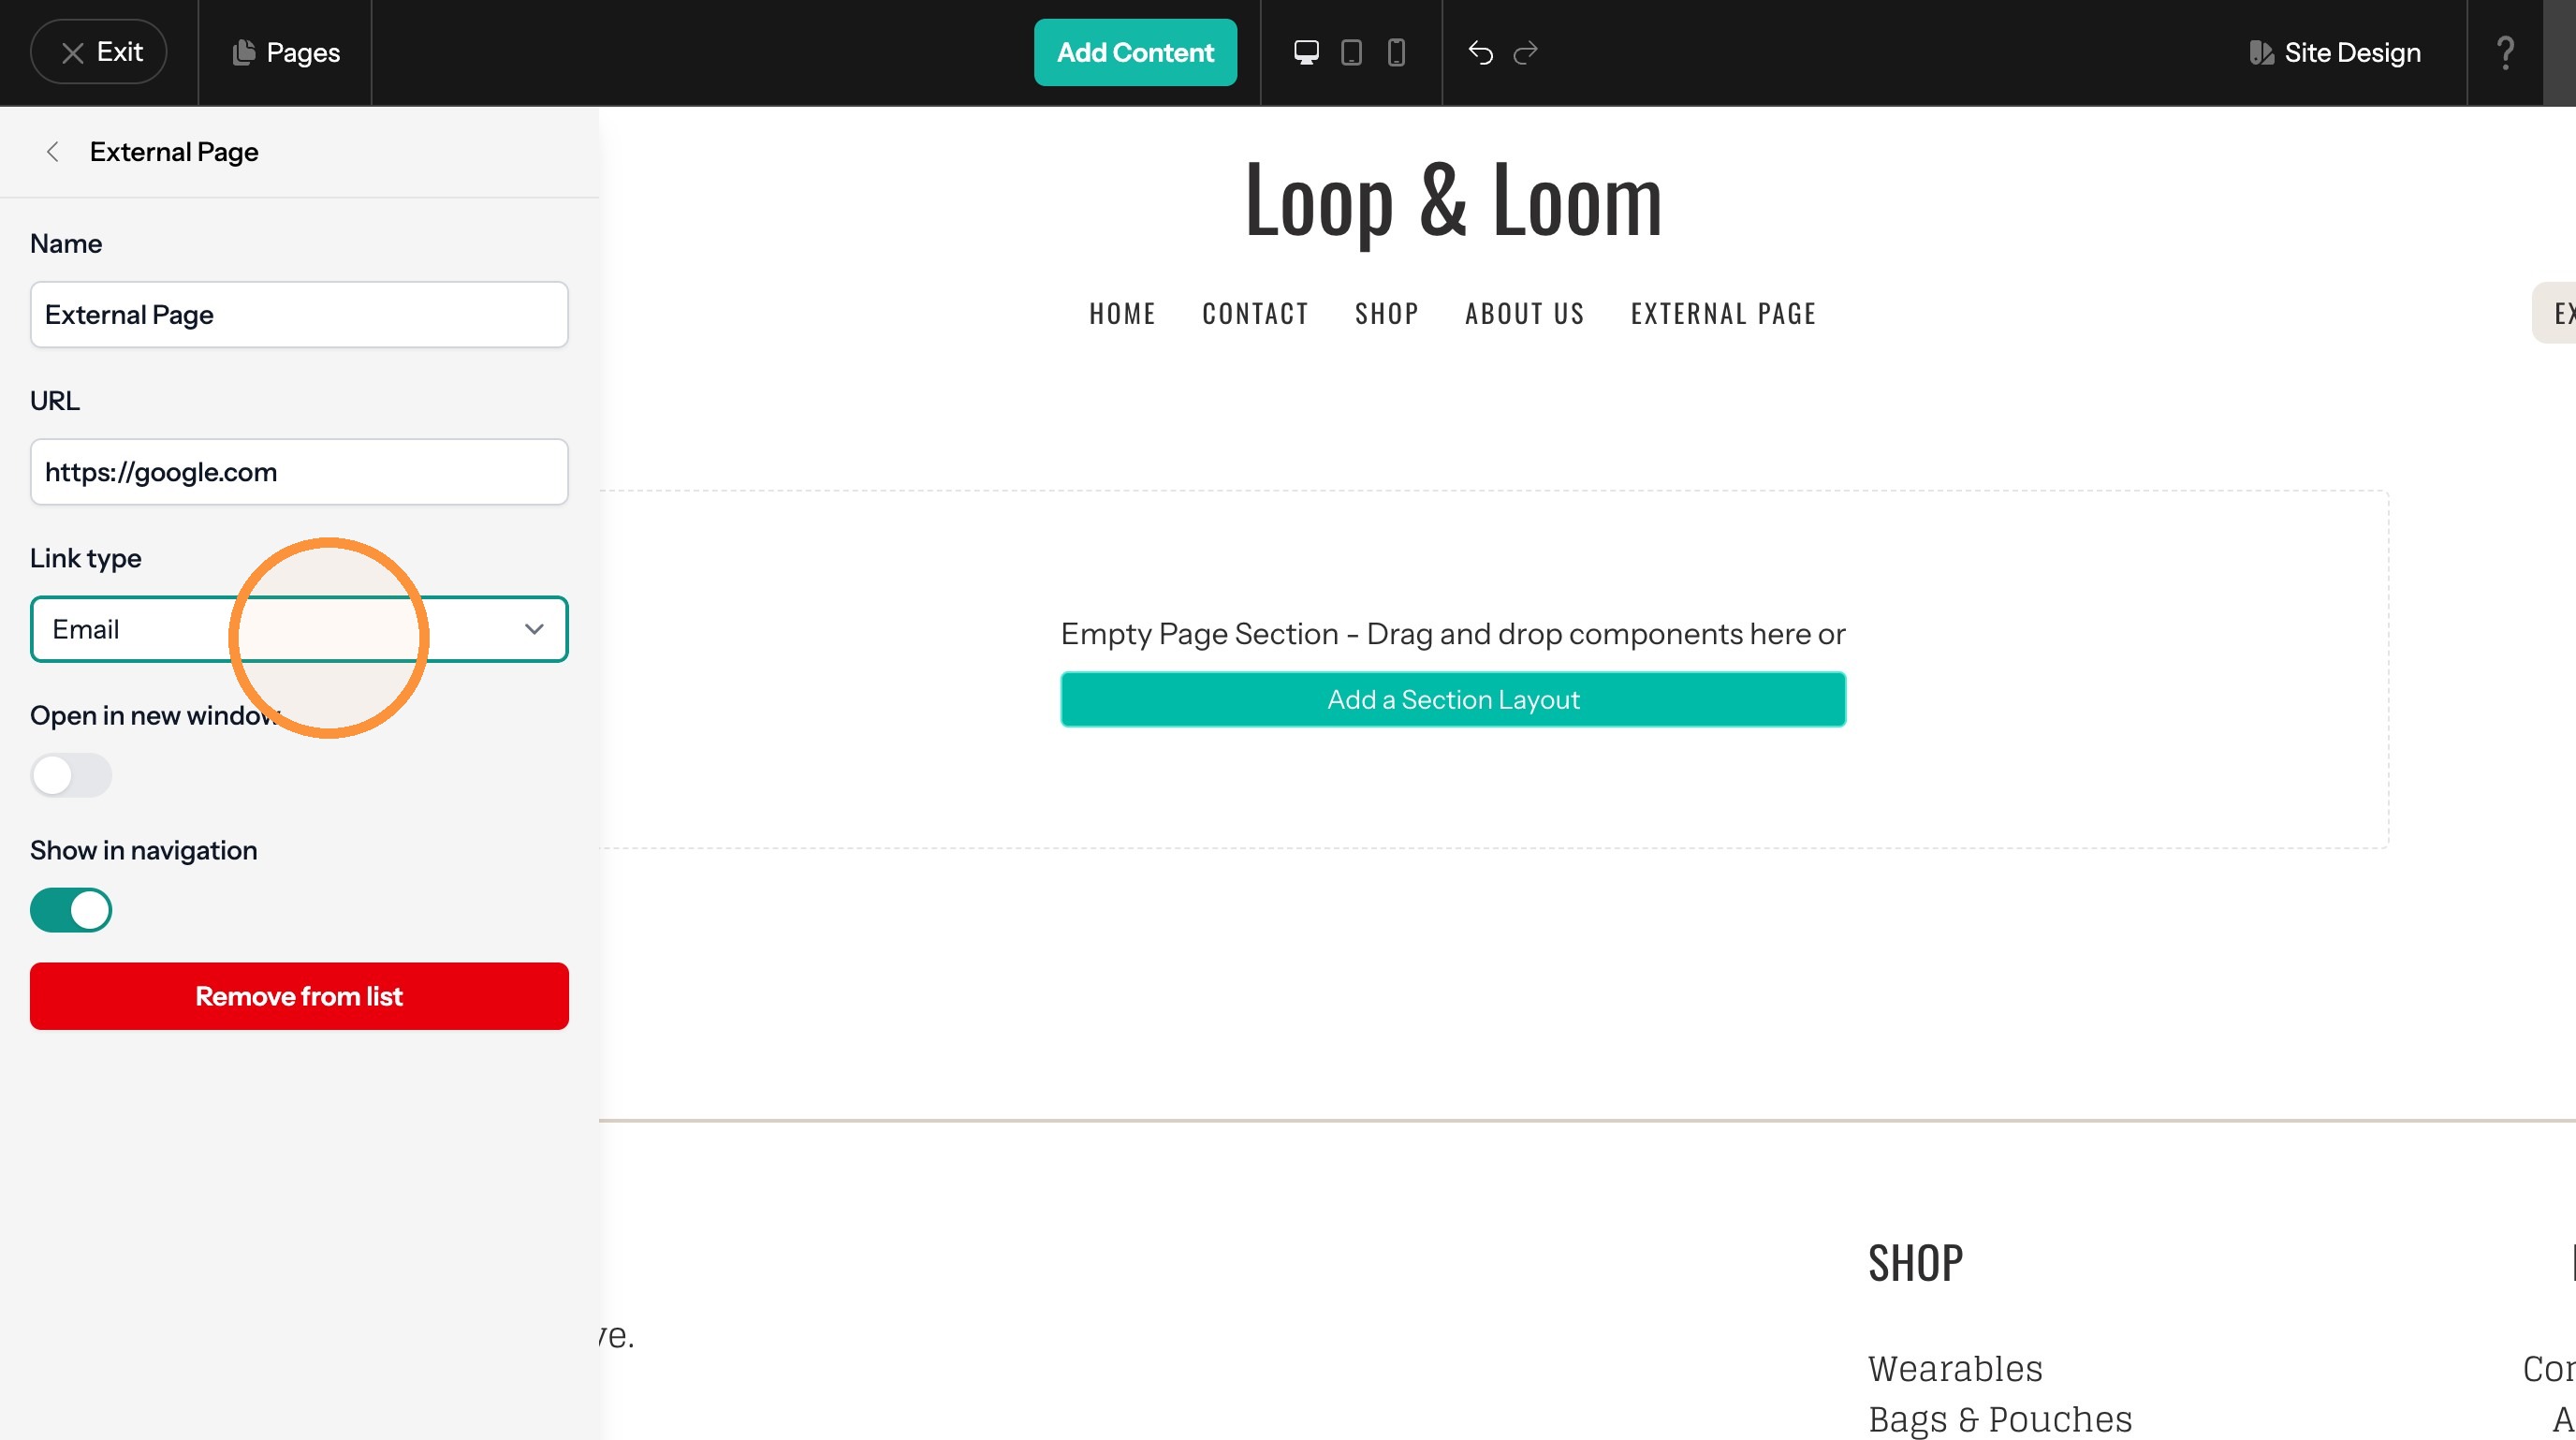
20. Use the Link Type option to change to an Email or Phone link
Add a Product Link
21. Click the "+" icon
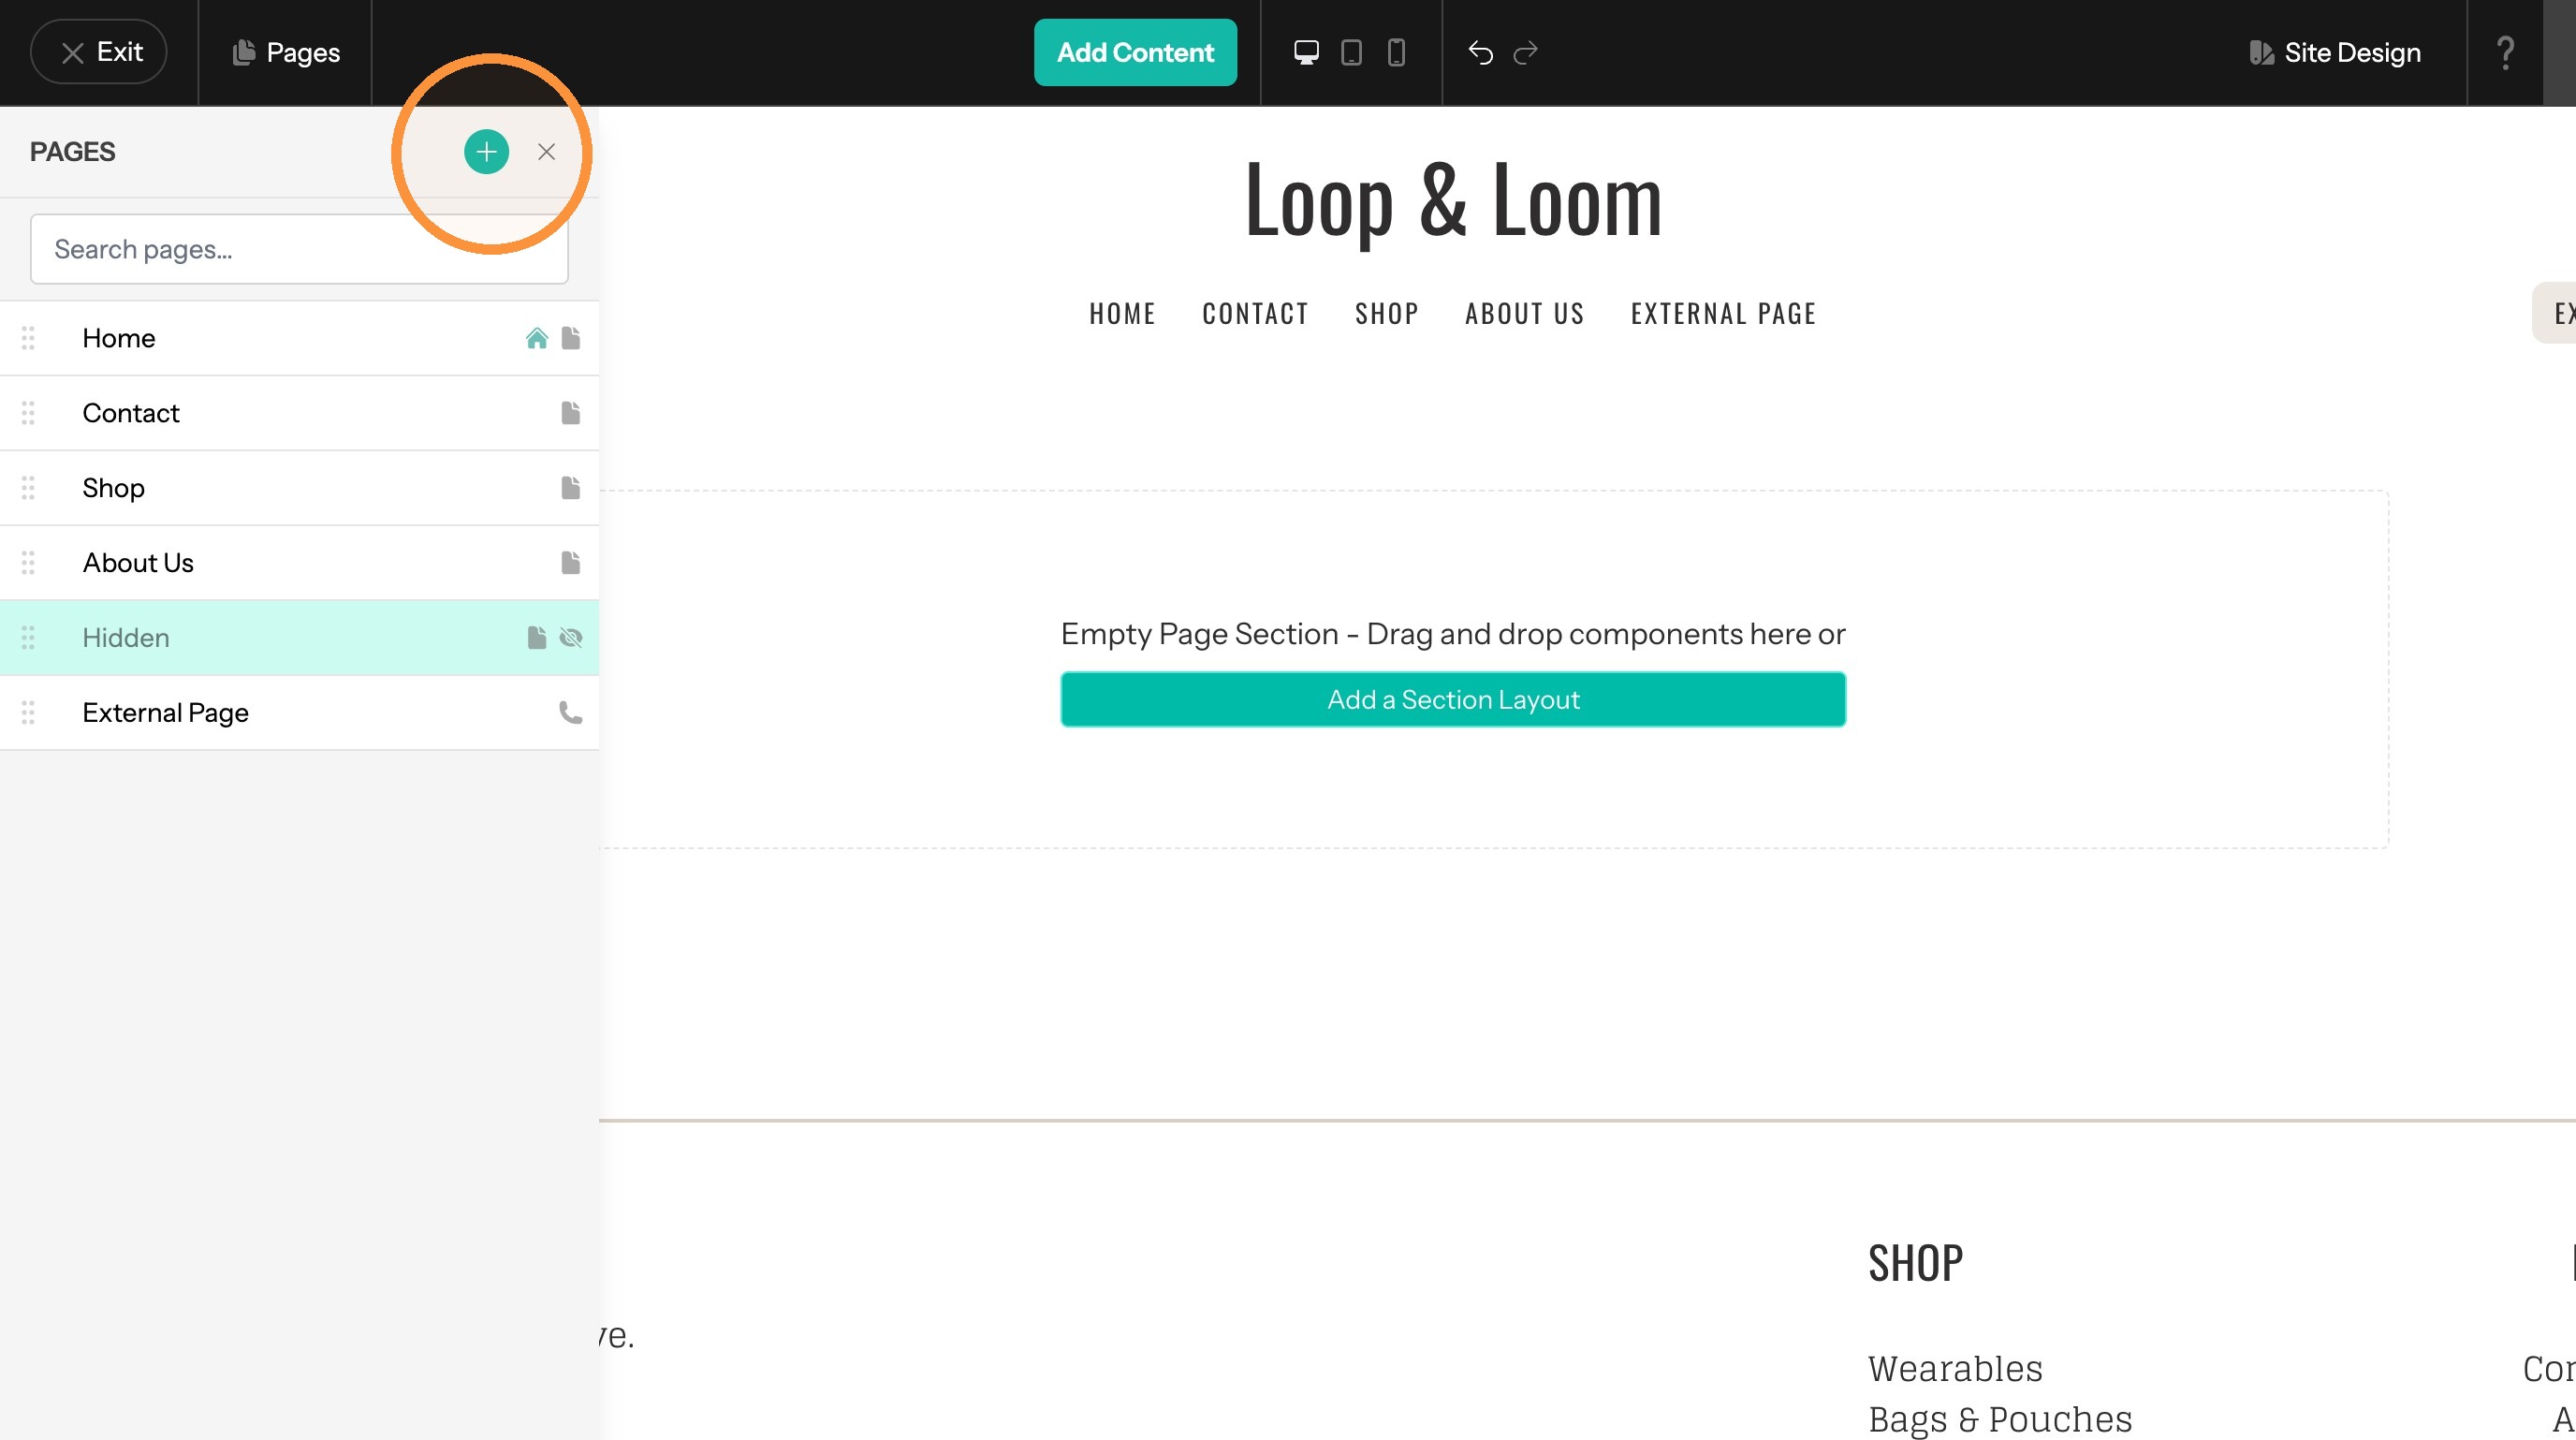
22. Click "Product Link"
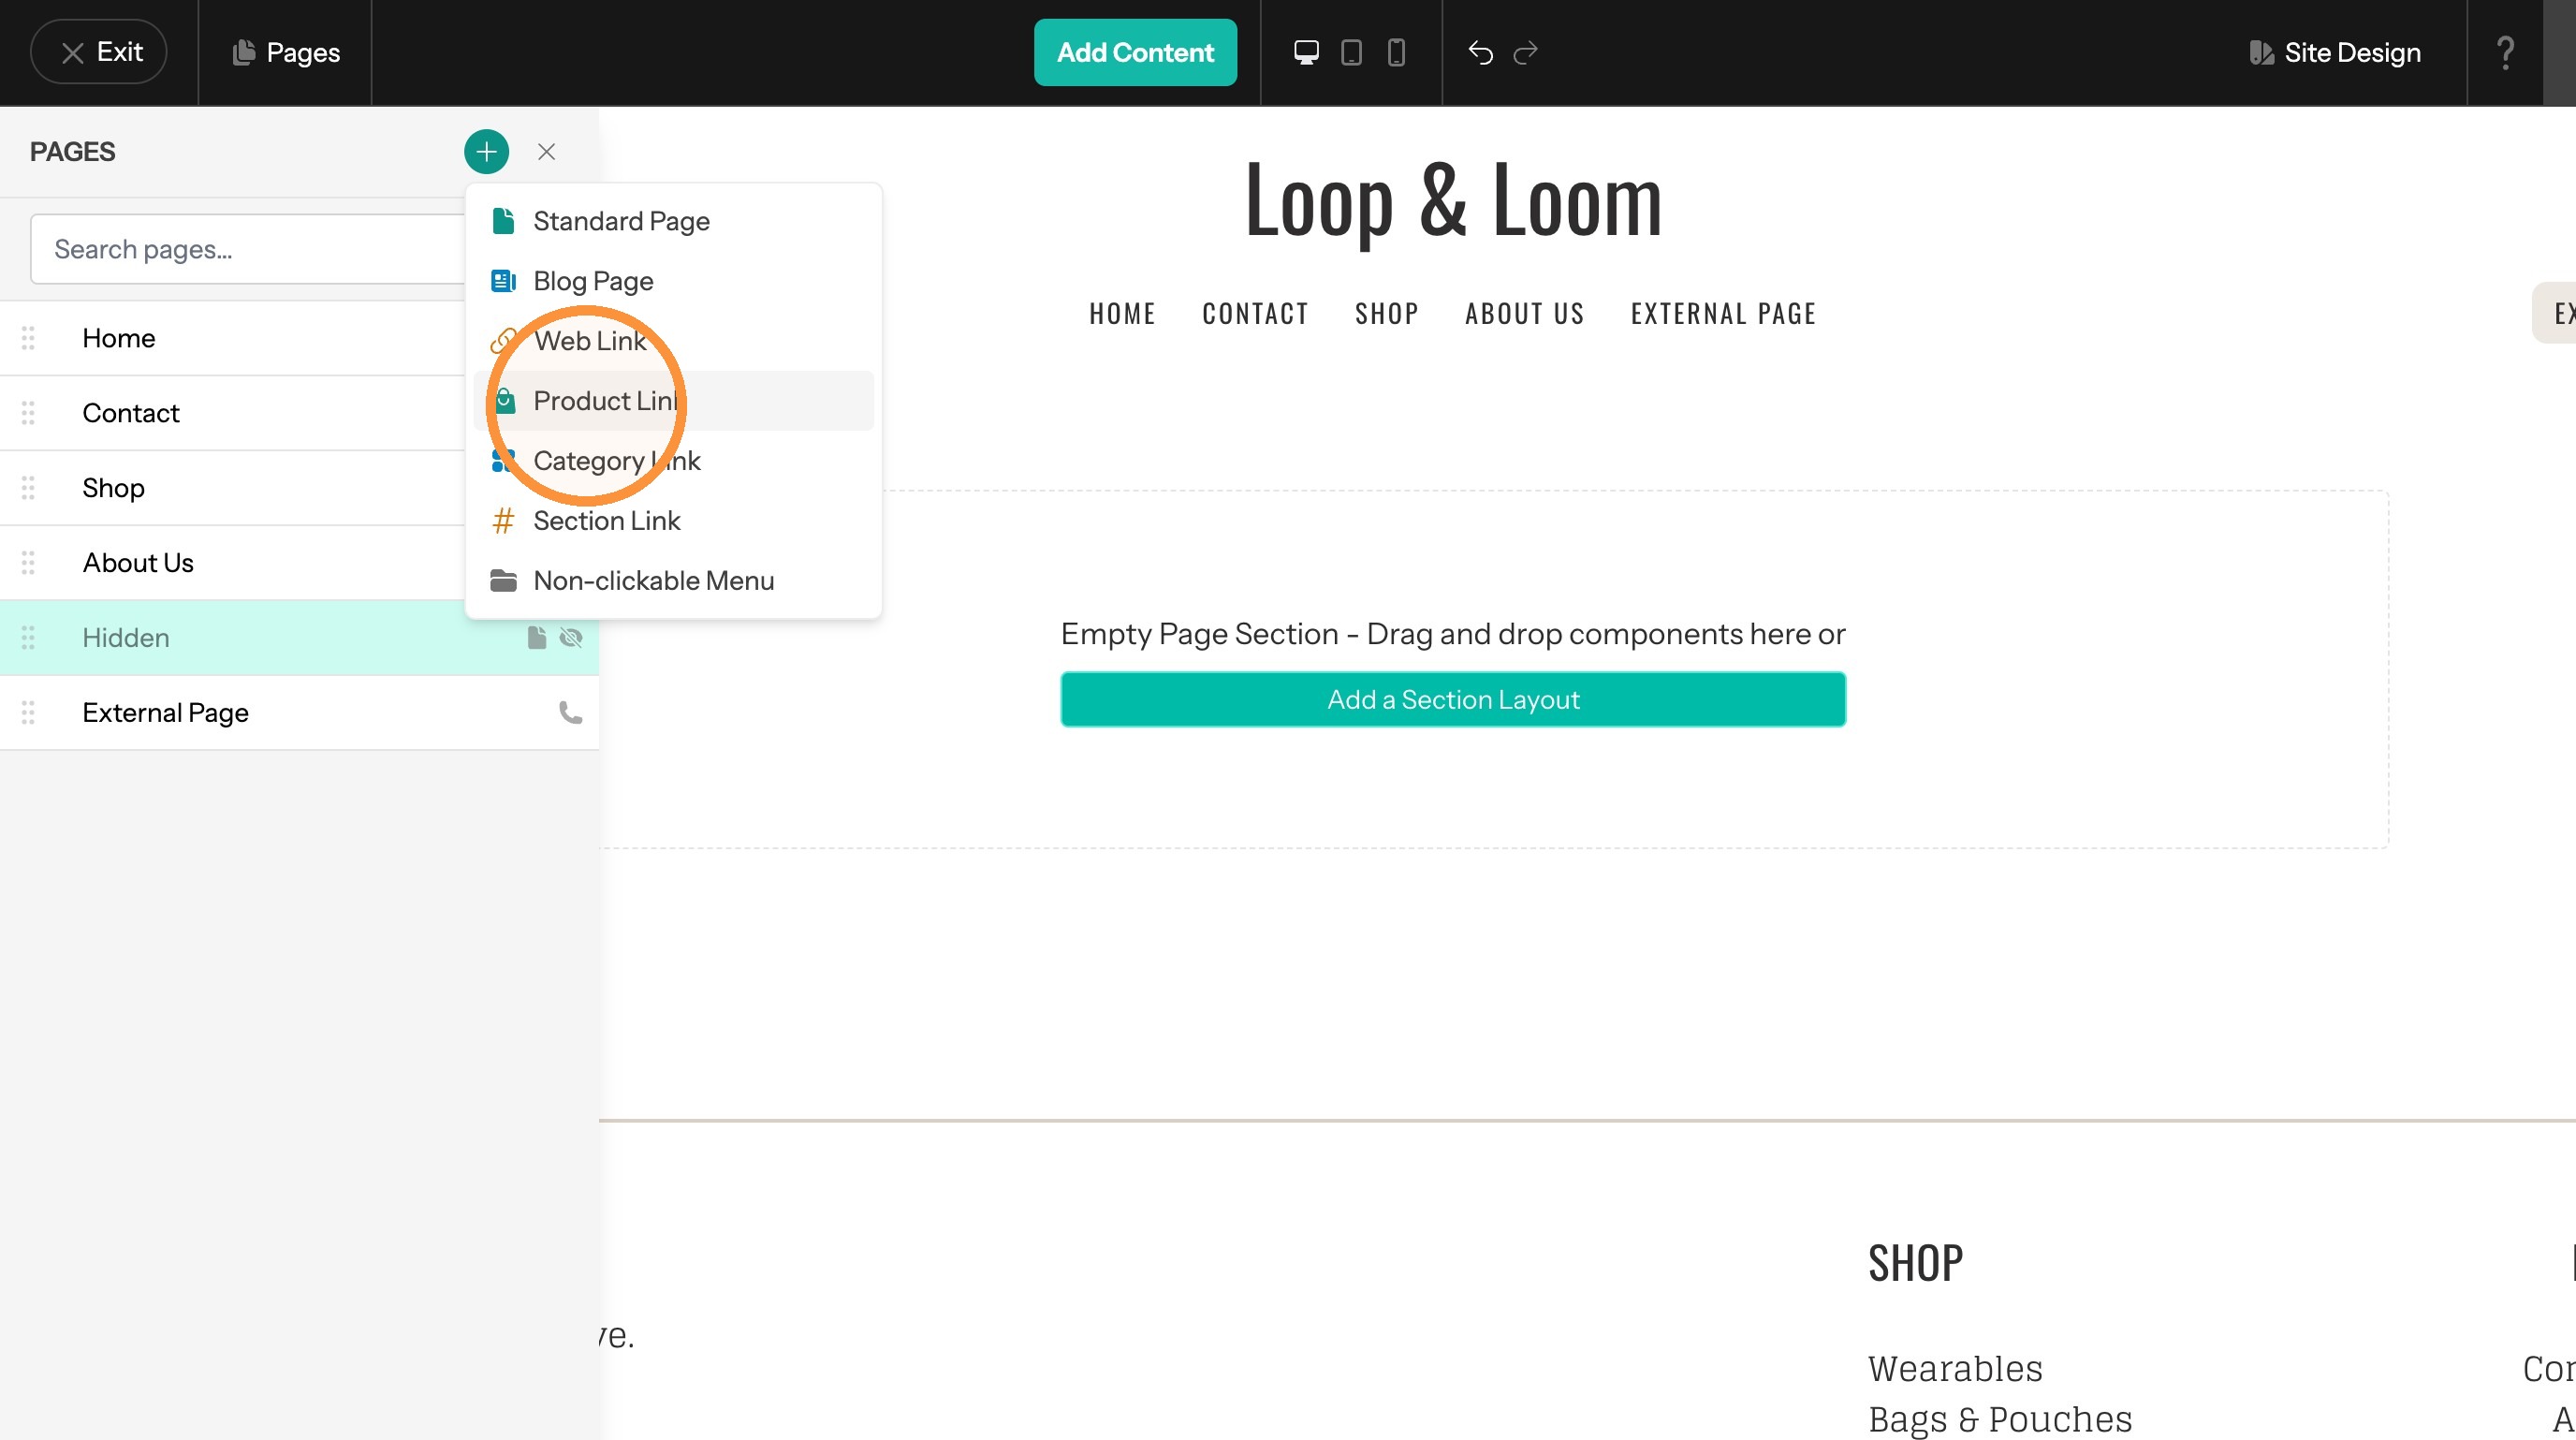
23. Select an existing product
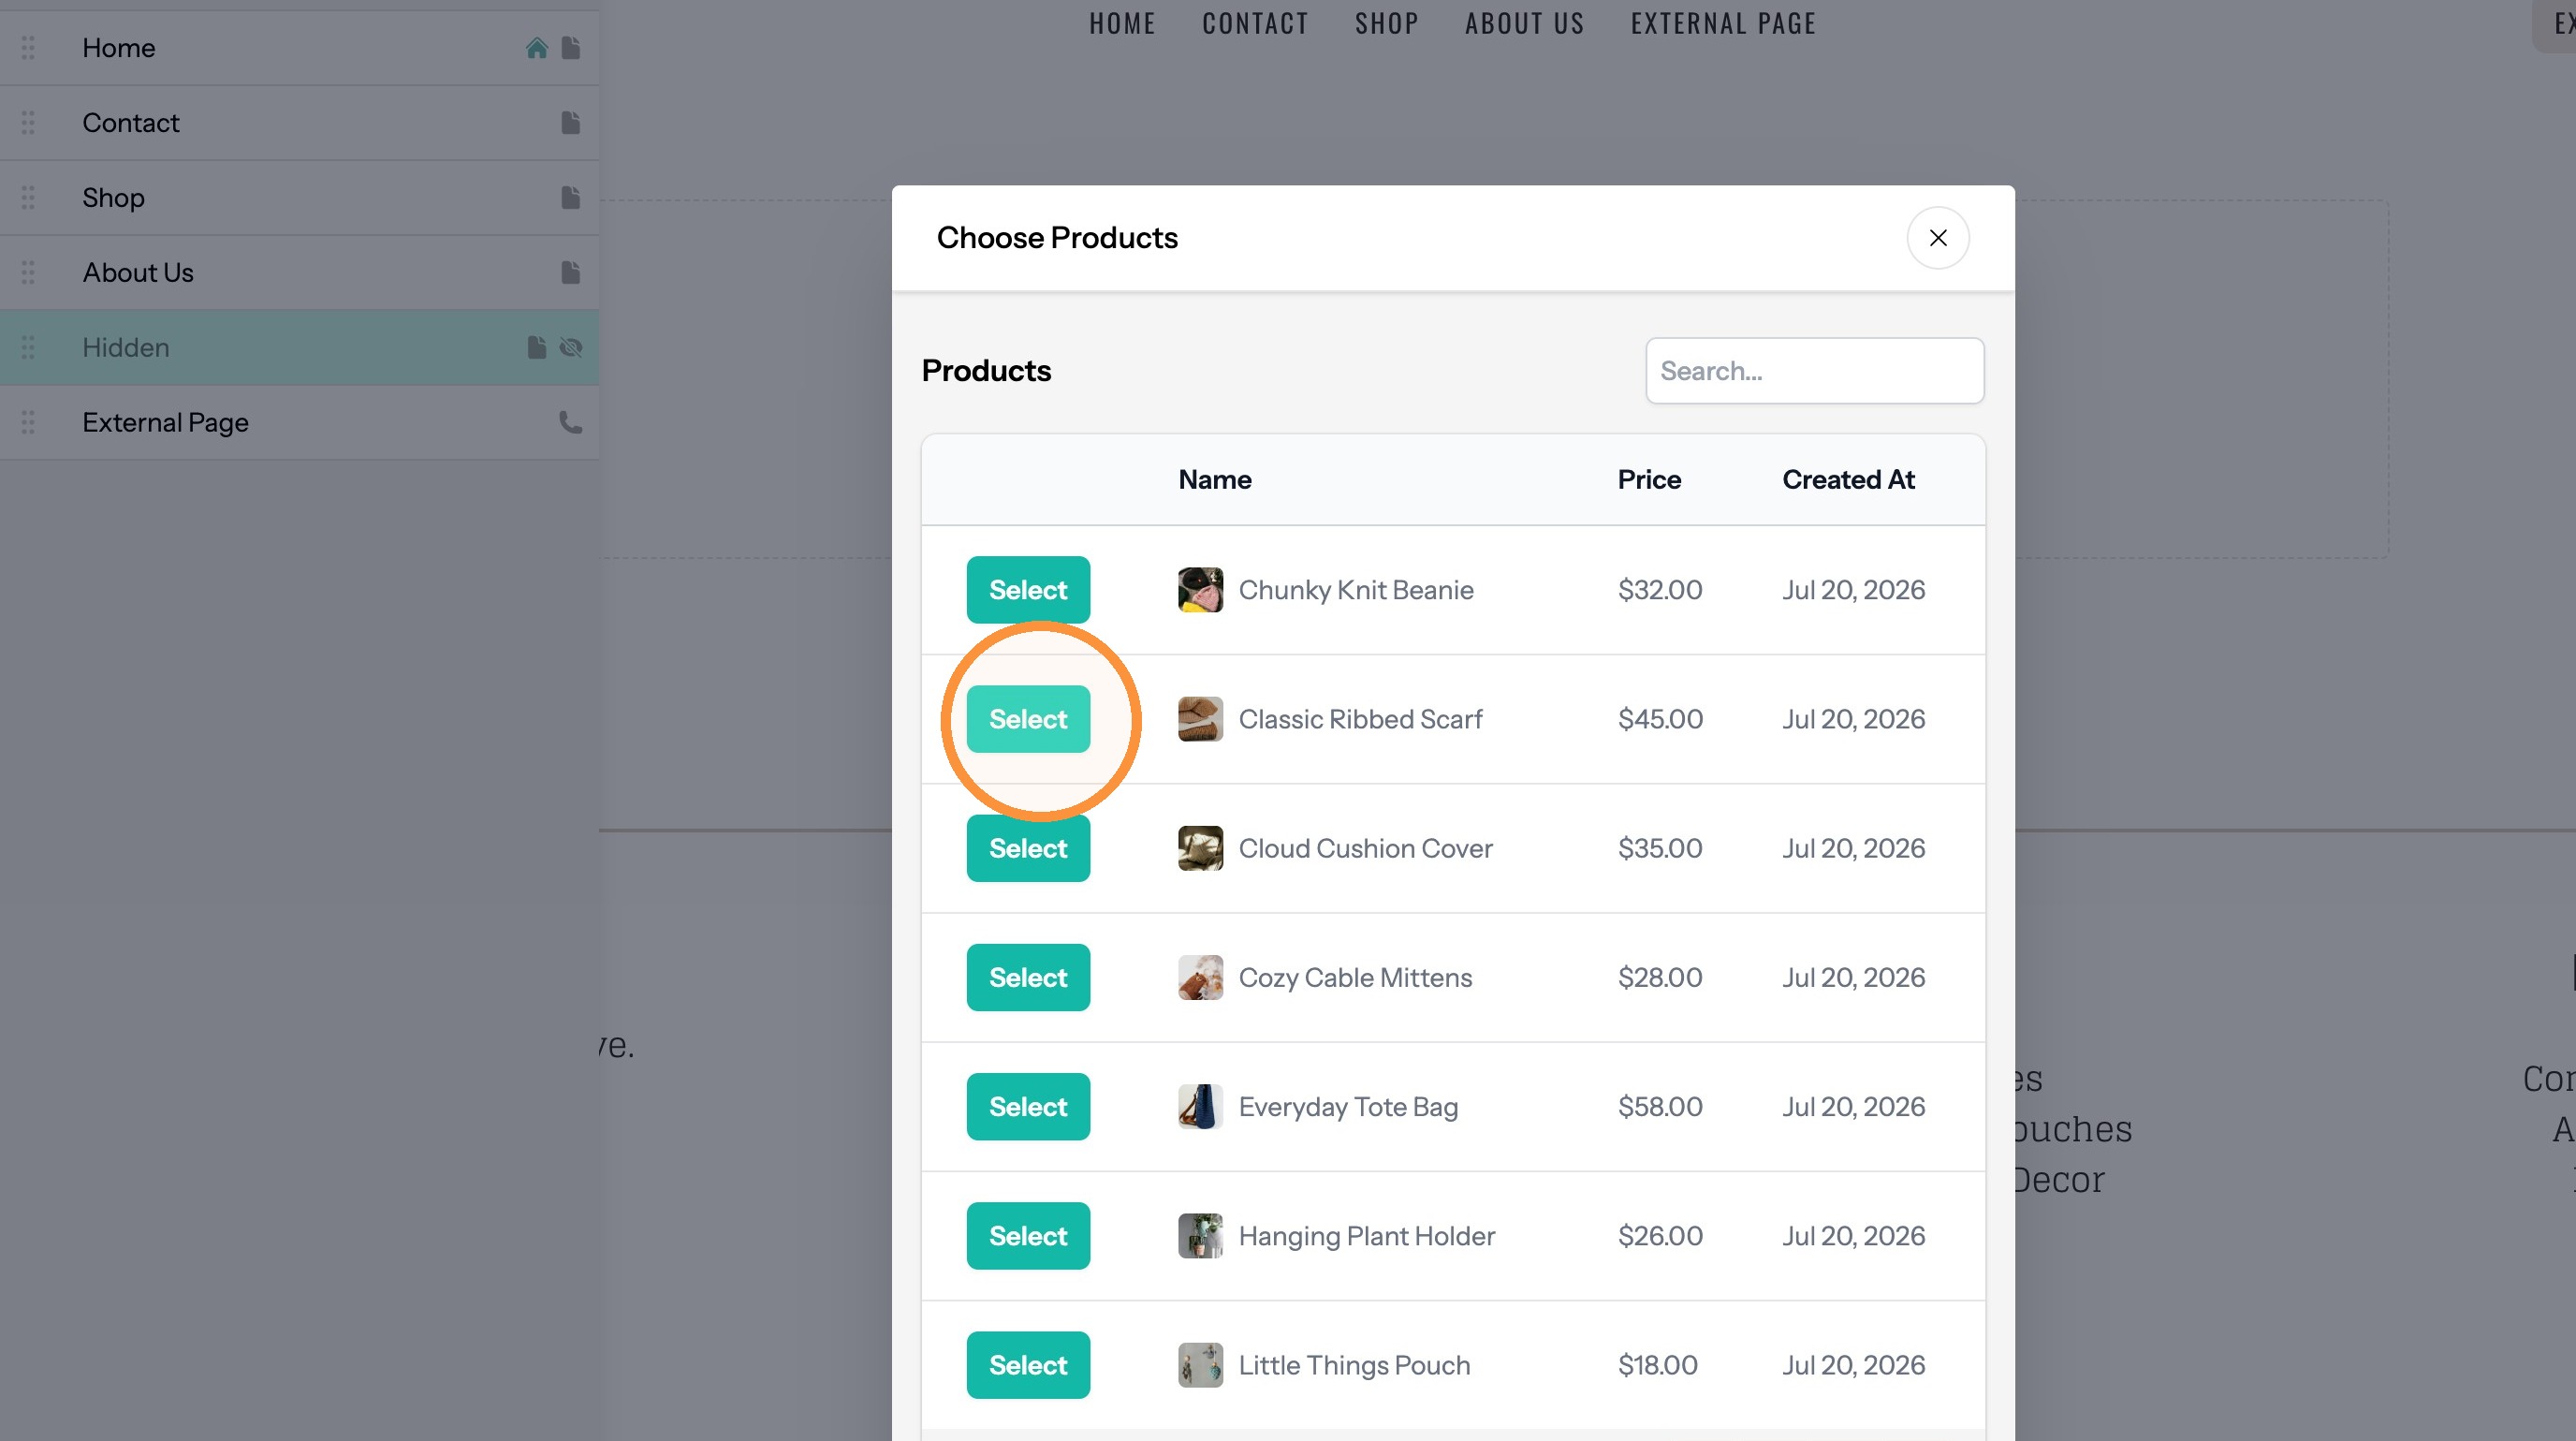
Reorder Items and Create a Hierarchy
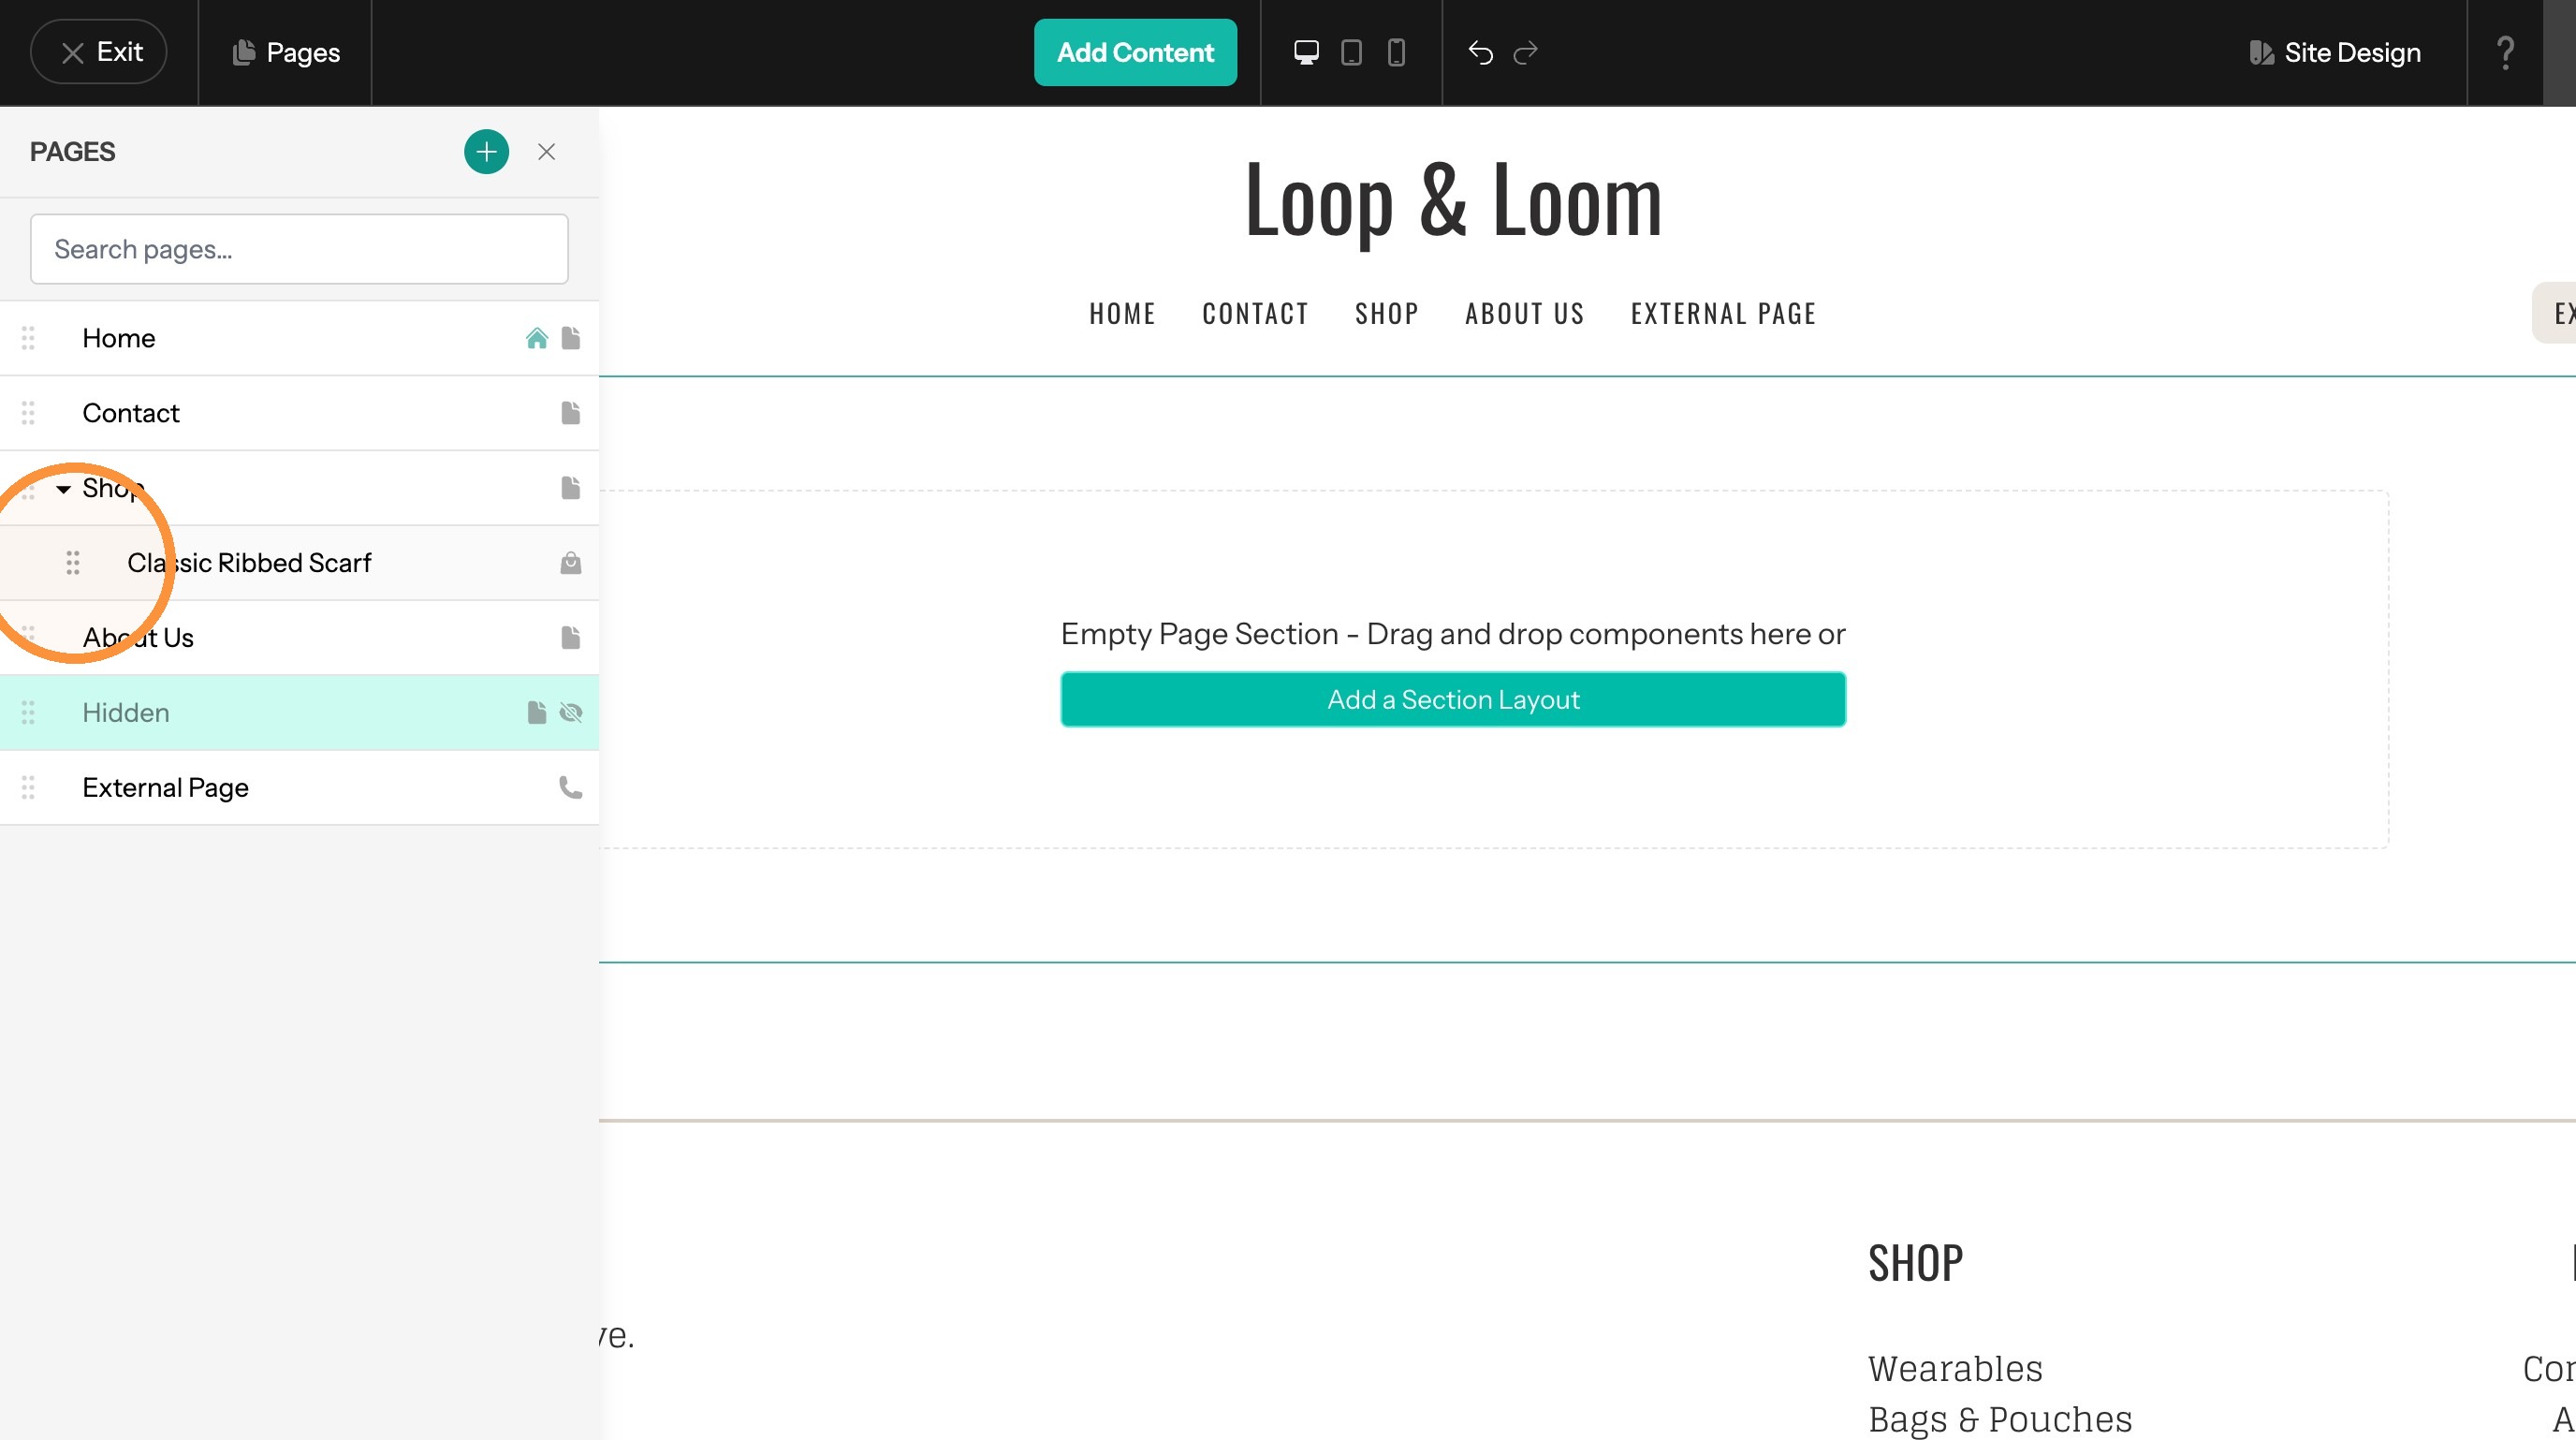
24. Drag using the drag handle to reorder items in the list
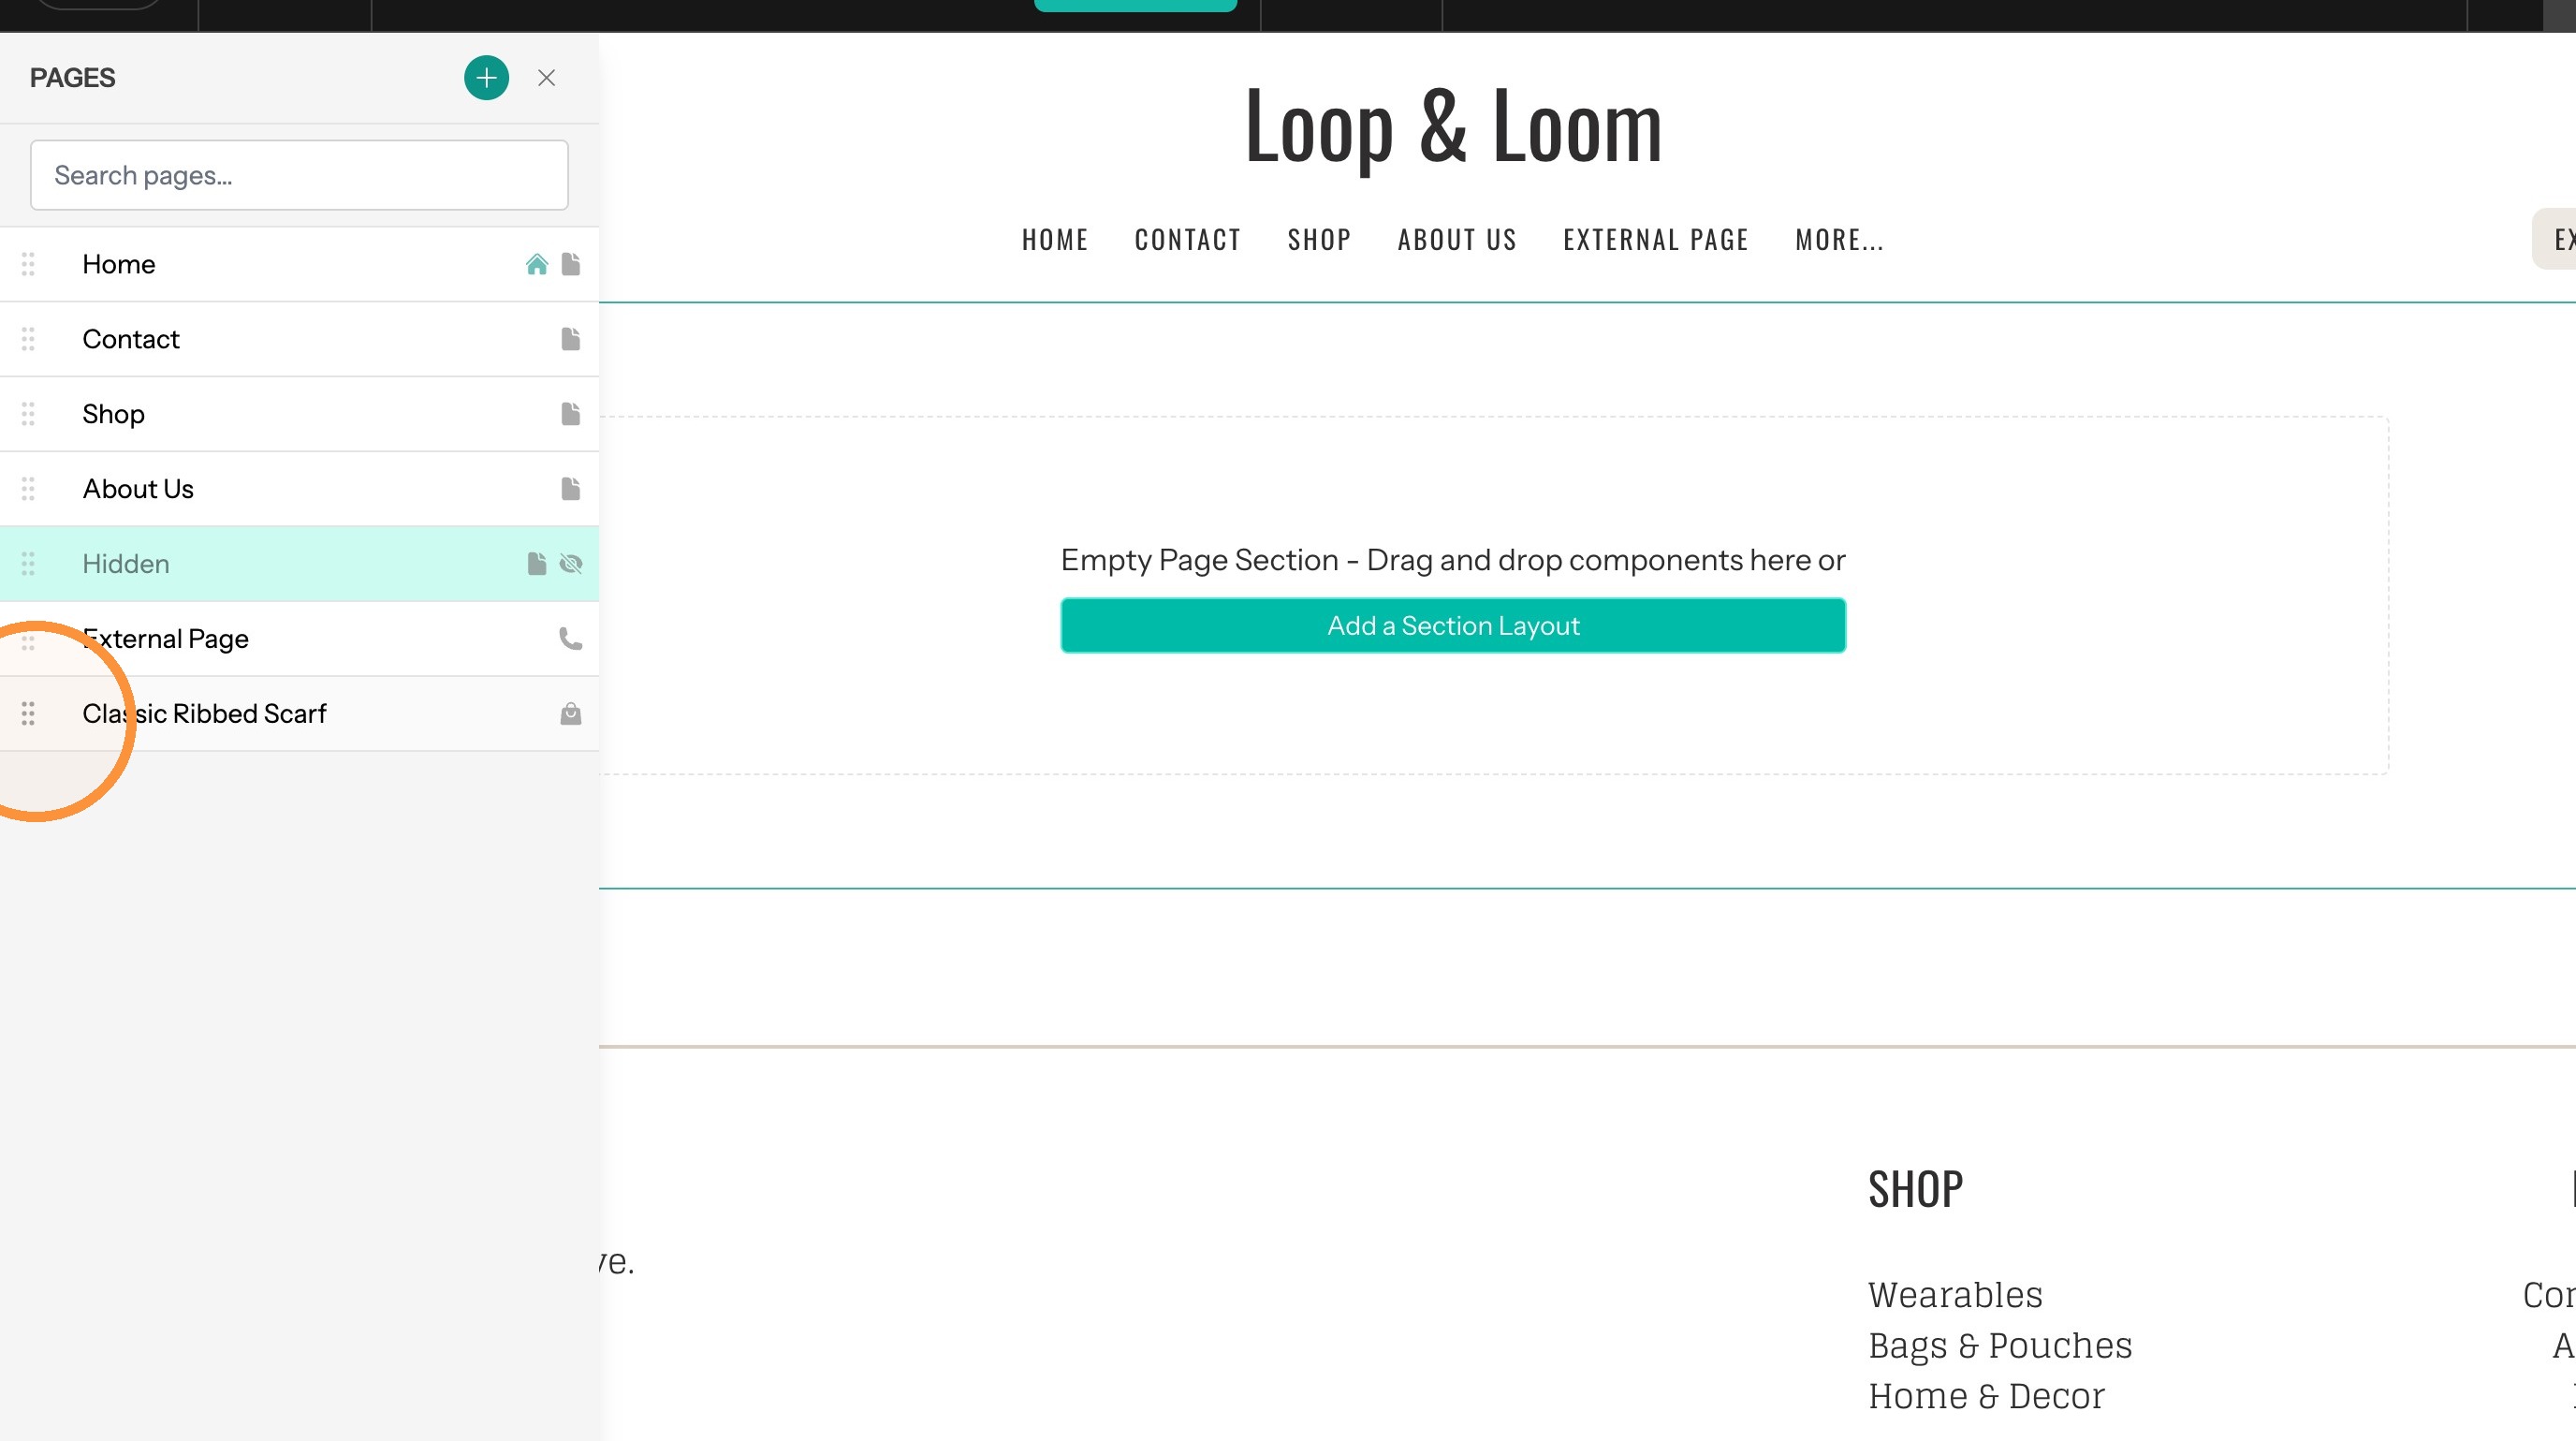
25. Drag to the right under an item to create a nesting relationship
Prevent Links Grouping Under "More..."
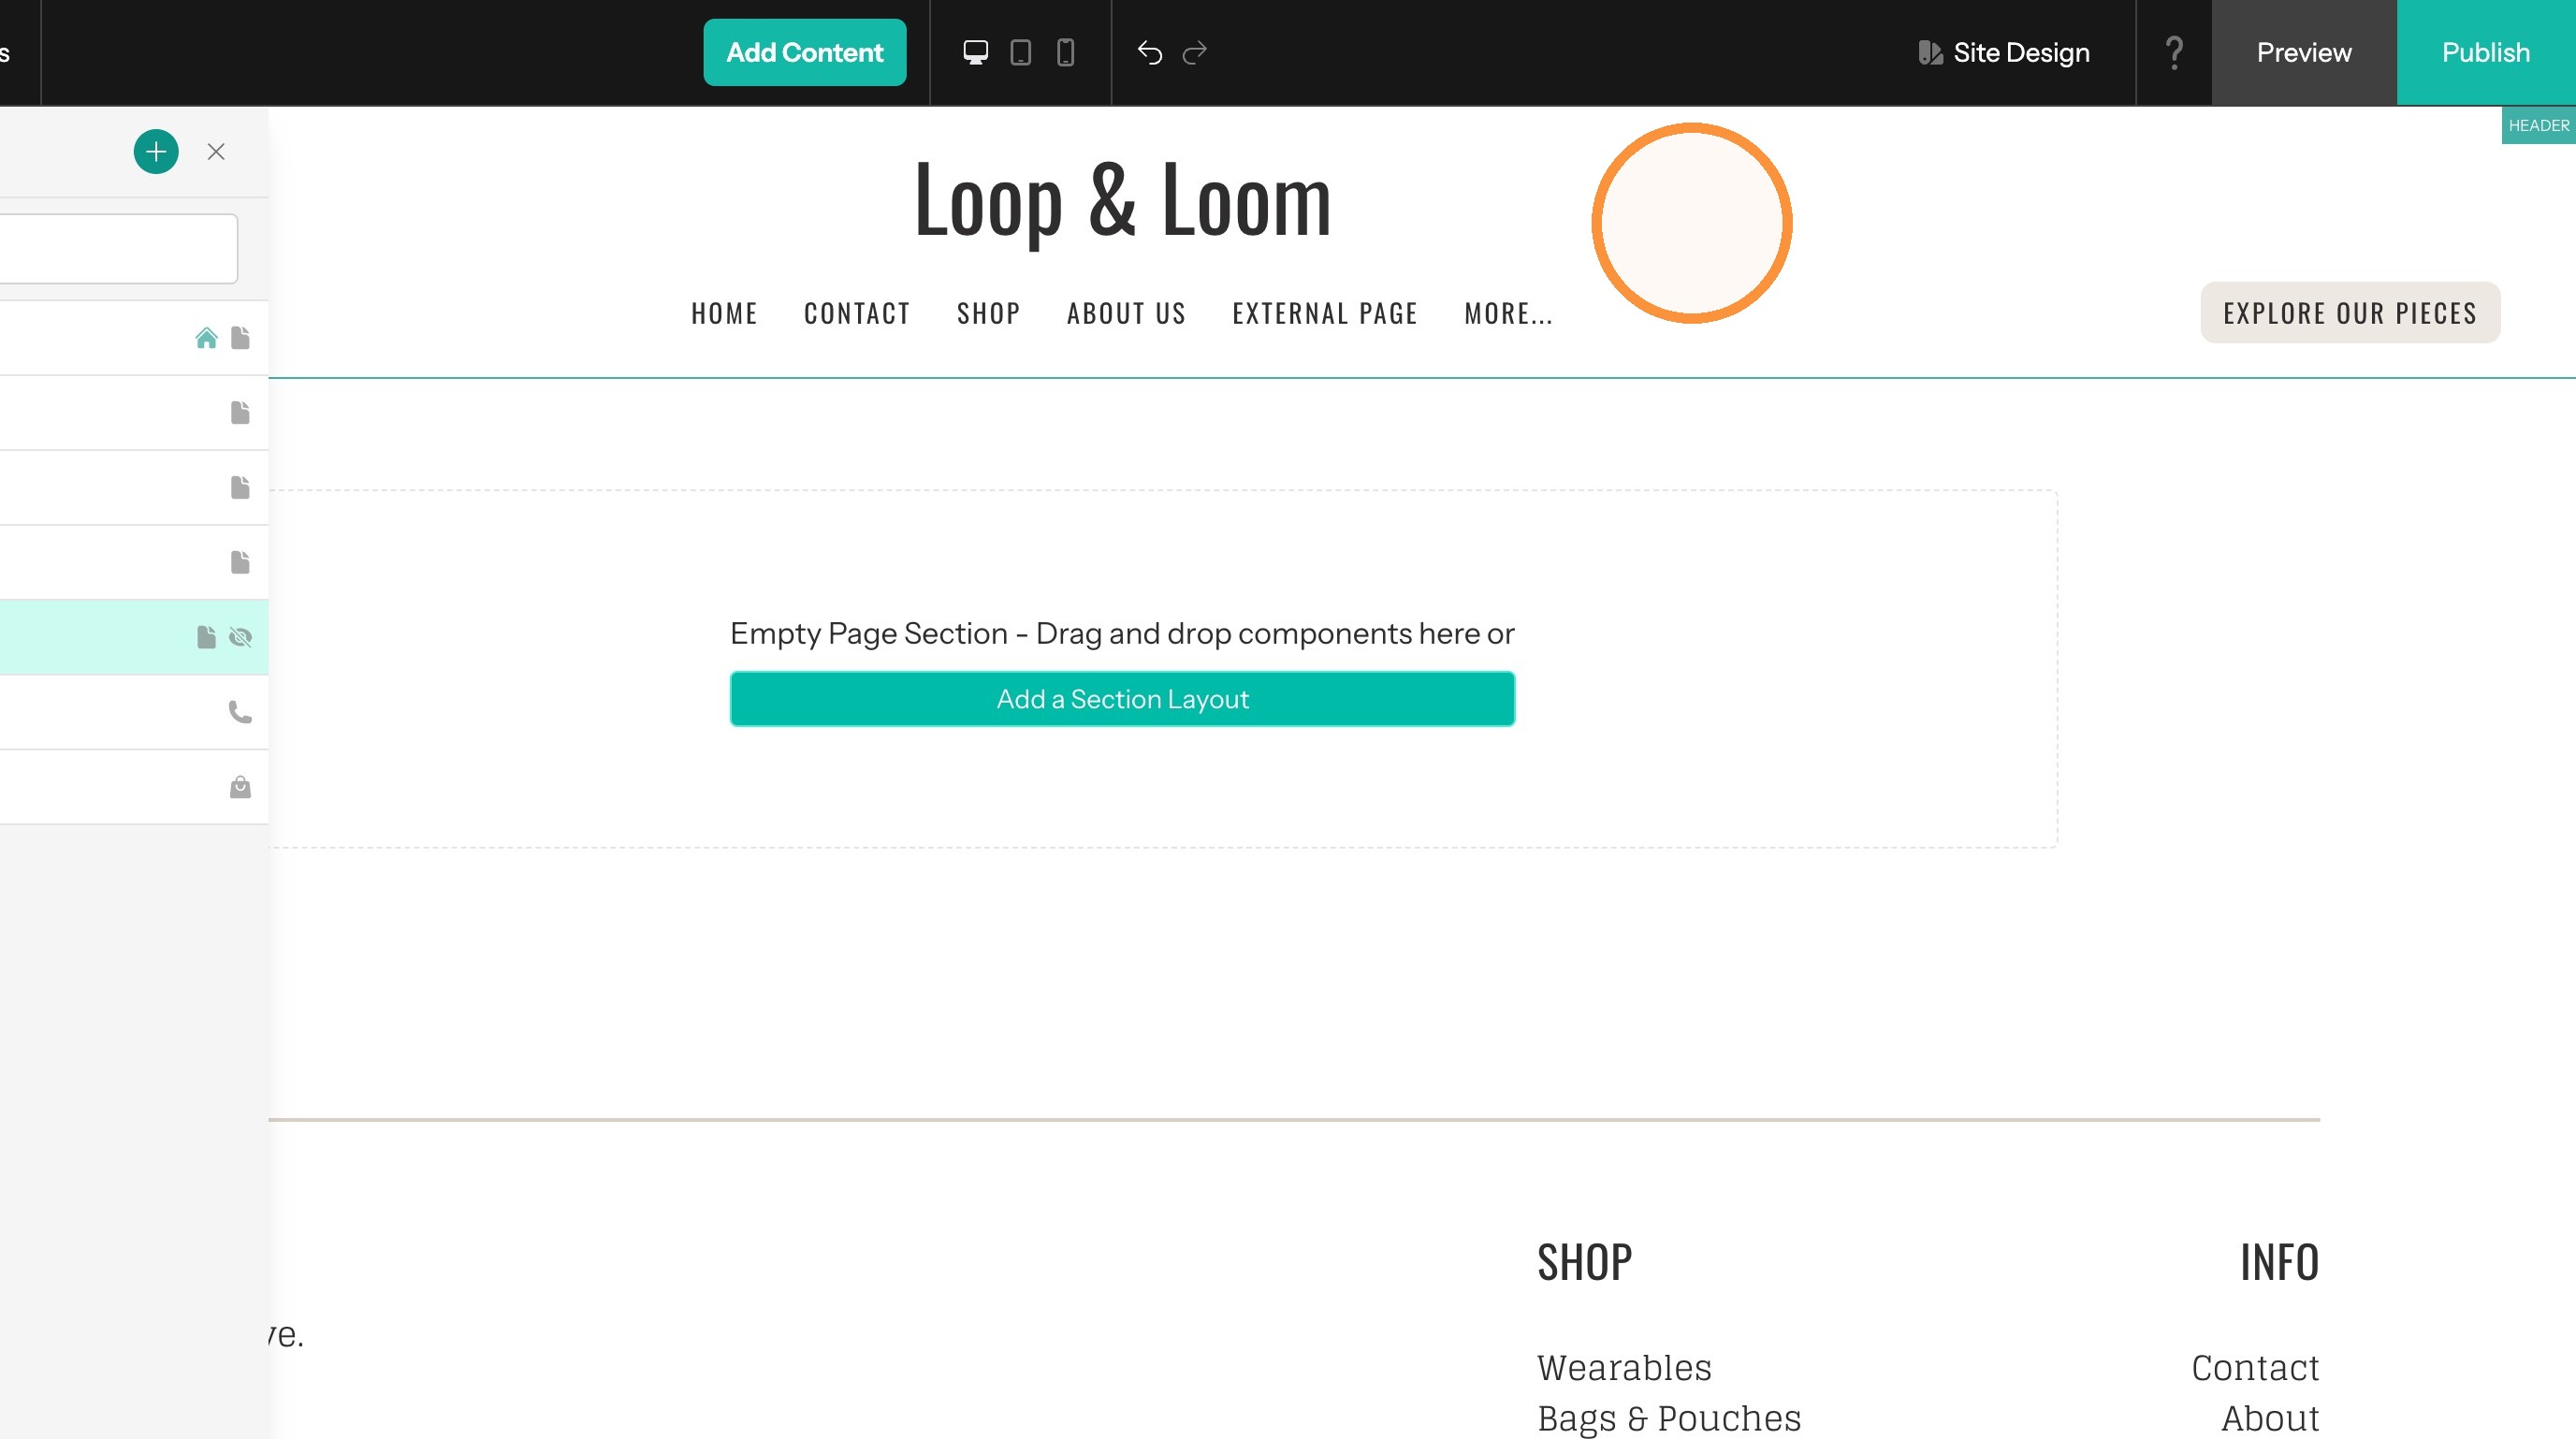
26. Click in the header but not directly on a navigation link. Clicking on a navigation link you switch the editor to that page.
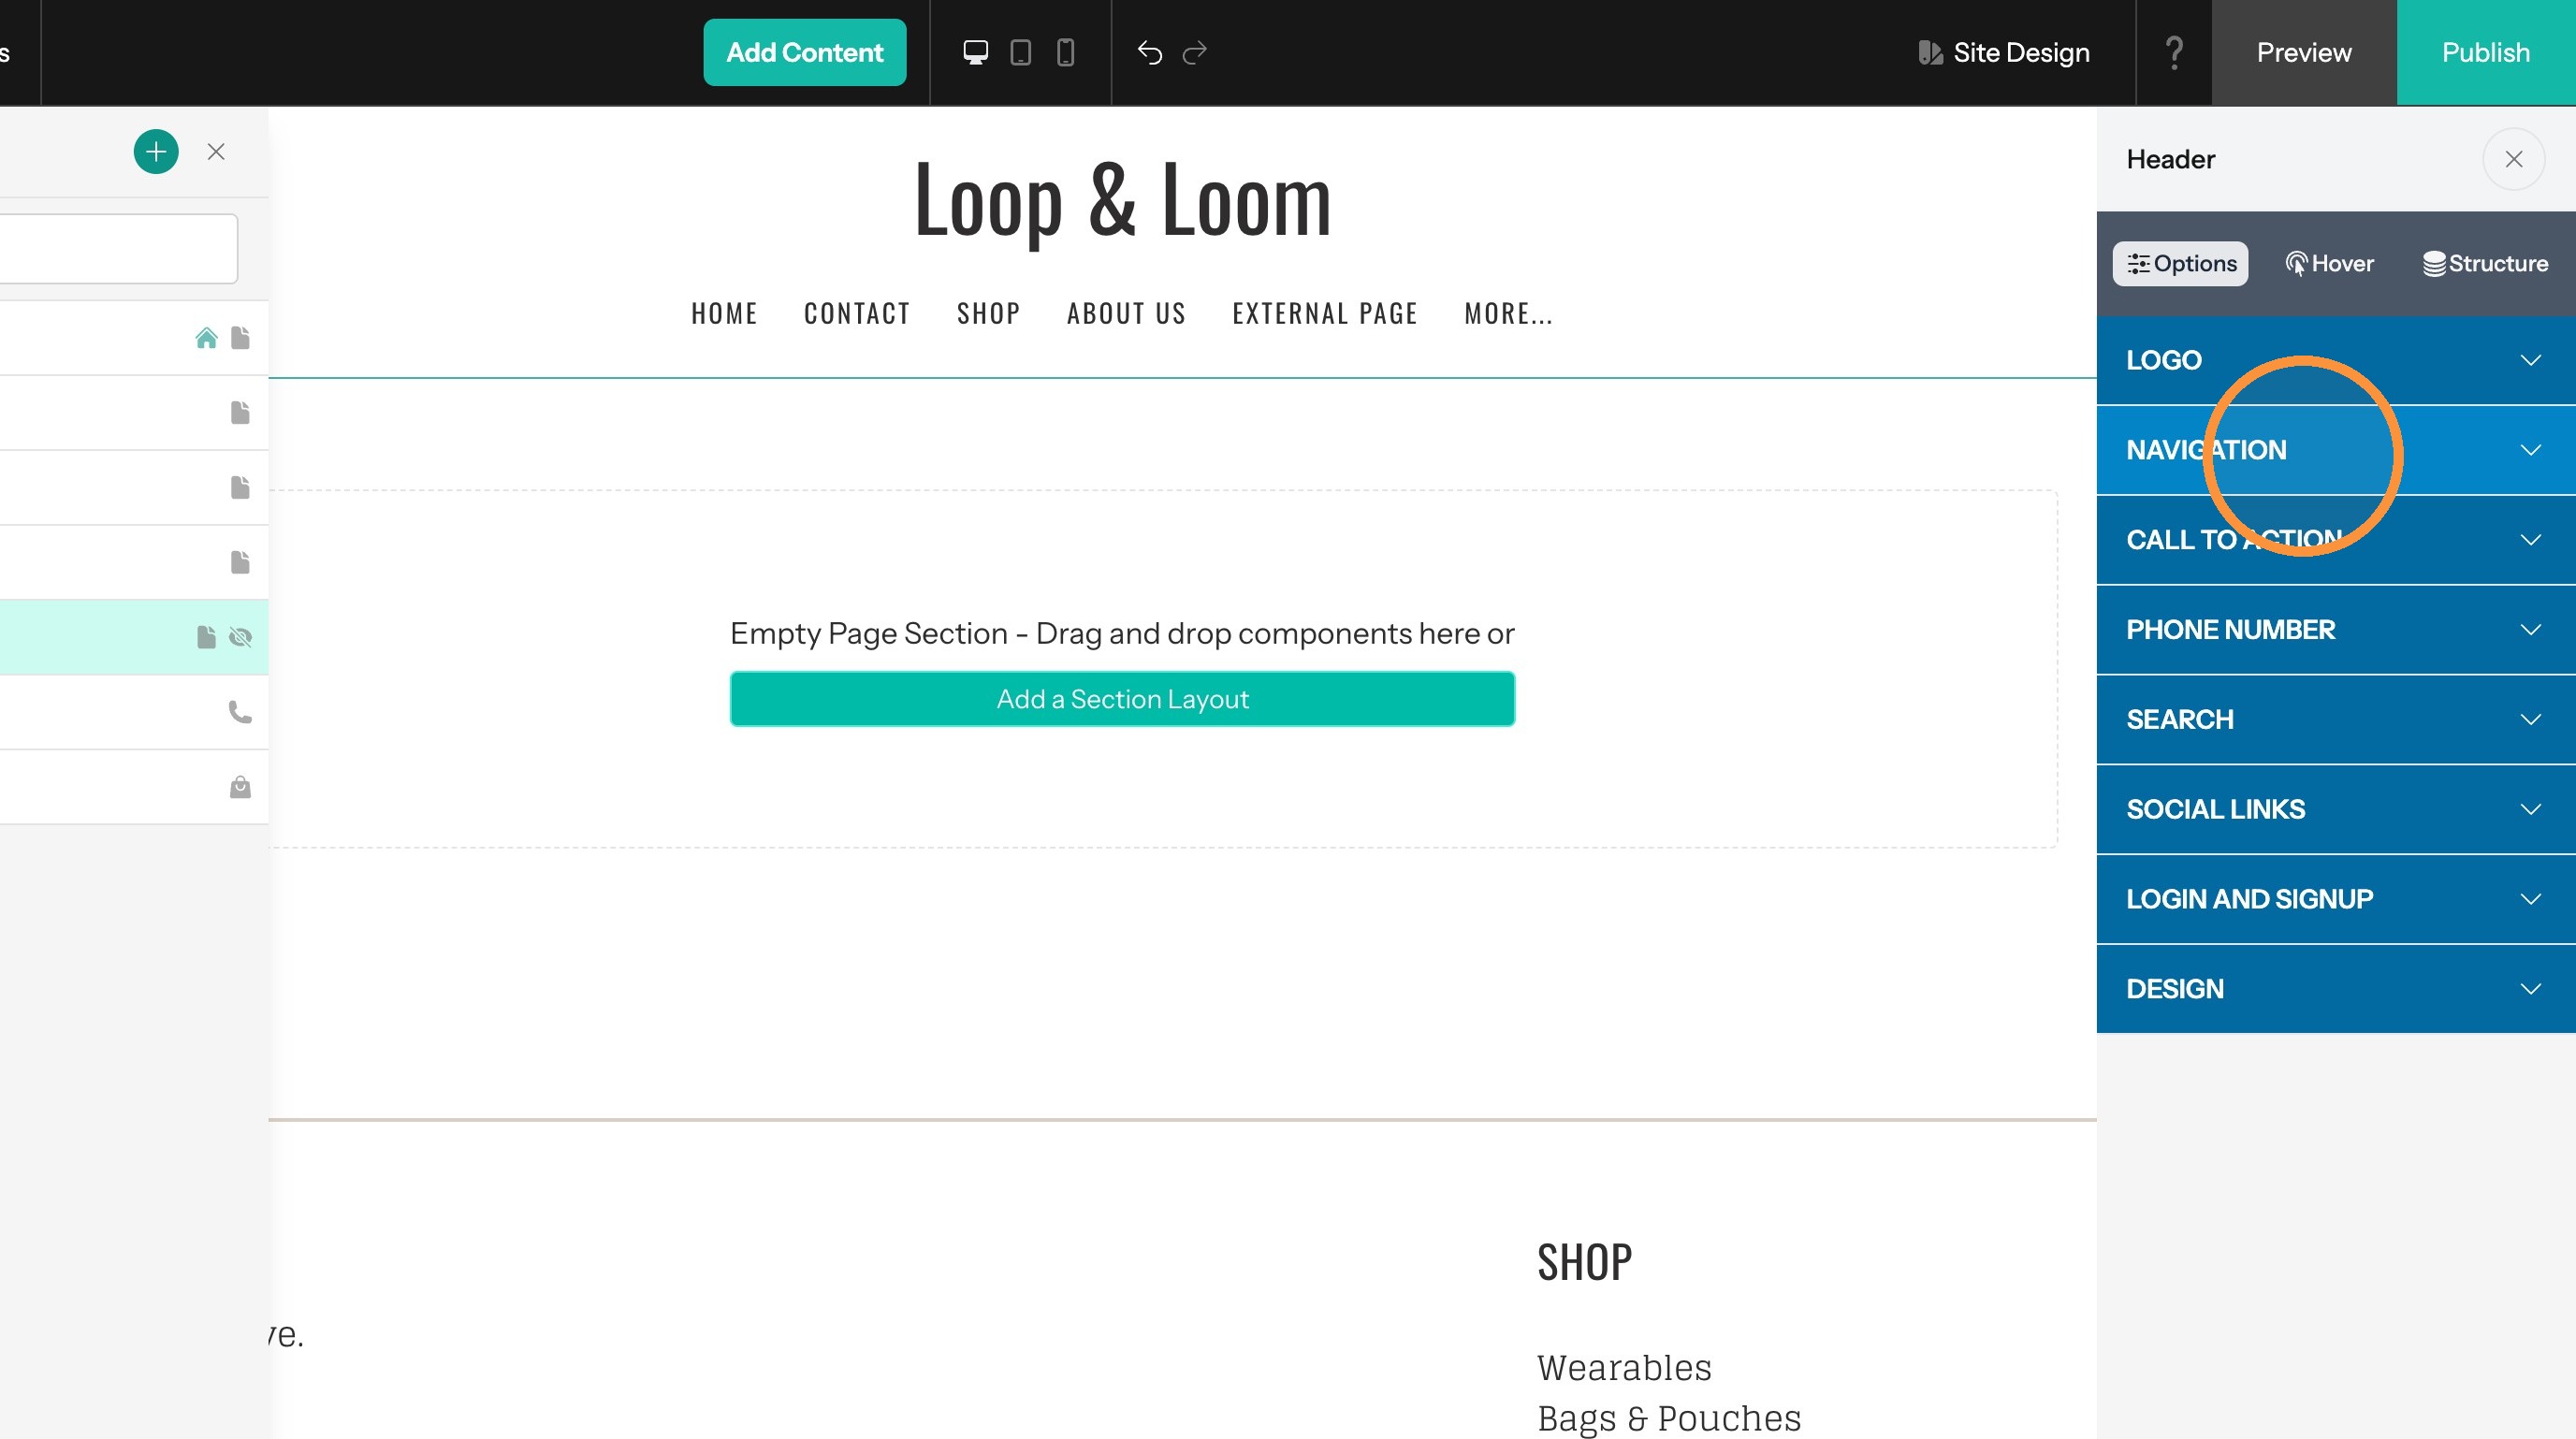
27. Expand the "Navigation" tab
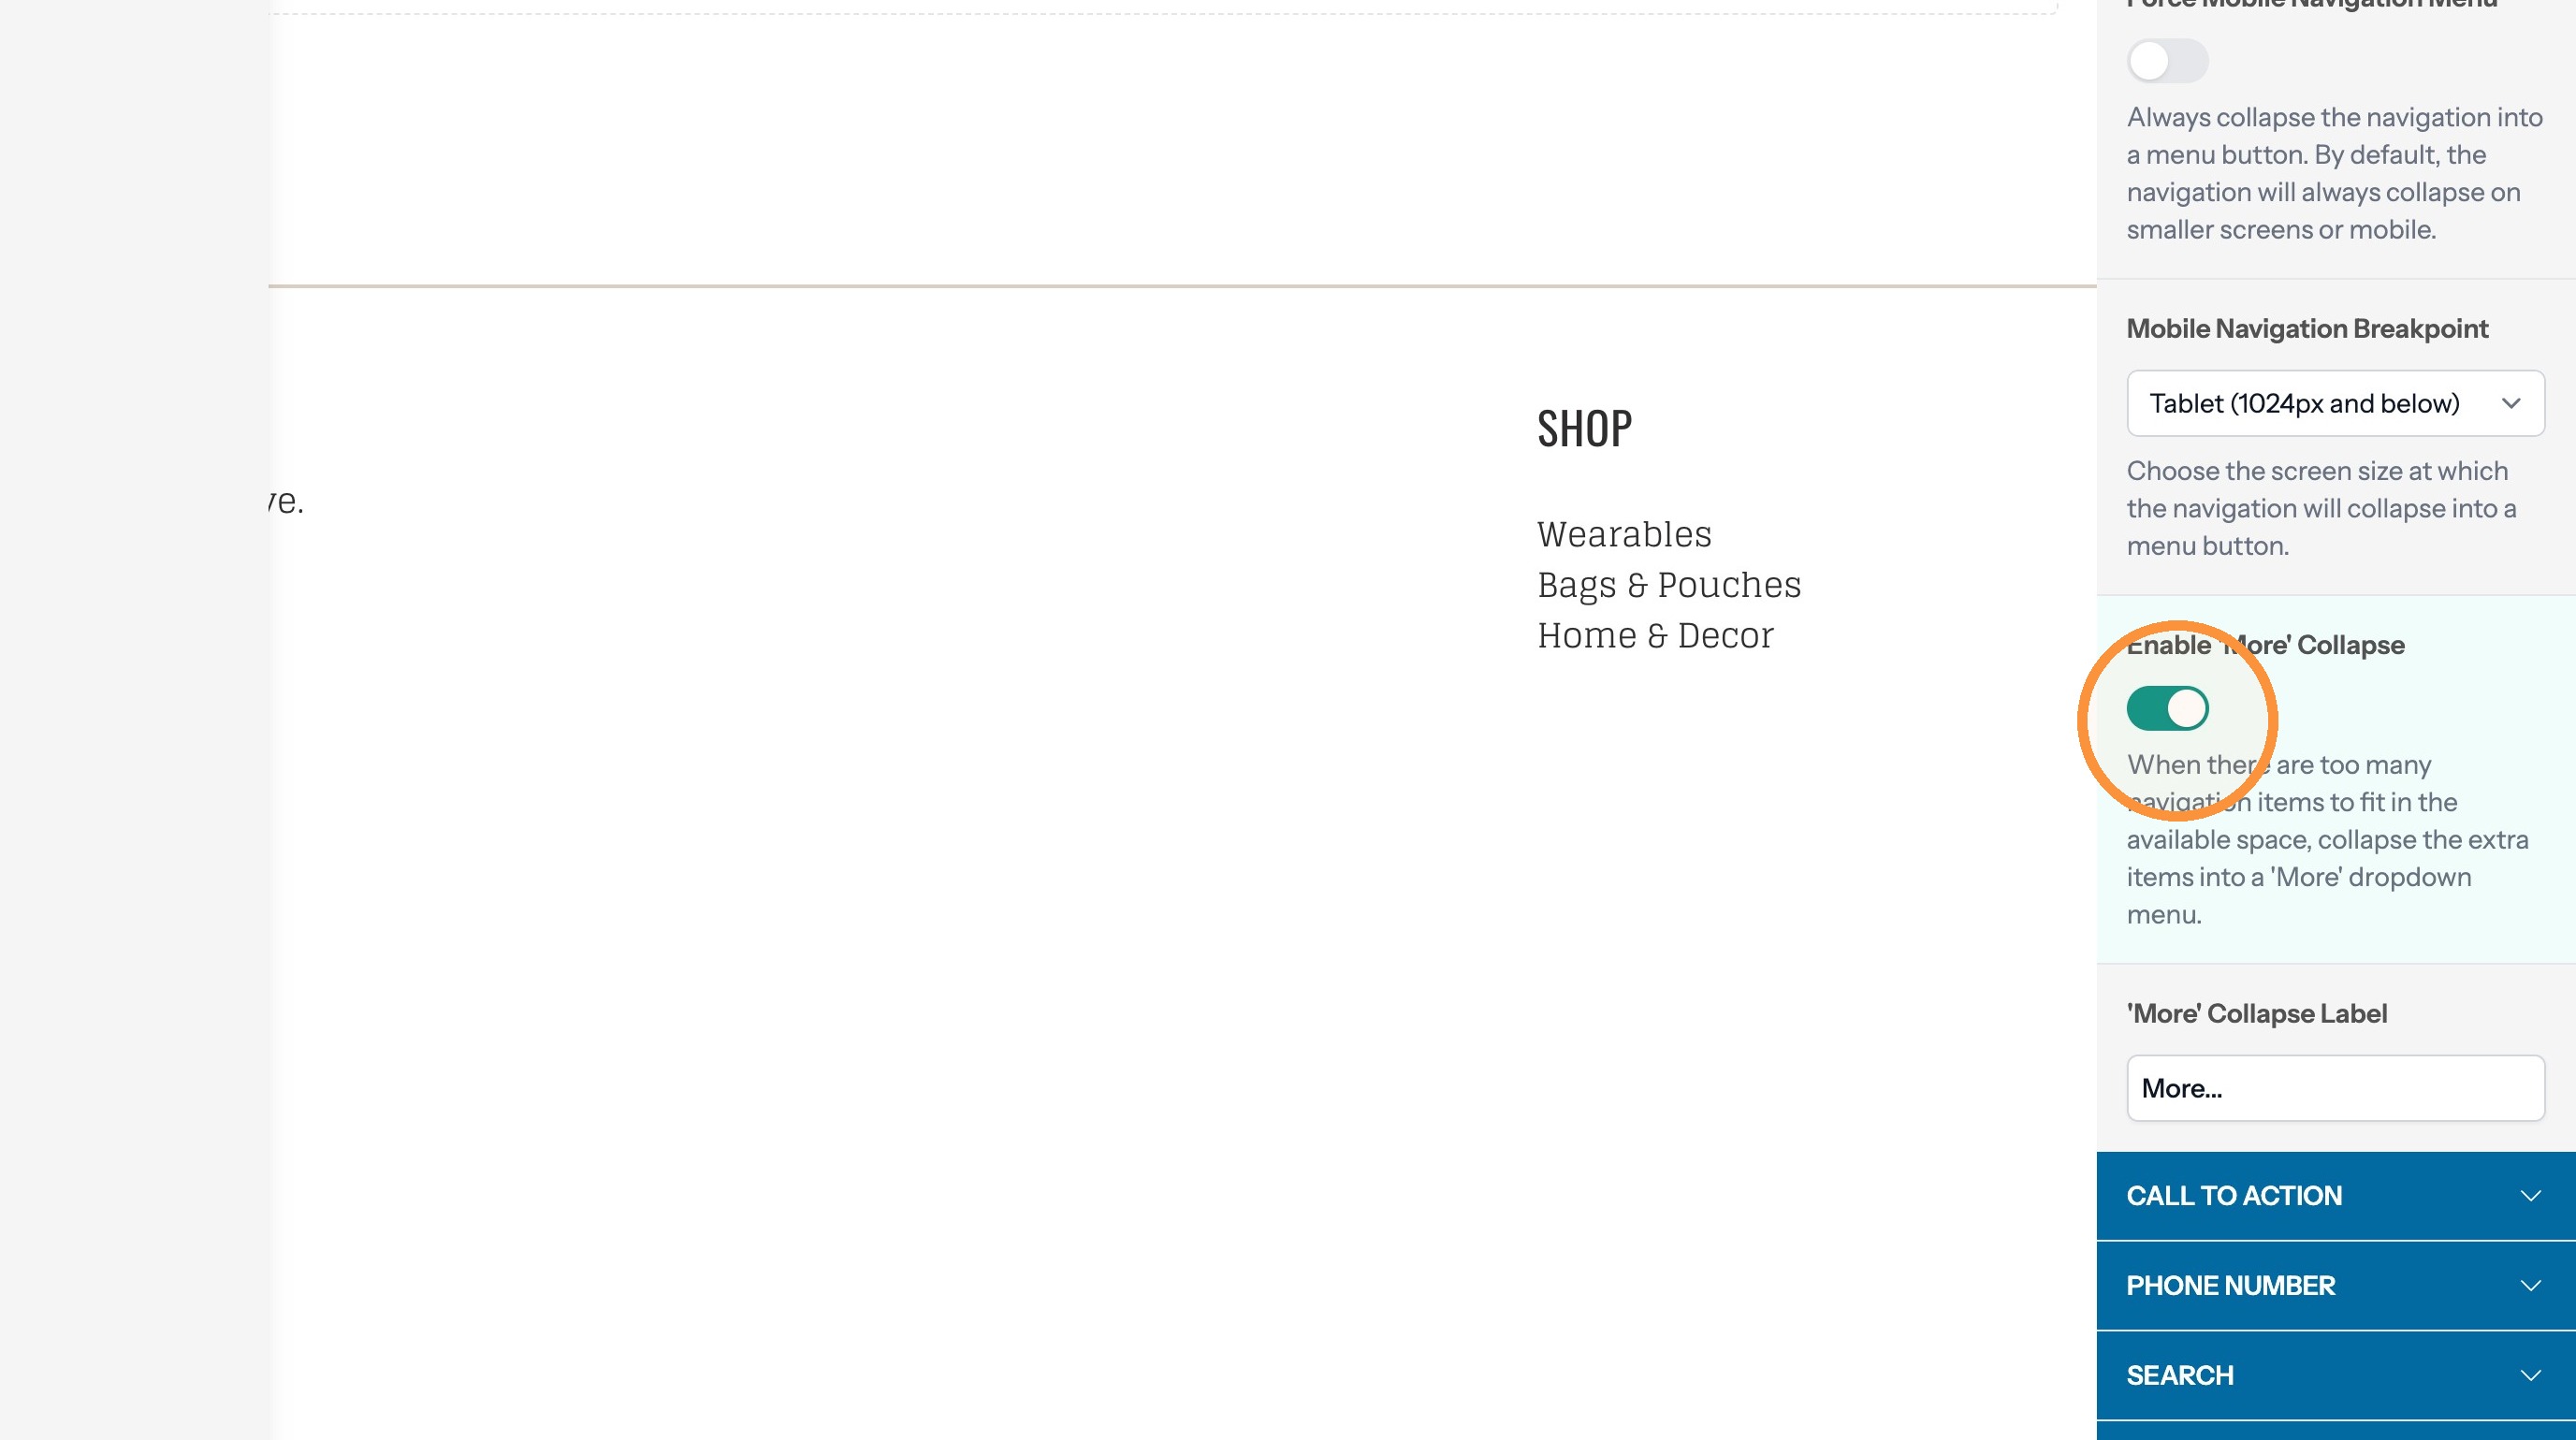
28. Disable the "Enable More Collapse" toggle to force all links to be shown
Styling Navigation Links
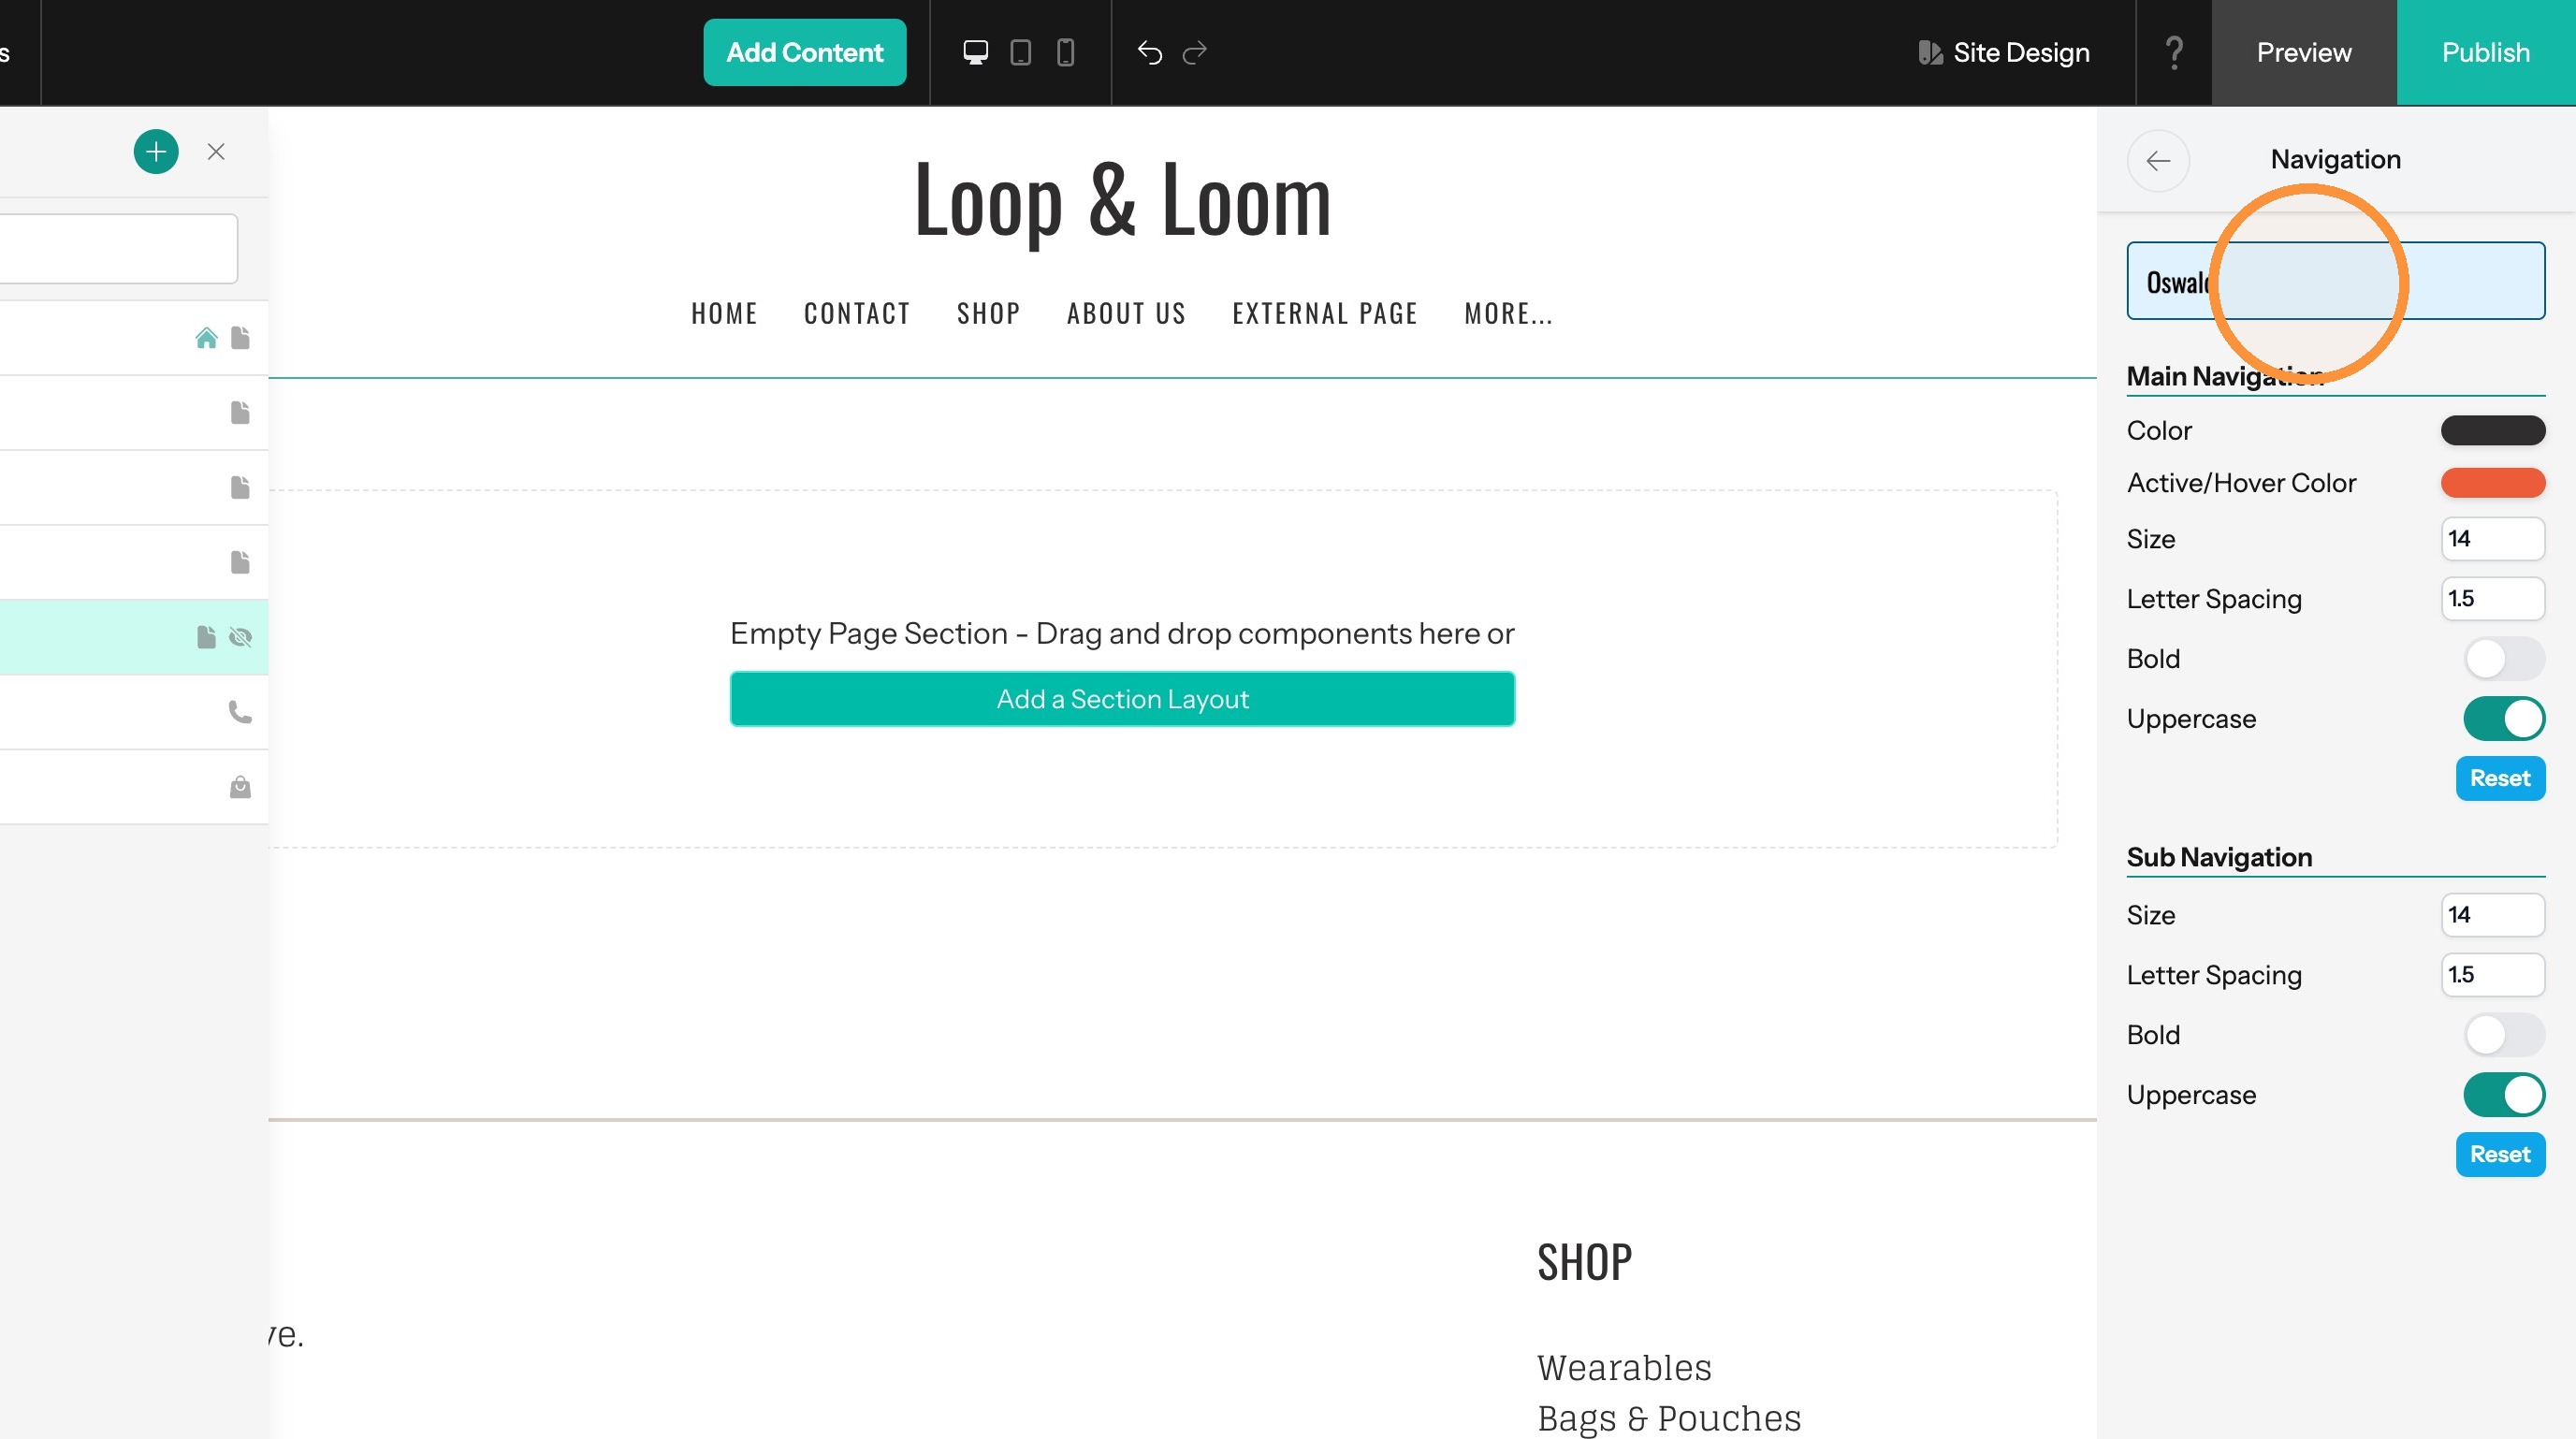
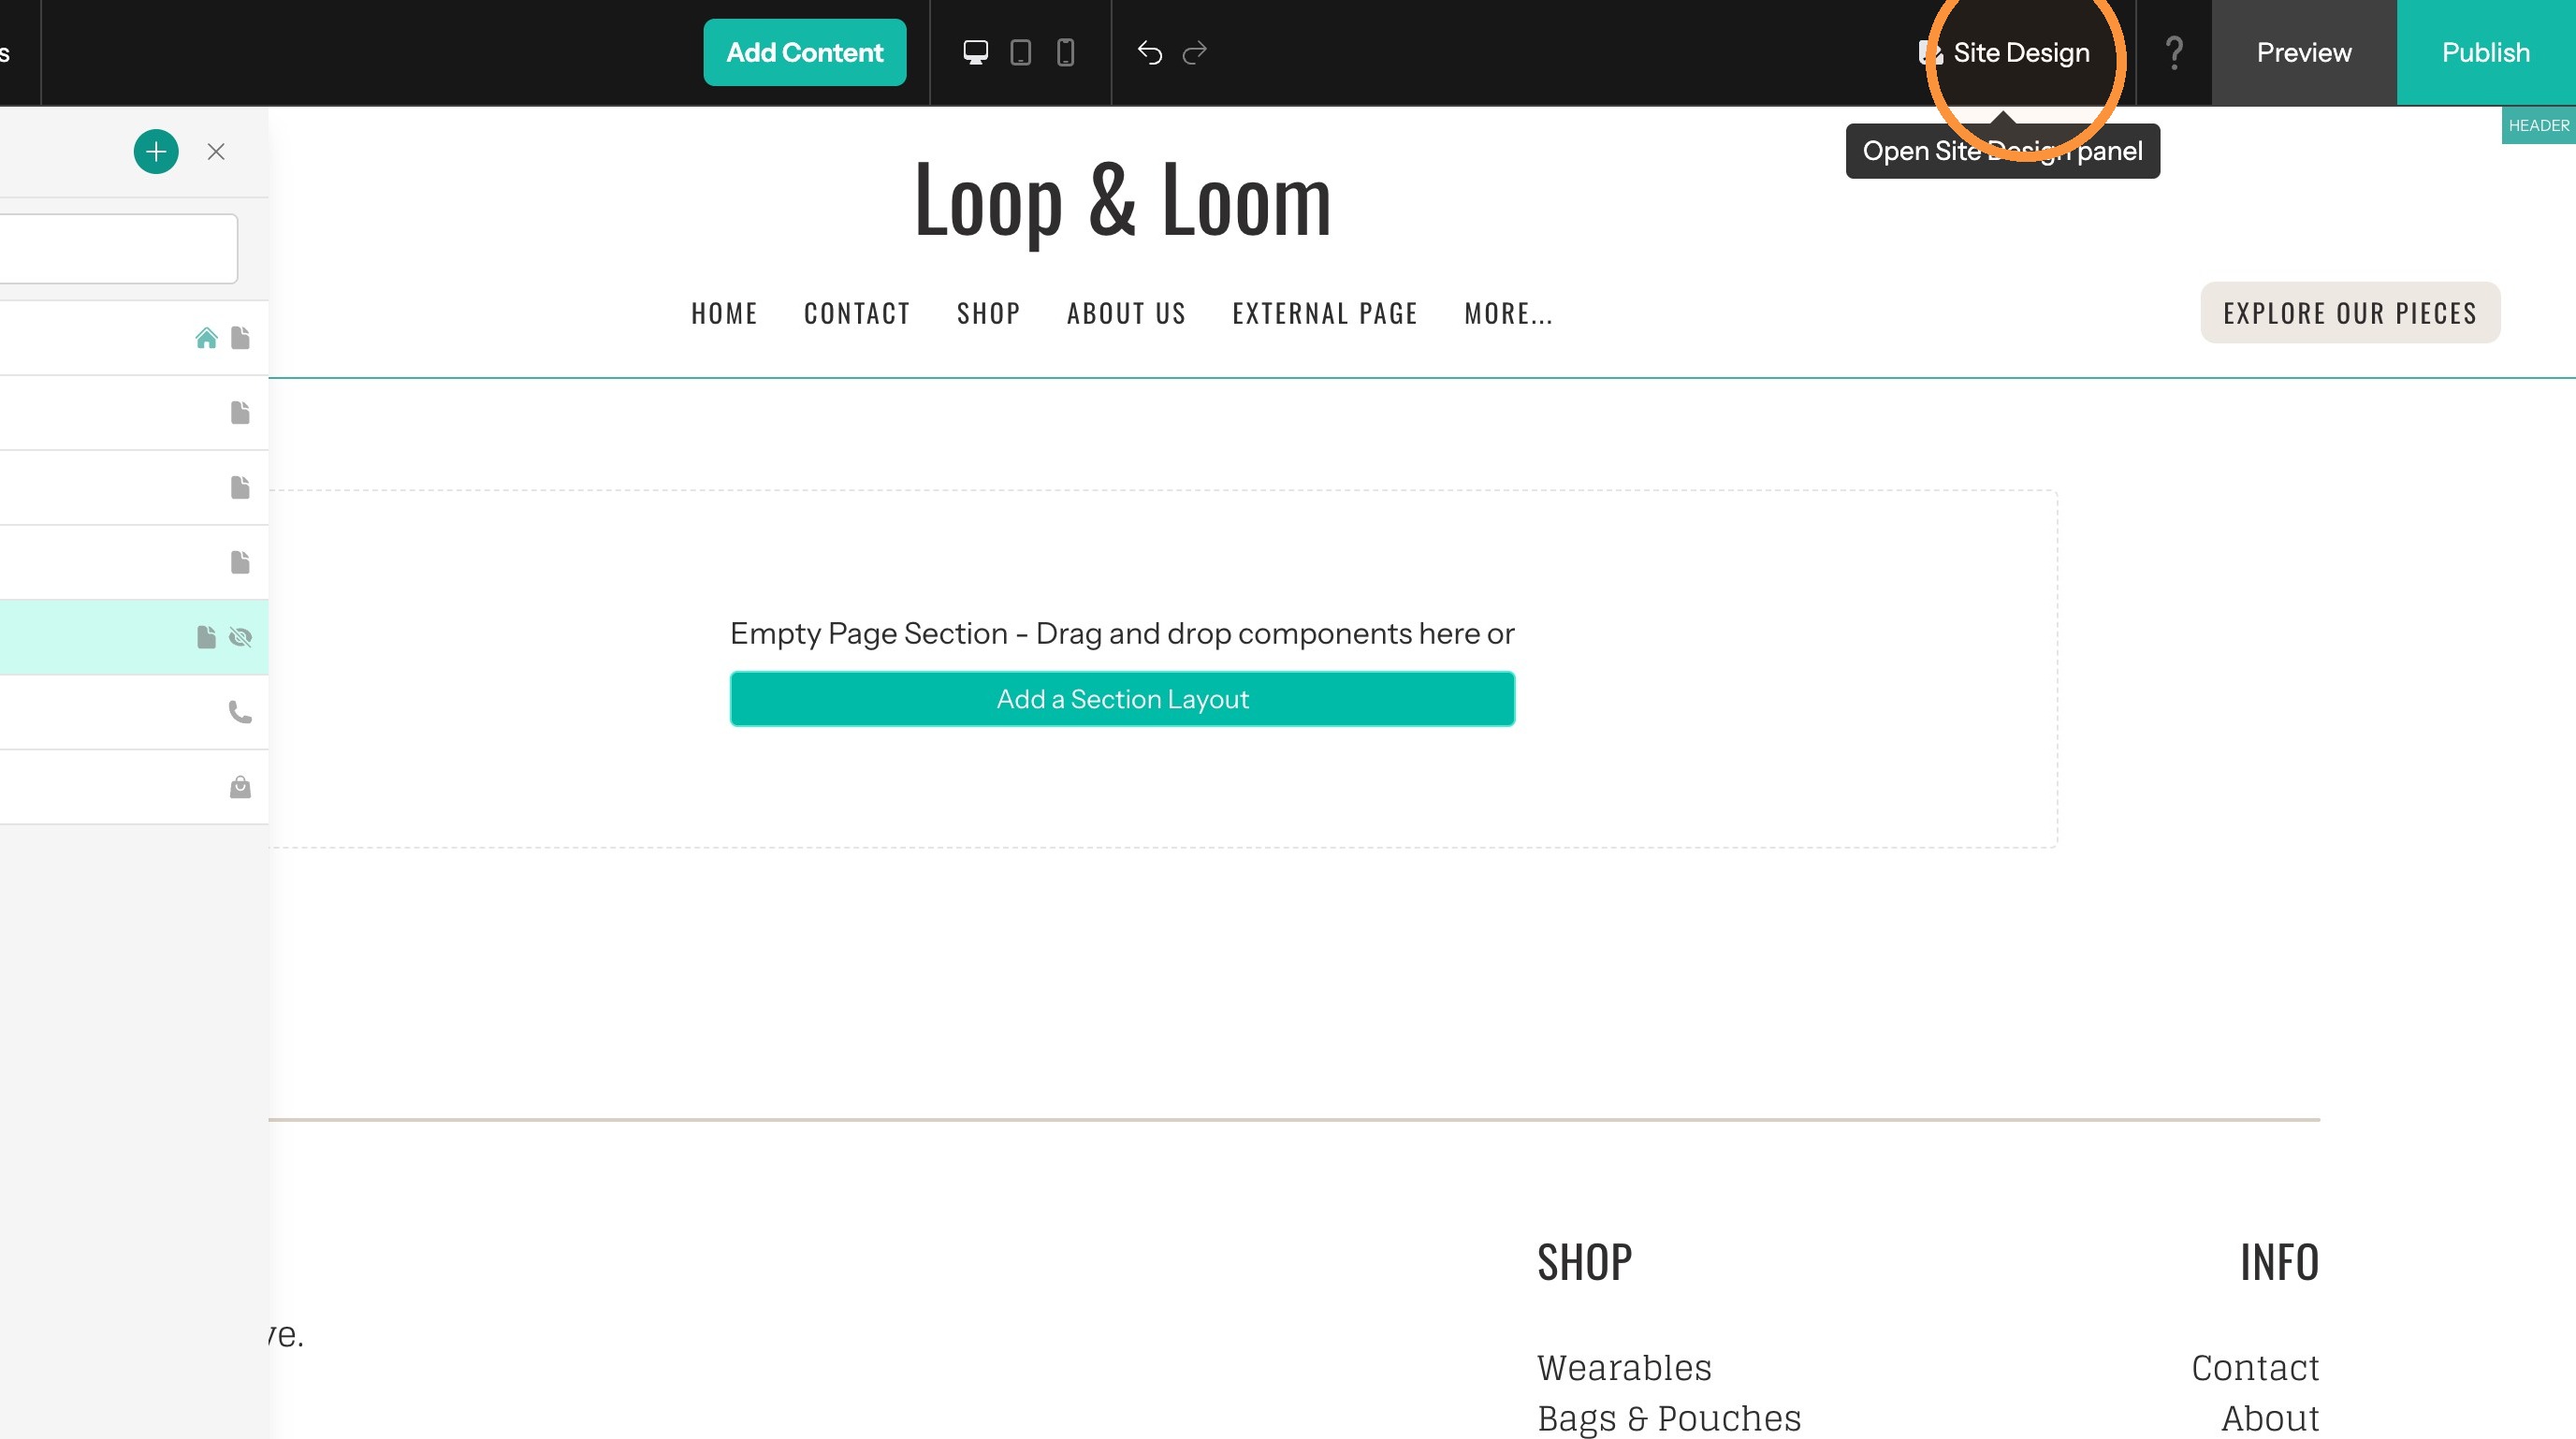
29. Click "Site Design"
30. Click "Navigation"
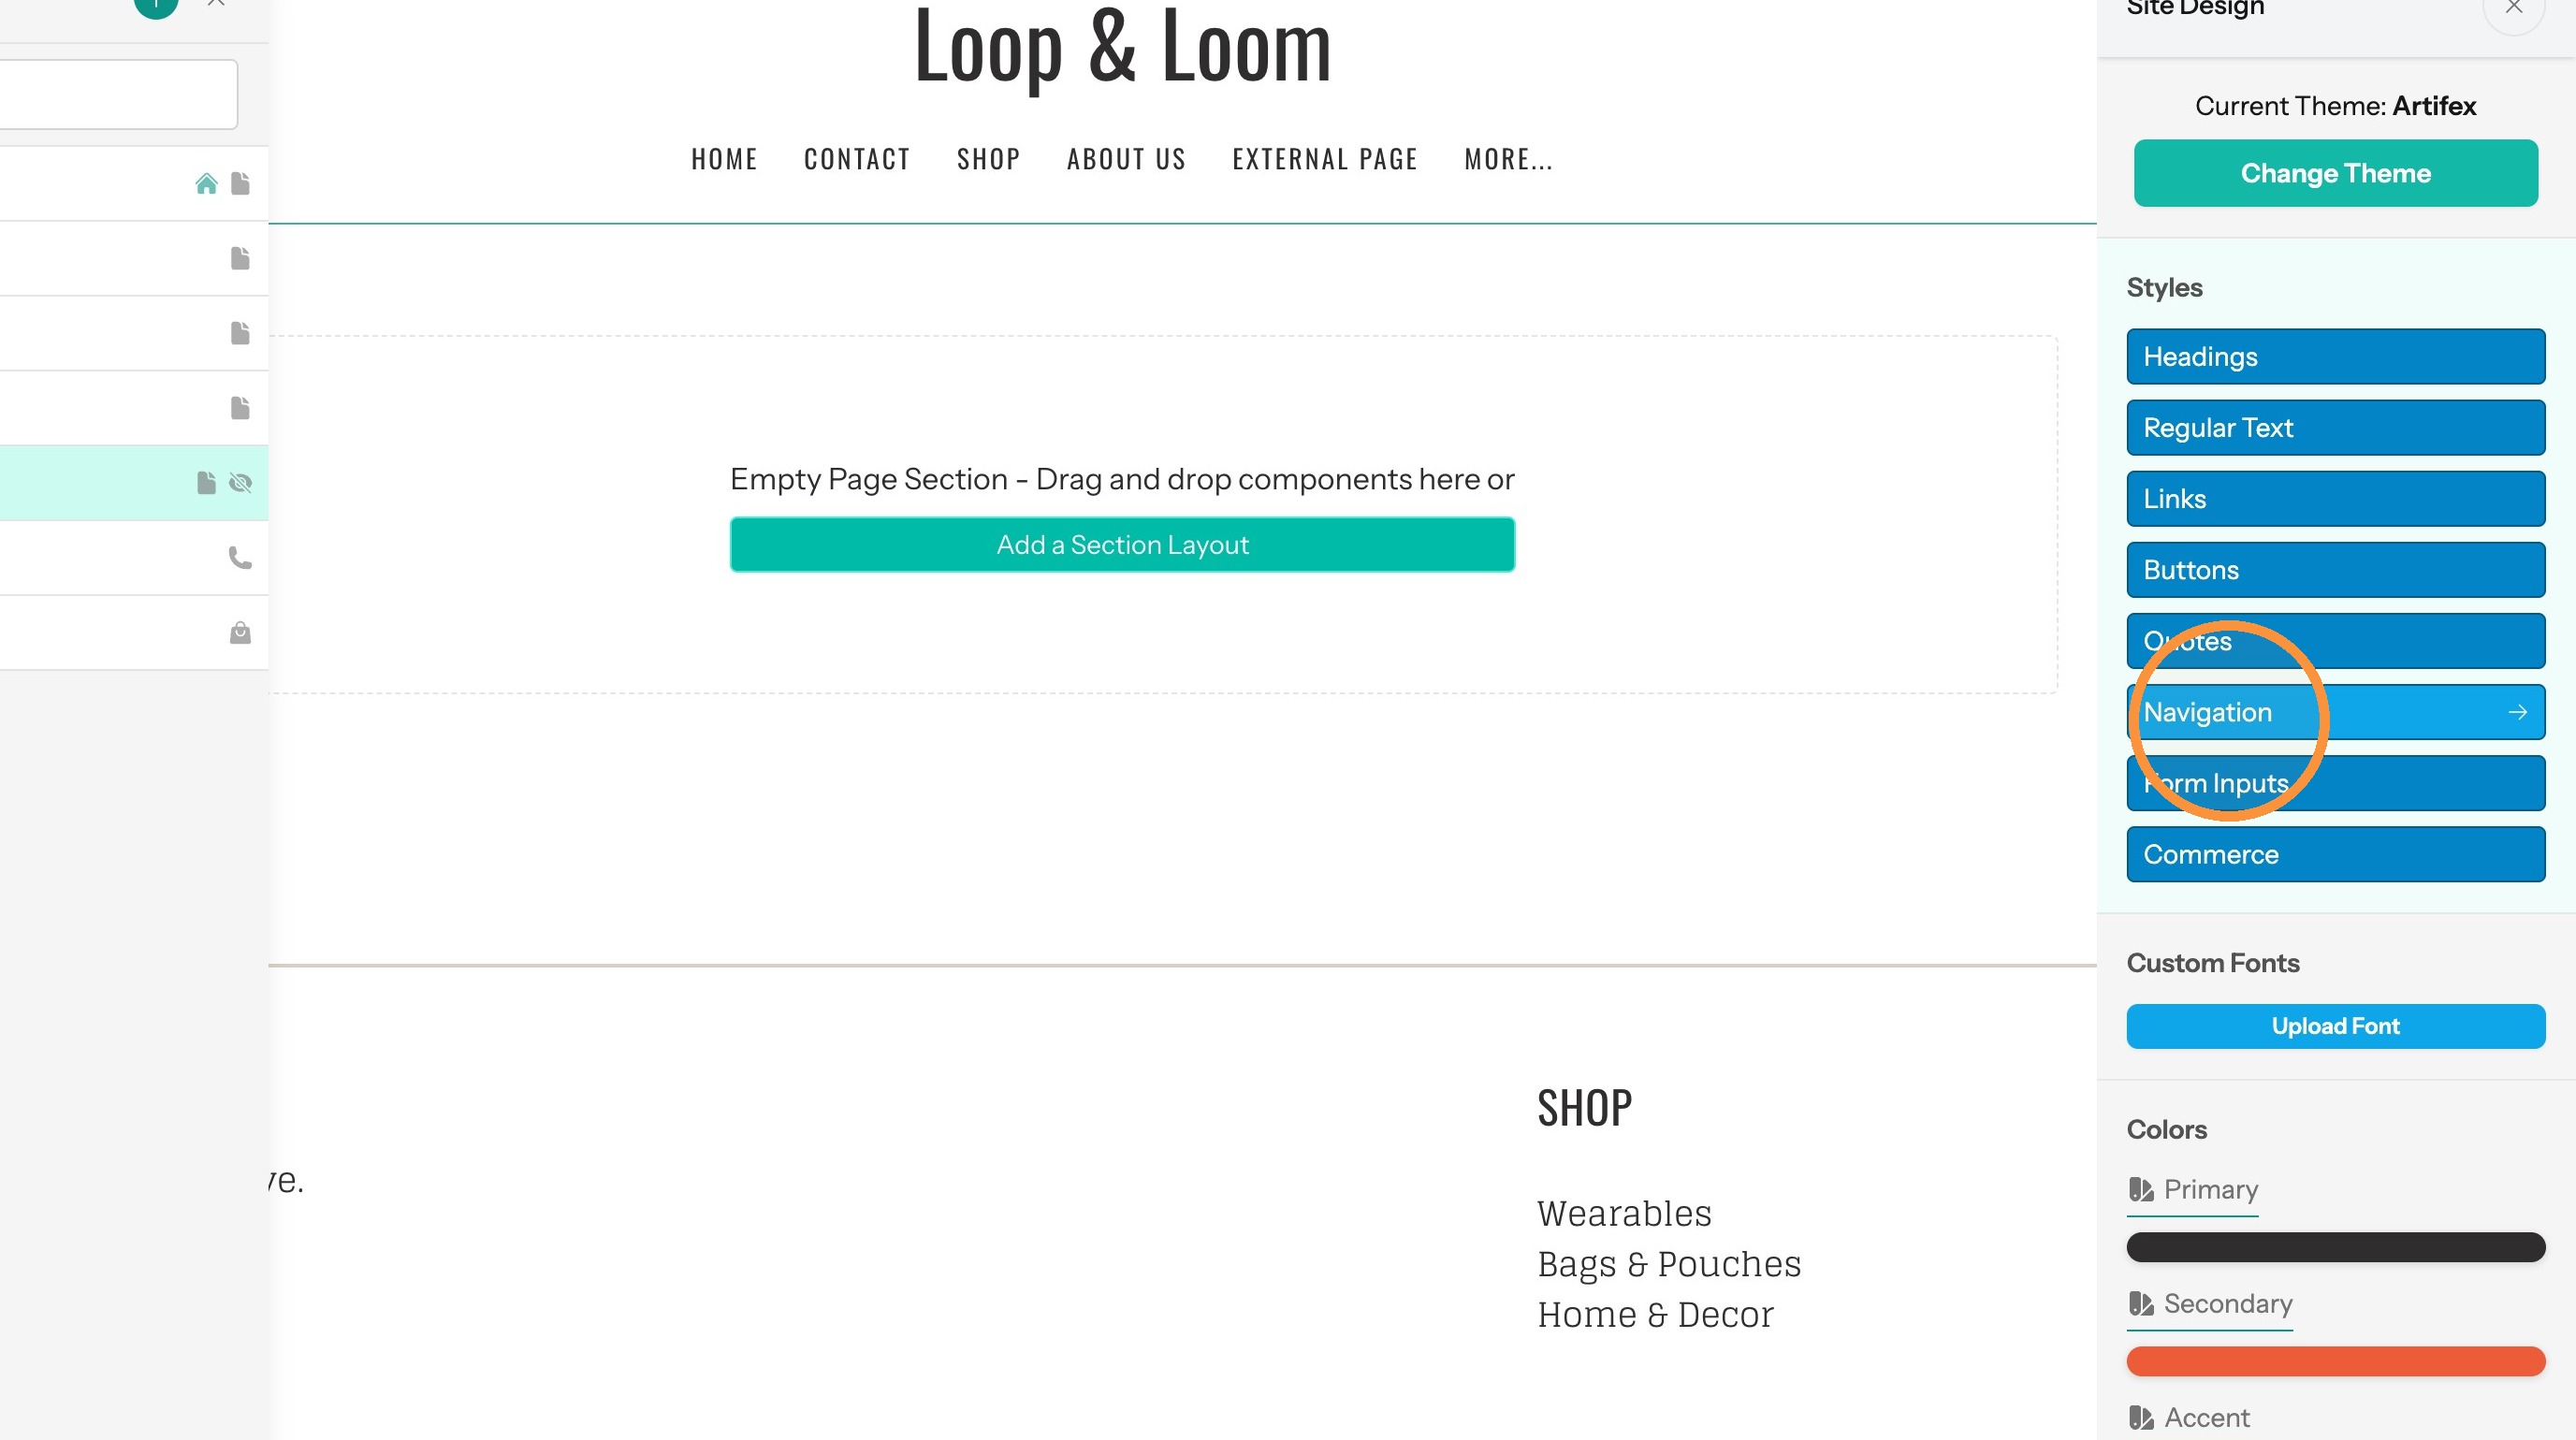
31. In this section you can change the style settings for the navigation links including font, text size, and colors.