Upload, Find, and Manage Your Site Assets
Upload files, find where they are used, and manage the 30-day asset trash.
Your asset library contains the images, videos, and files uploaded to your website. Use it to upload files, find an existing file, check where it appears, and recover files from the trash.
Open your asset library
- Open your site's dashboard.
- Expand Site and choose Assets.
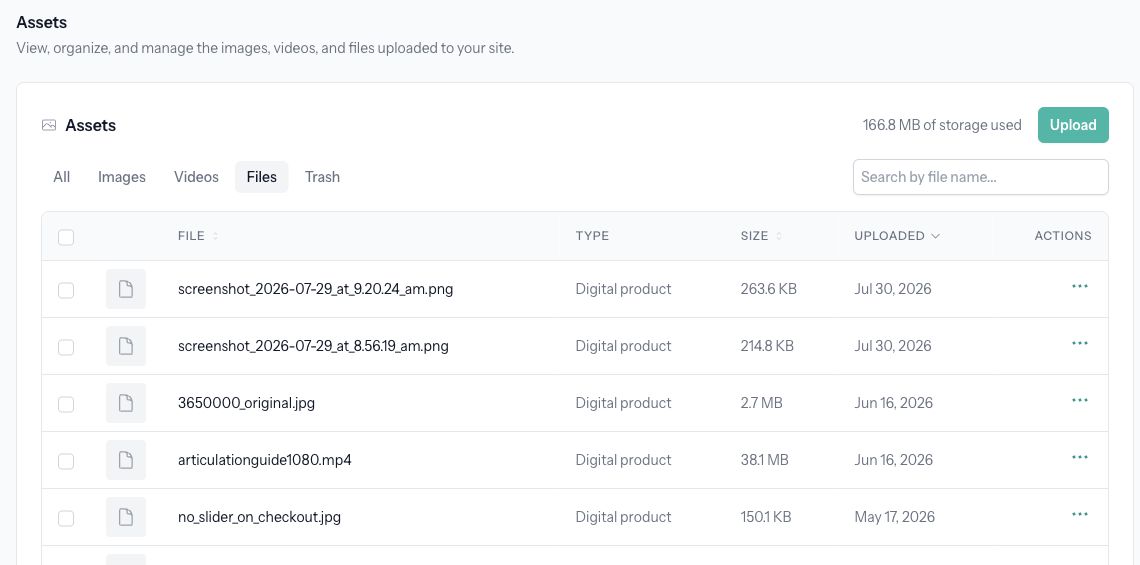
- Choose All, Images, Videos, or Files to narrow the list. Use Search by file name... to find a particular upload.
Upload files and copy their links
Click Upload and select your files, or drag files onto the library. Wait for the upload to finish before leaving the page. Uploads are subject to your plan's storage and upload limits; an upgrade prompt appears when a limit is reached.
Open a file's action menu and choose Copy URL for its complete address. Copy relative URL copies the shorter path used within the site. Uploading a file does not automatically place it on a page: open the editor and select it for an image, video, or file link where you want it to appear.
Check where a file is used
Choose Where is this used? from the file's action menu. Review the locations before removing an asset. This is especially useful for shared images, logos, and files used on several pages.
Trash and restore files
Choose Move to trash from a file's action menu and review the confirmation. To remove several files, select their checkboxes and use Move to trash above the table.
Trashed files stop being served immediately. If a page still uses a file, visitors may see a broken image or download. The confirmation warns when the file has known uses.
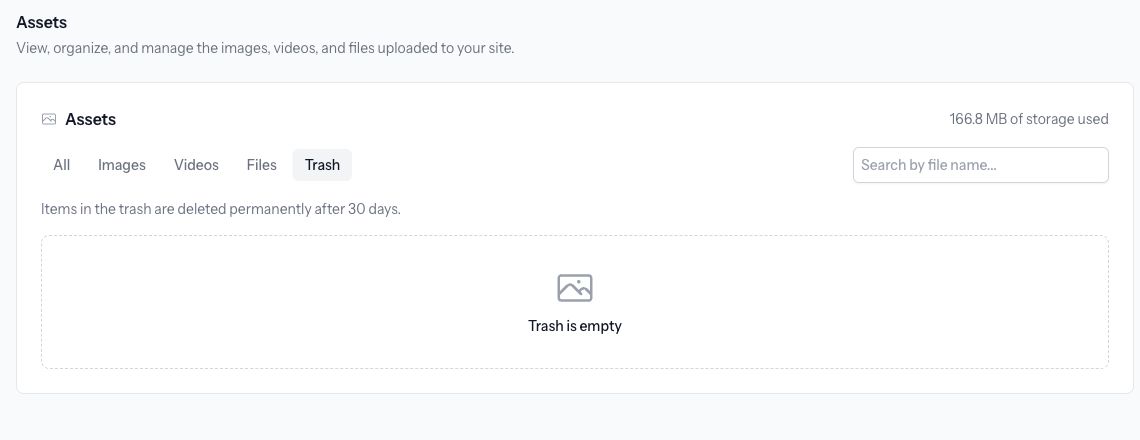
To undo removal, open Trash and choose Restore for the file. Trashed assets are permanently deleted after 30 days. Delete forever removes one file immediately; Empty trash permanently removes everything in the trash. Neither permanent action can be undone.