Creating Forms
Adding a form to a page and viewing form entries
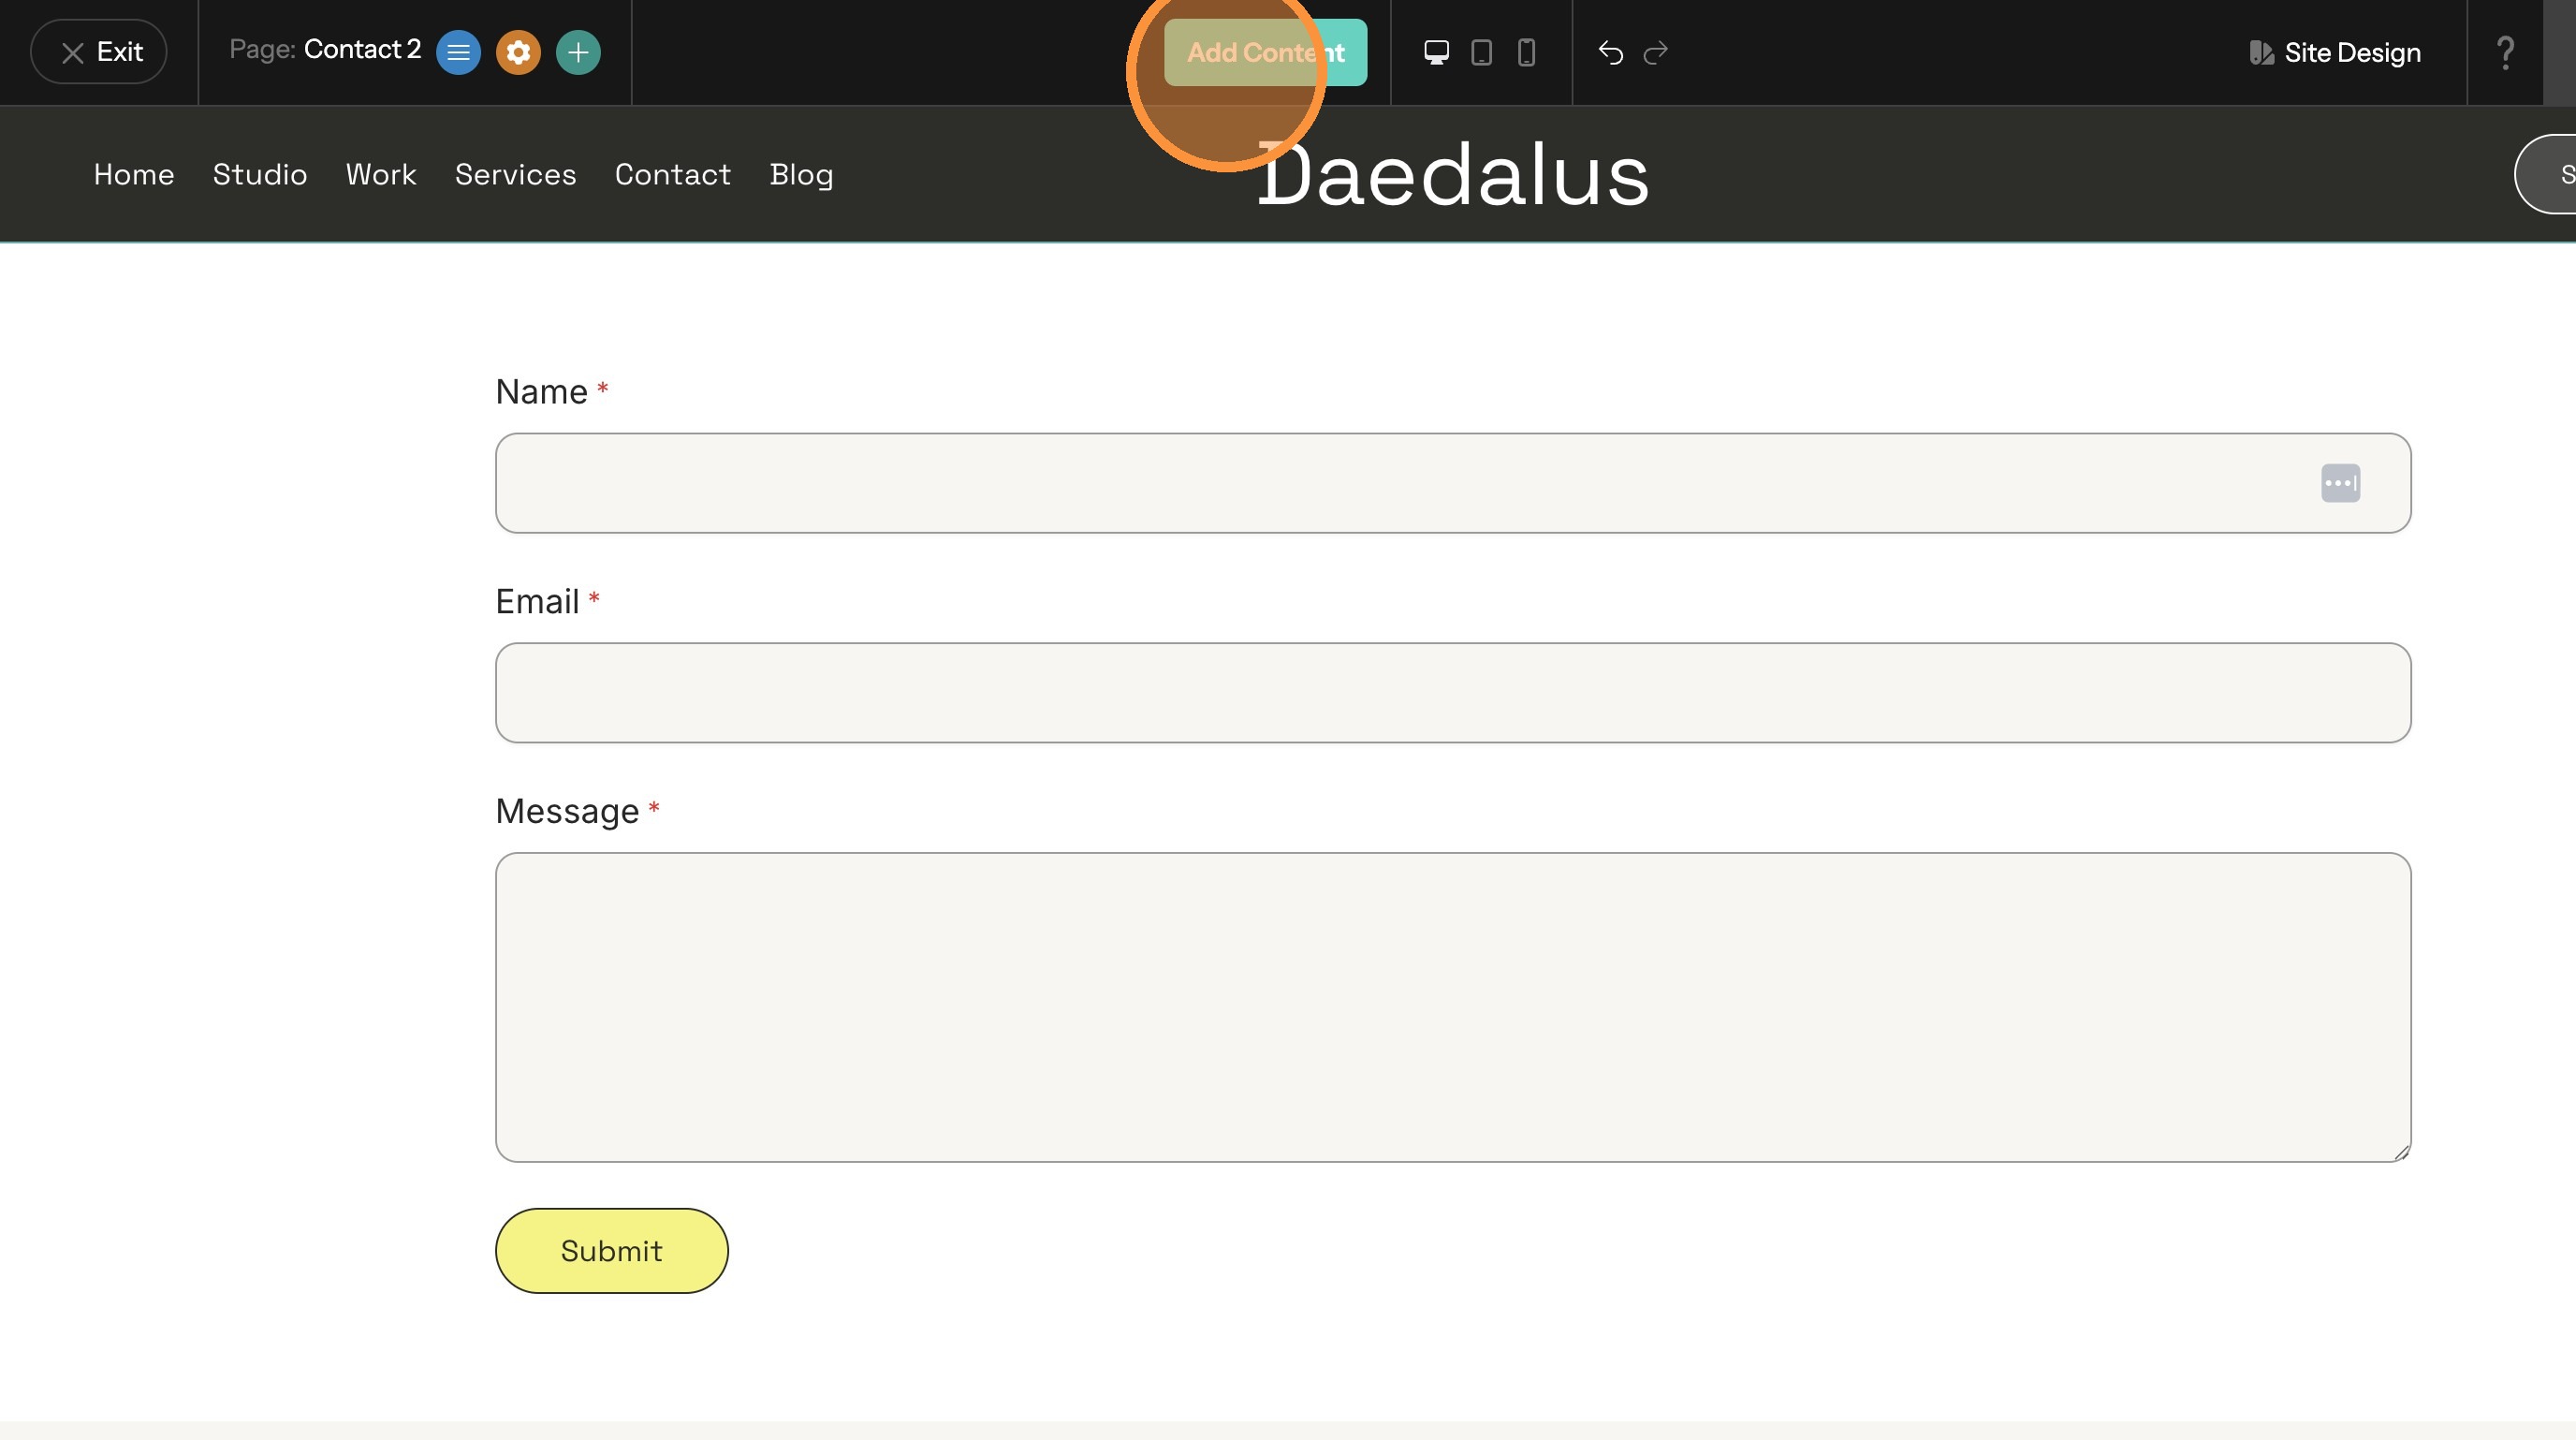
Add a Form to a Page
1. Start at the Website Editor.
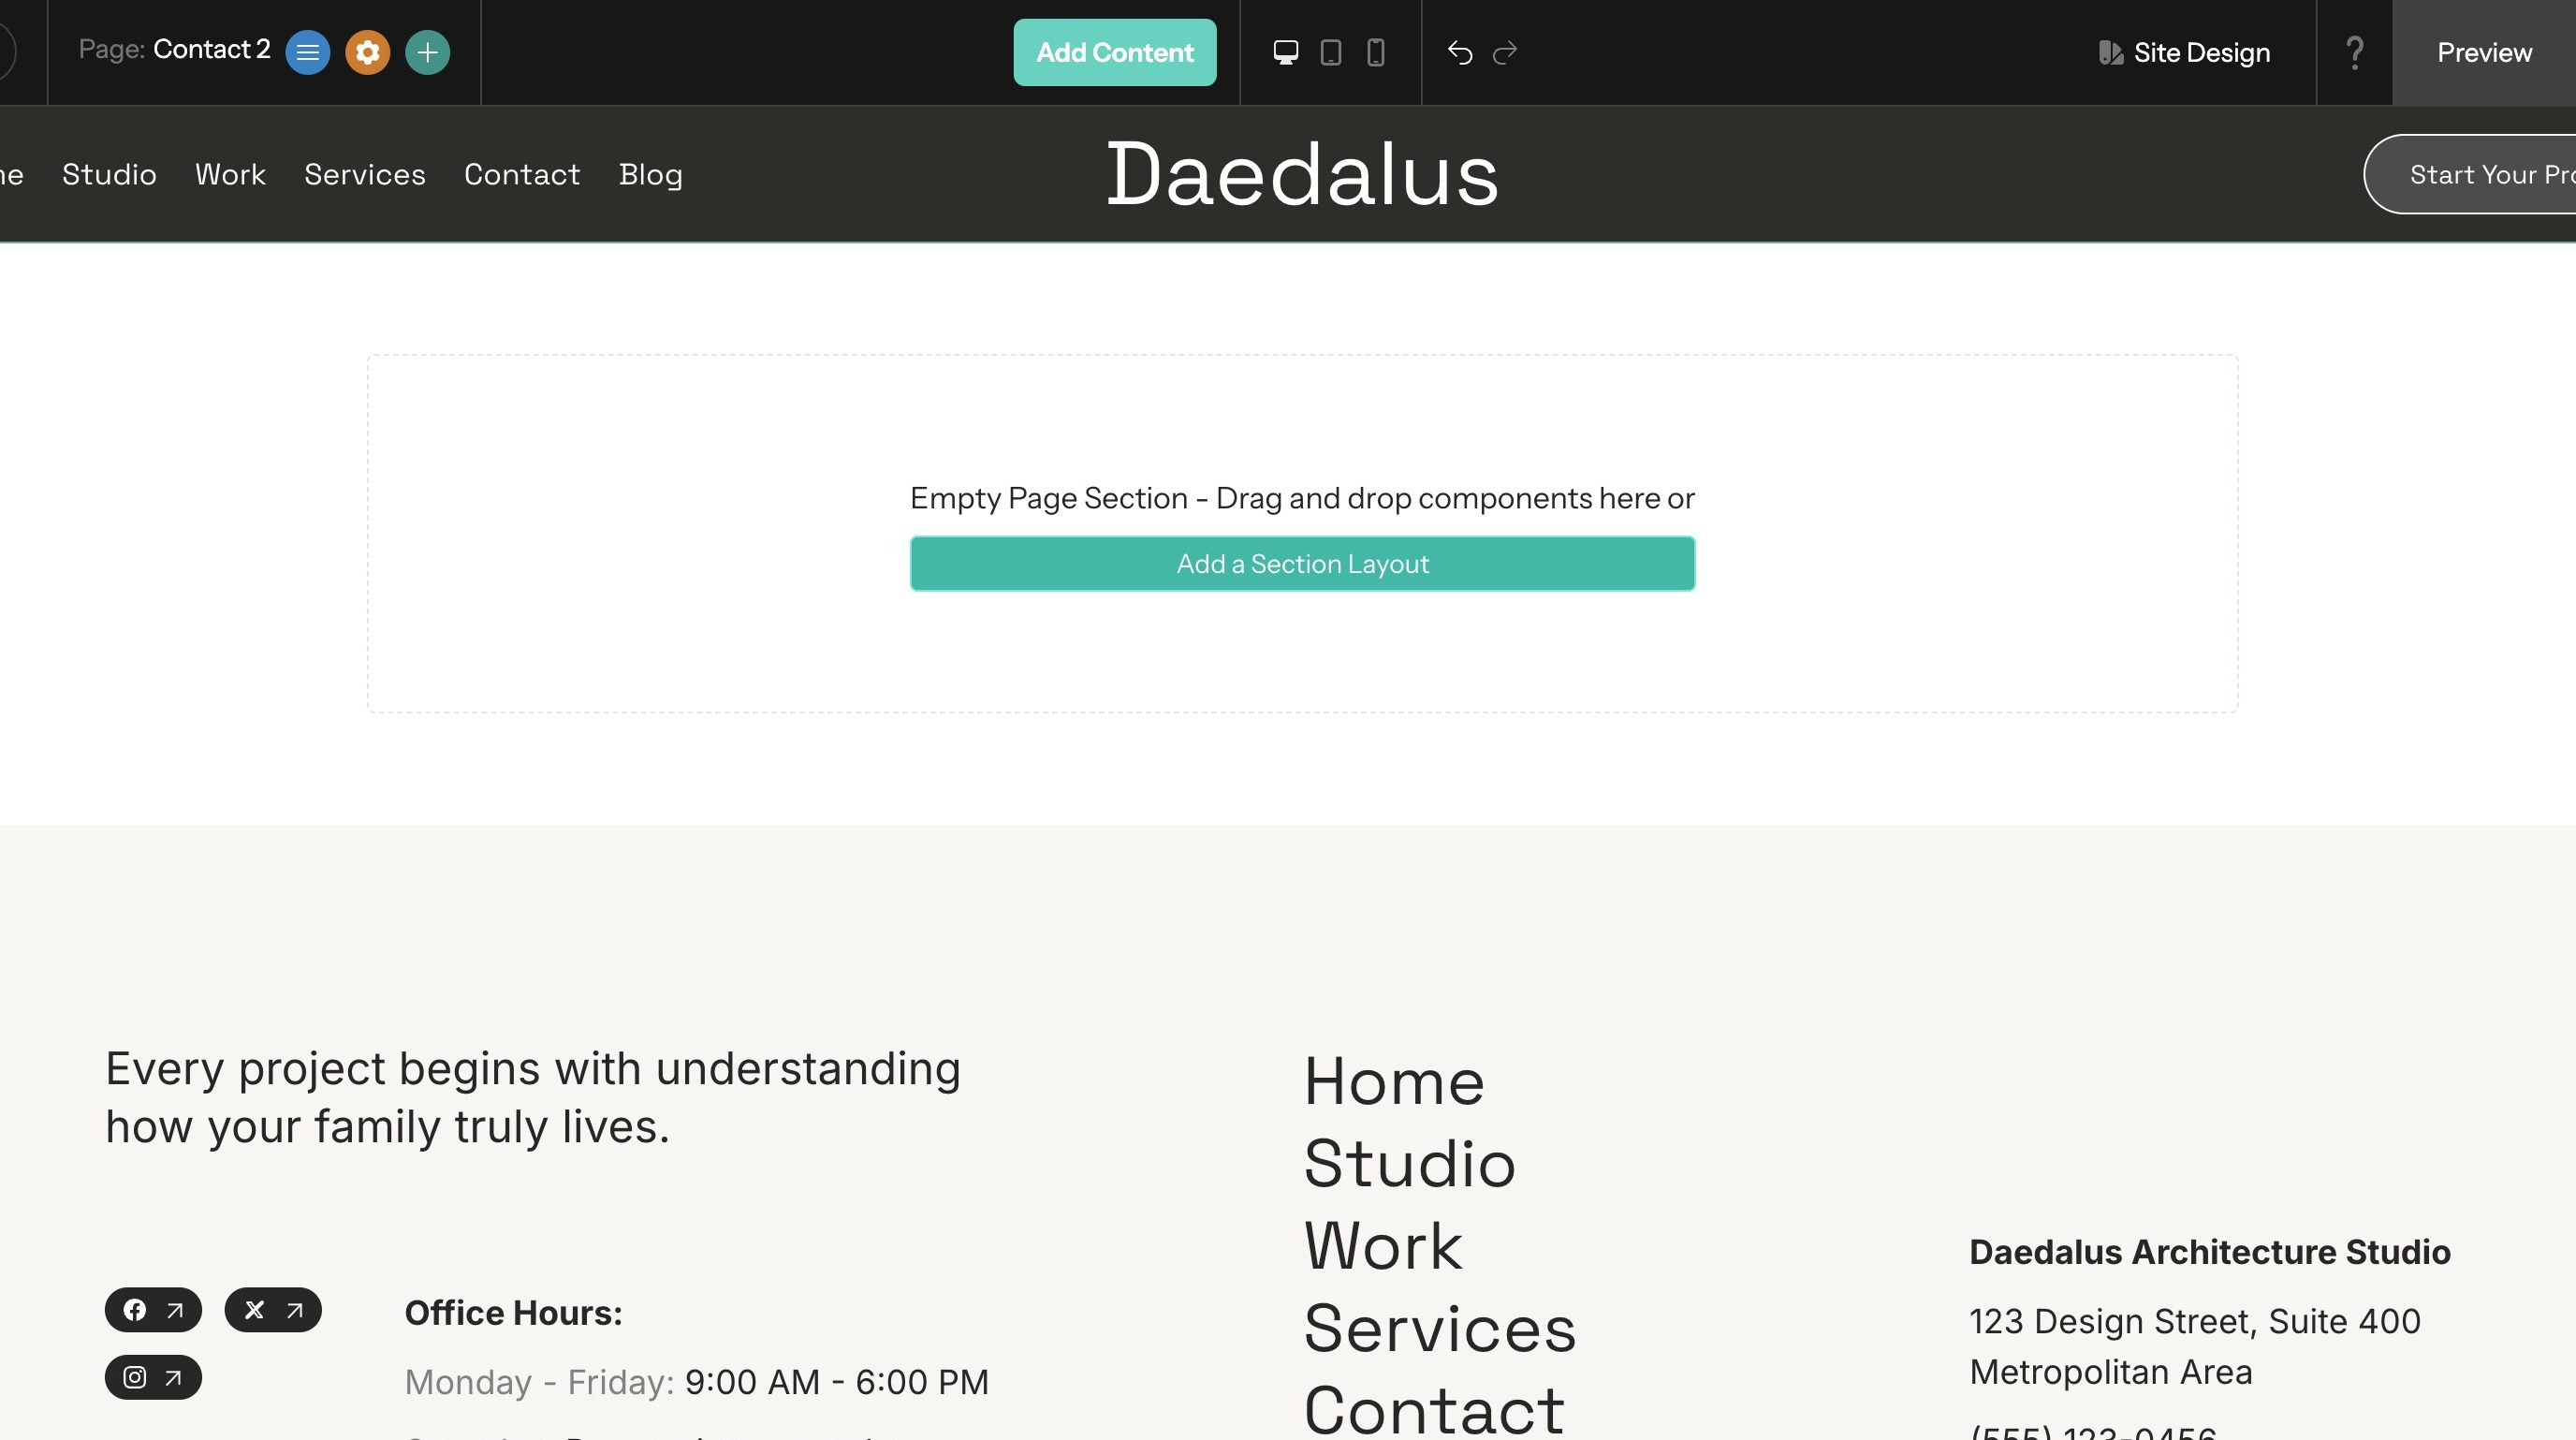
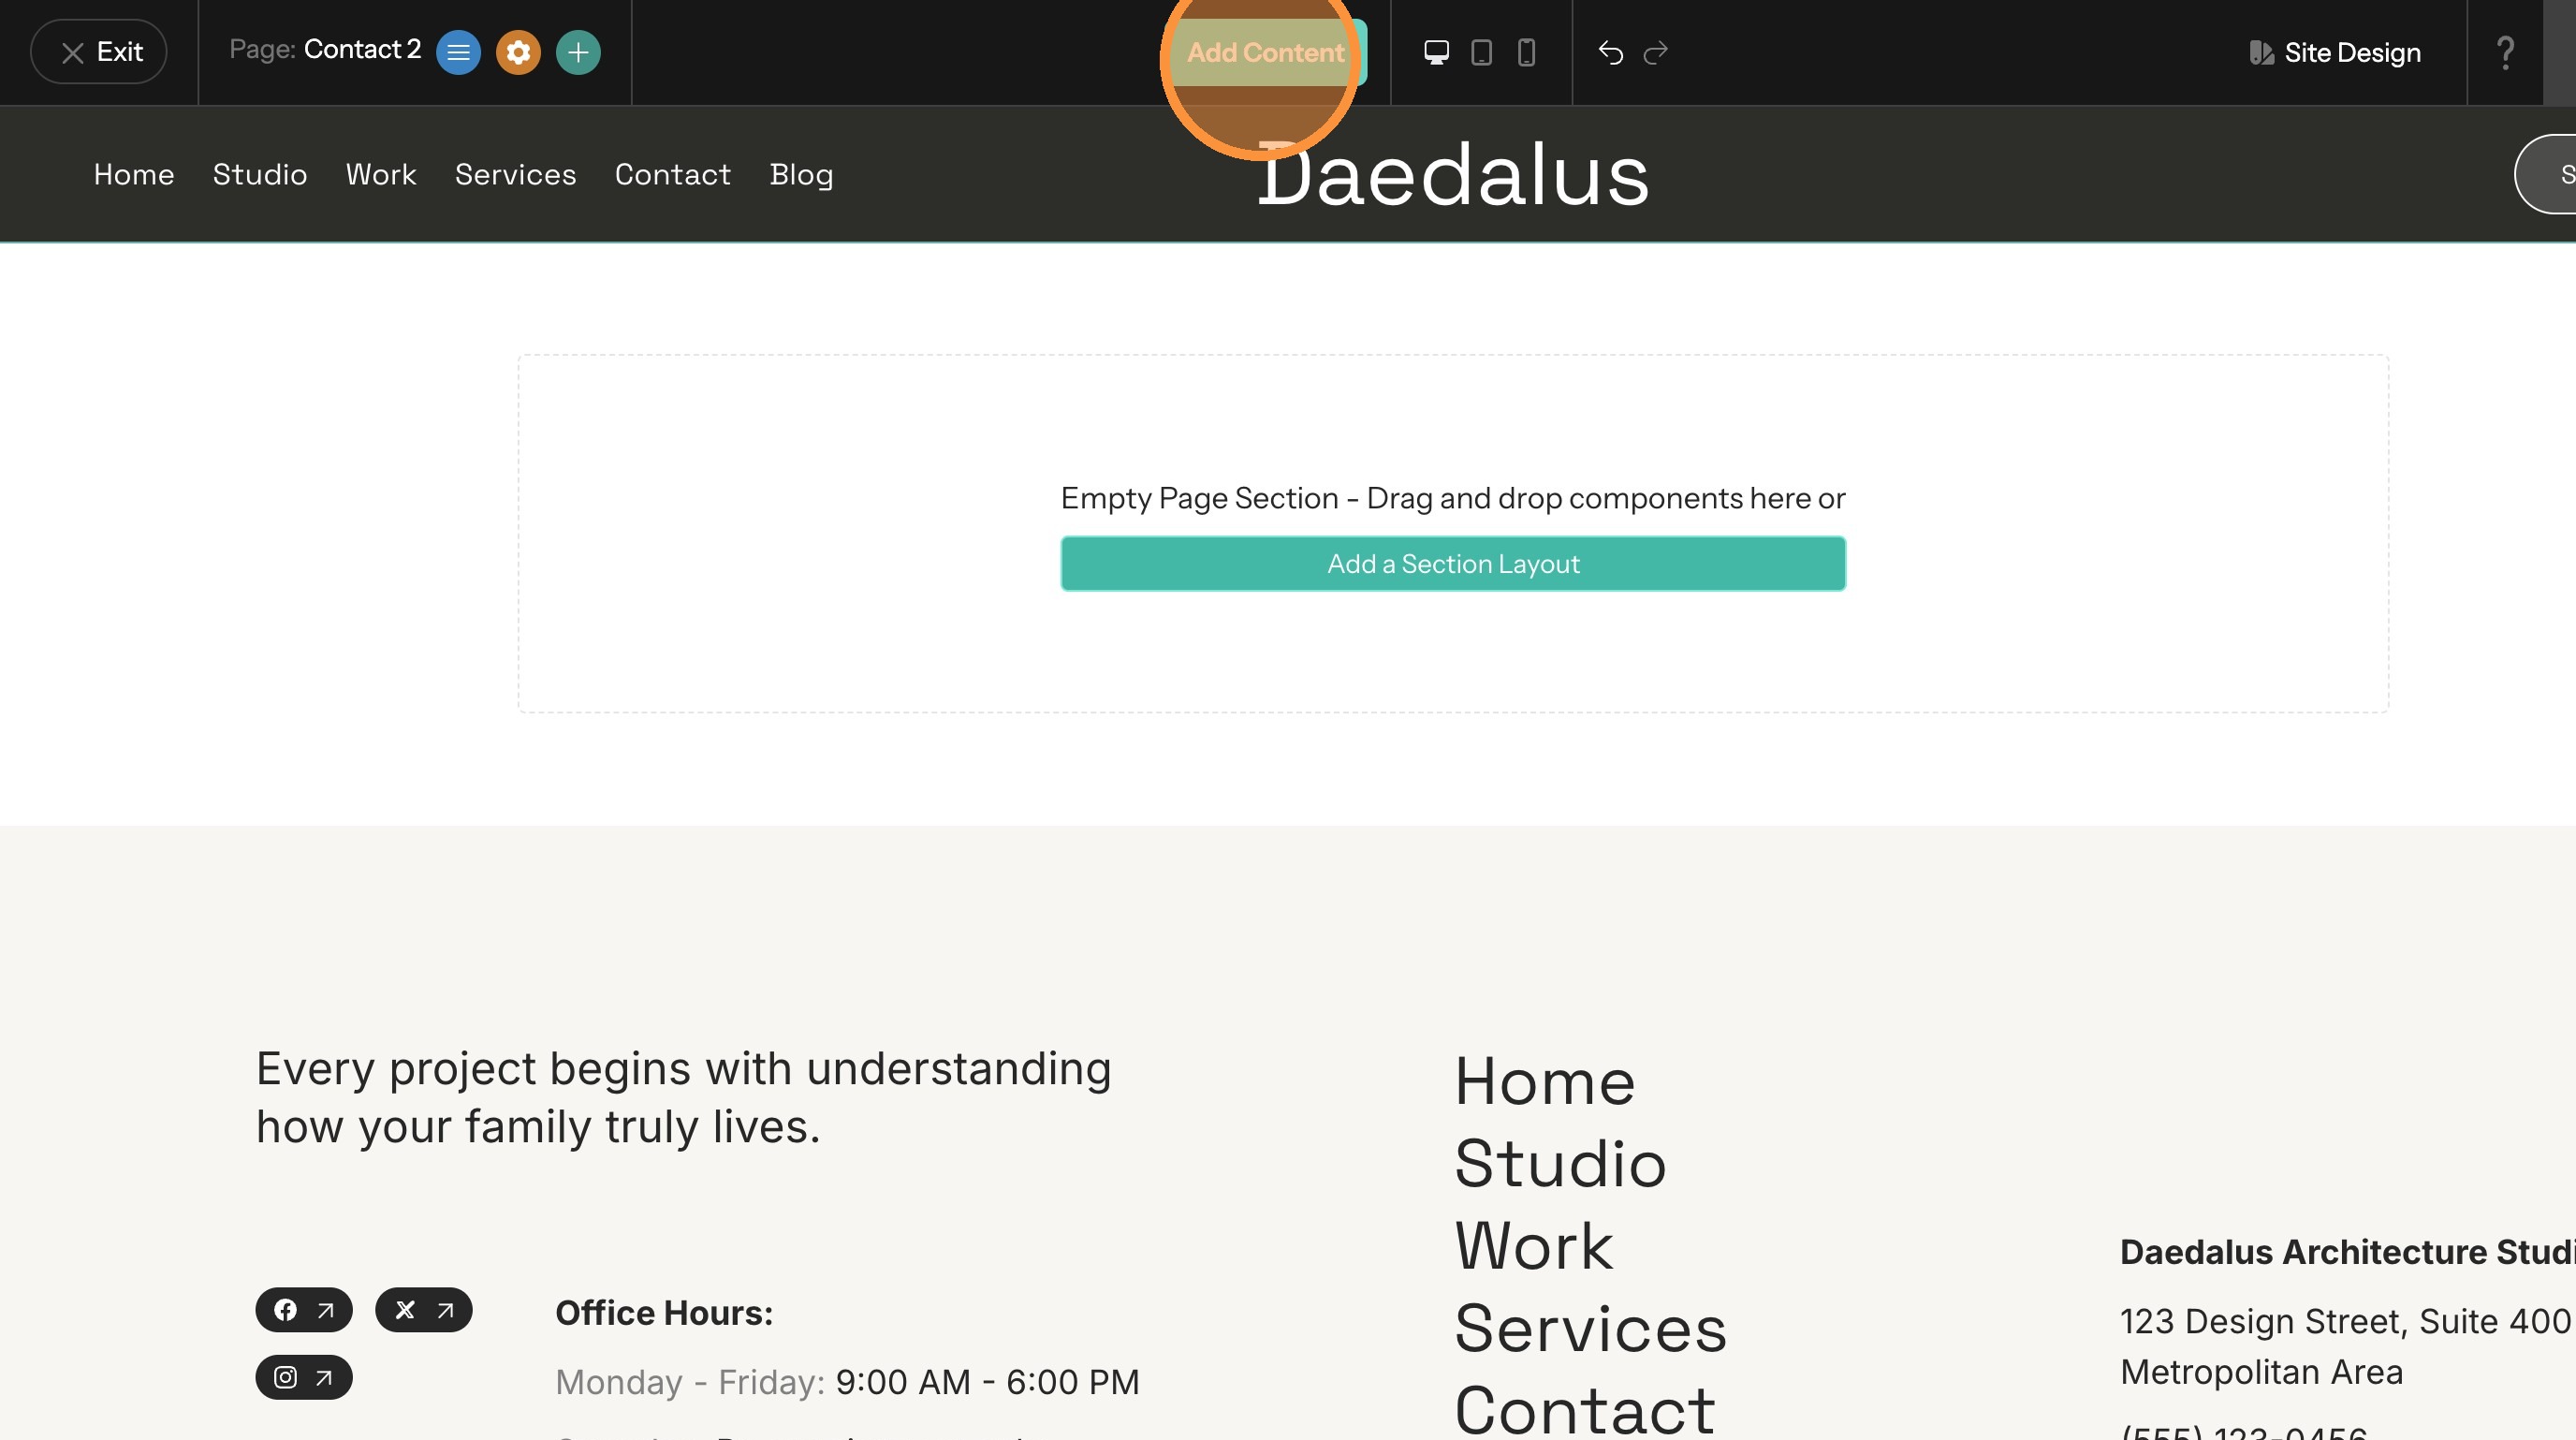
2. Click "Add Content"
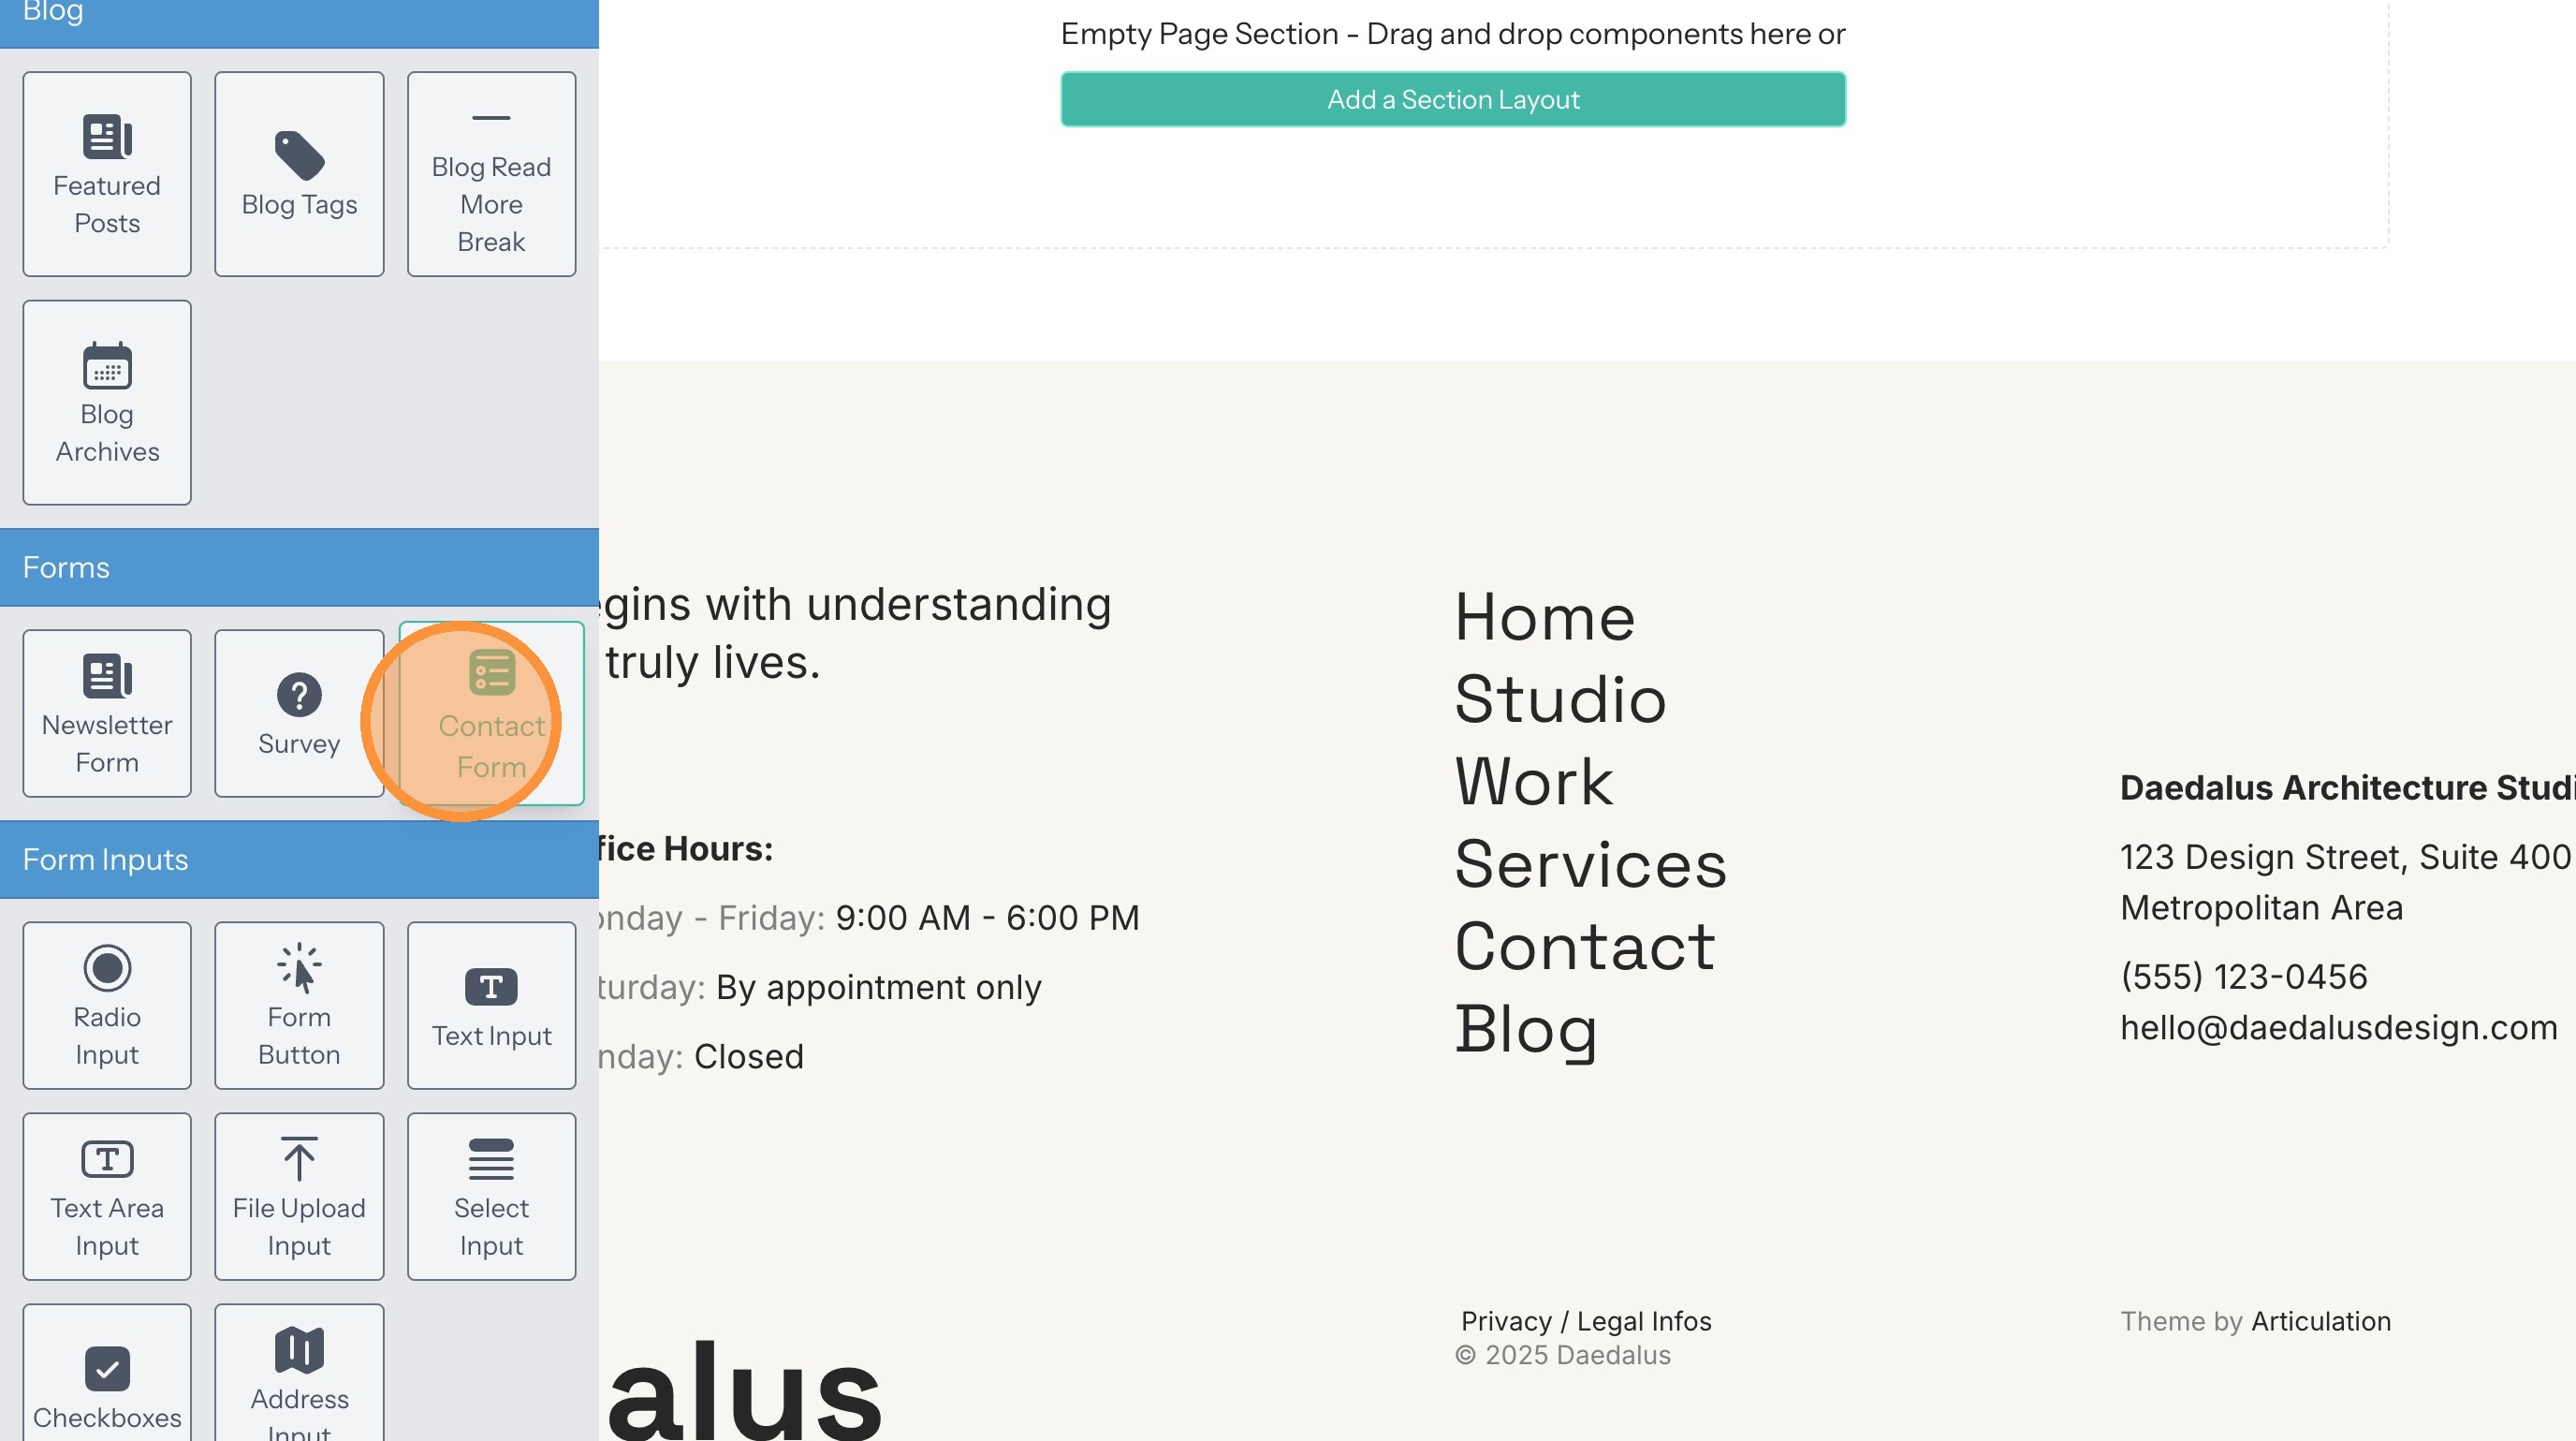
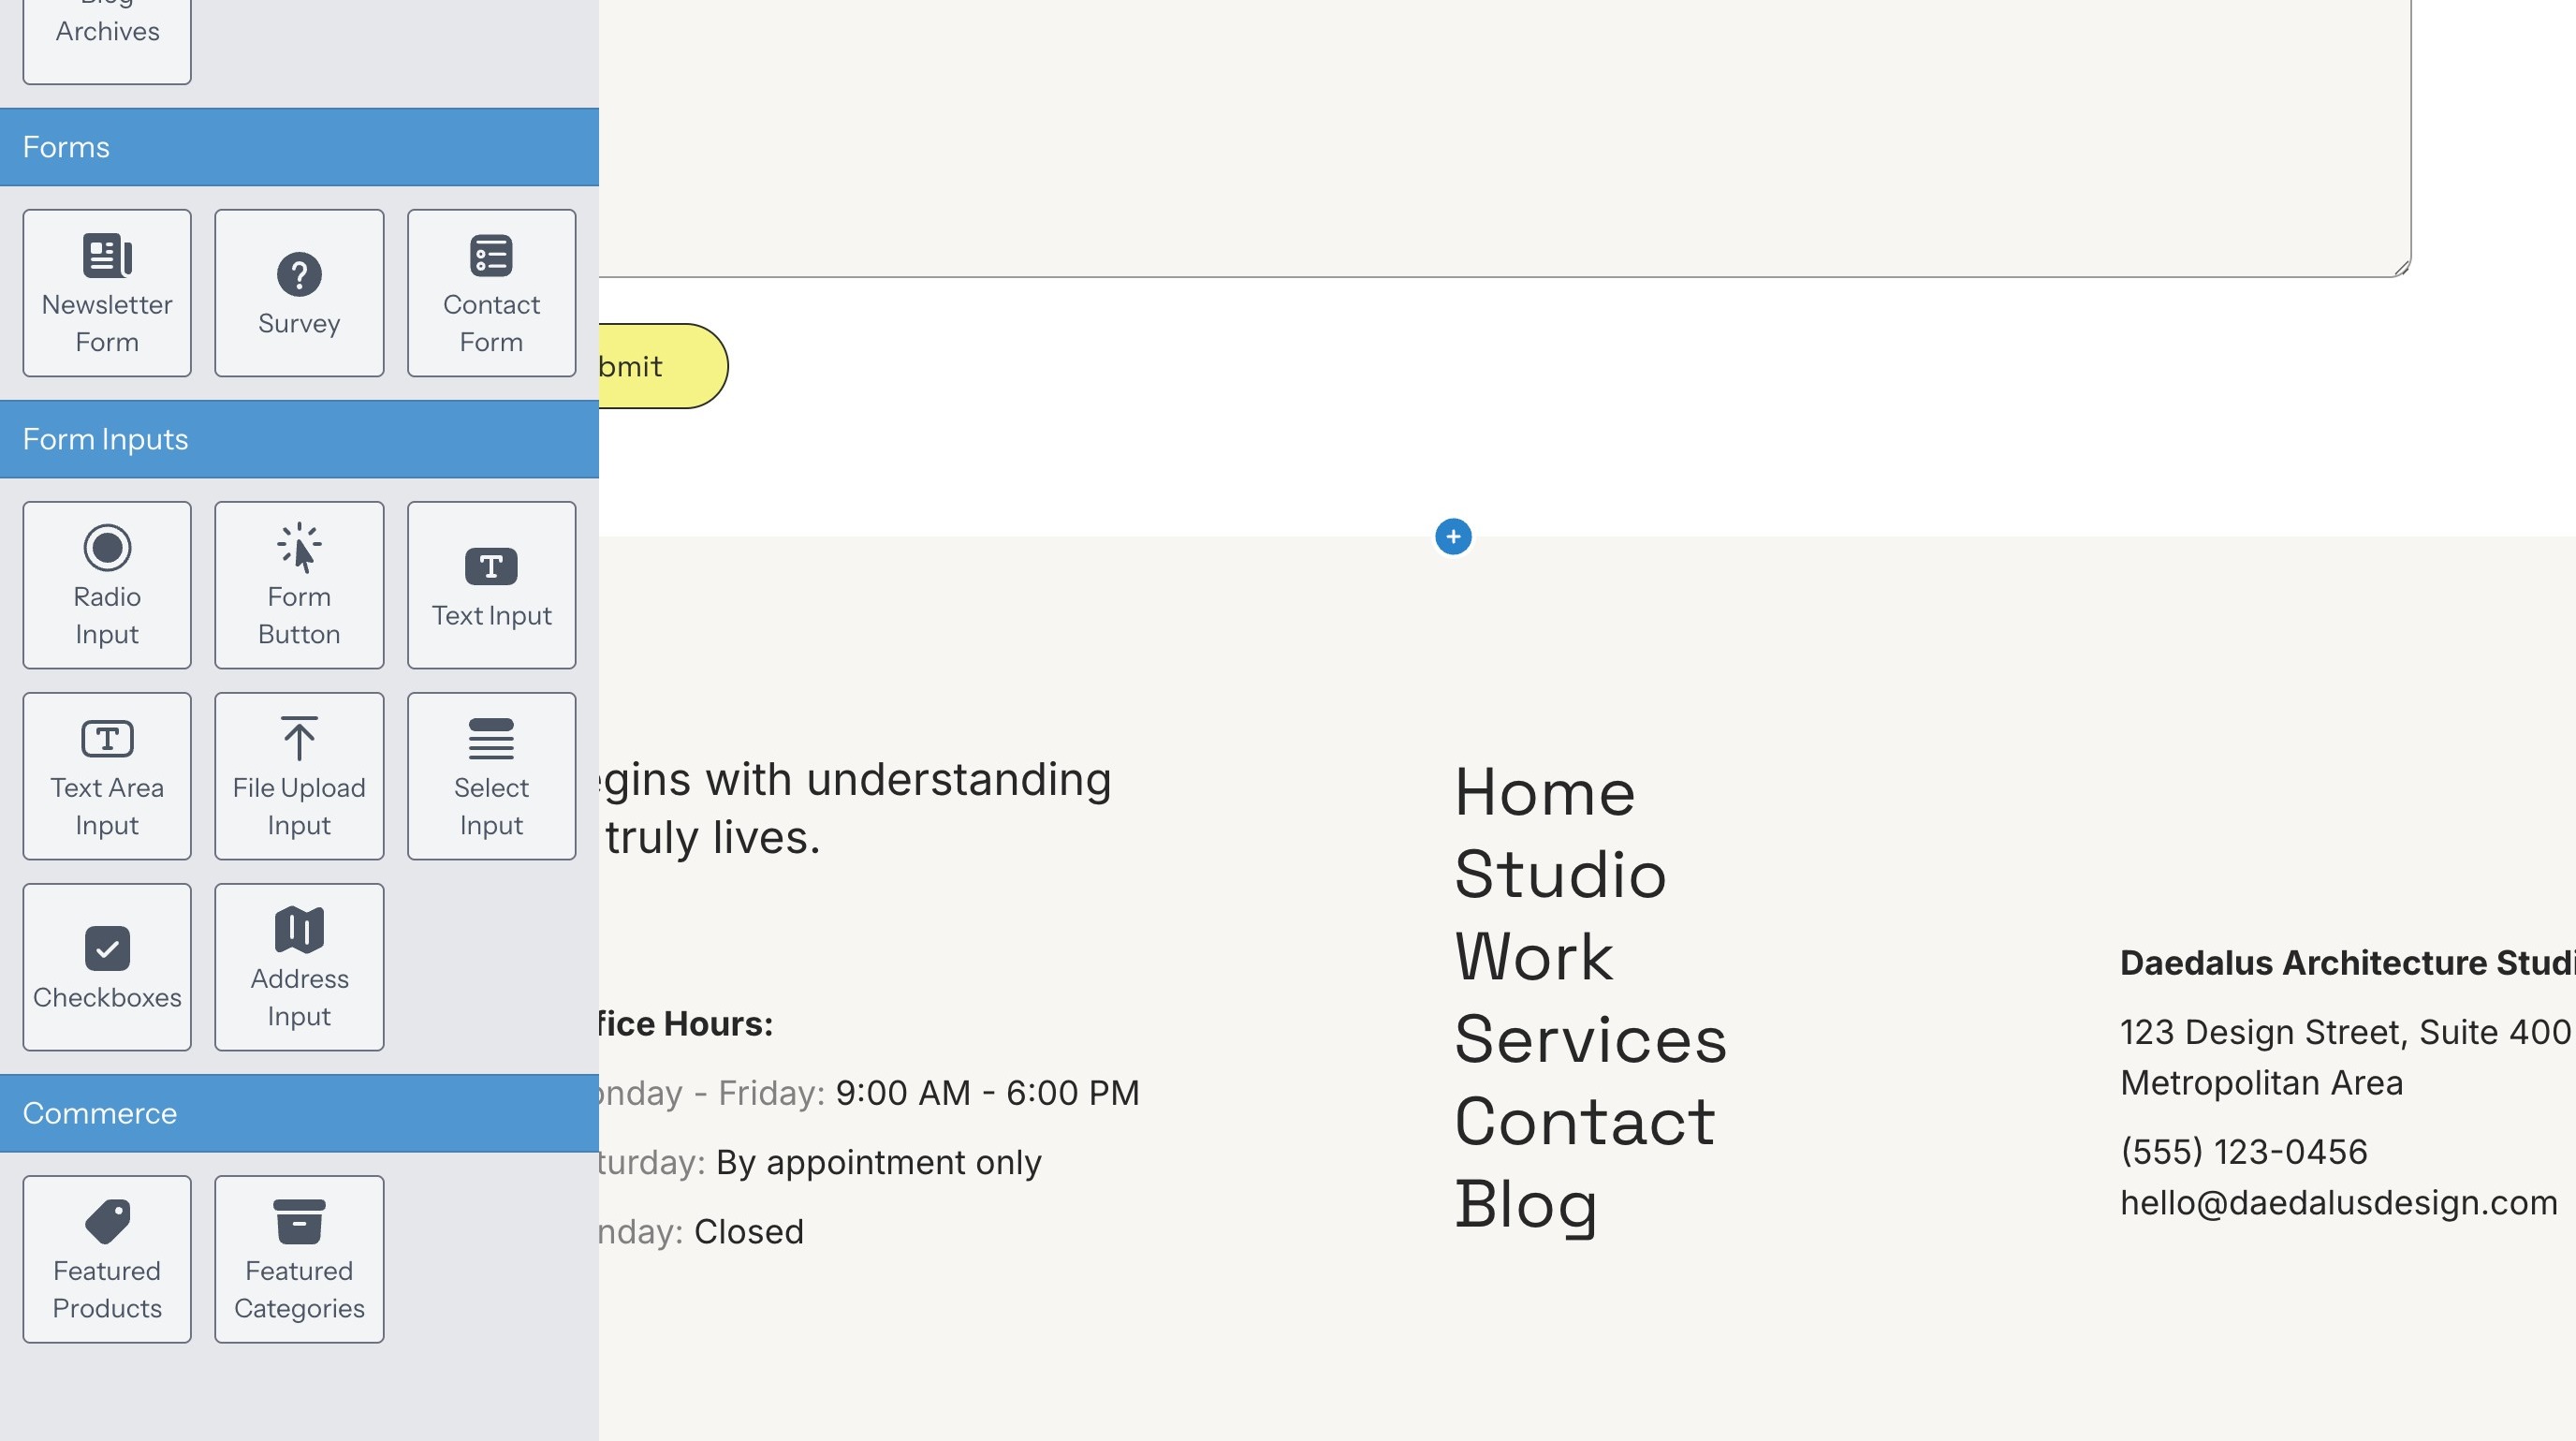
3. Drag and drop and Contact Form onto the page.
Add More Form Fields
4. Click "Add Content"
5. Drag and drop components from the Form Inputs category into the form.
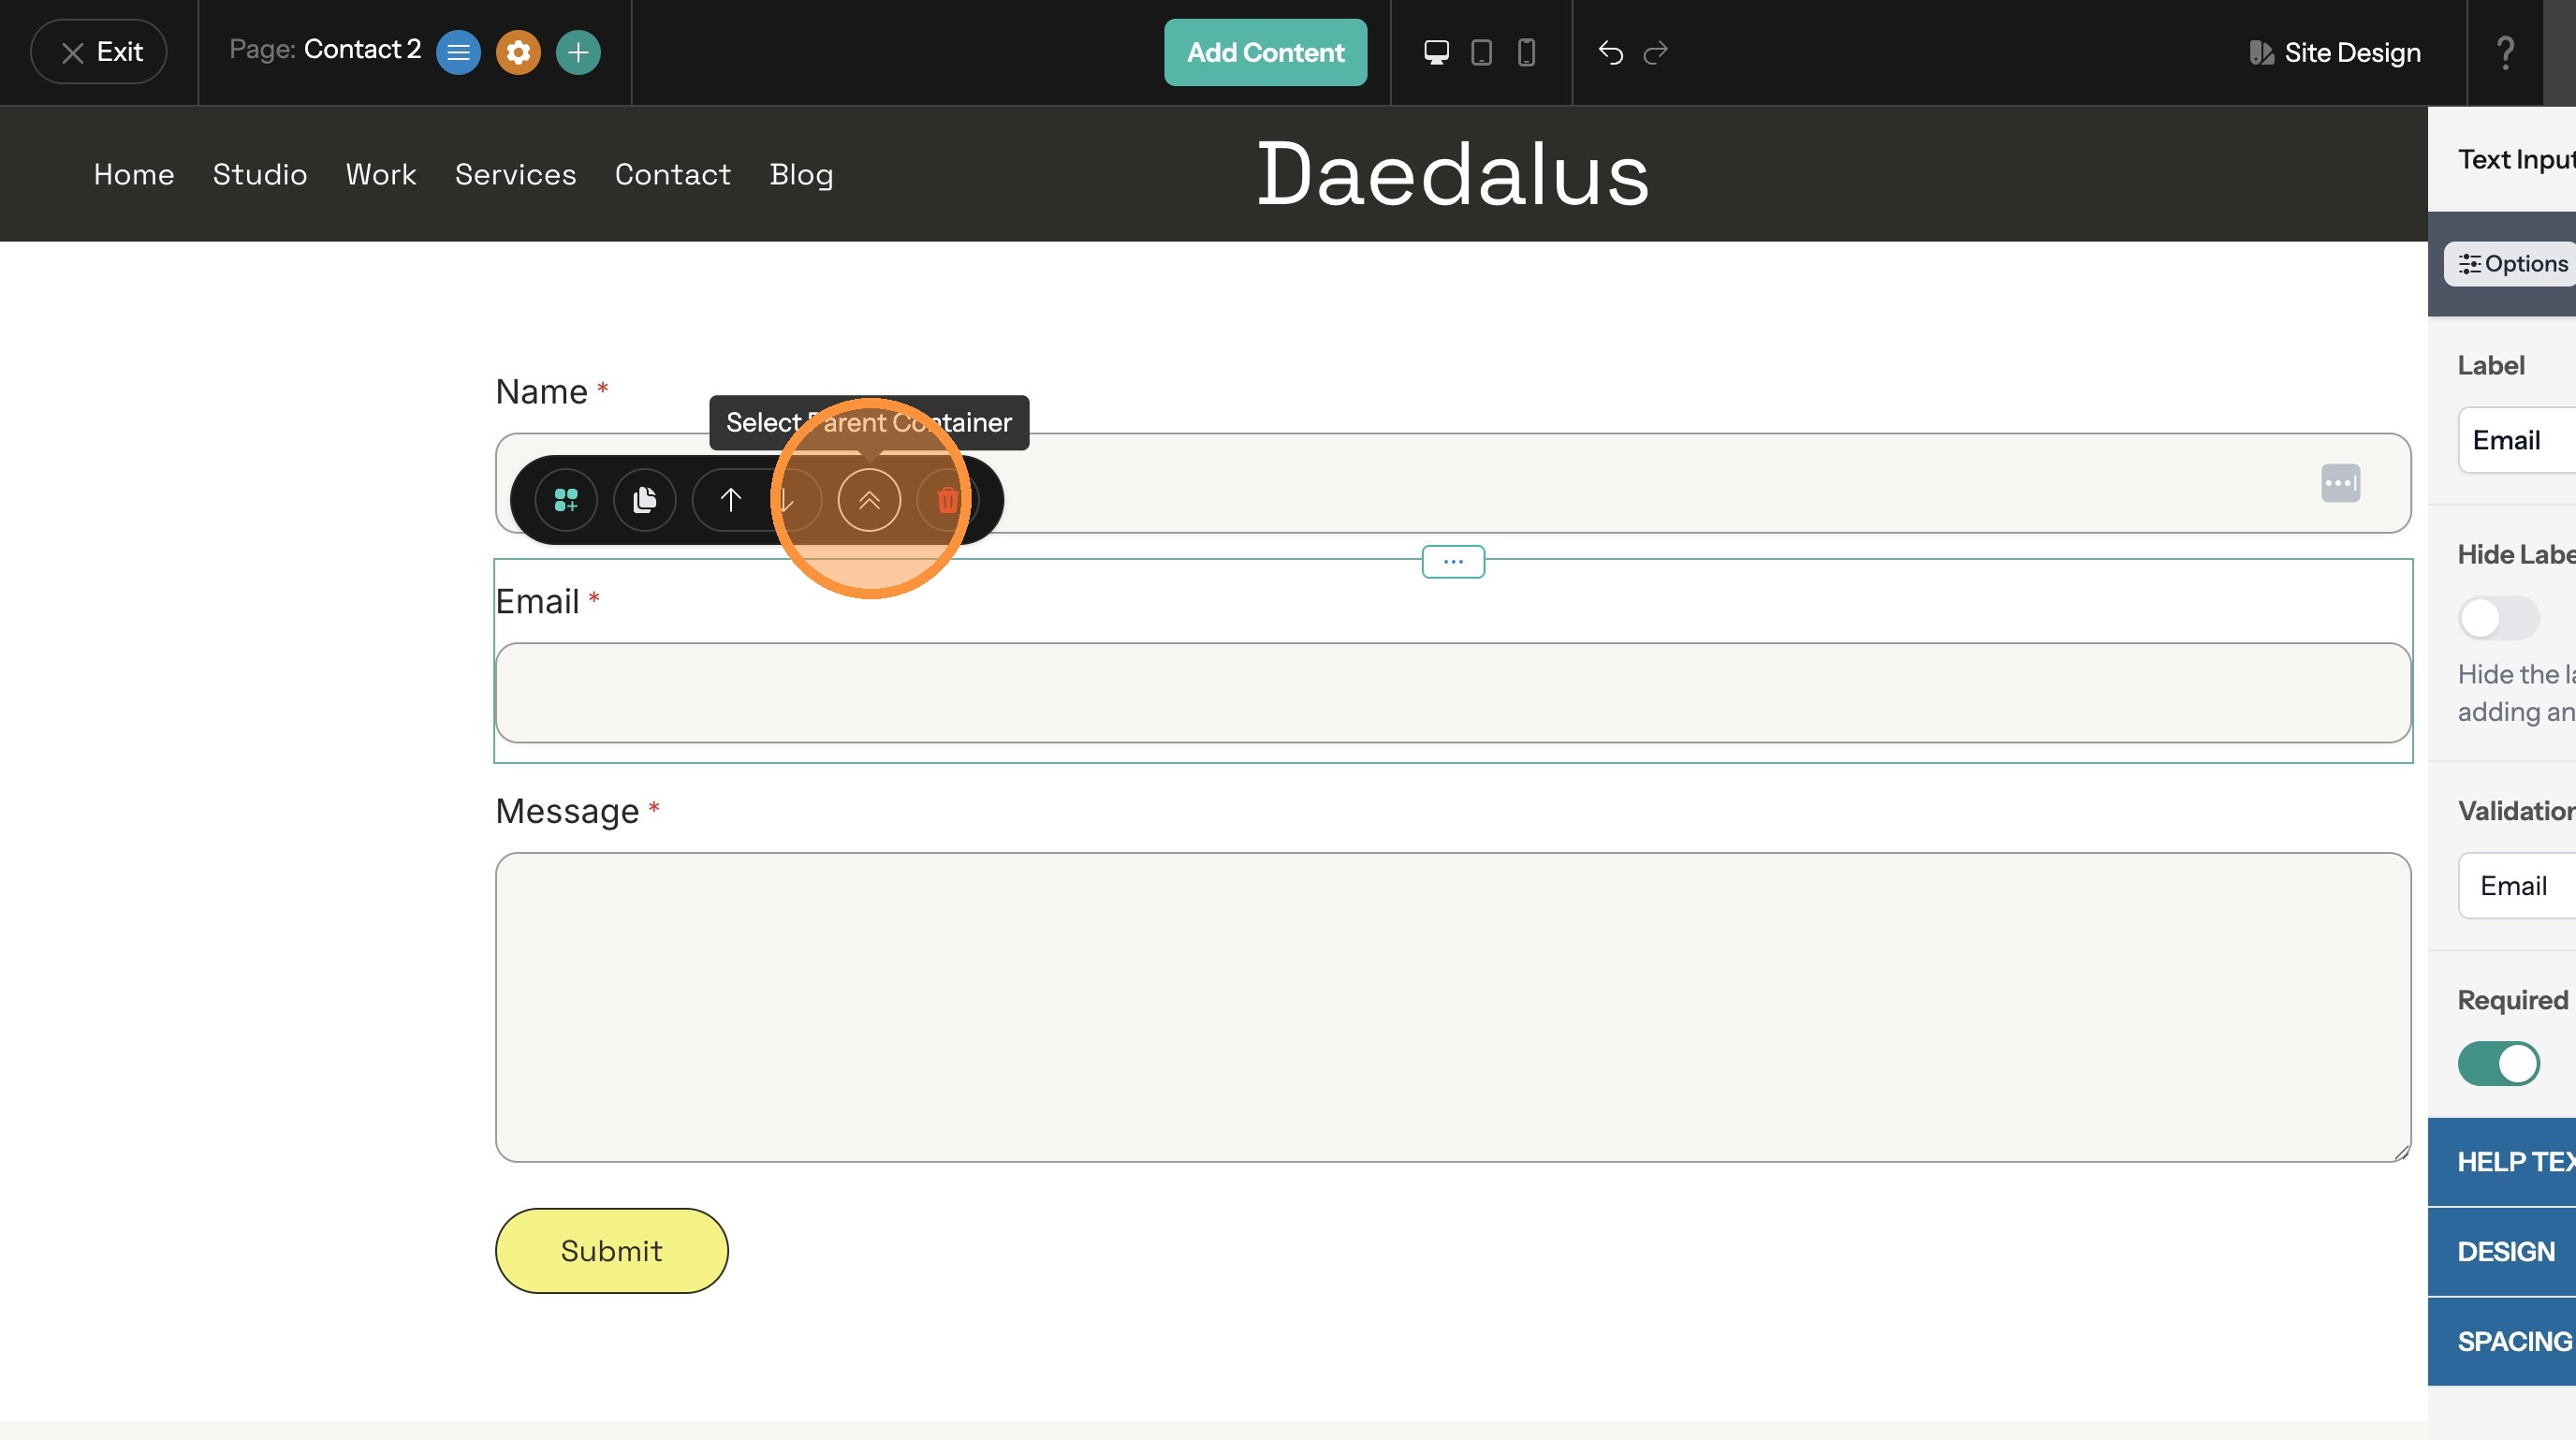
View the Form Options
6. Click on any field inside the form.
7. Click the Select Parent Container button in the toolbar. This selects the form and opens the options panel.
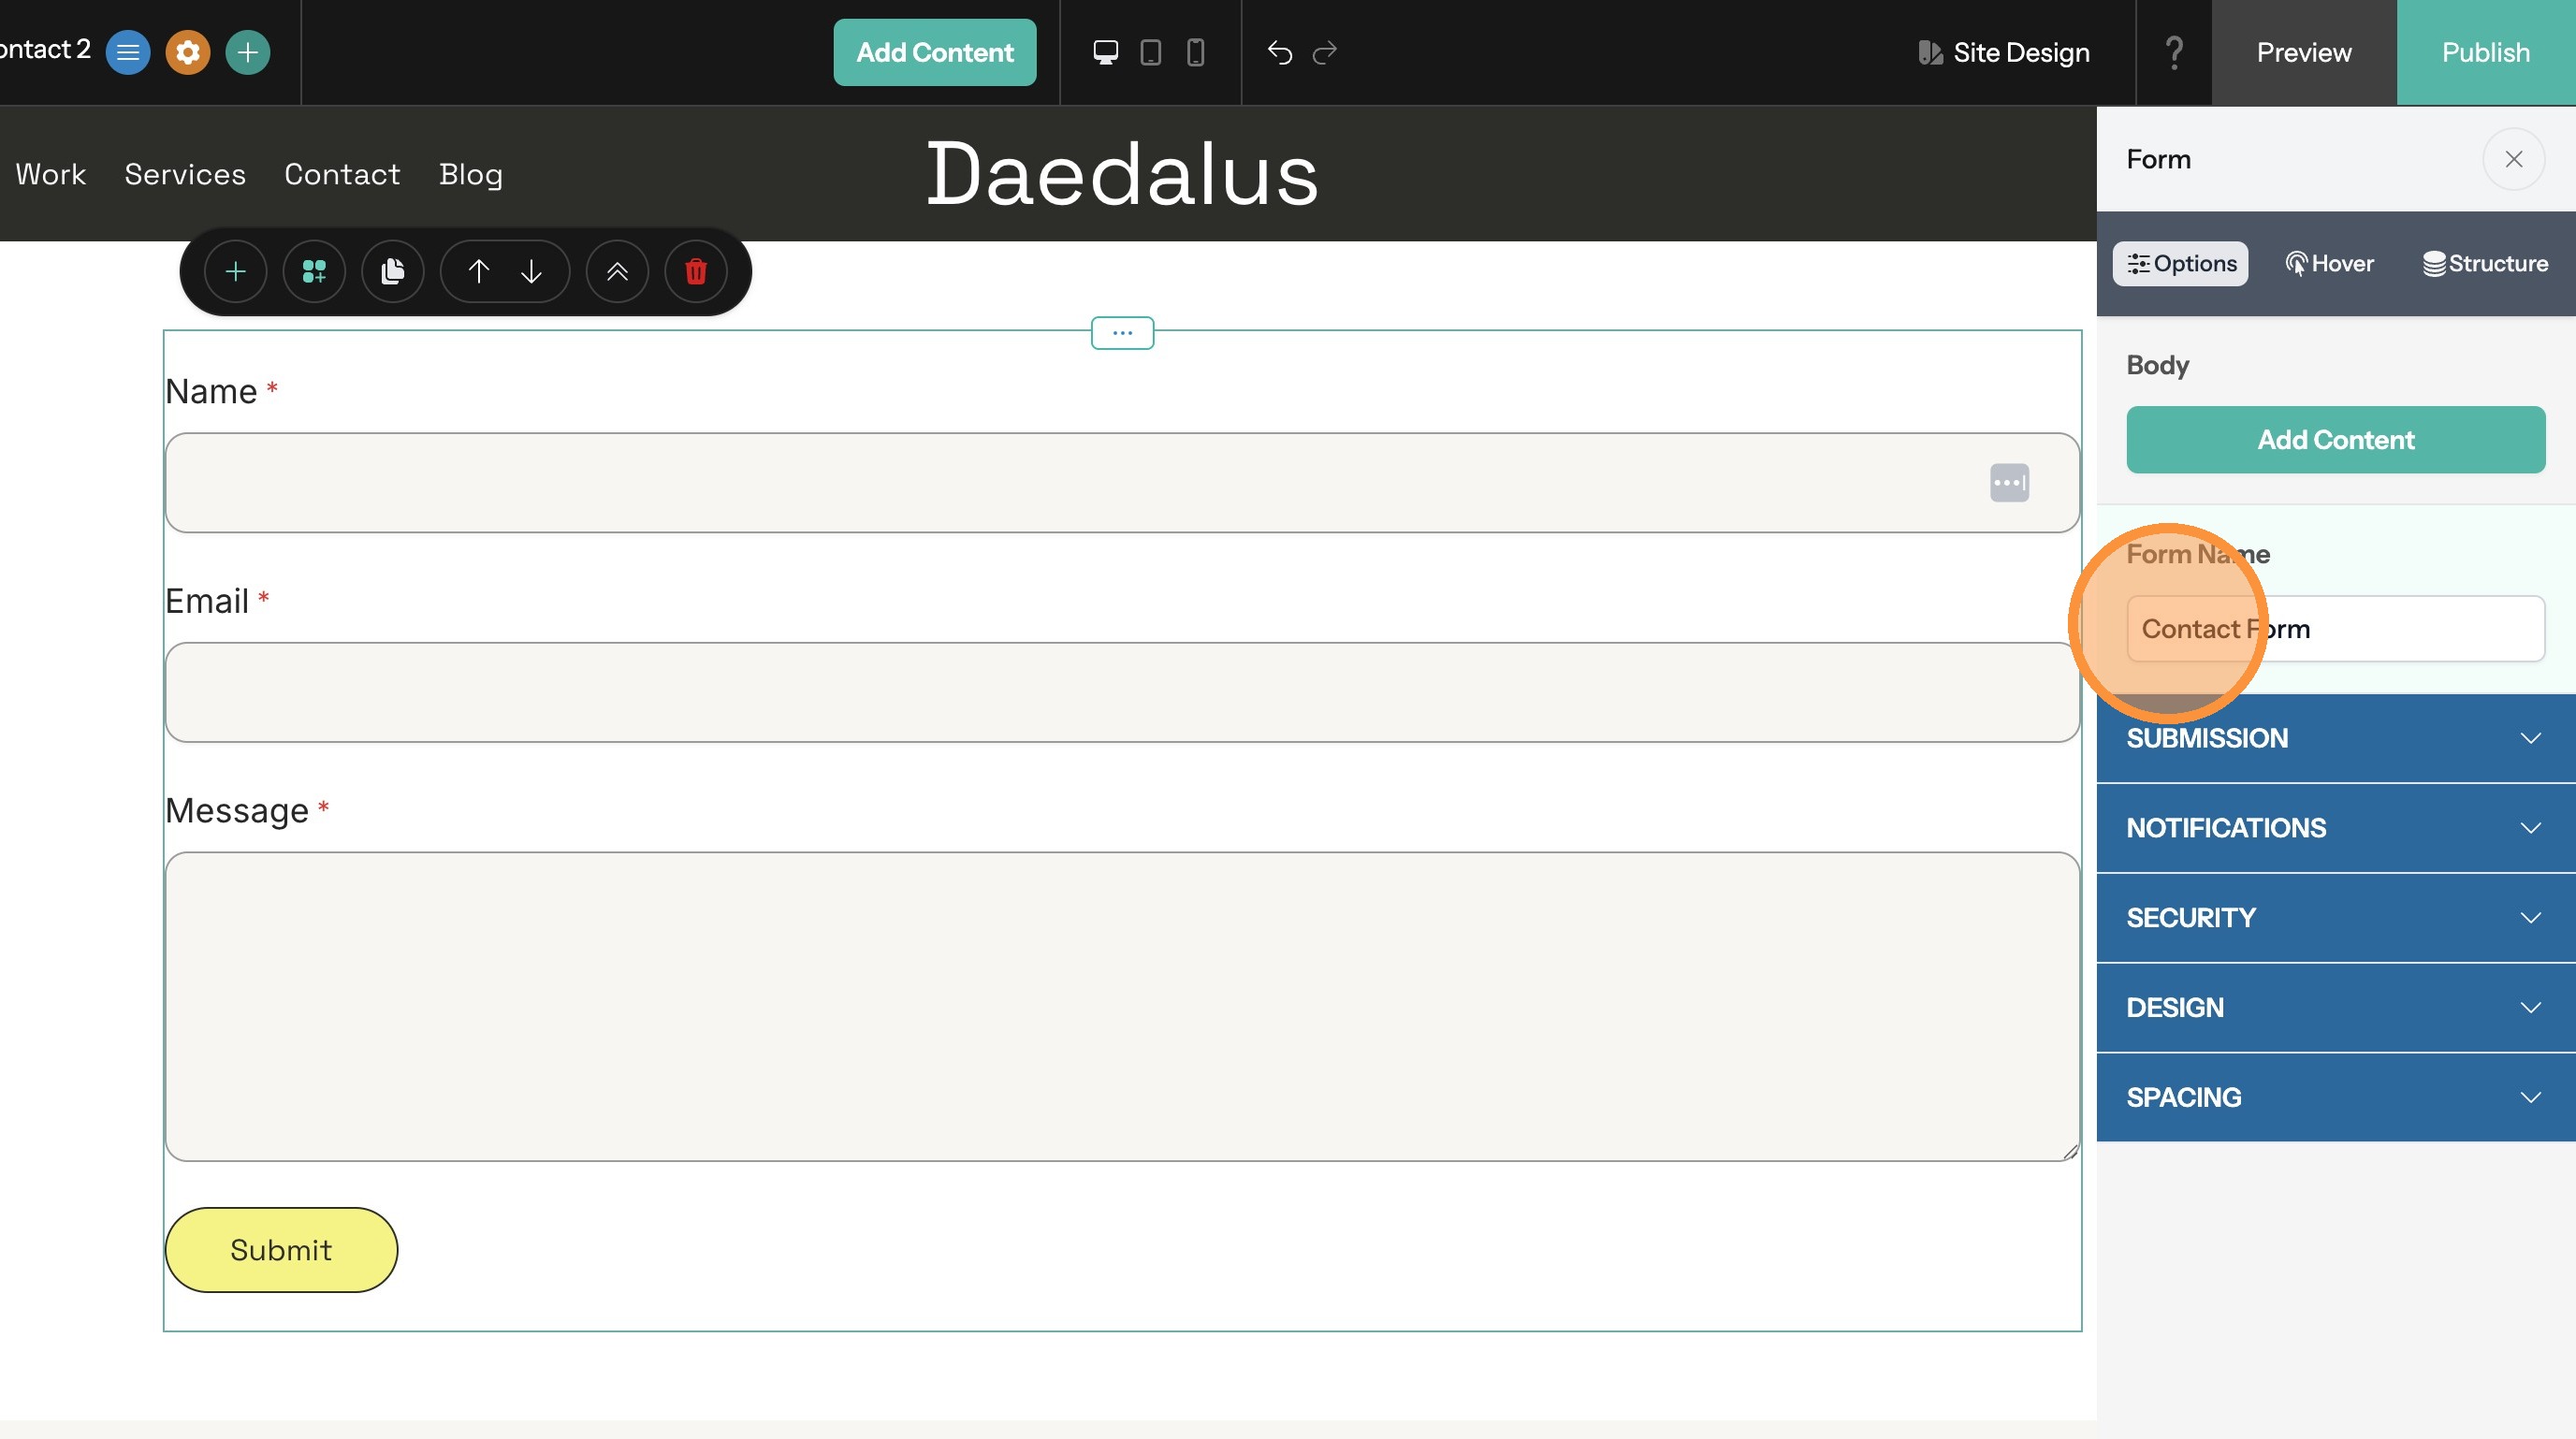
Name the Form
Tip: Giving your forms unique names will help when viewing form entries later.
8. Enter the form's name here.
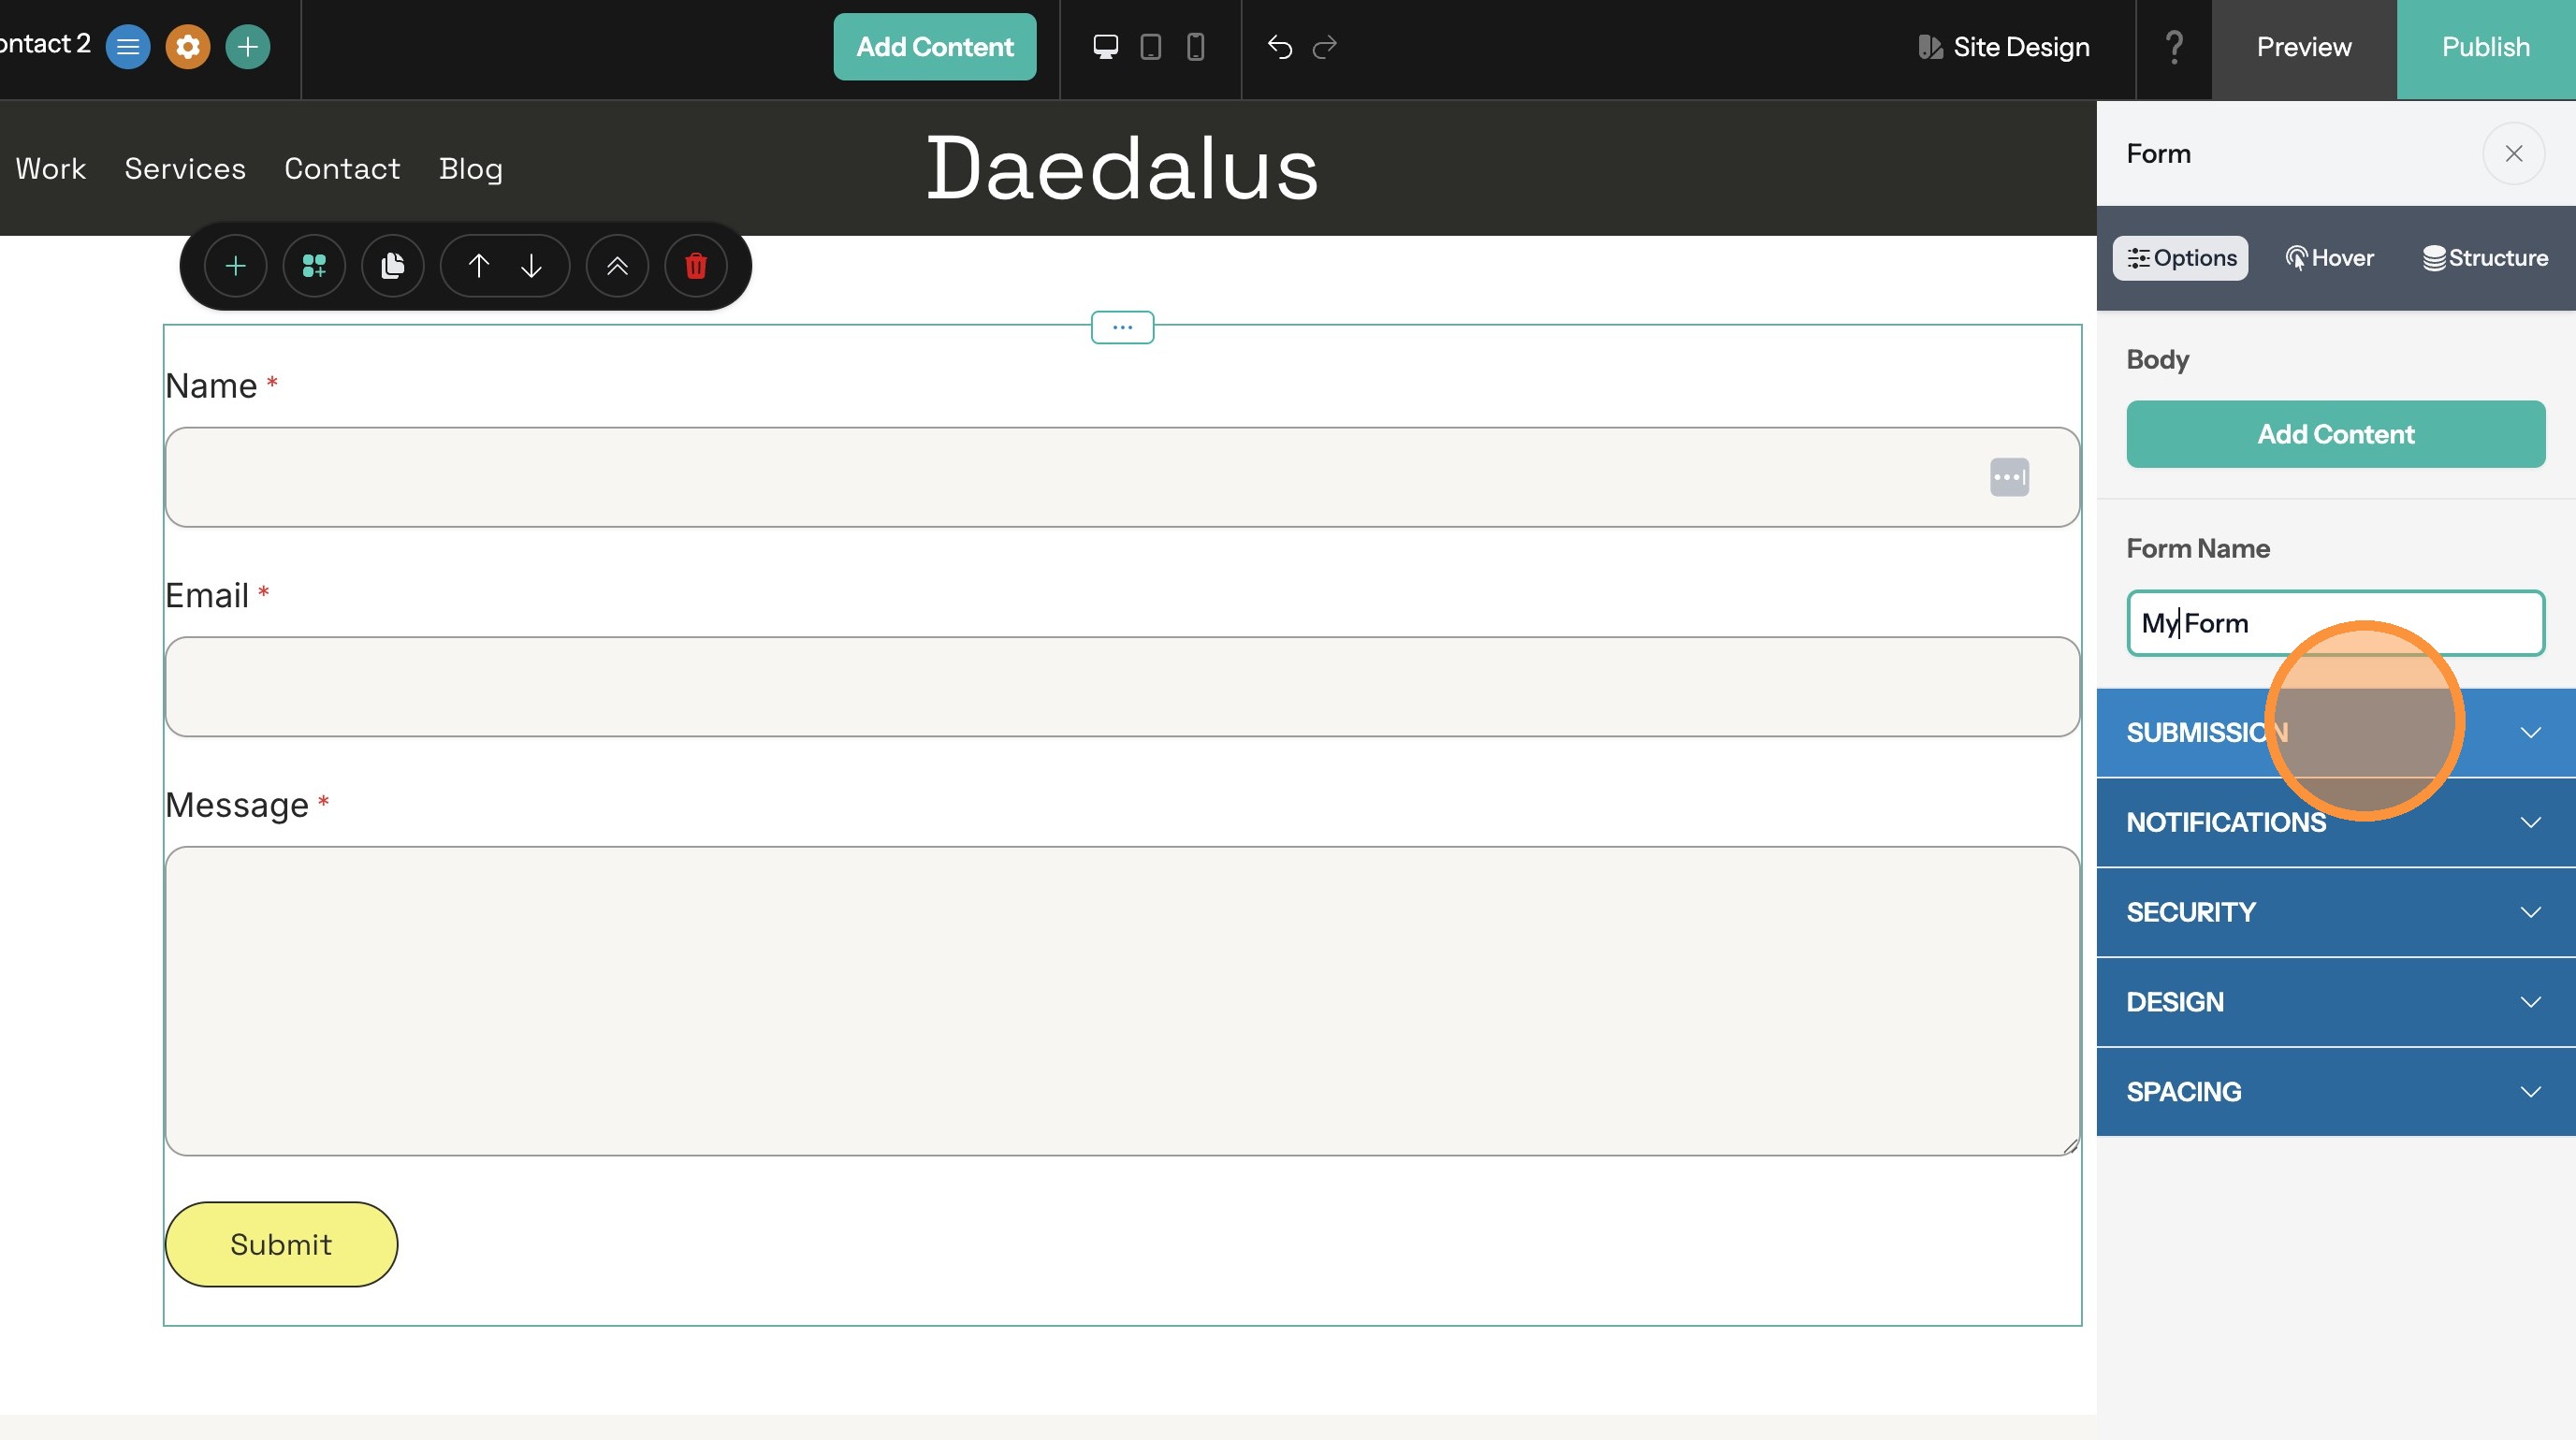
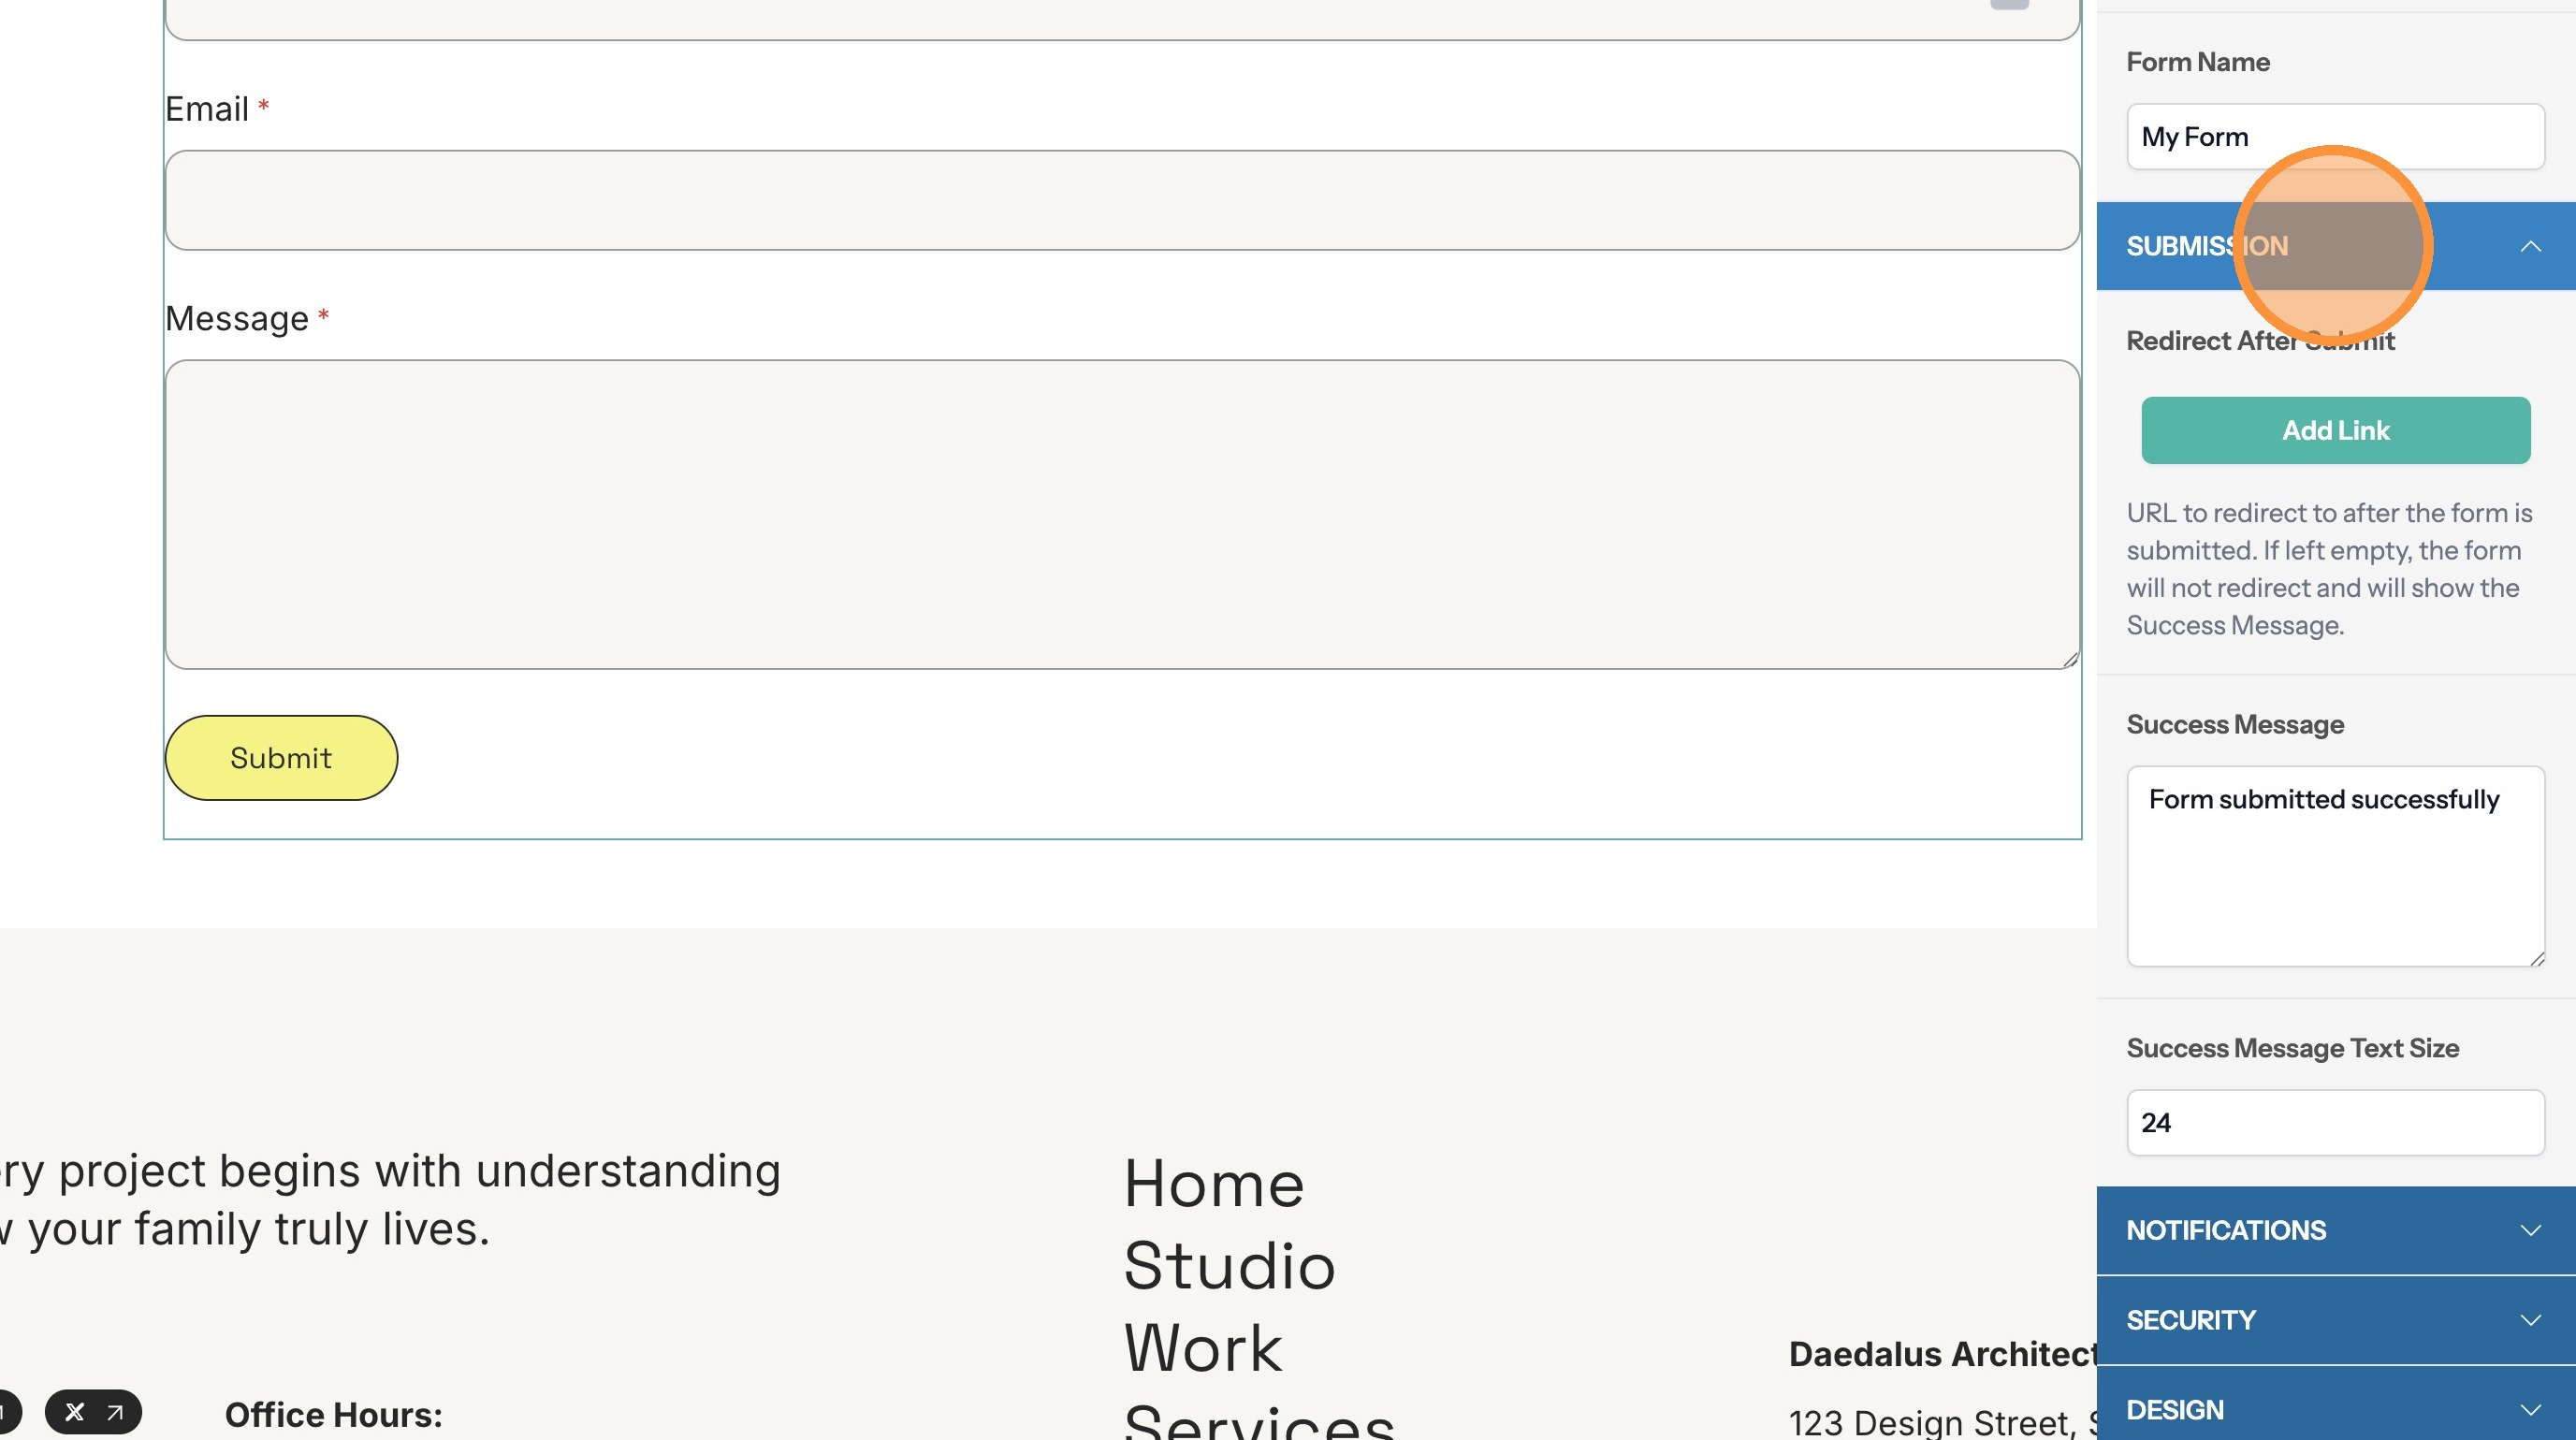
Determine What Happens When a Form is Submitted
9. Click "Submission"
10. Click Add Link to redirect the site visitor to another page when the form is submitted or update the Success Message which will be shown if there is no redirect link.
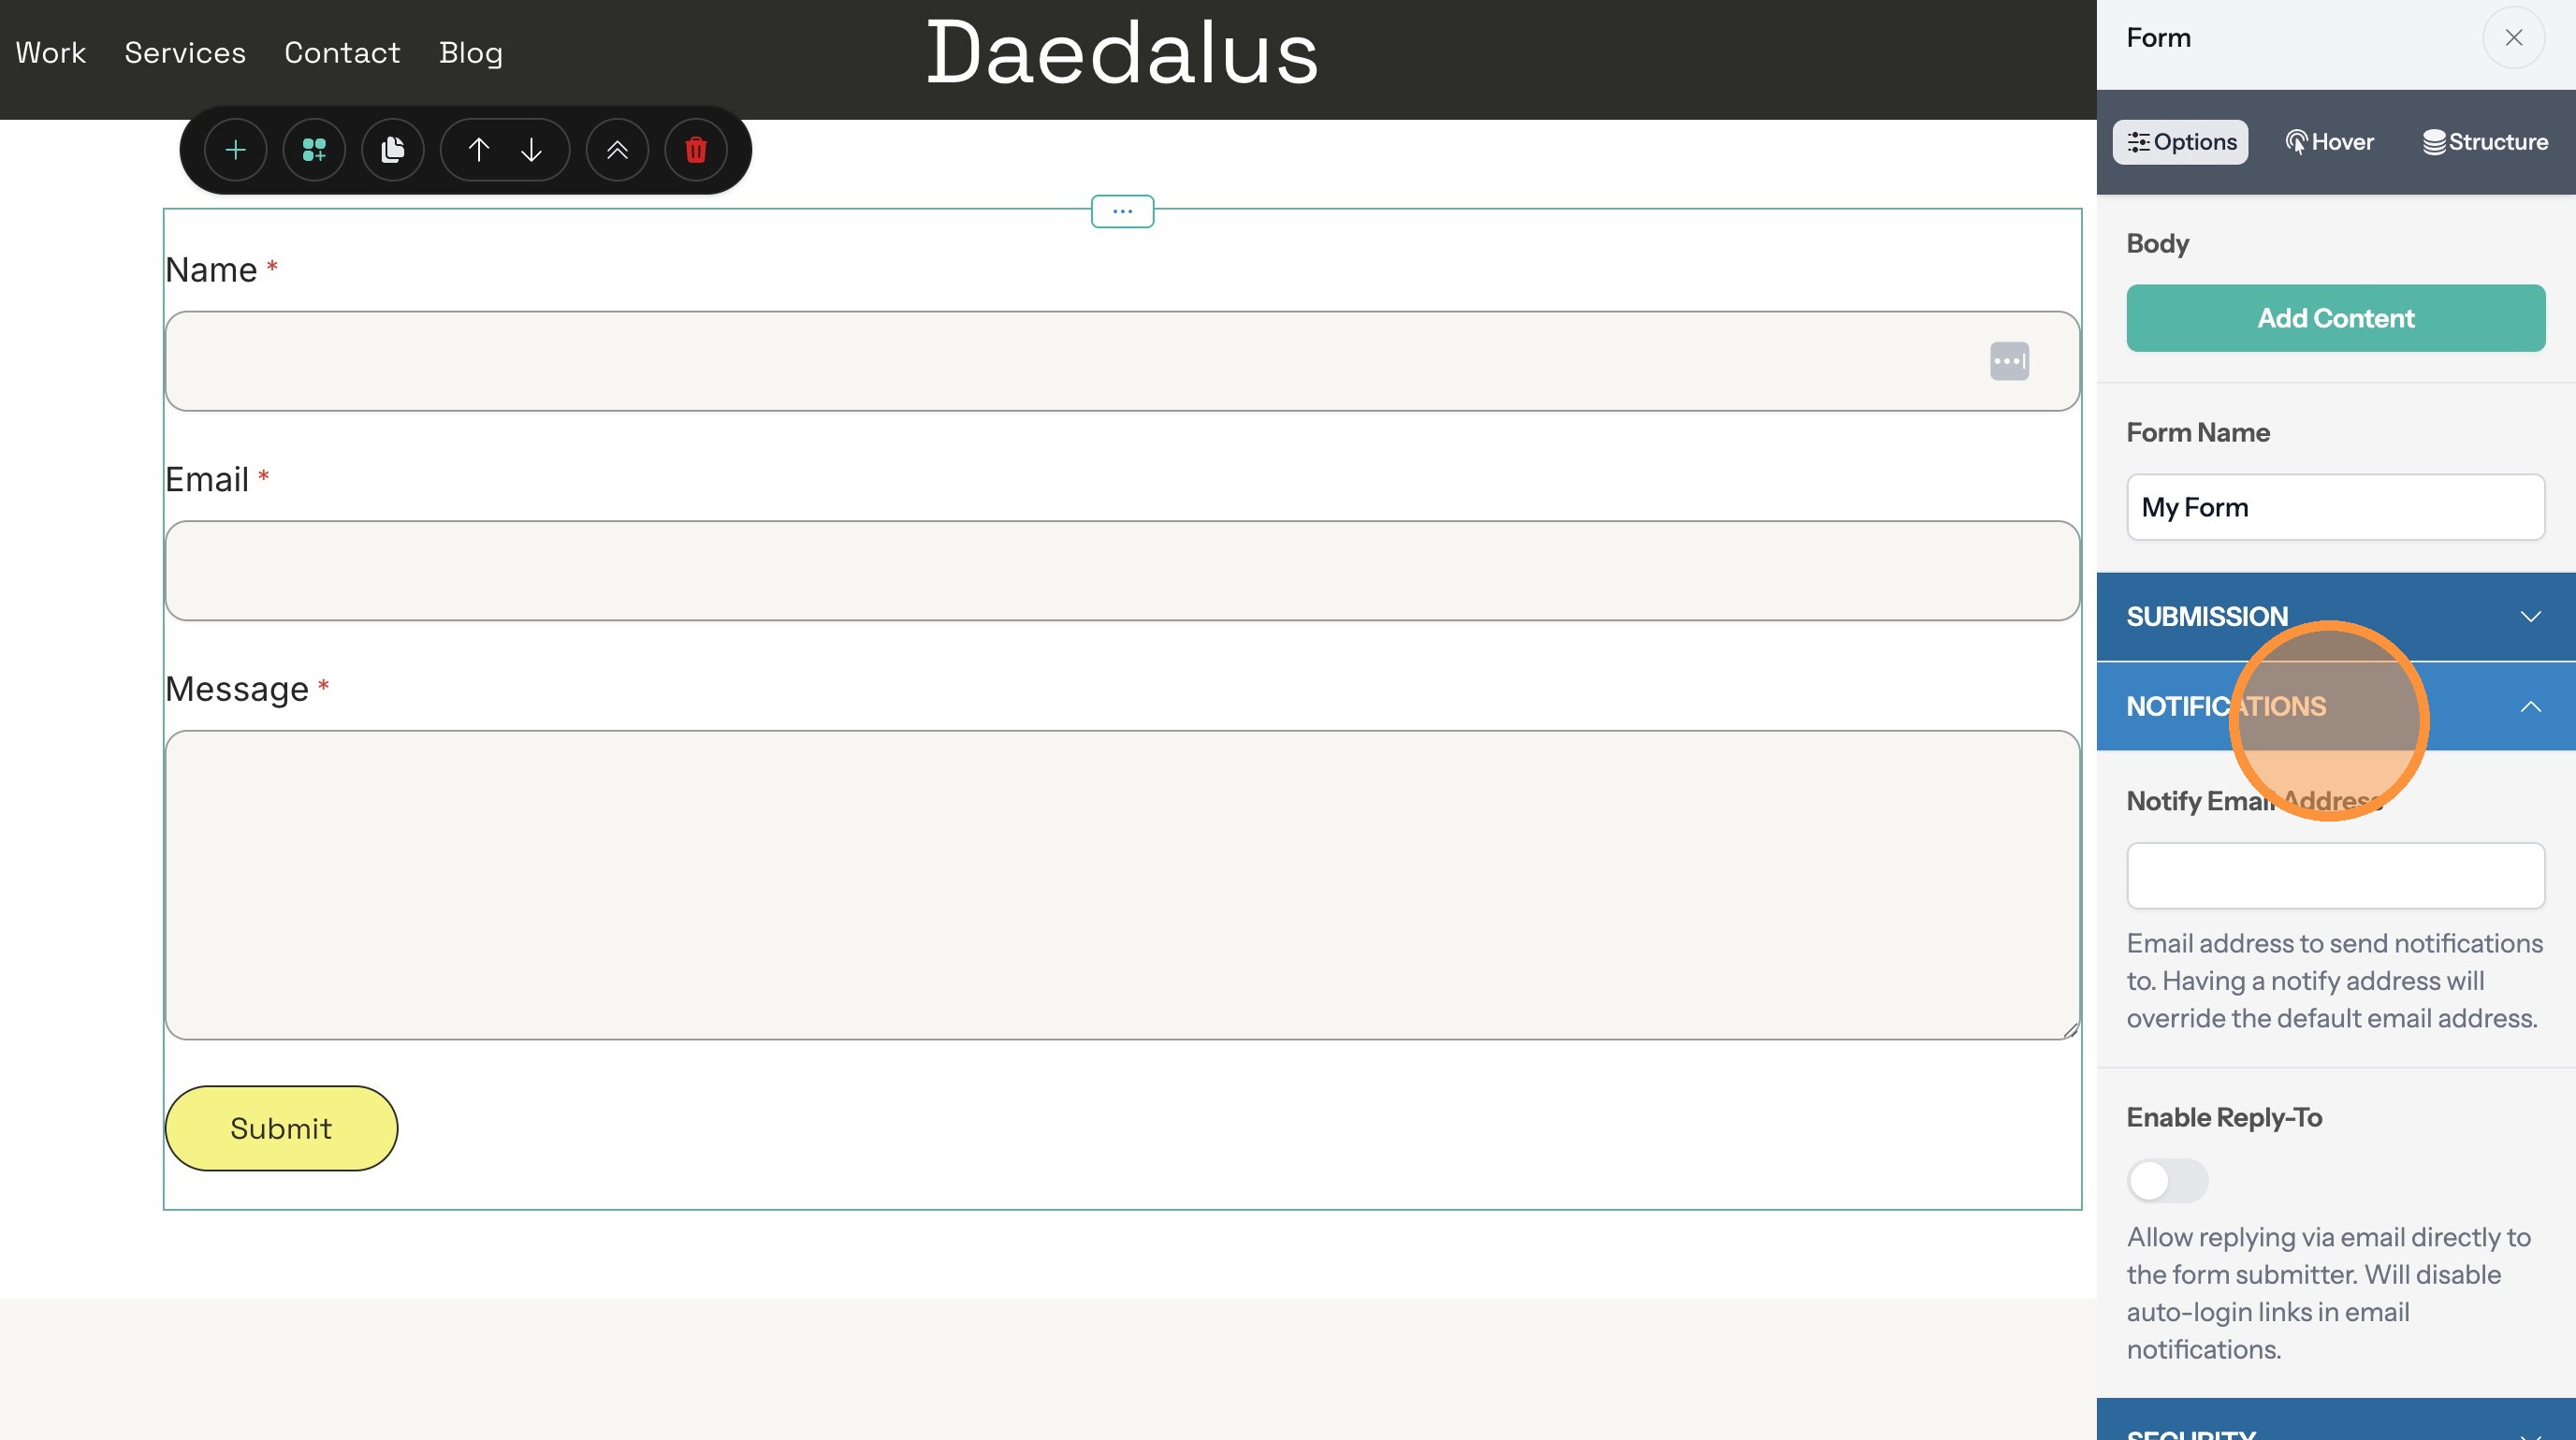
Receive Notifications When a Form is Submitted
11. Click "Notifications"
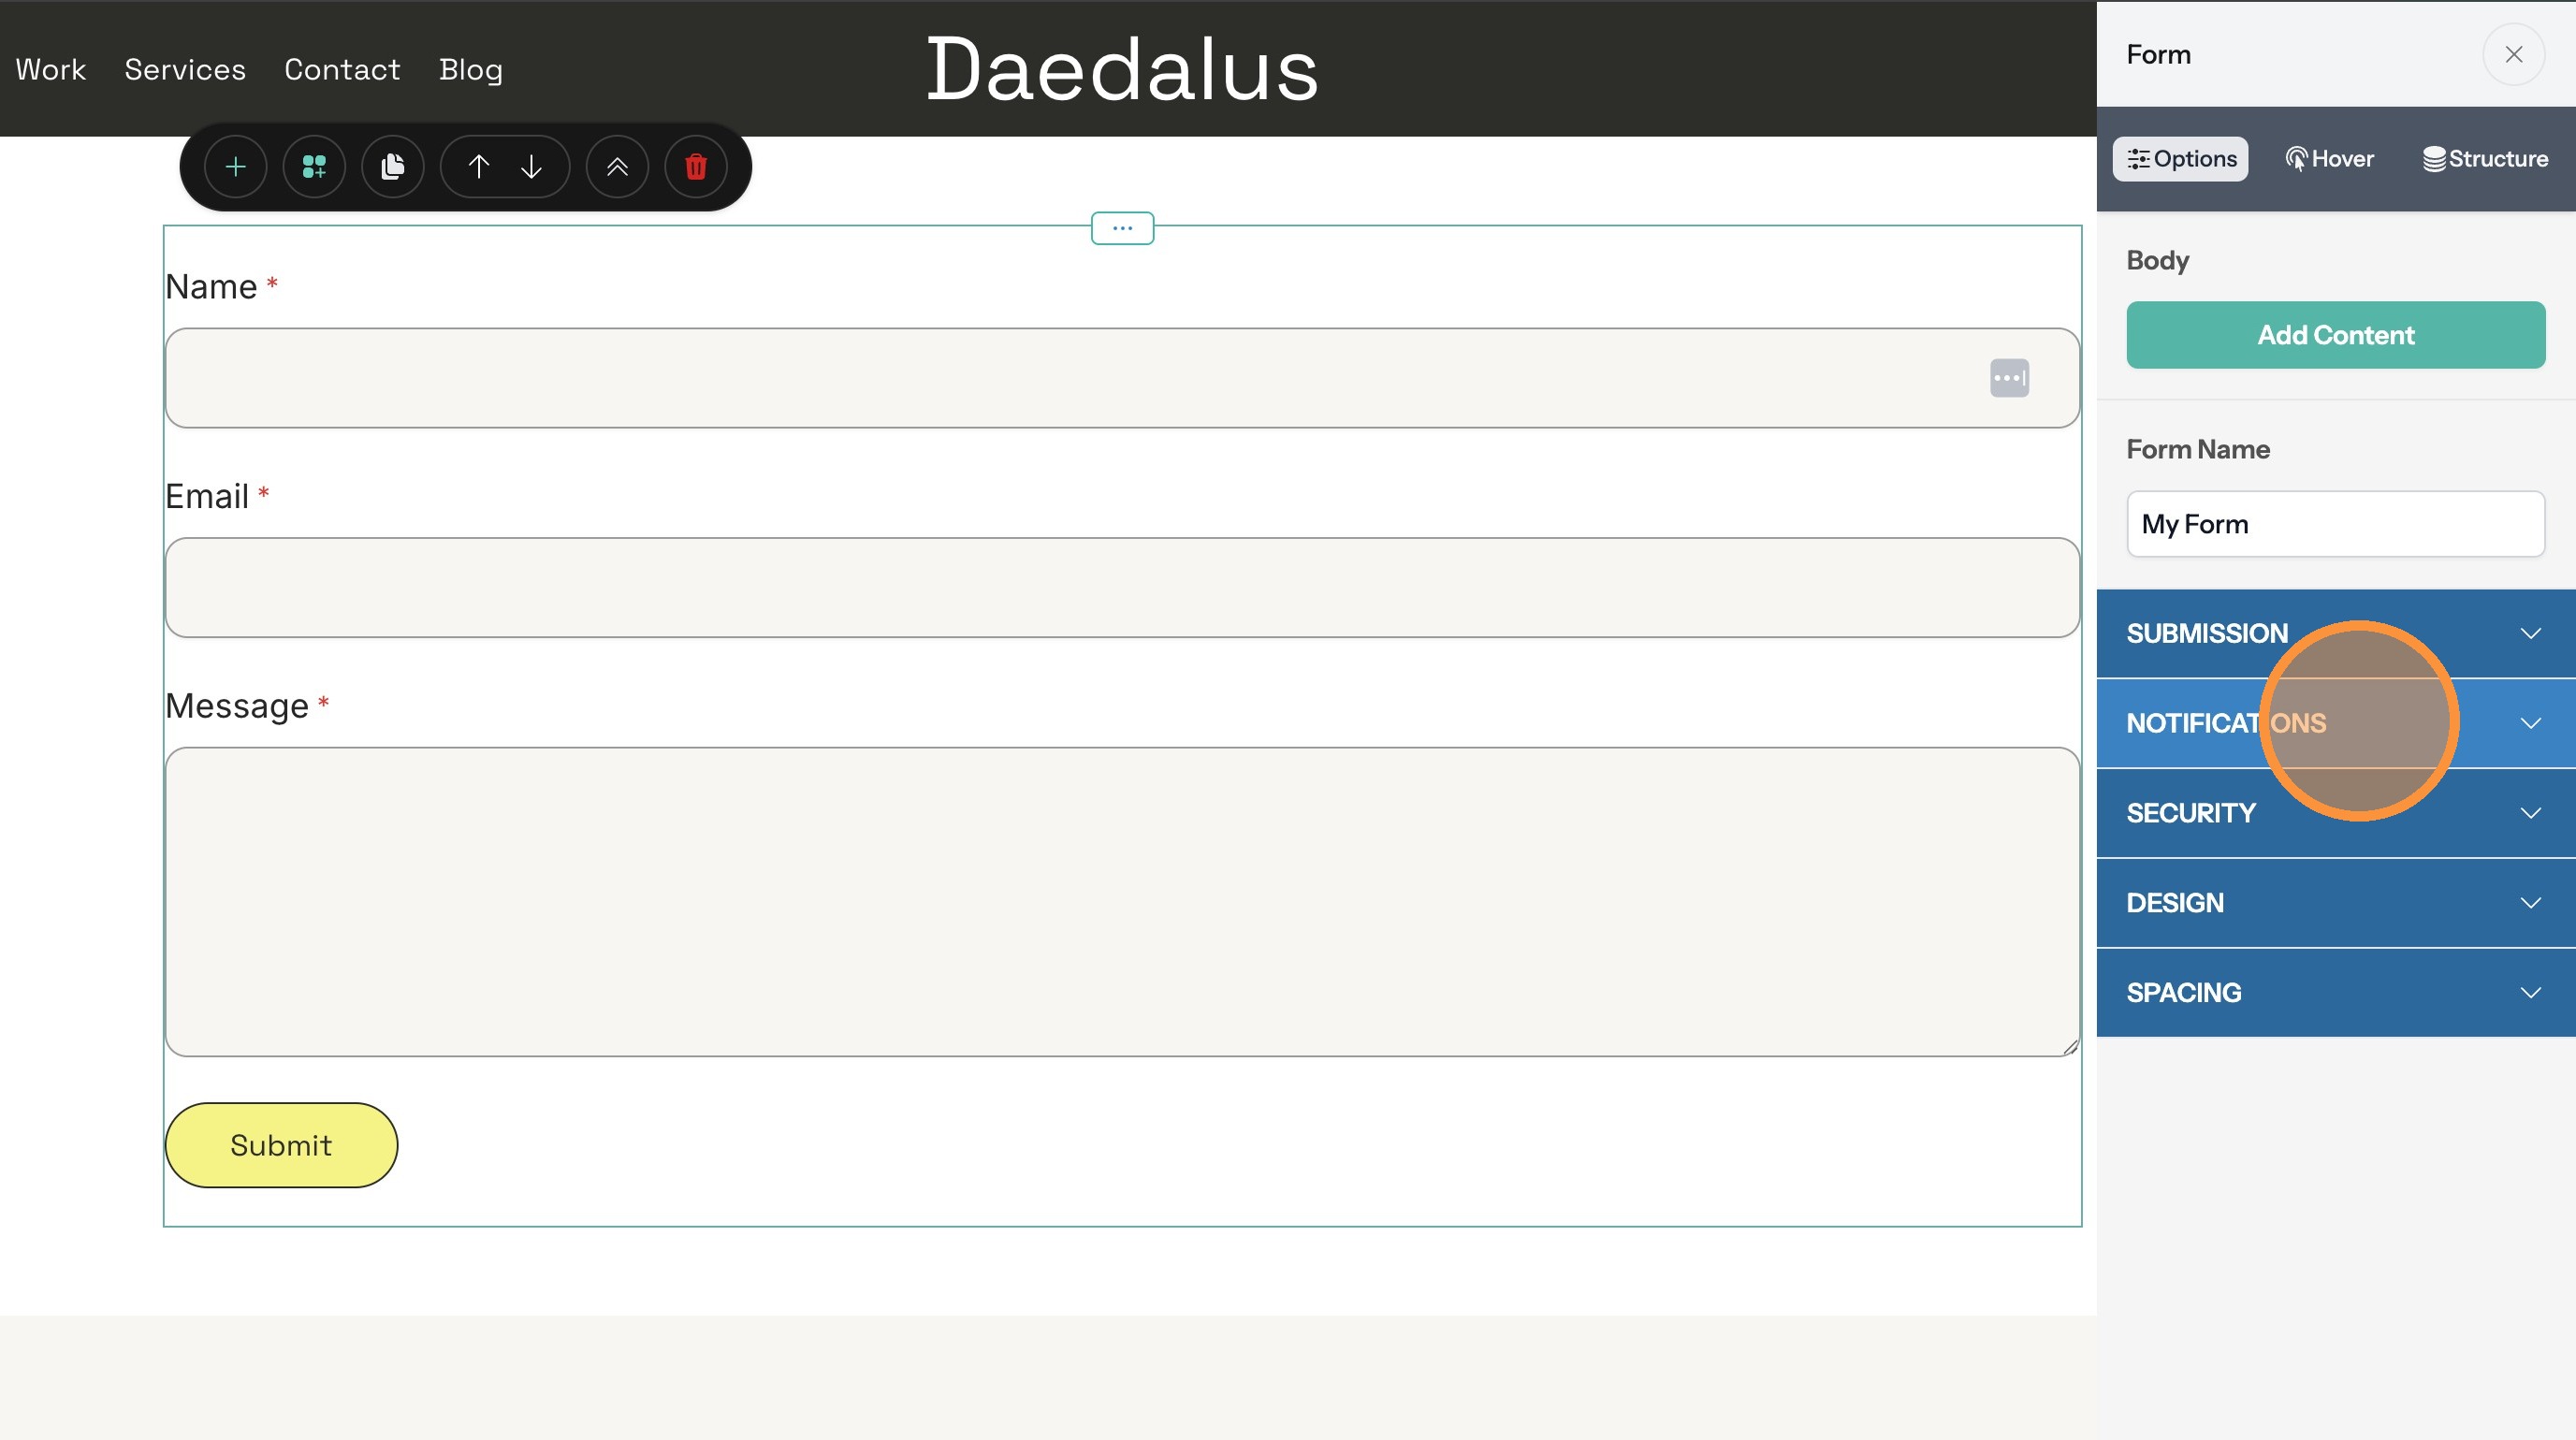
12. By default the site owner will receive an email when a form is submitted. If you want to change the email address that is notified enter it here.
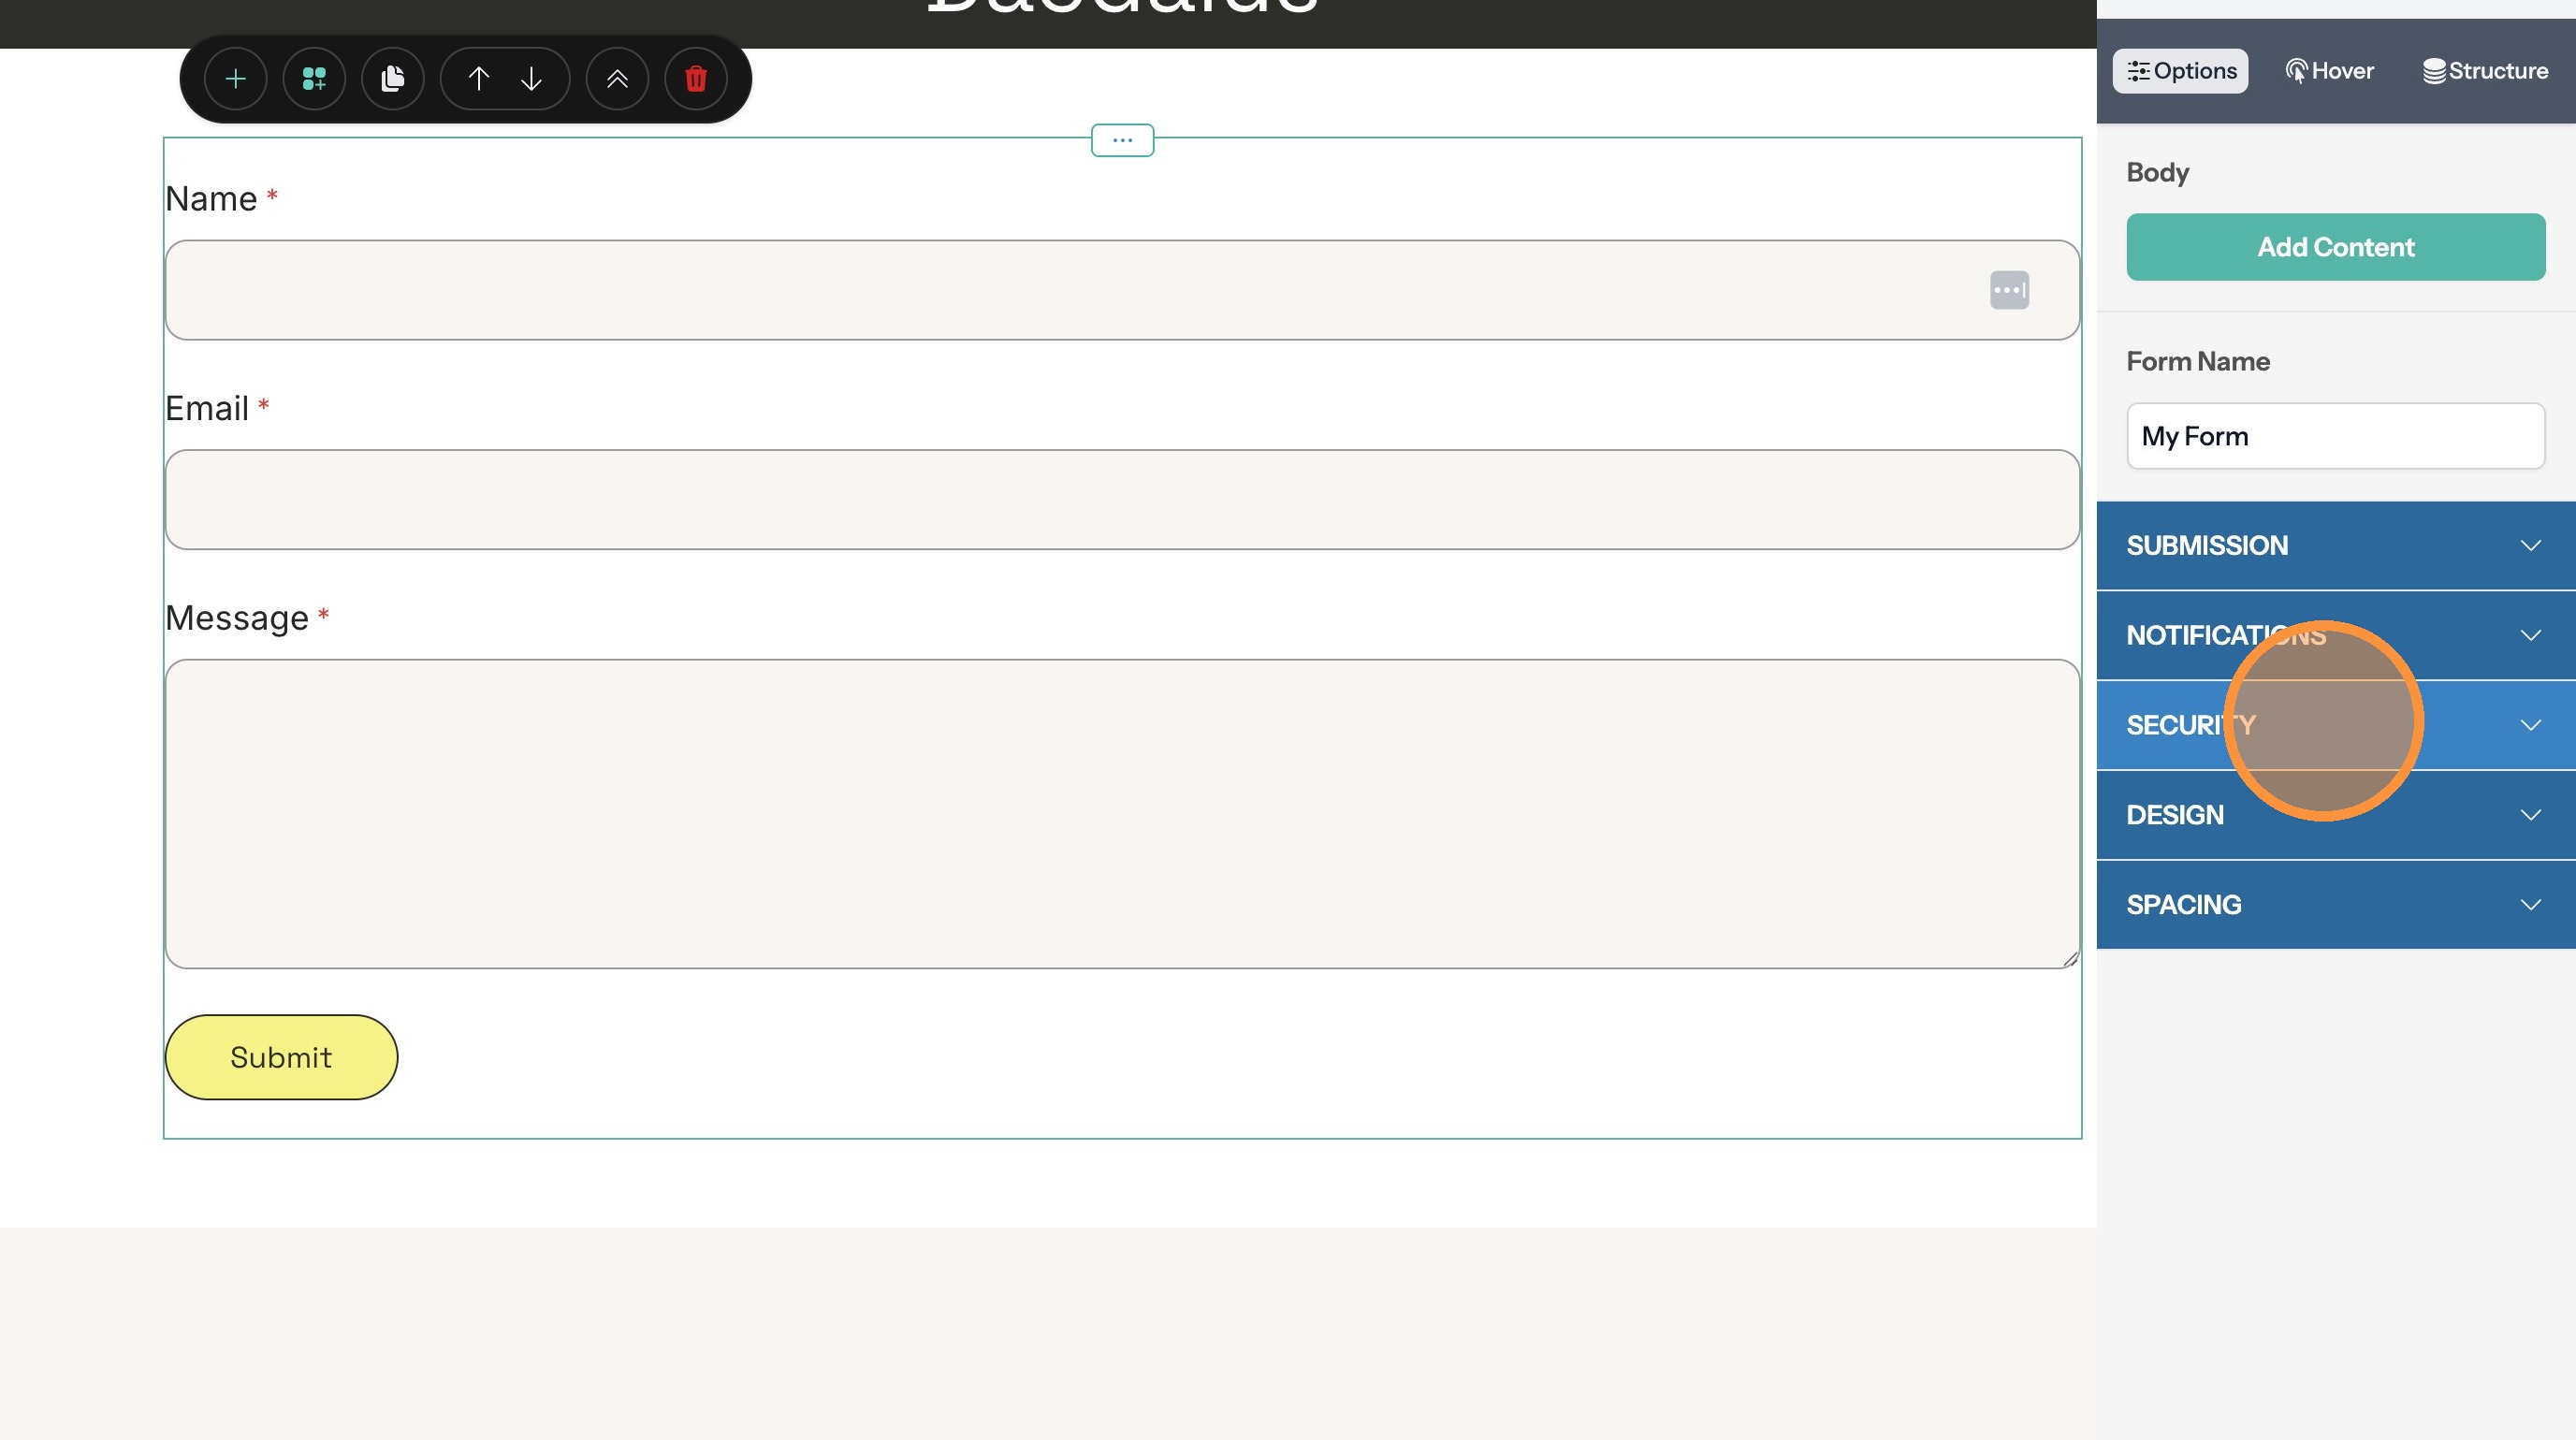
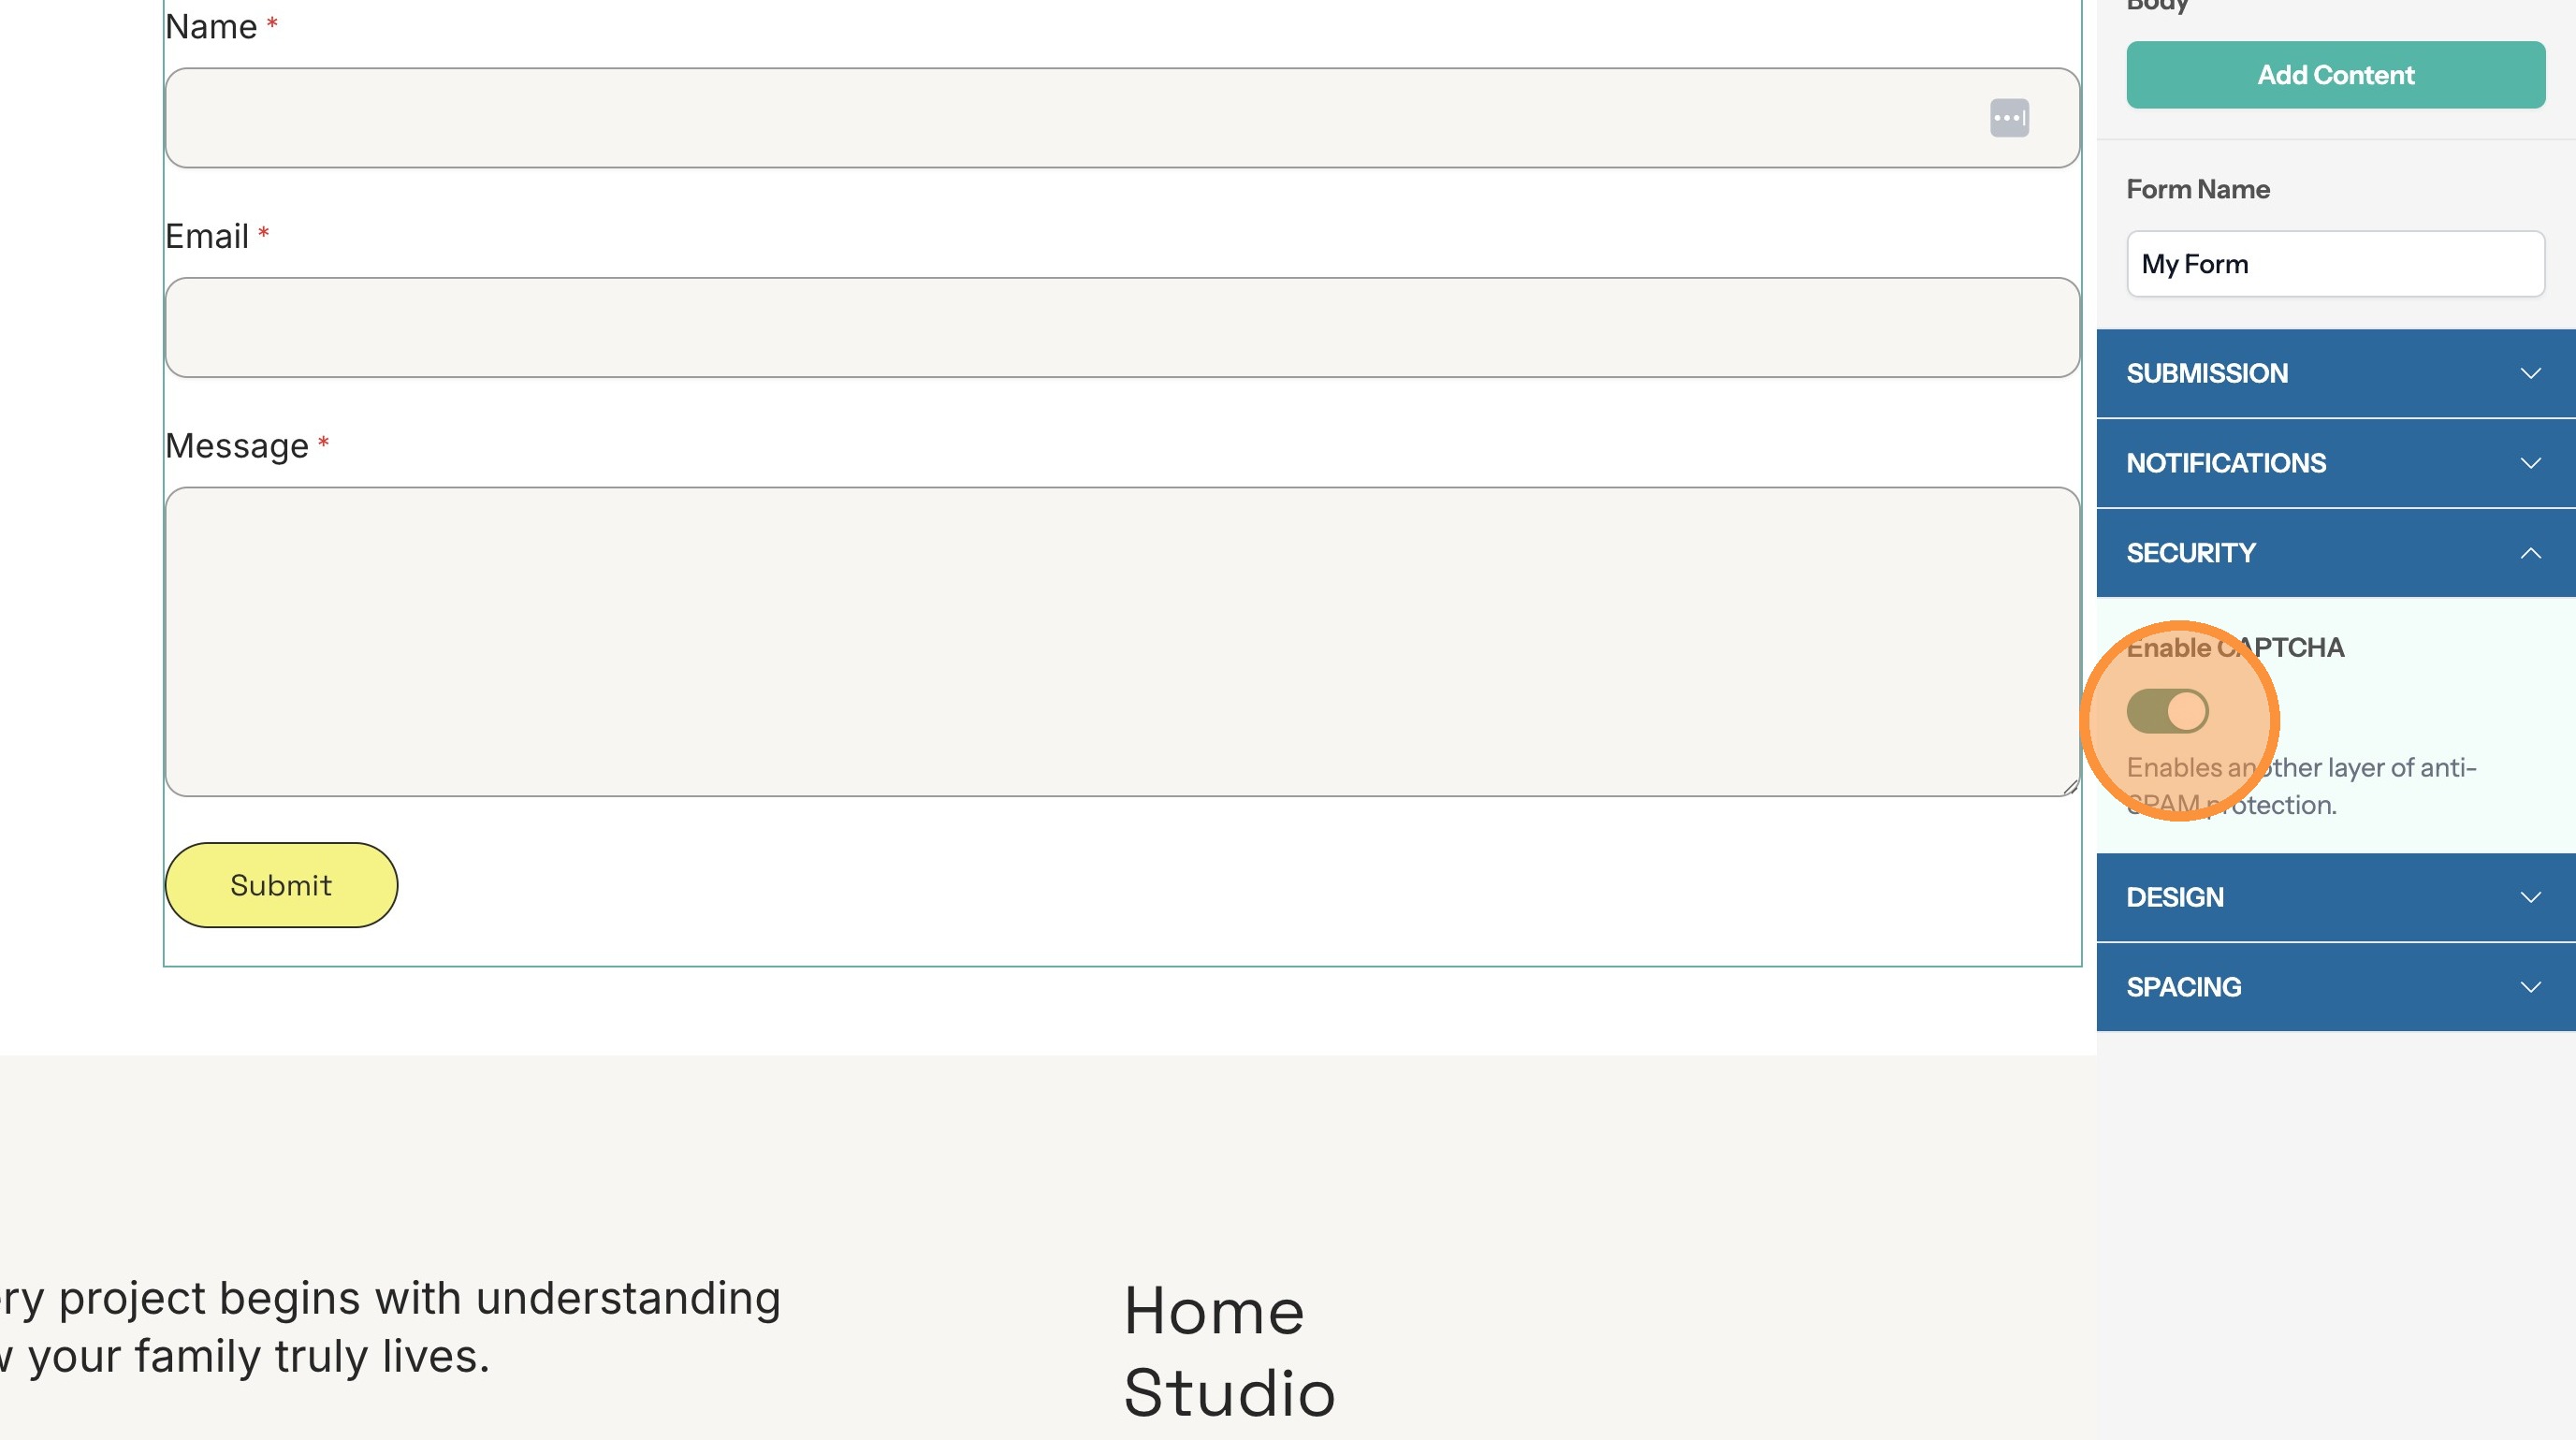
Enable/Disable Captcha
Tip: A captcha is a test shown to site visitors when they attempt to submit a form. It is meant to allow humans through but reject bots.
13. Click "Security"
14. Click here to enable or disable the captcha.
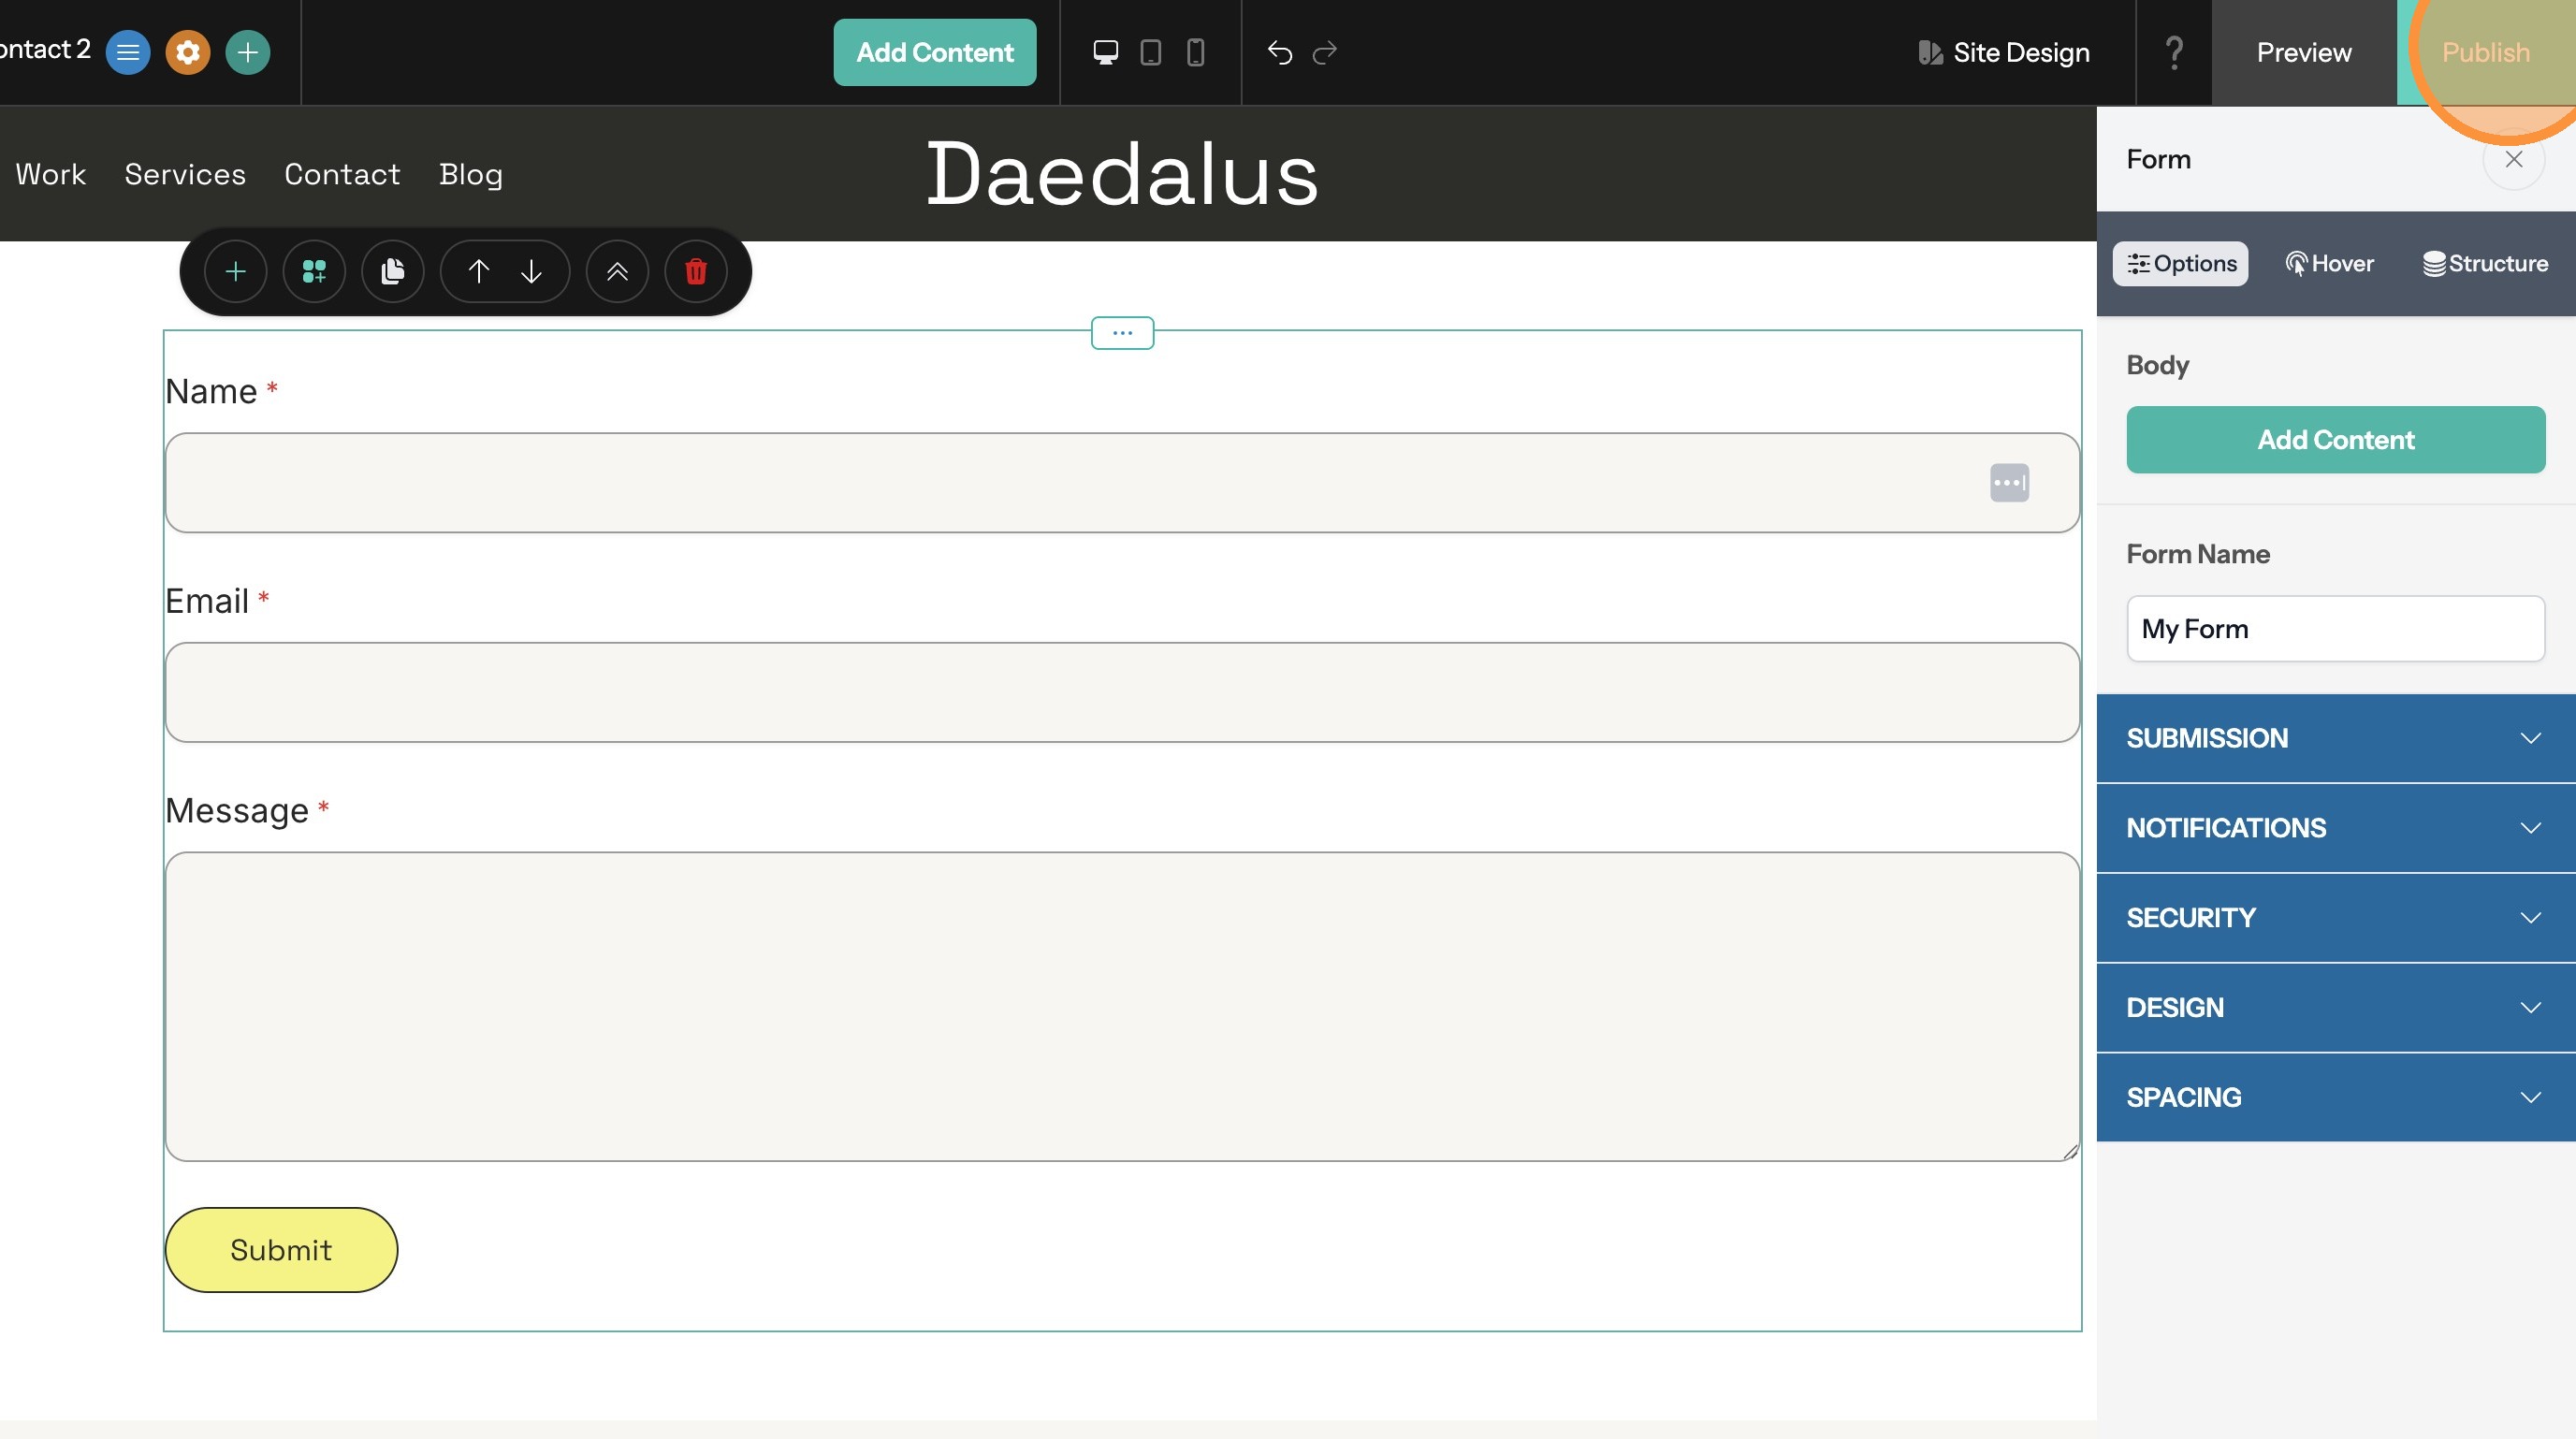
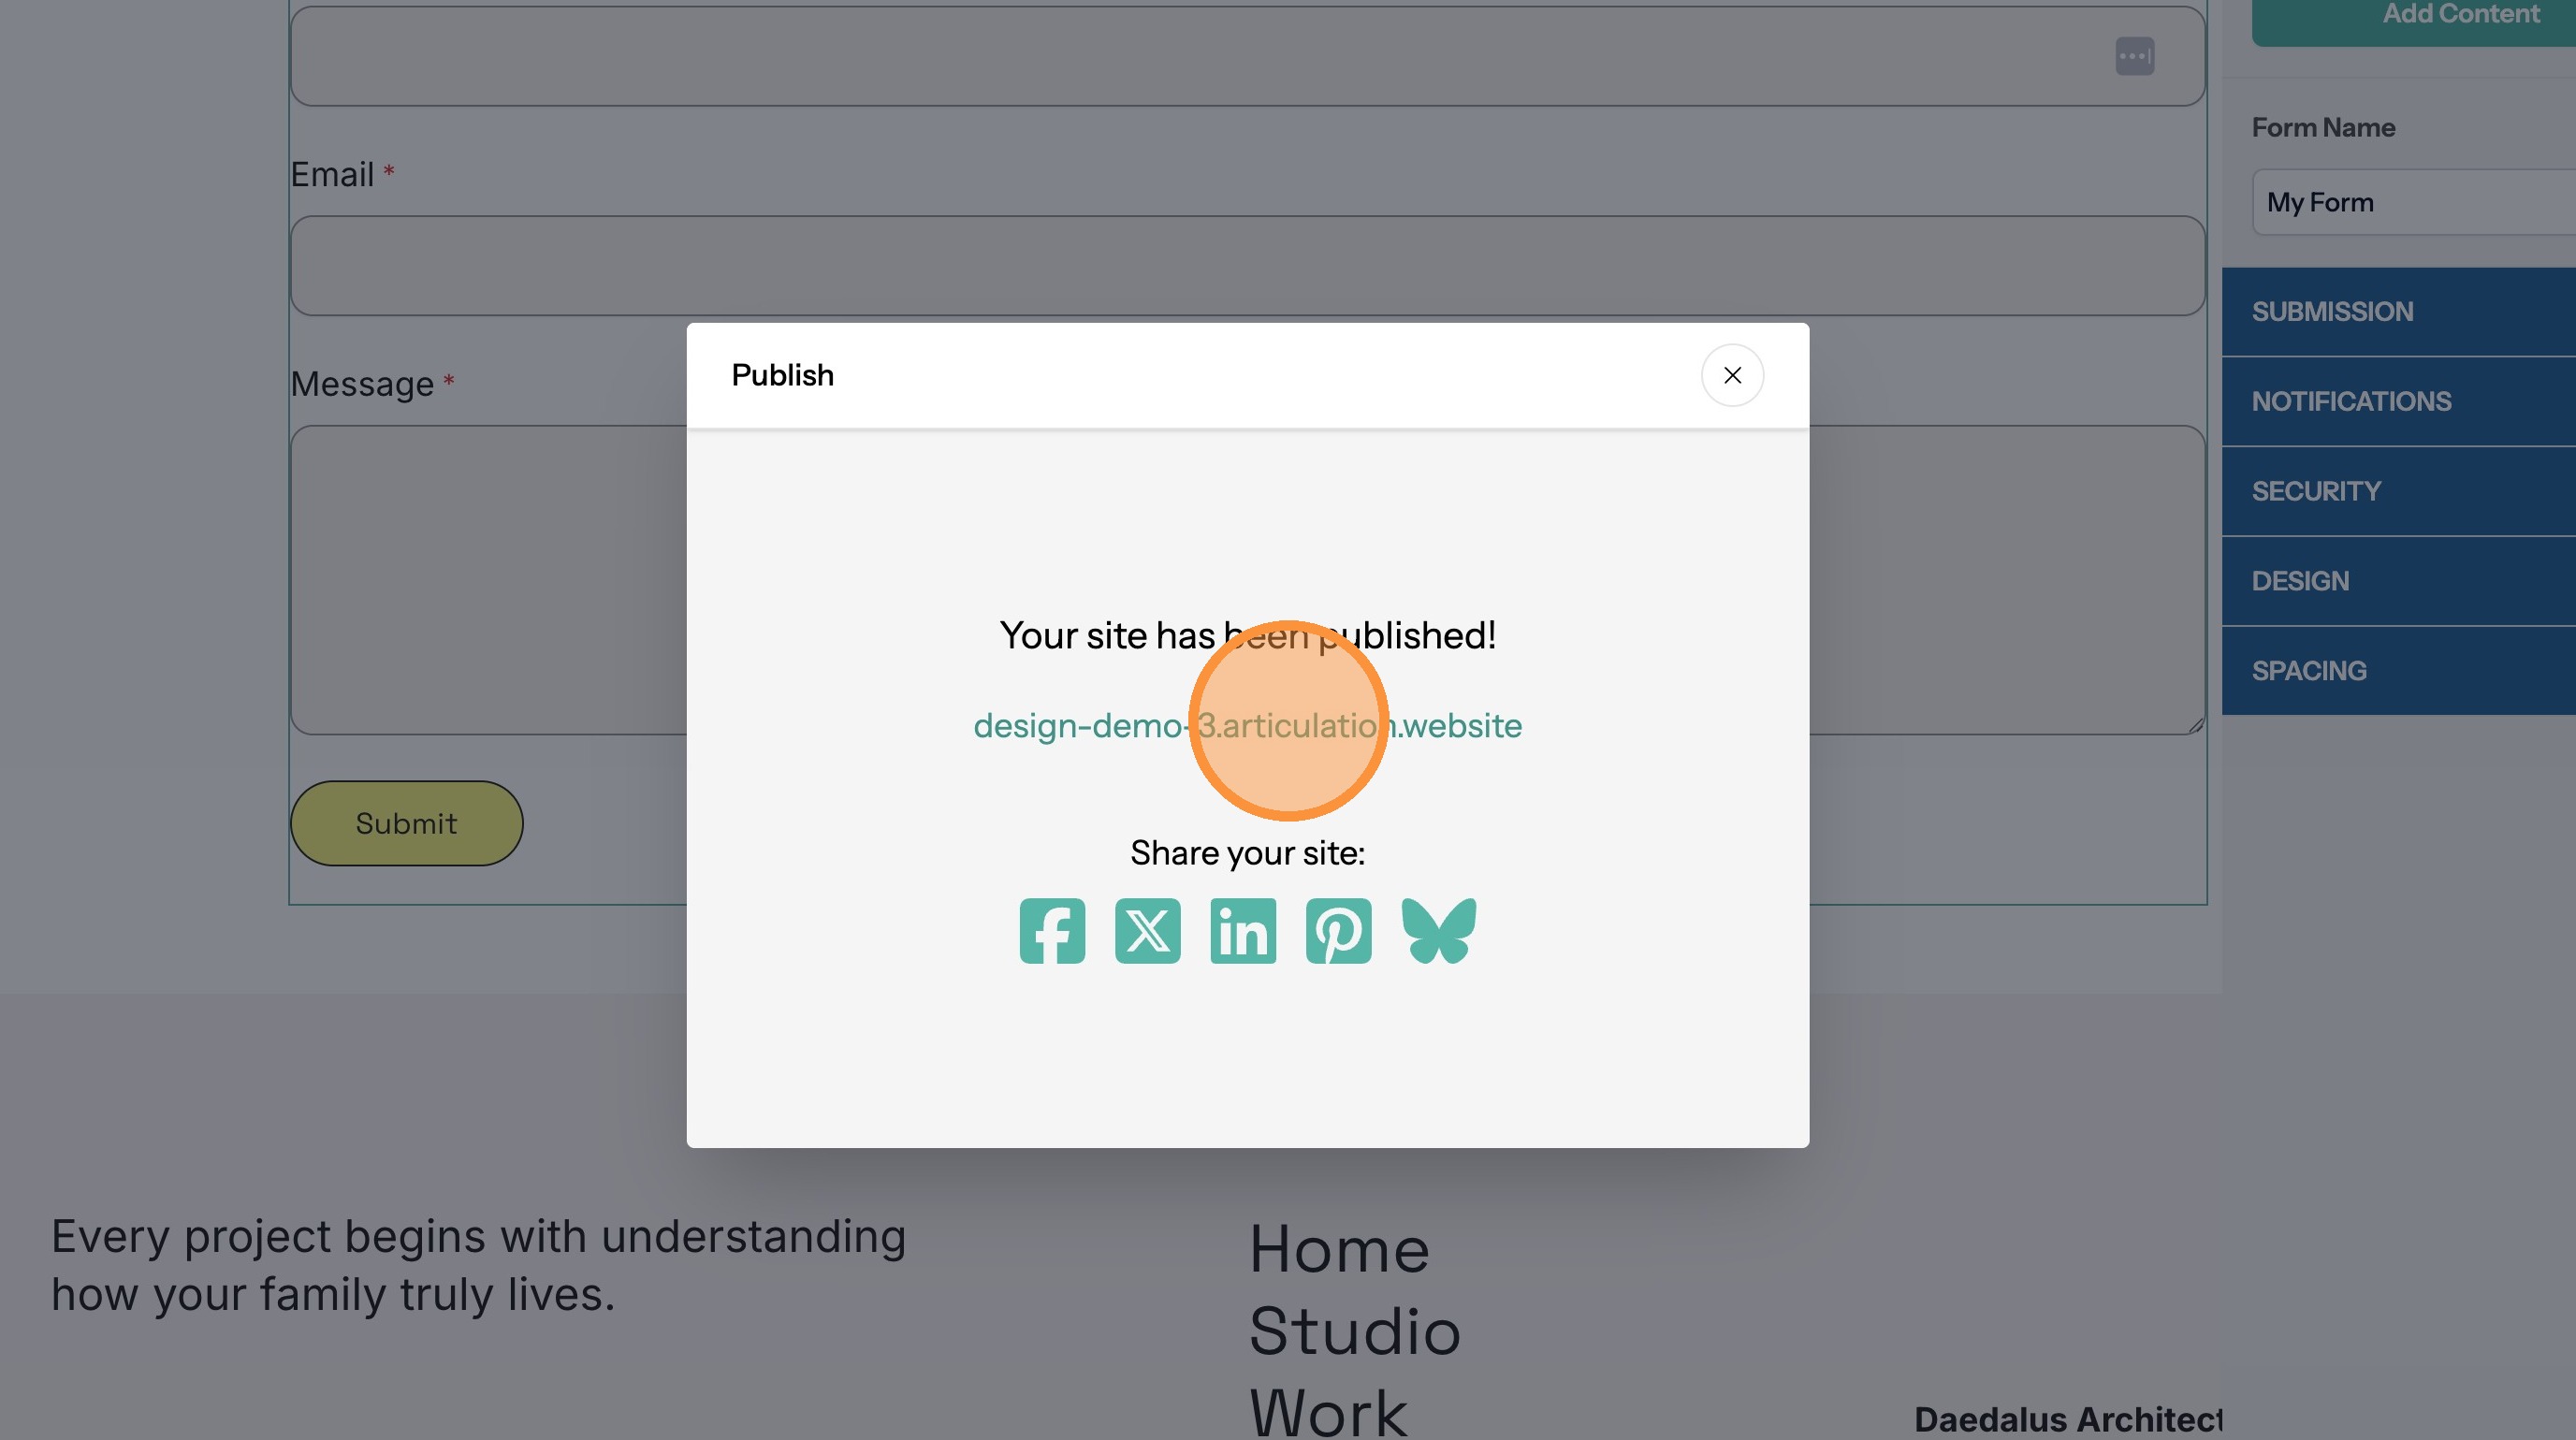
Publish the Form
15. Click "Publish"
16. Click the site link to visit the published site
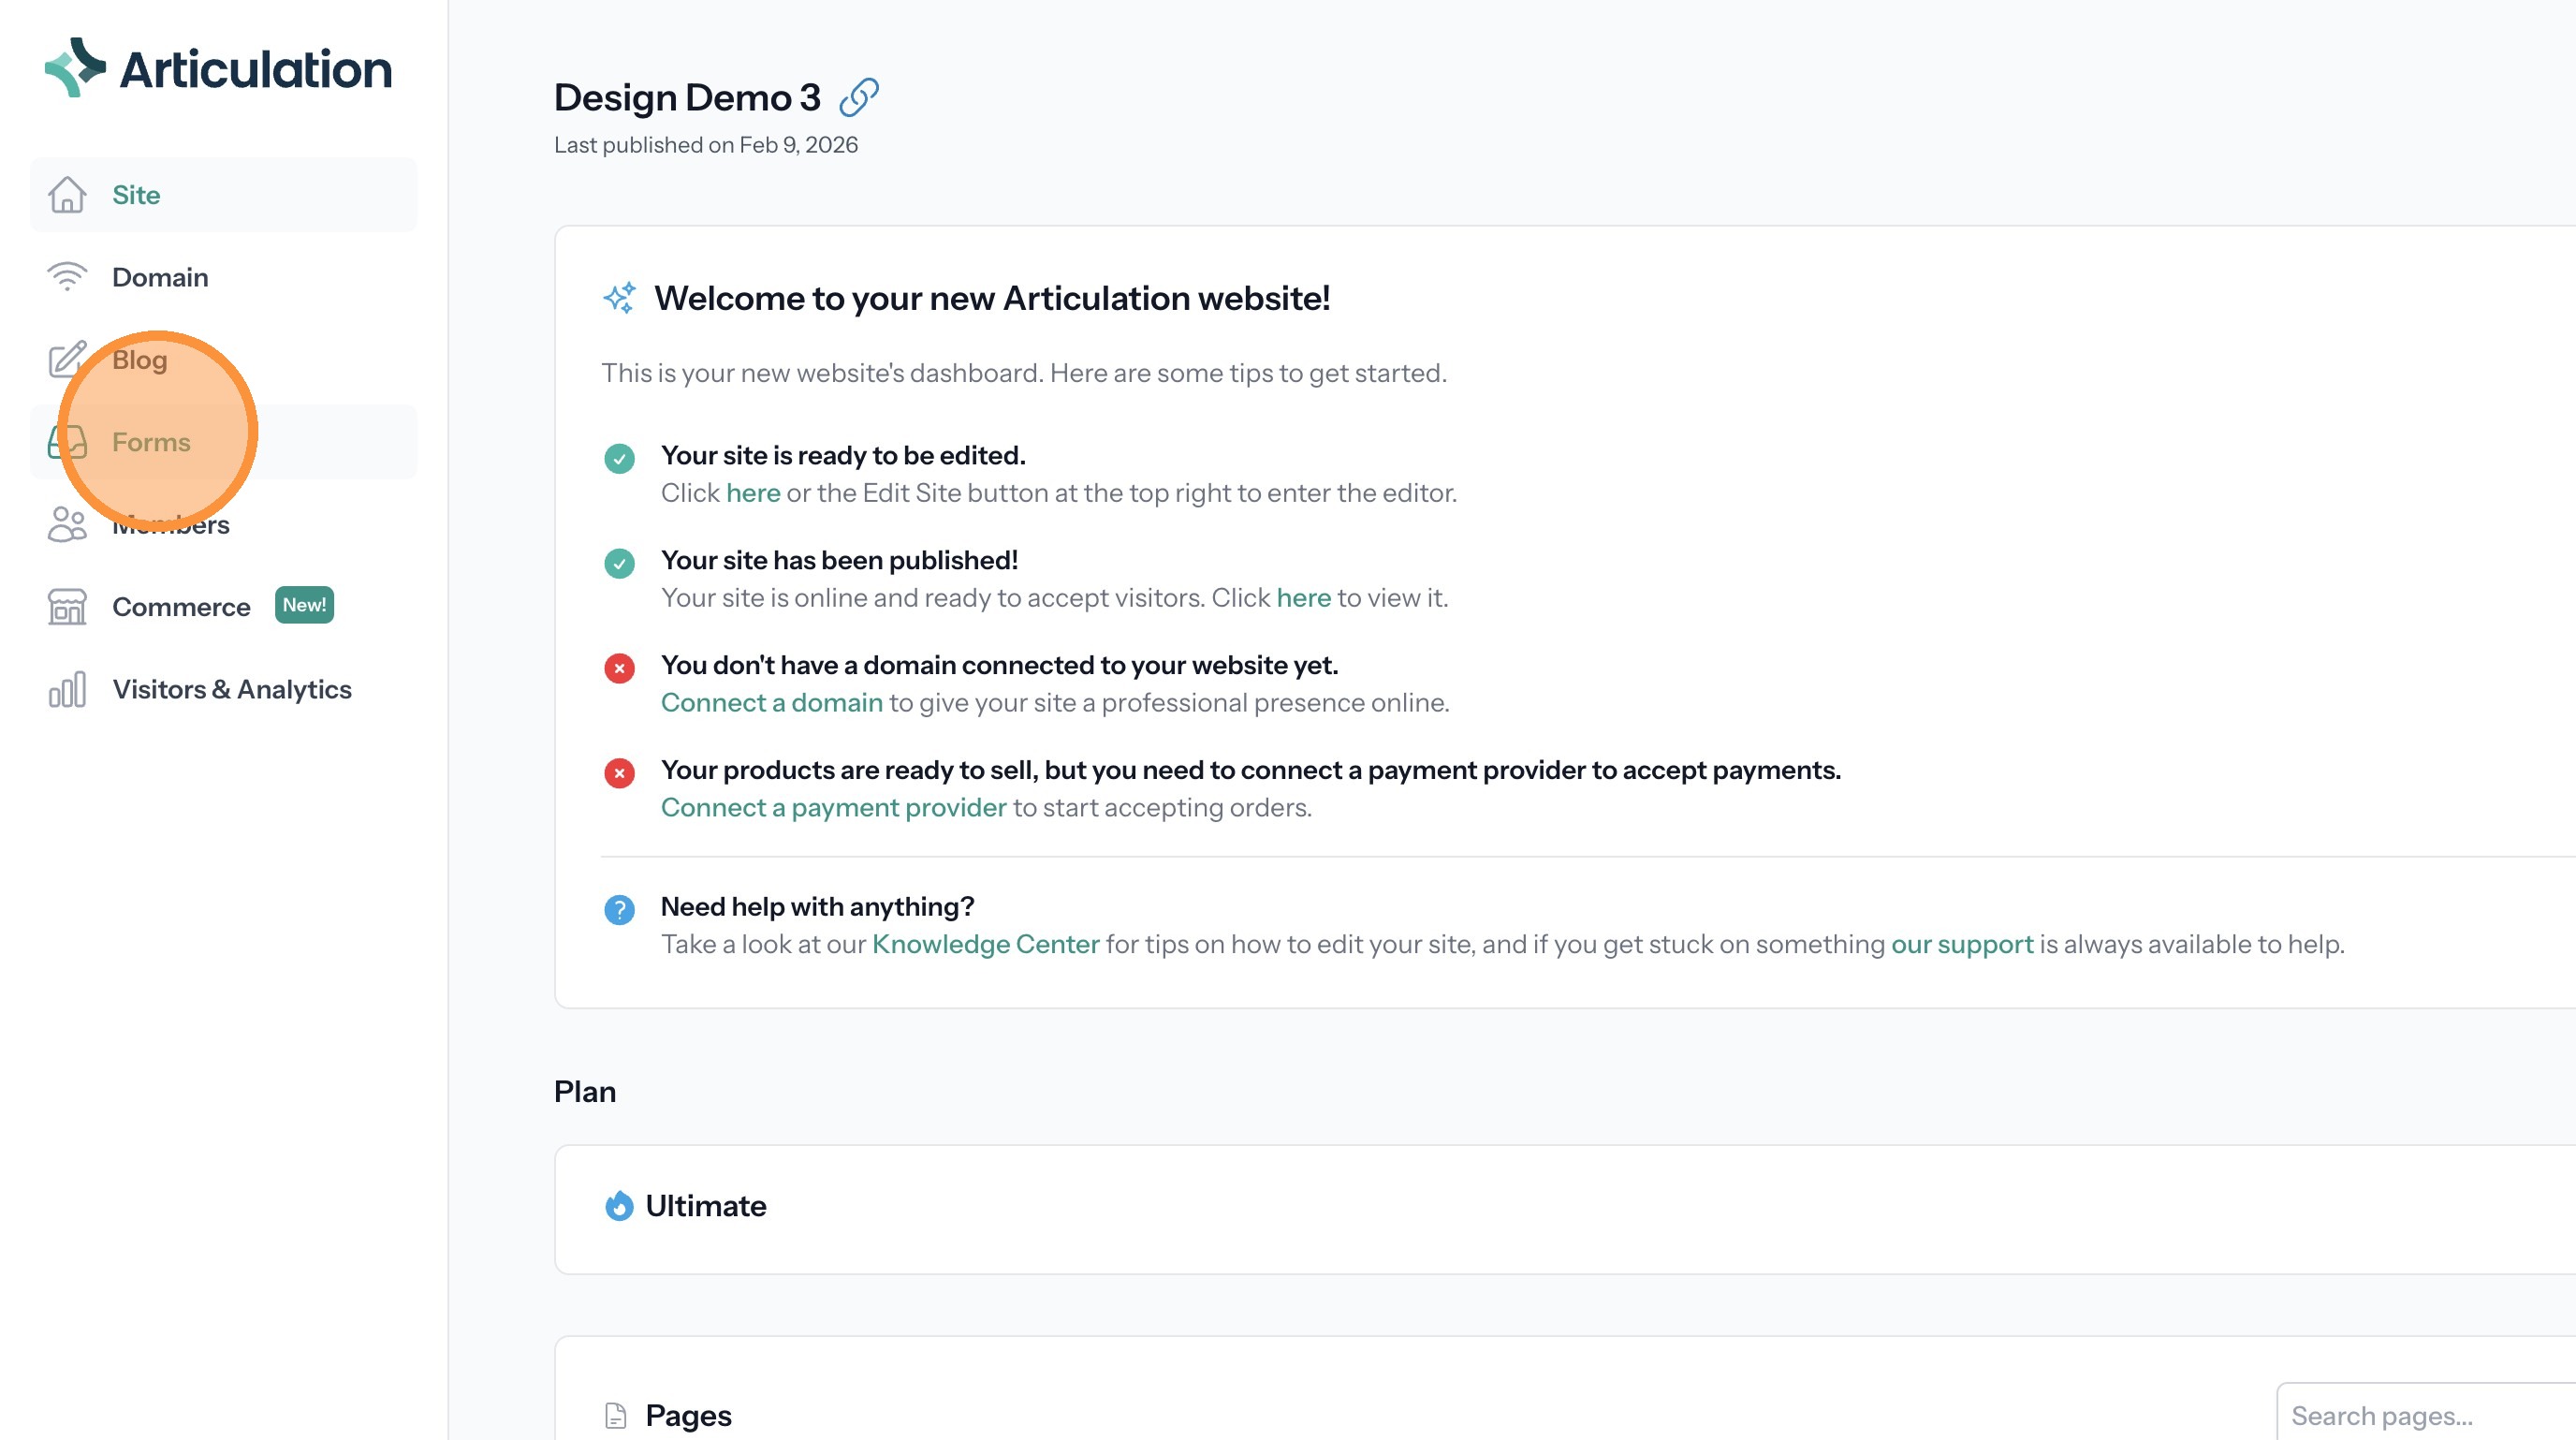
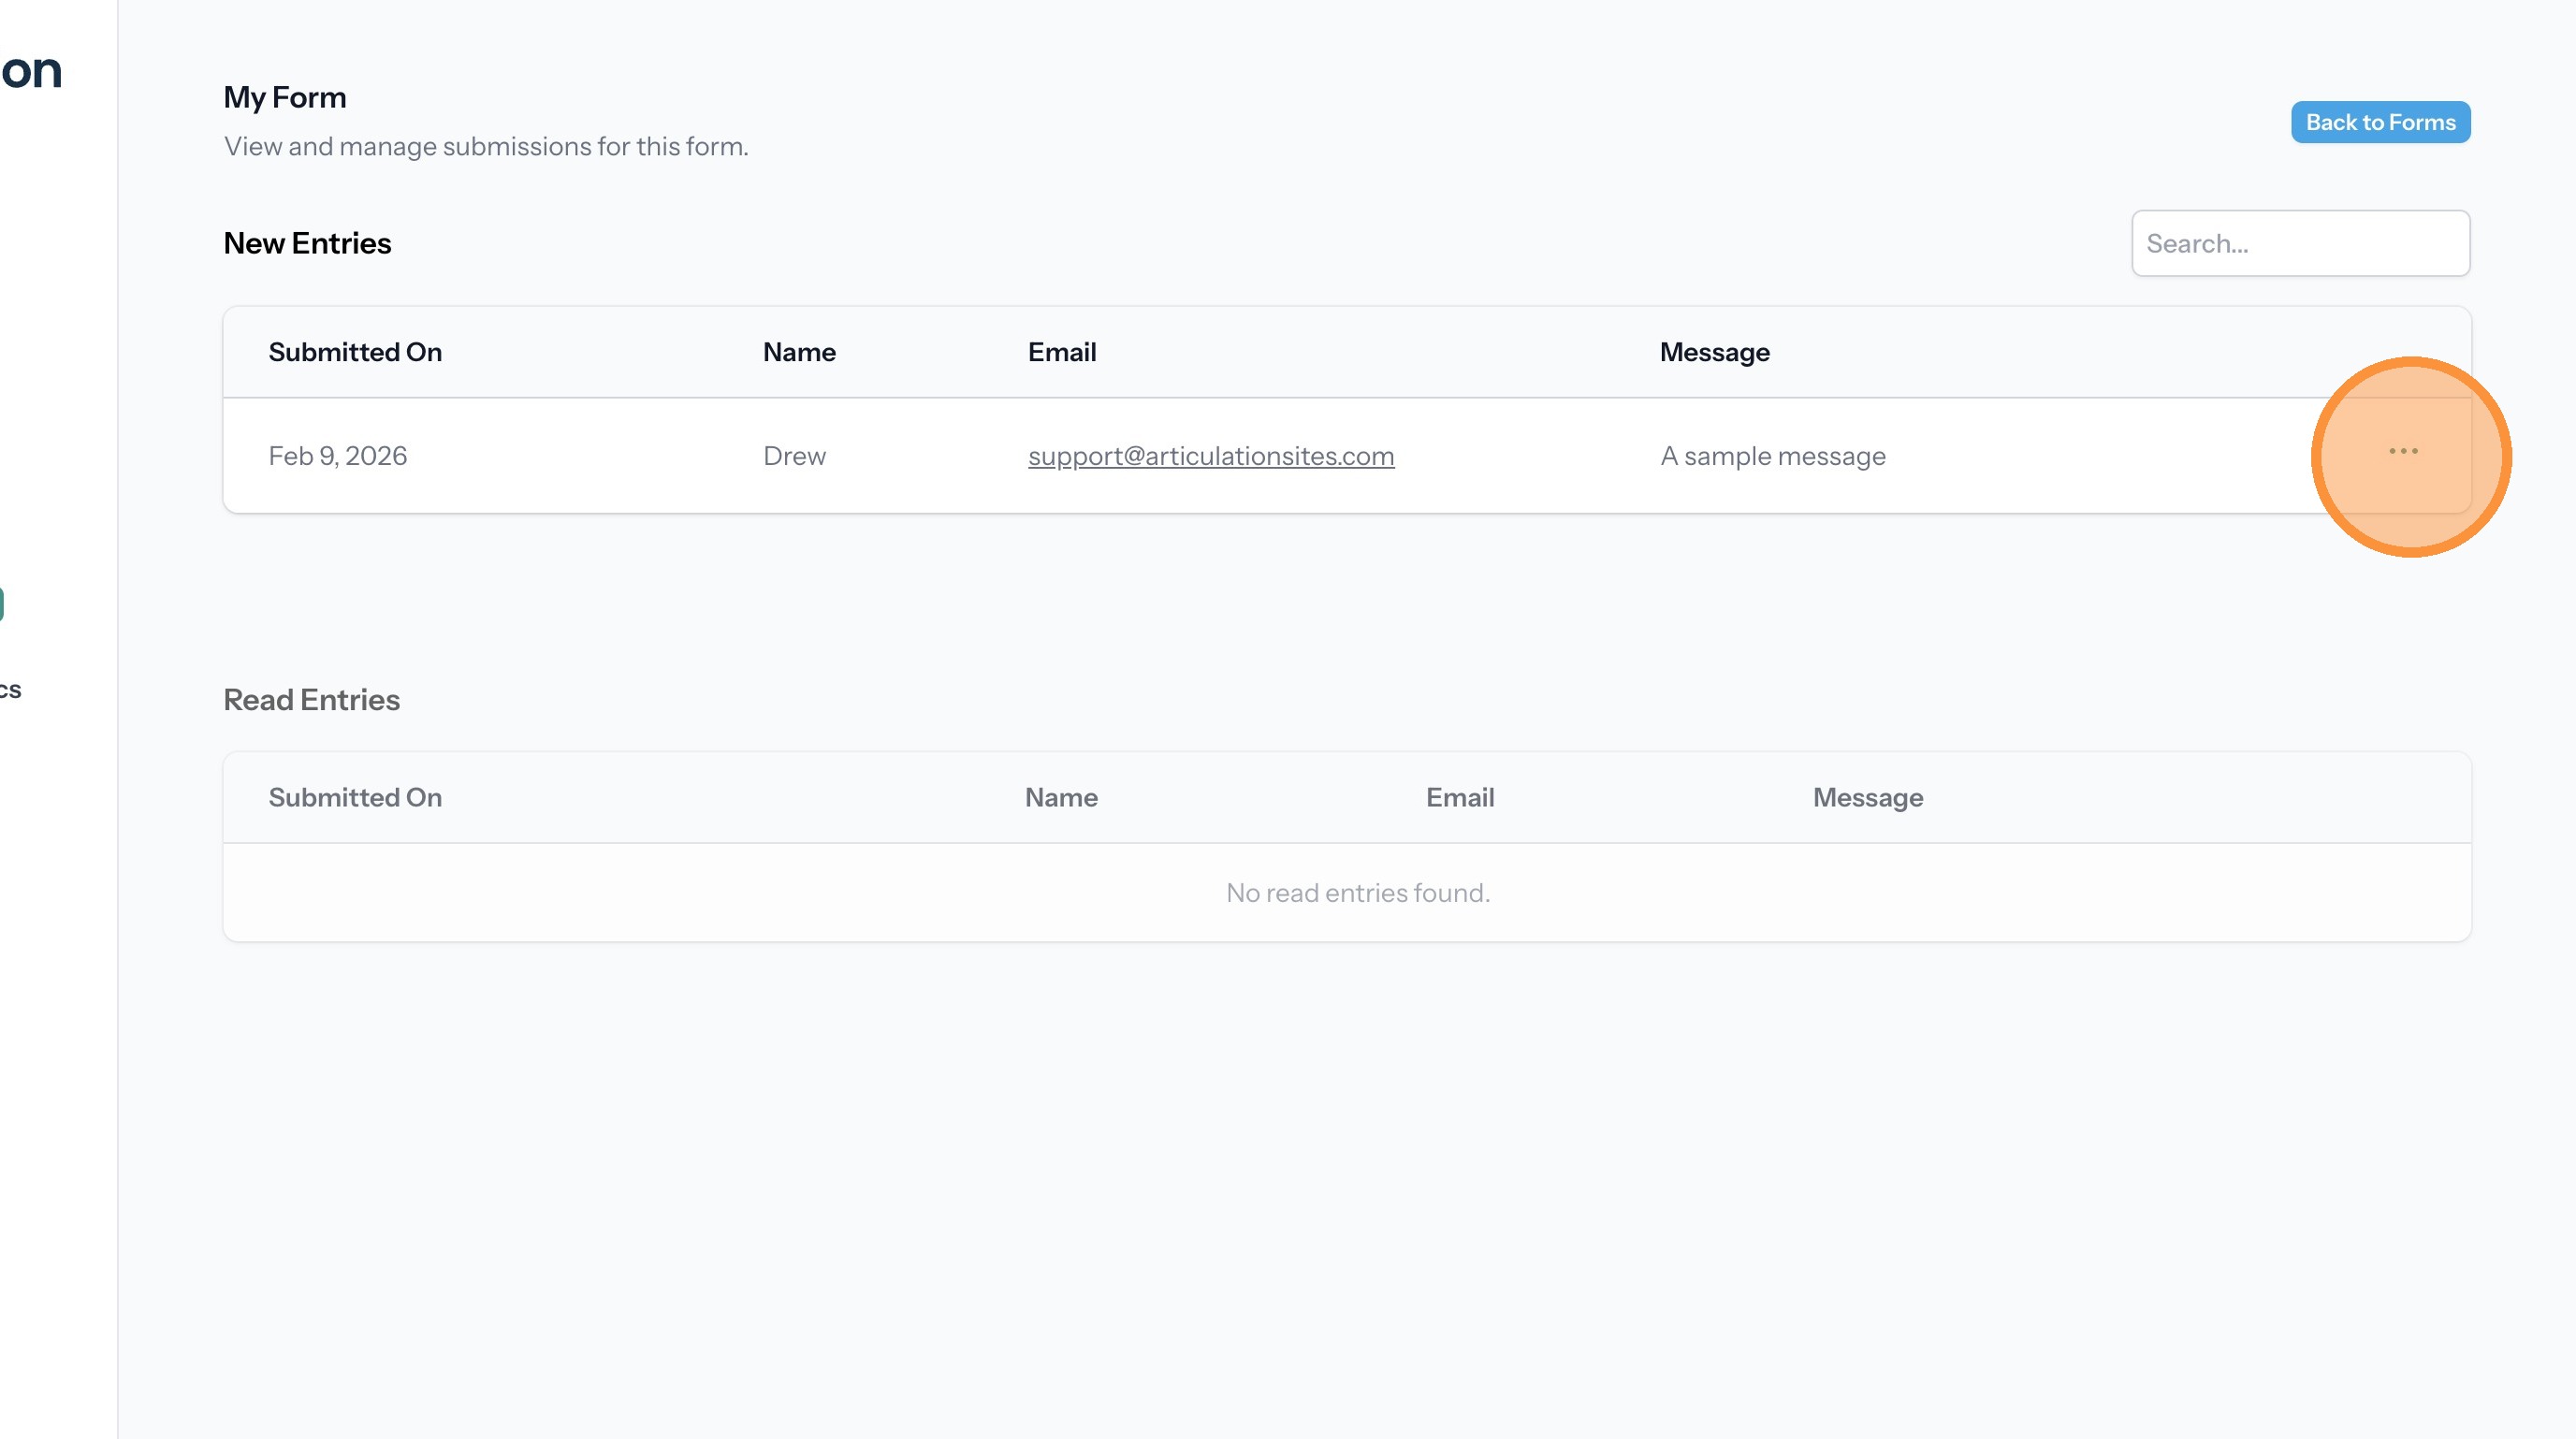
View Form Entries
17. Click "Forms"
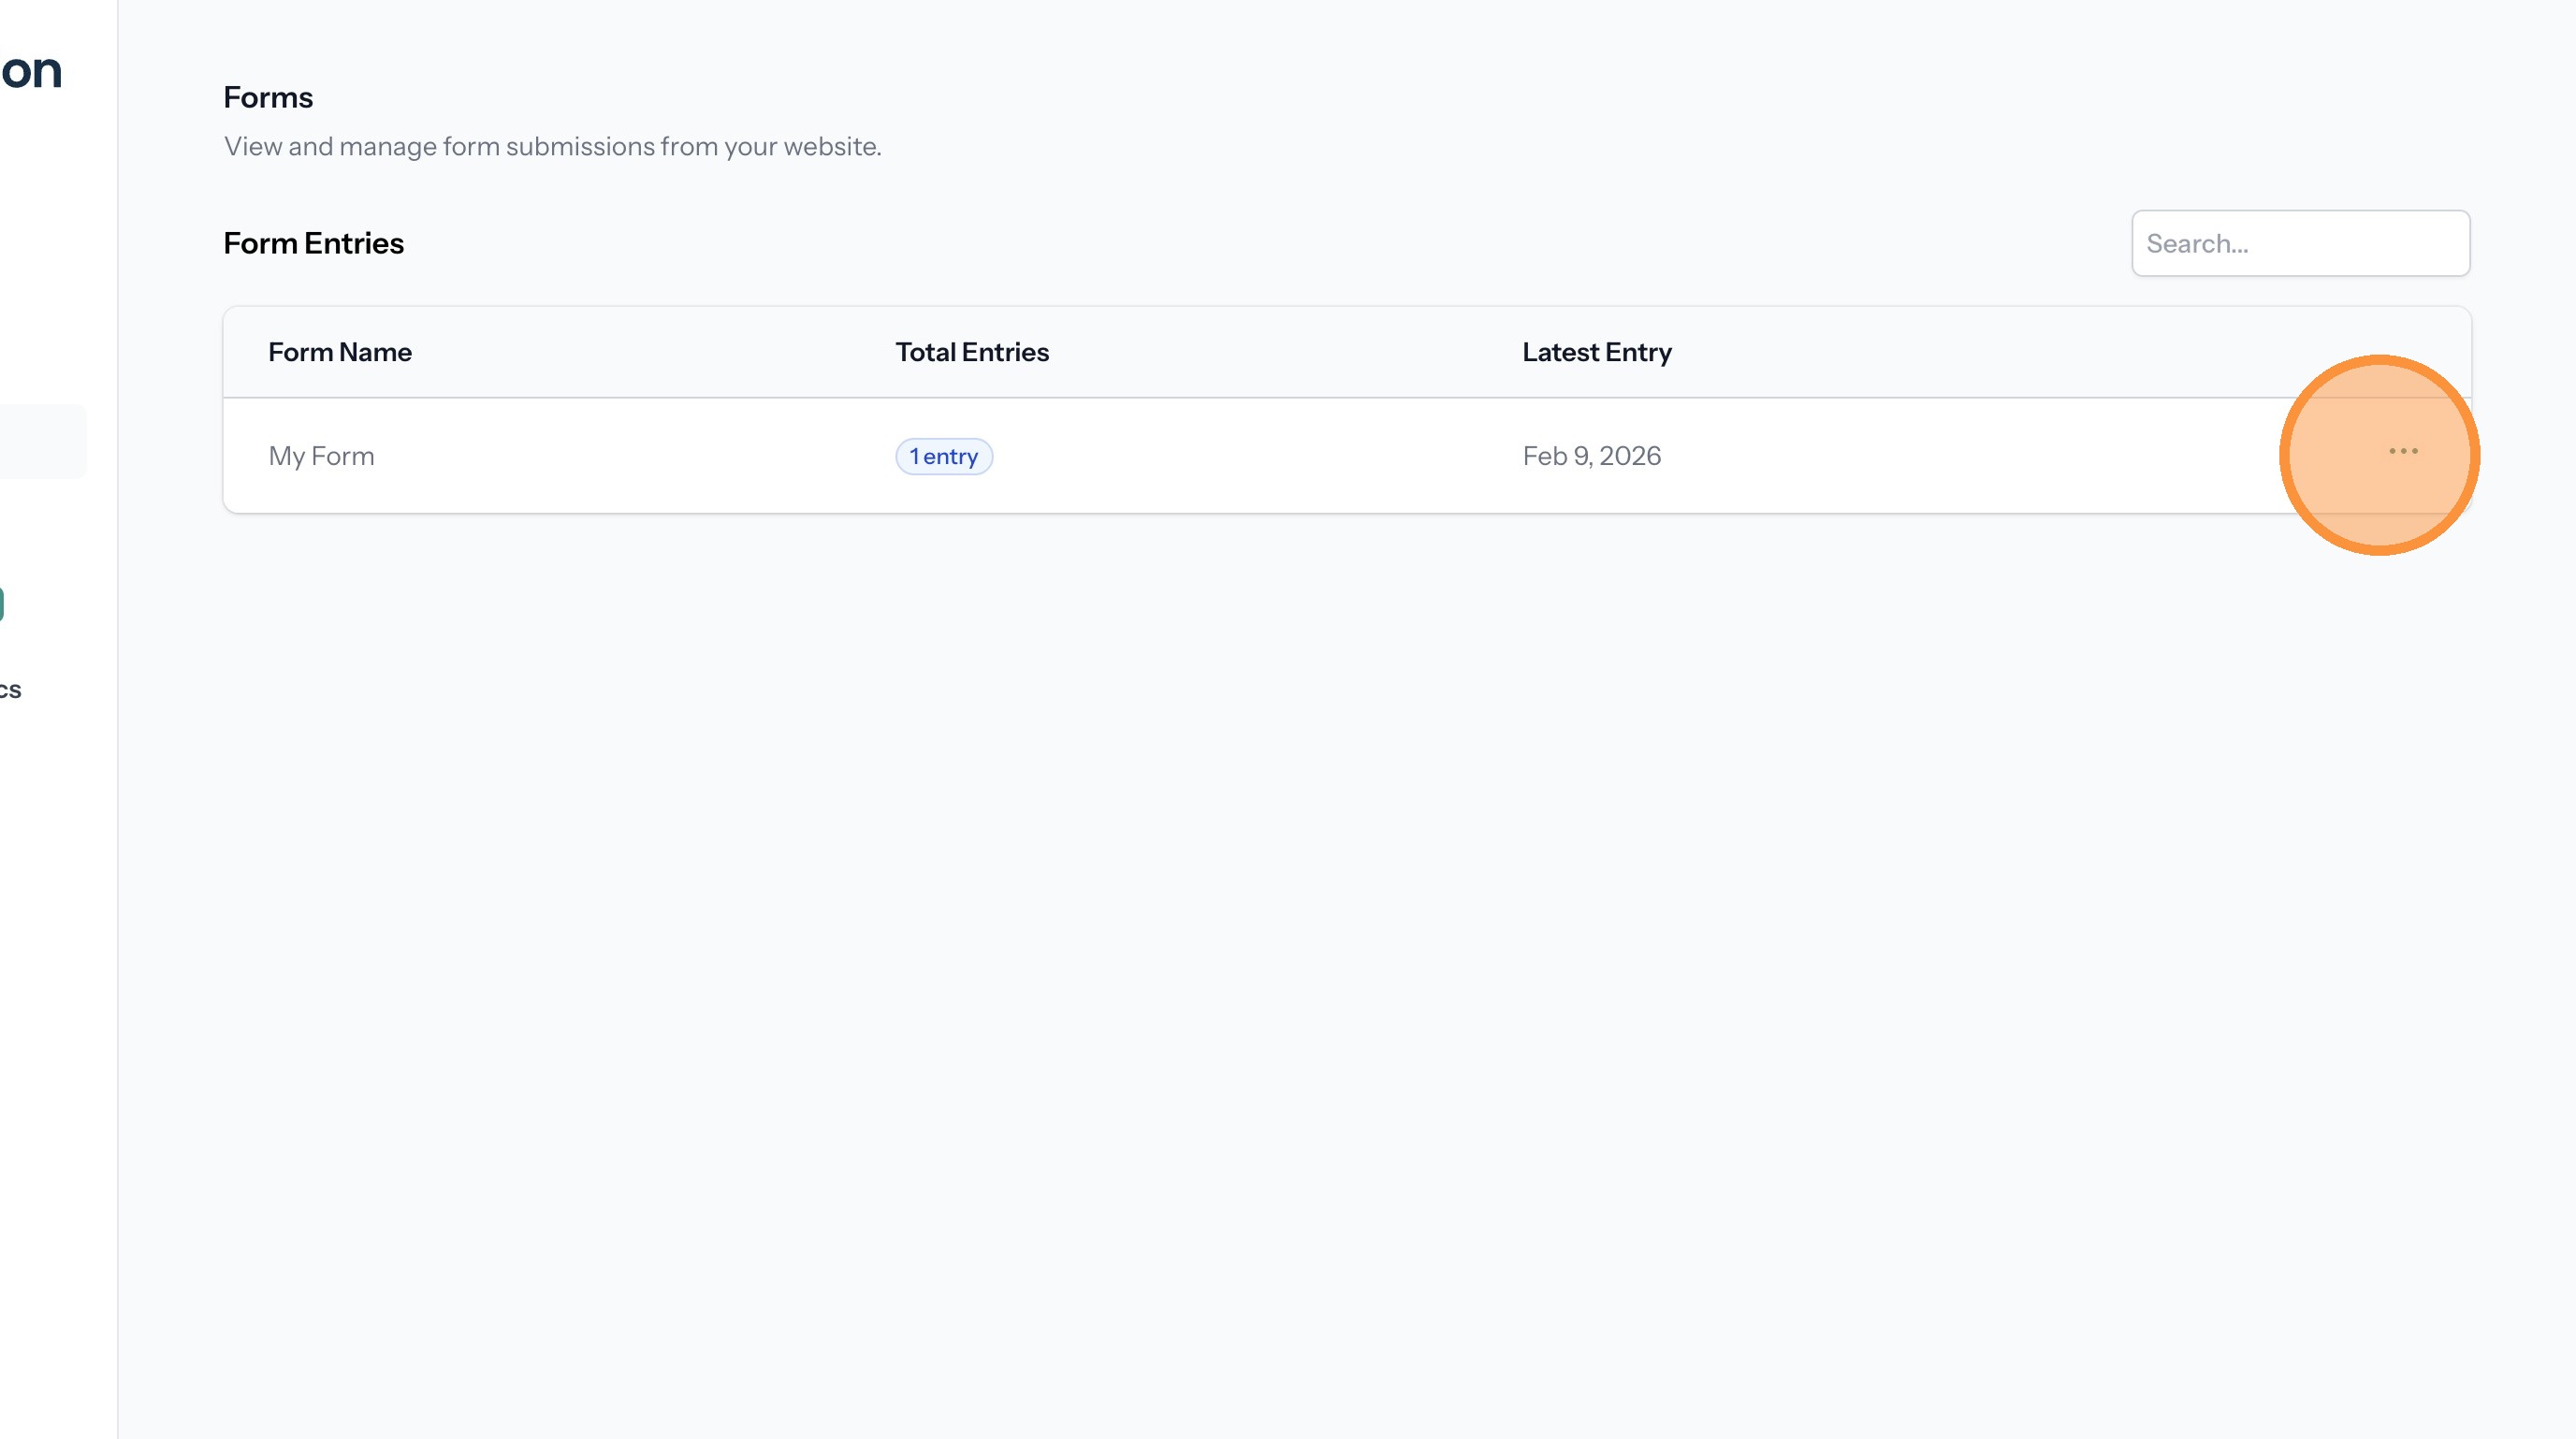
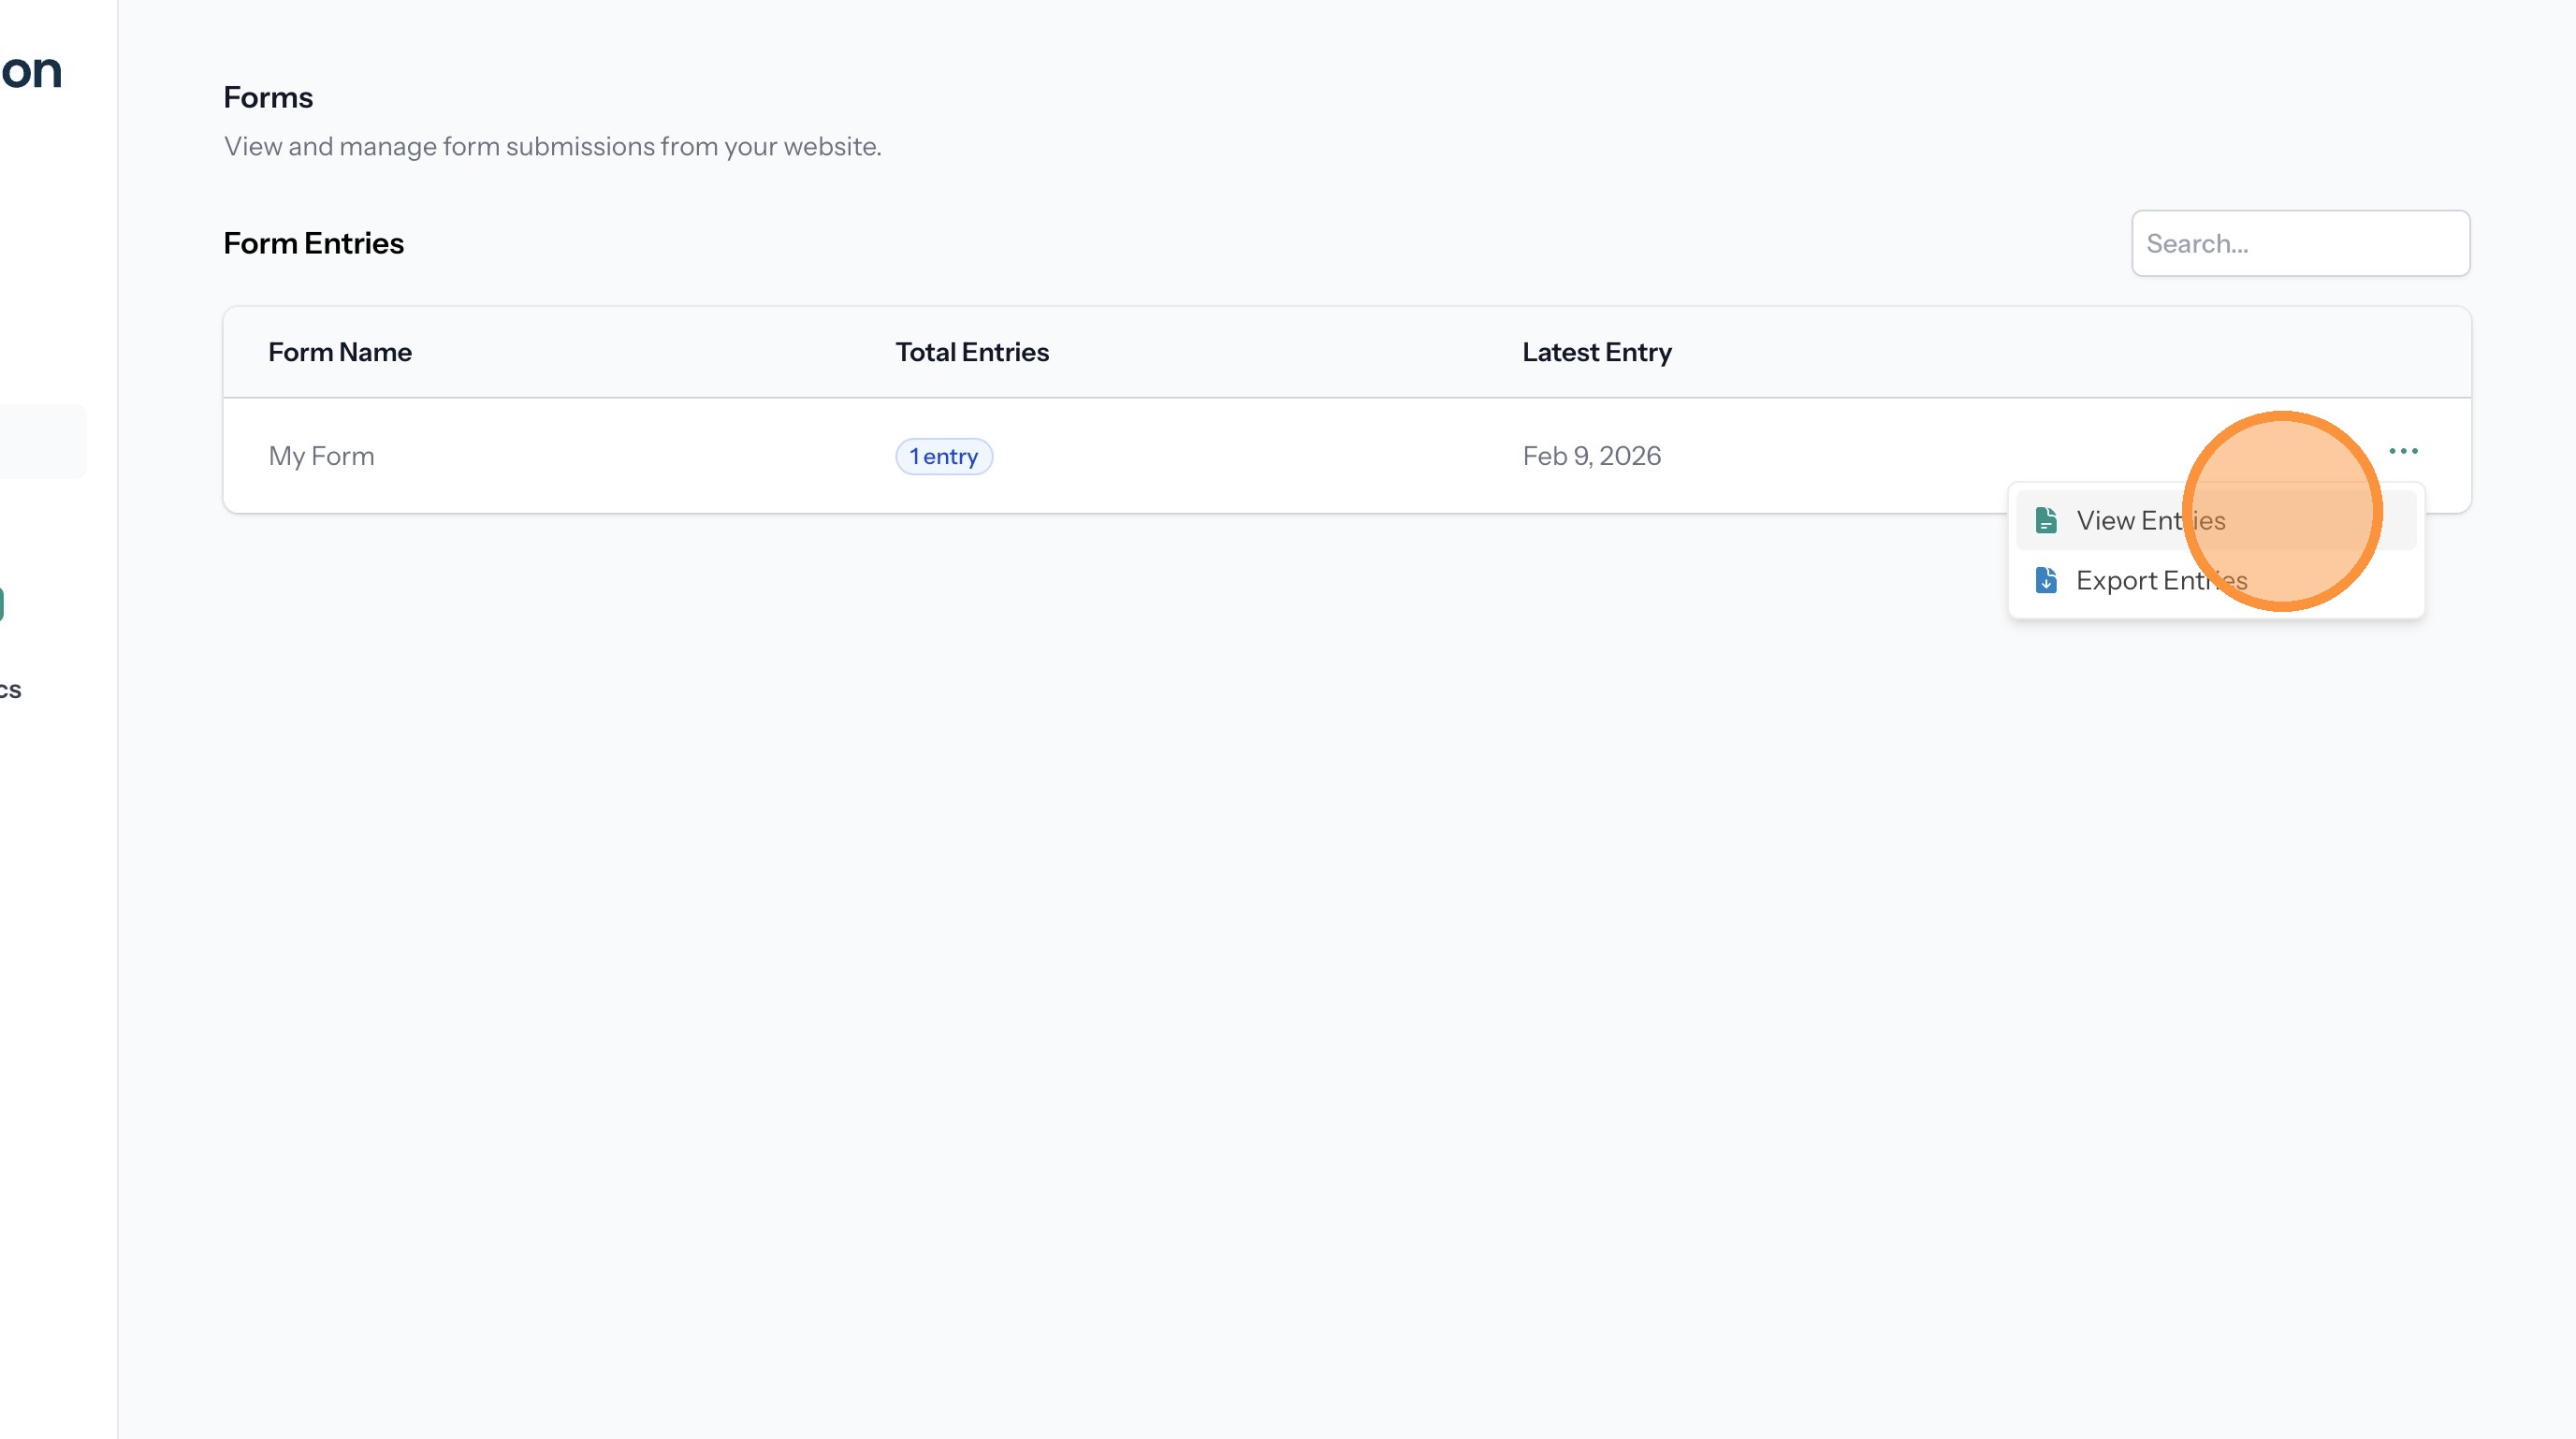
18. This page lists any forms the have entries. Click the three dots to open the menu.
19. Click "View Entries"
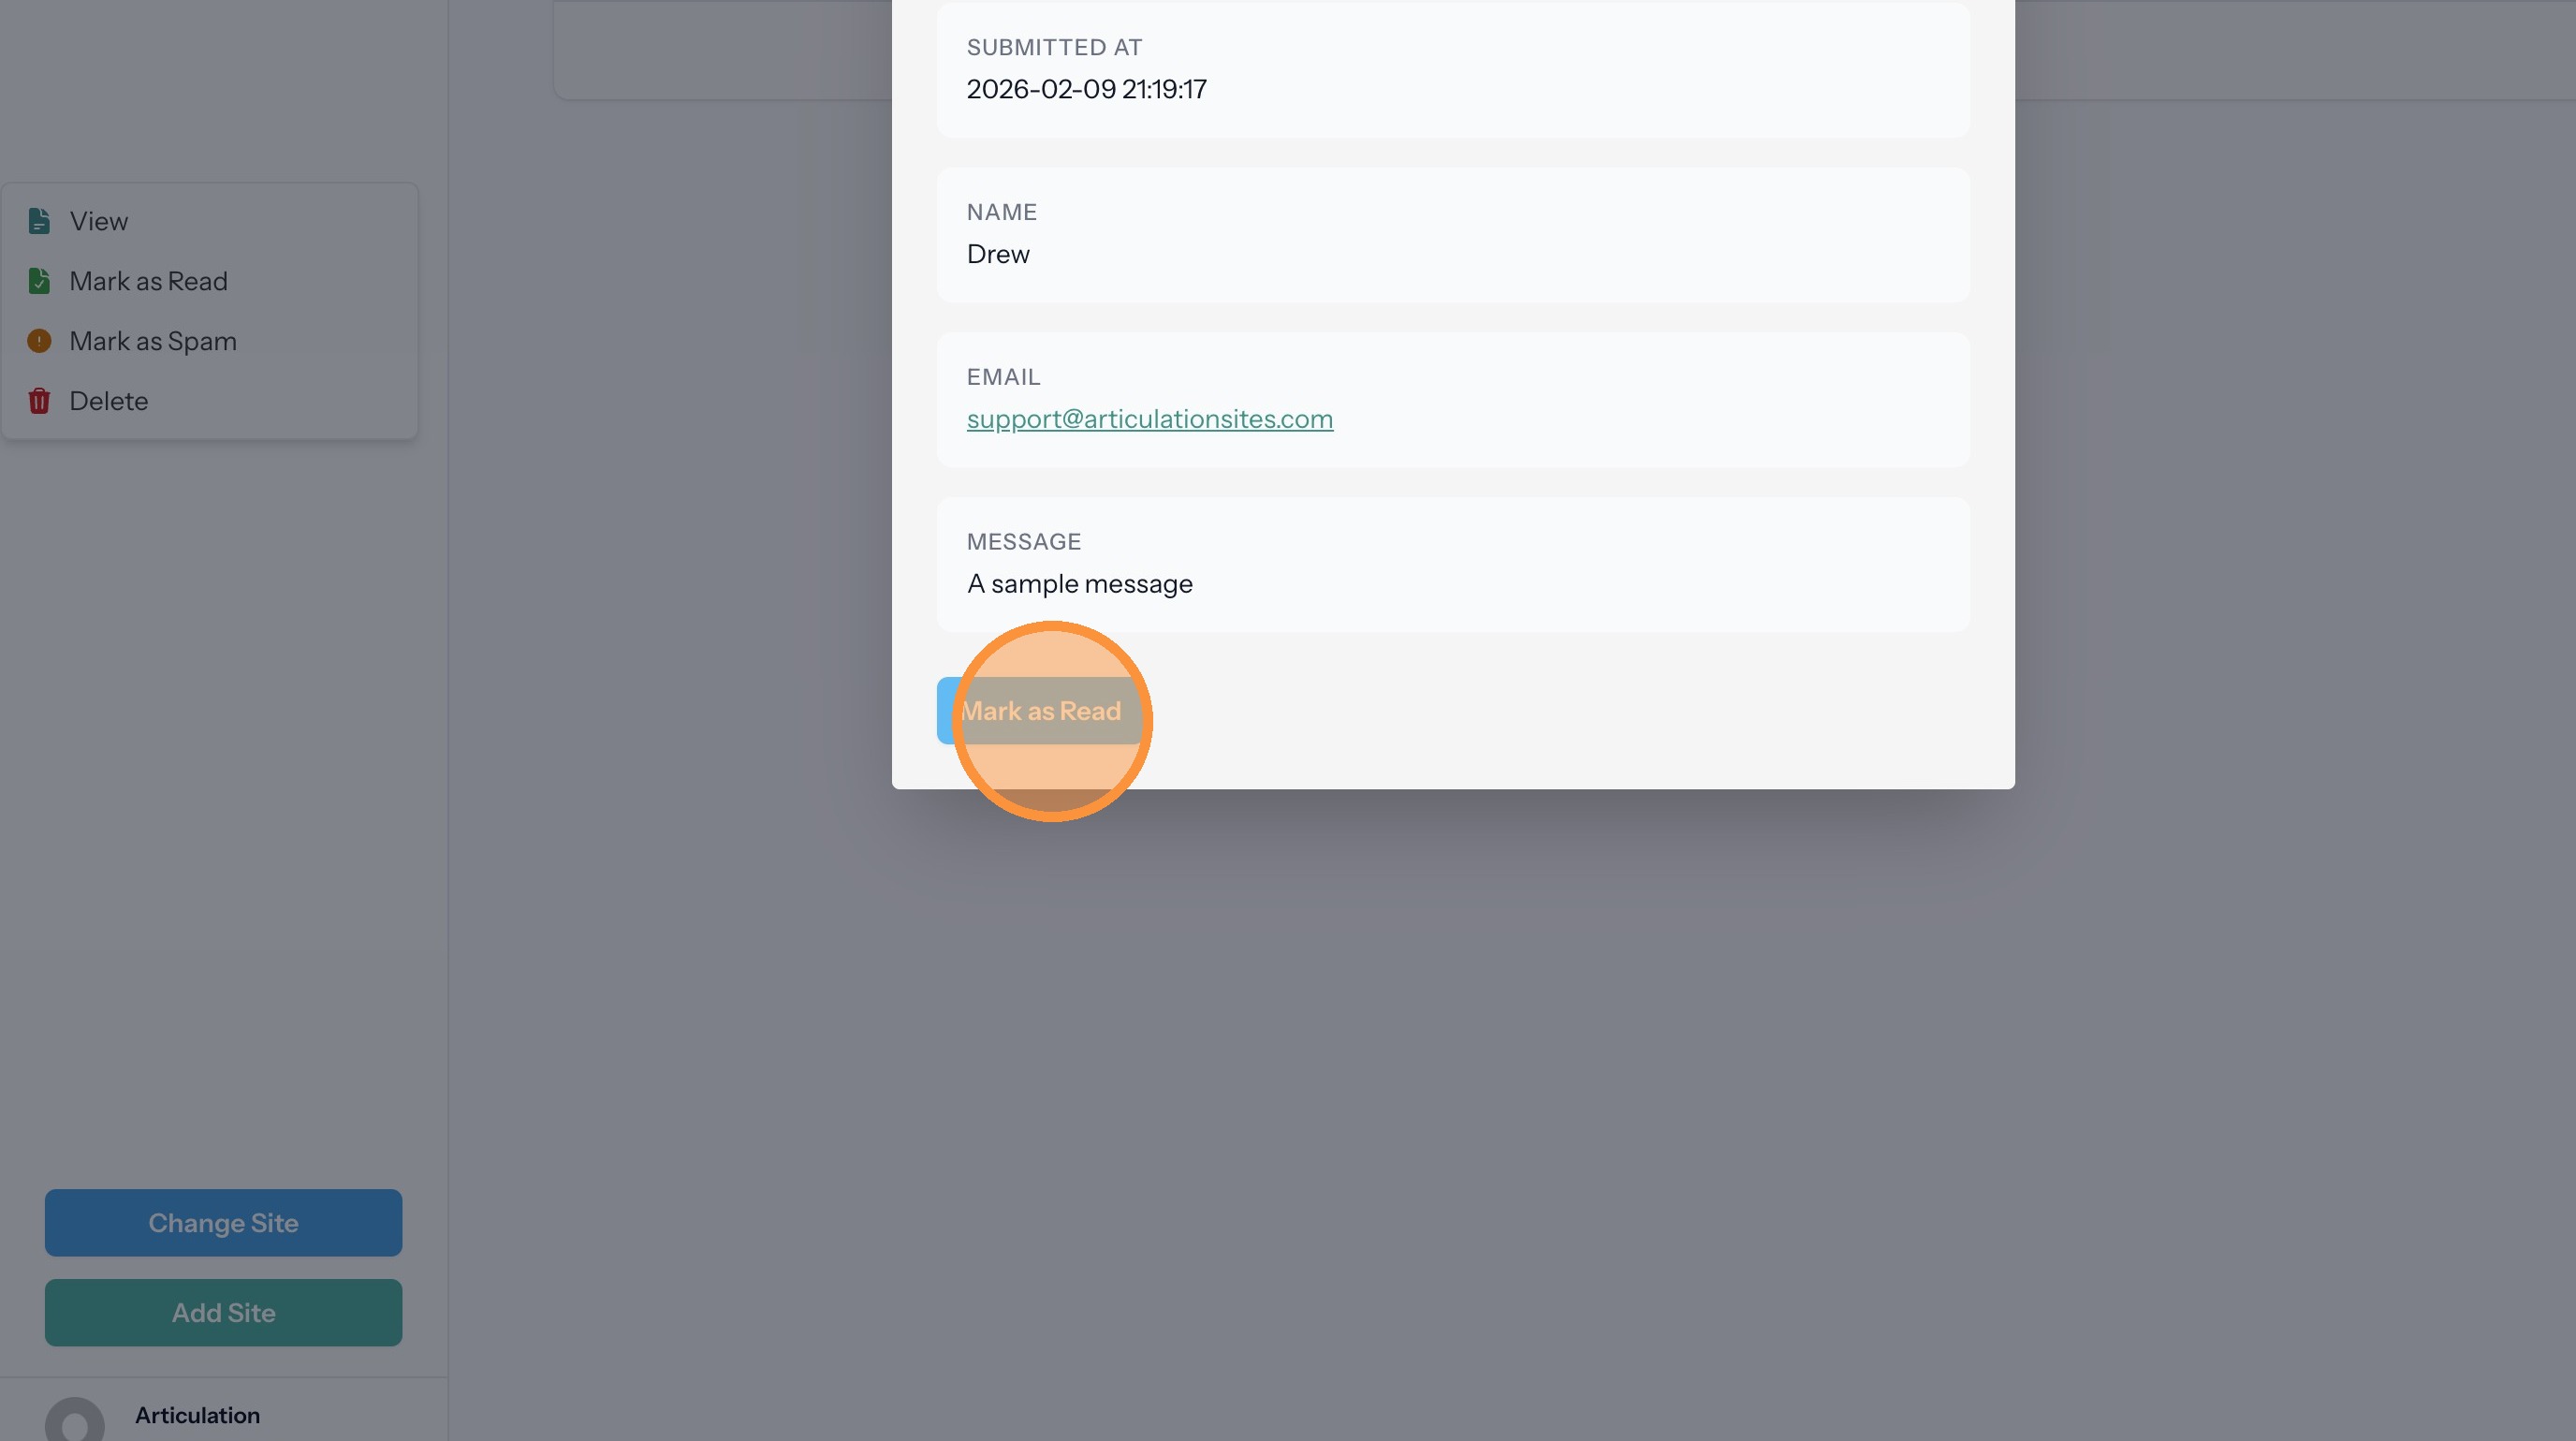
20. This page lists the entries for the form. Click the three dots next to an entry to open the menu.
21. Click "View" to see a larger version of the entry that contains all the submitted fields.
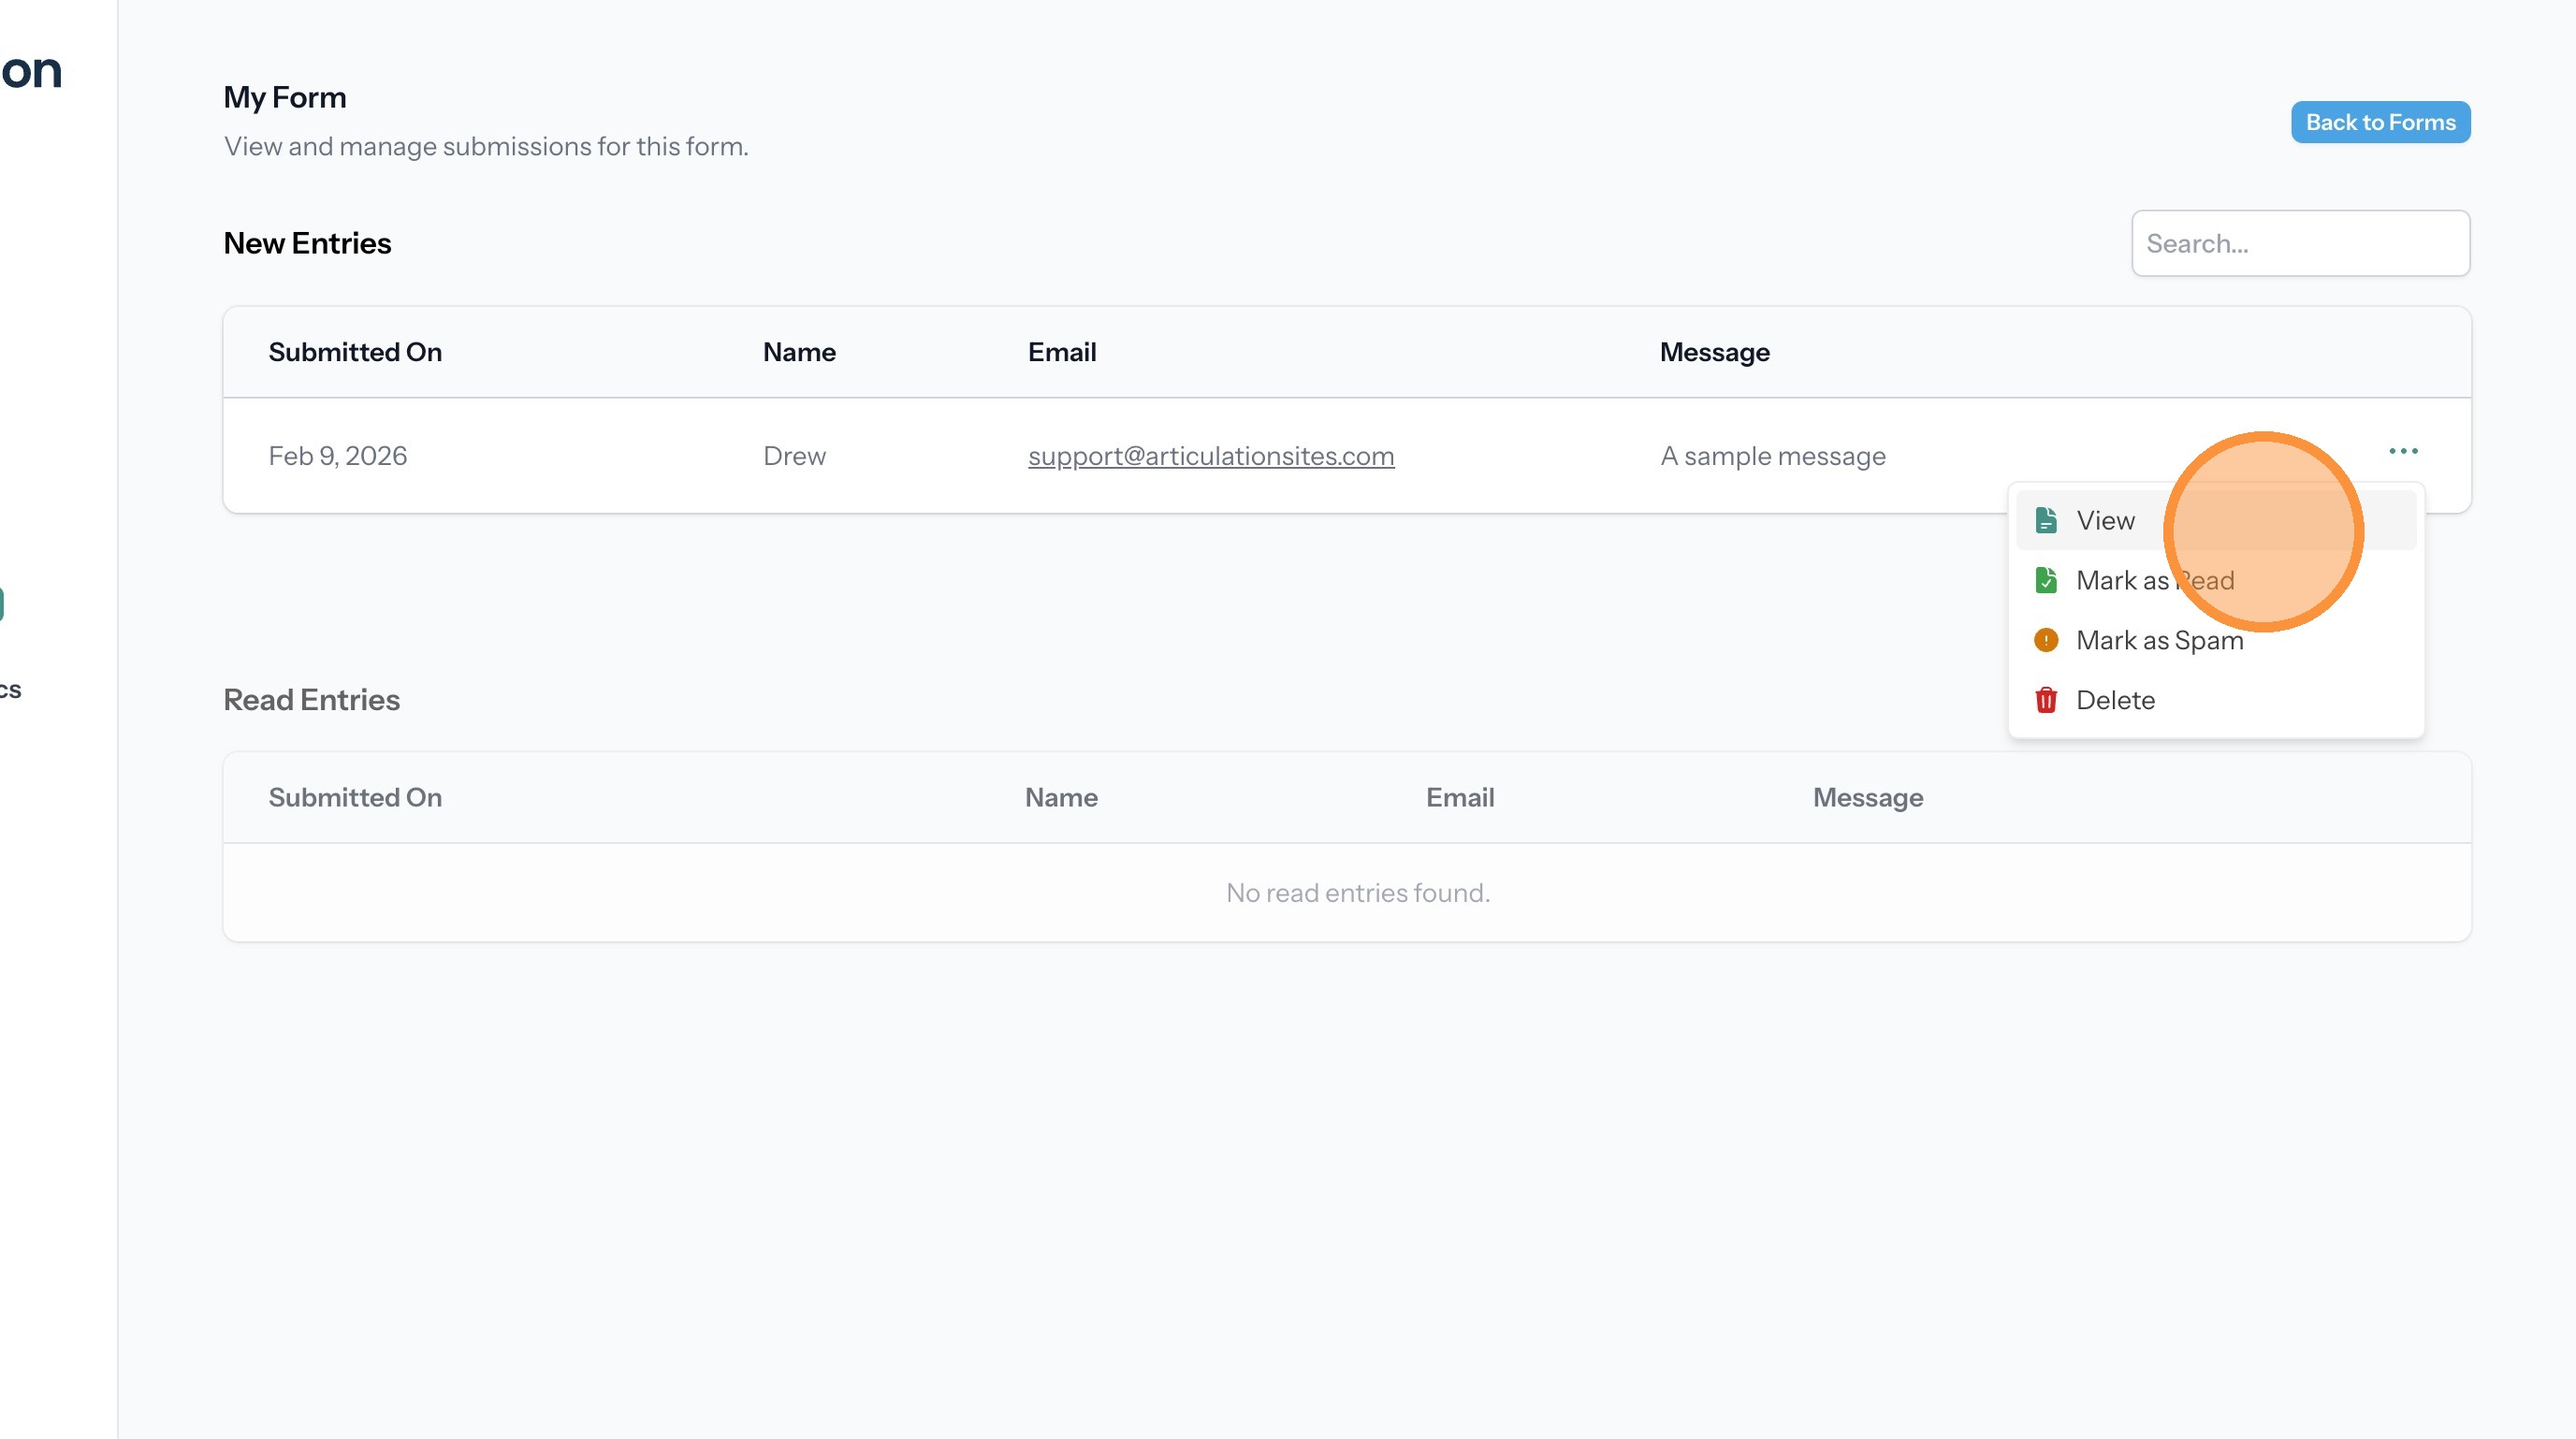
22. Click "Mark as Read"