
Schedule, Archive, and Restore Blog Posts
Schedule posts, set automatic archive dates, and restore archived posts to drafts.
Schedule a blog post for a future date, or archive a post when it should no longer appear on your website. Archived posts remain available to restore later.
Schedule a post
- Open Blog in the dashboard. If you have several blogs, choose the correct blog first.
- Click New Post, or open an existing draft in the editor.
- Add your content and open Post Settings. Give the post a Title and check its Slug, which forms part of its URL.
- Set Published Date Type to Scheduled and choose a future Scheduled Date.
- Use Preview to check the post, then click Schedule.
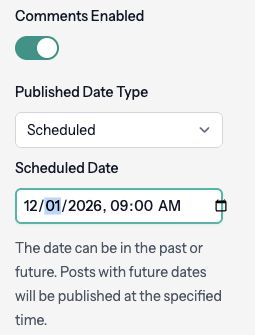
The post appears in the Scheduled list on the Blog dashboard. A date in the past is not a future schedule. If you are not ready to schedule, choose Save as Draft instead. Your website must be able to publish for visitors to see the post.
Review your site's Timezone in Site → Settings when planning publication times. Before the scheduled time, reopen the post to change its date or choose Save as Draft to take it out of the publication schedule.
Set an automatic archive date
- Open the selected blog's Blog Settings.
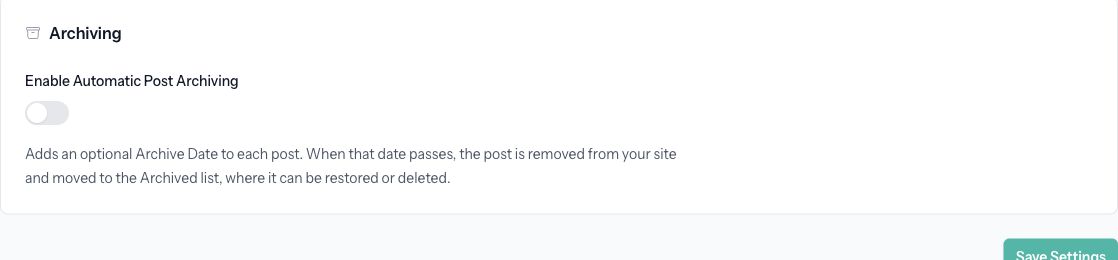
- Under Archiving, enable Enable Automatic Post Archiving and save the settings.
- Open the post in the editor. In Post Settings, set Archive Date.
- Publish or schedule the post.
The archive date must be in the future and later than the scheduled publication date. When it passes, the post is removed from the public site and moved to Archived.
Archive or restore a post yourself
On the Blog dashboard, open a post's action menu, choose Archive Post, and confirm. Use this when you want to keep the post but remove it from public view.
To bring it back, find it under Archived, open its action menu, and choose Restore to Drafts. Review the restored draft and its publication settings, then publish or schedule it again. Restoring a post does not immediately publish it.