
Managing Your Blog Settings
Manage your blog posts, tags, and settings from one page. Covers drafts, scheduled and published posts, changing a post's author, and blog settings, including comments.
Tip: The Manage Blog page is where your posts, tags, and blog settings live in one place.
It is separate from the editor. The editor is where you design the blog page; Manage Blog is where you run the Blog itself.
1. The page is one long screen.
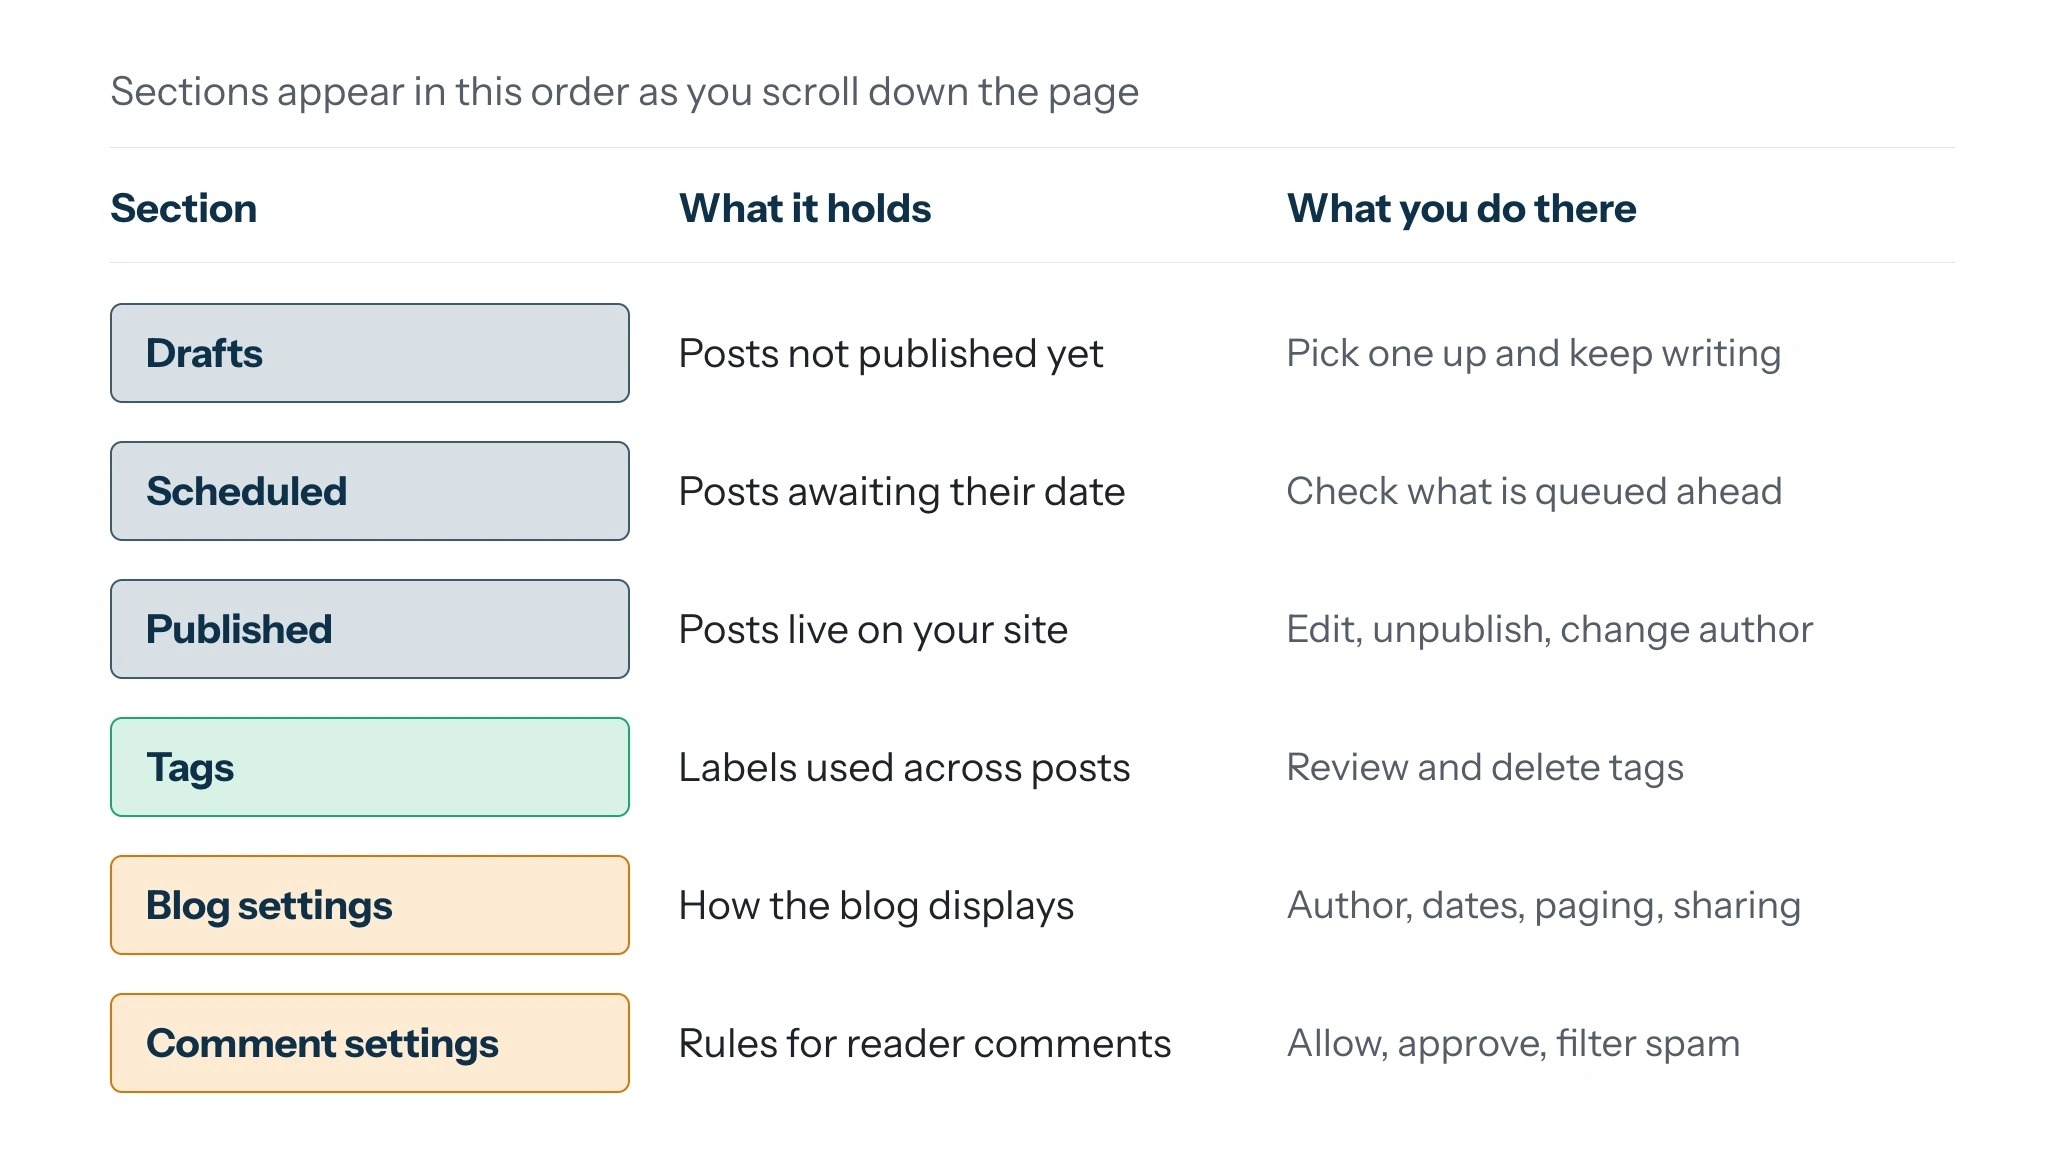
Controls for choosing a blog and starting a post sit at the top, and below them are the six sections that hold your content.
Here is what each of those is for, so you can go straight to the part you need.
Opening Manage Blog
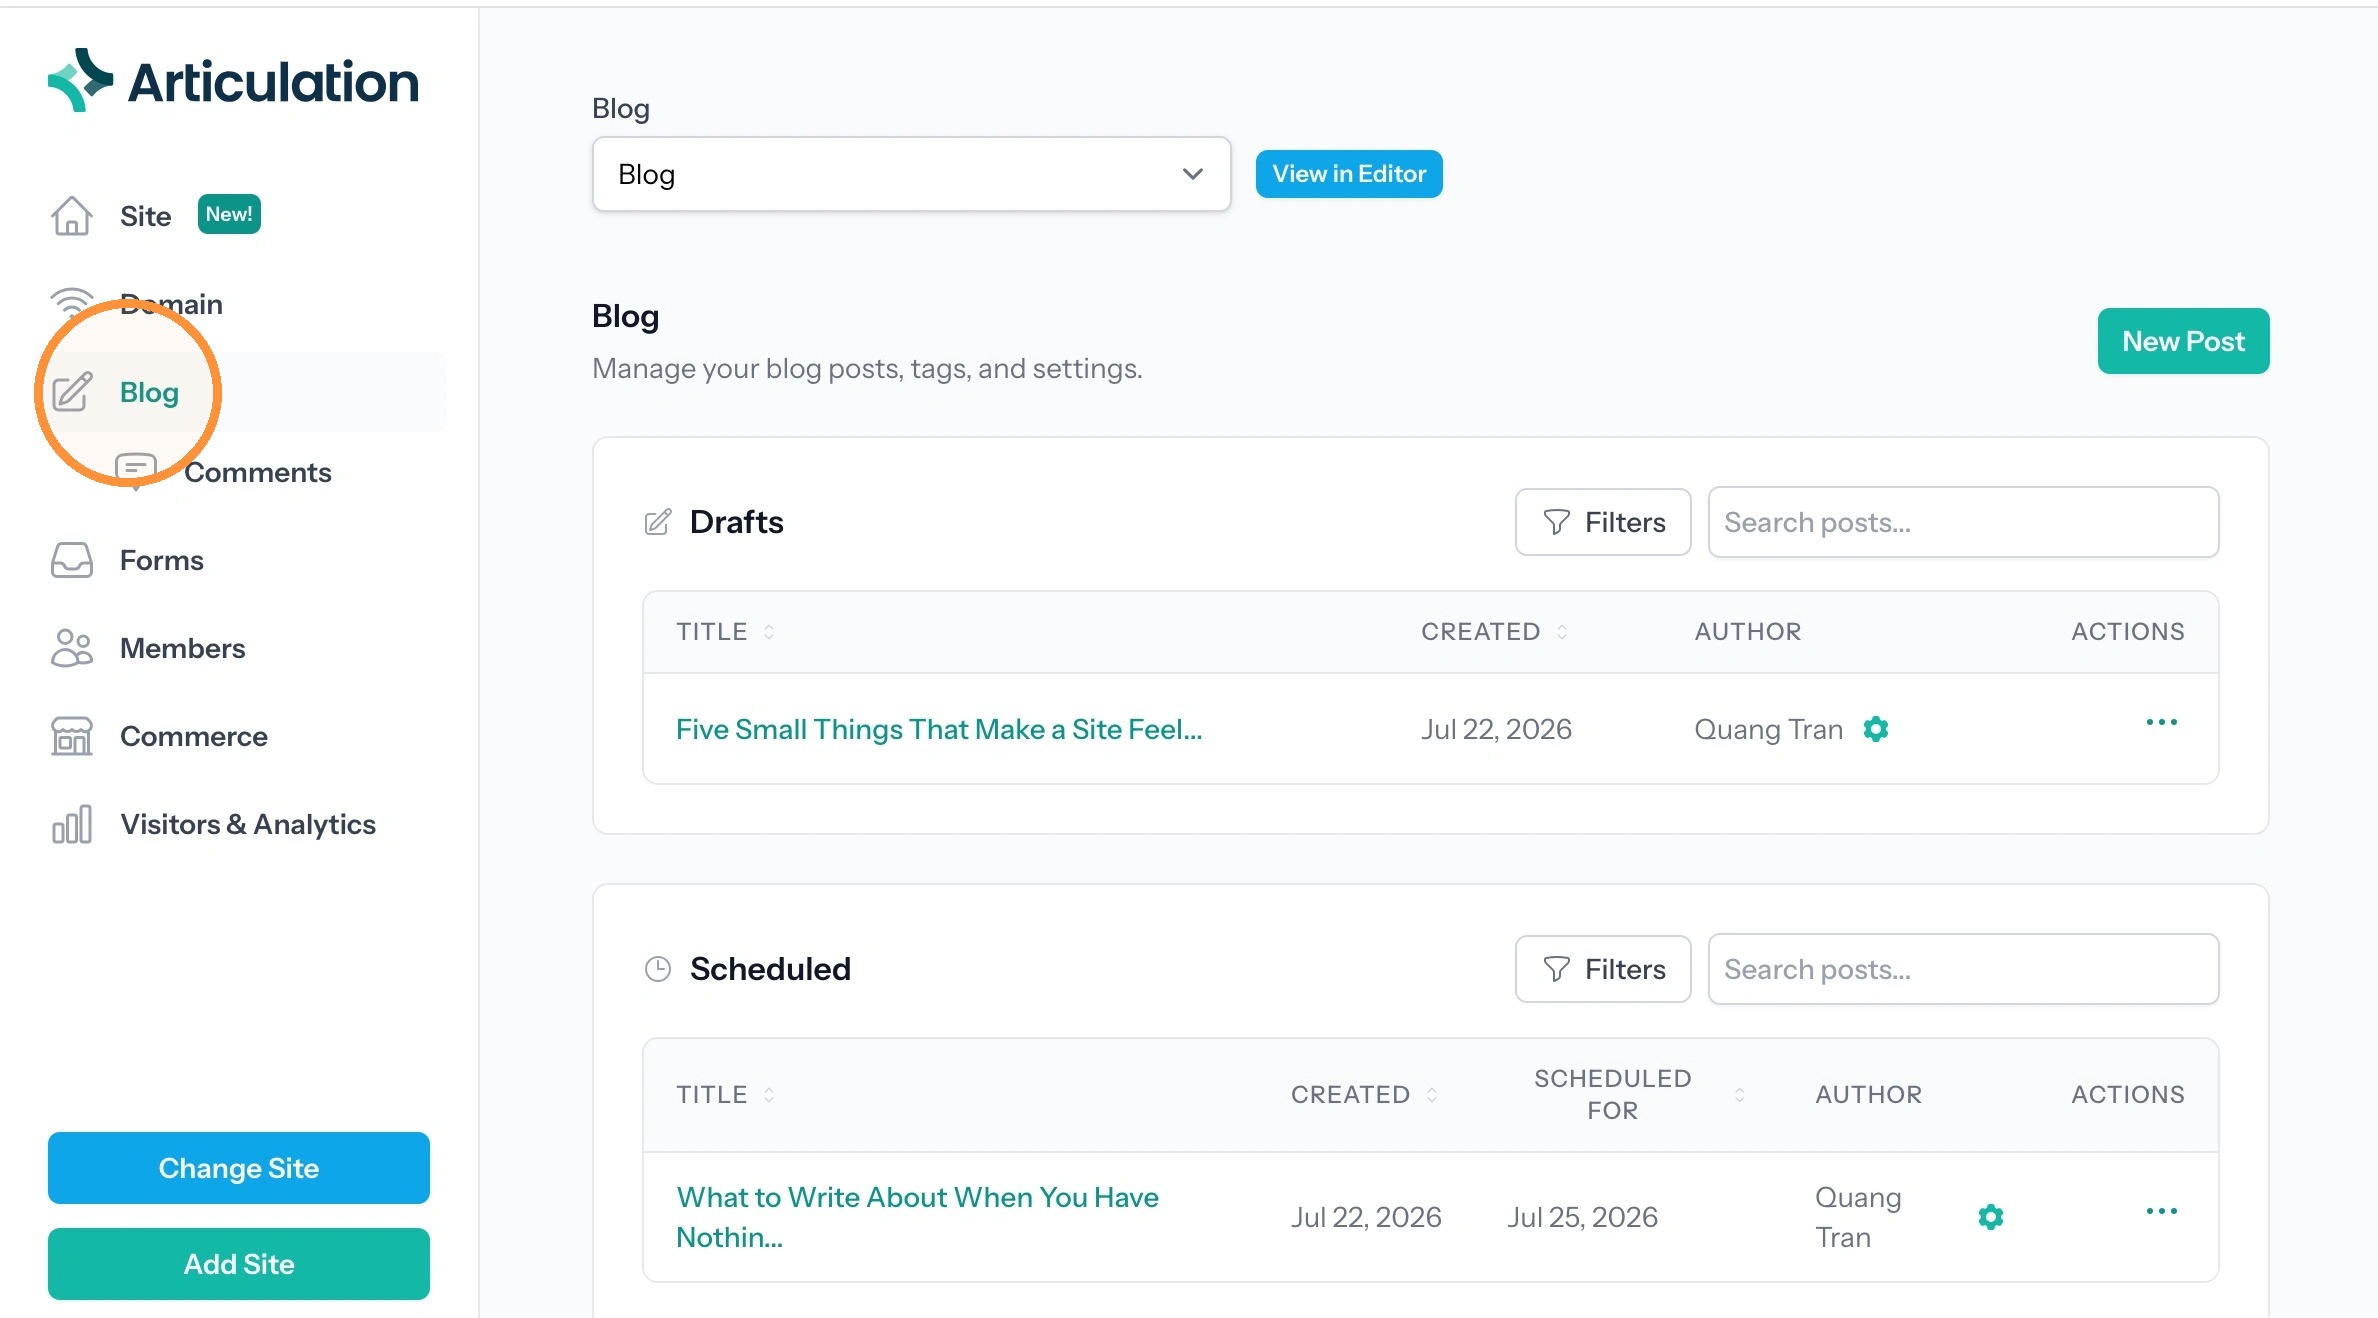
2. There are two ways in, and both land on the same page.
From your dashboard: Click Blog in the left sidebar.
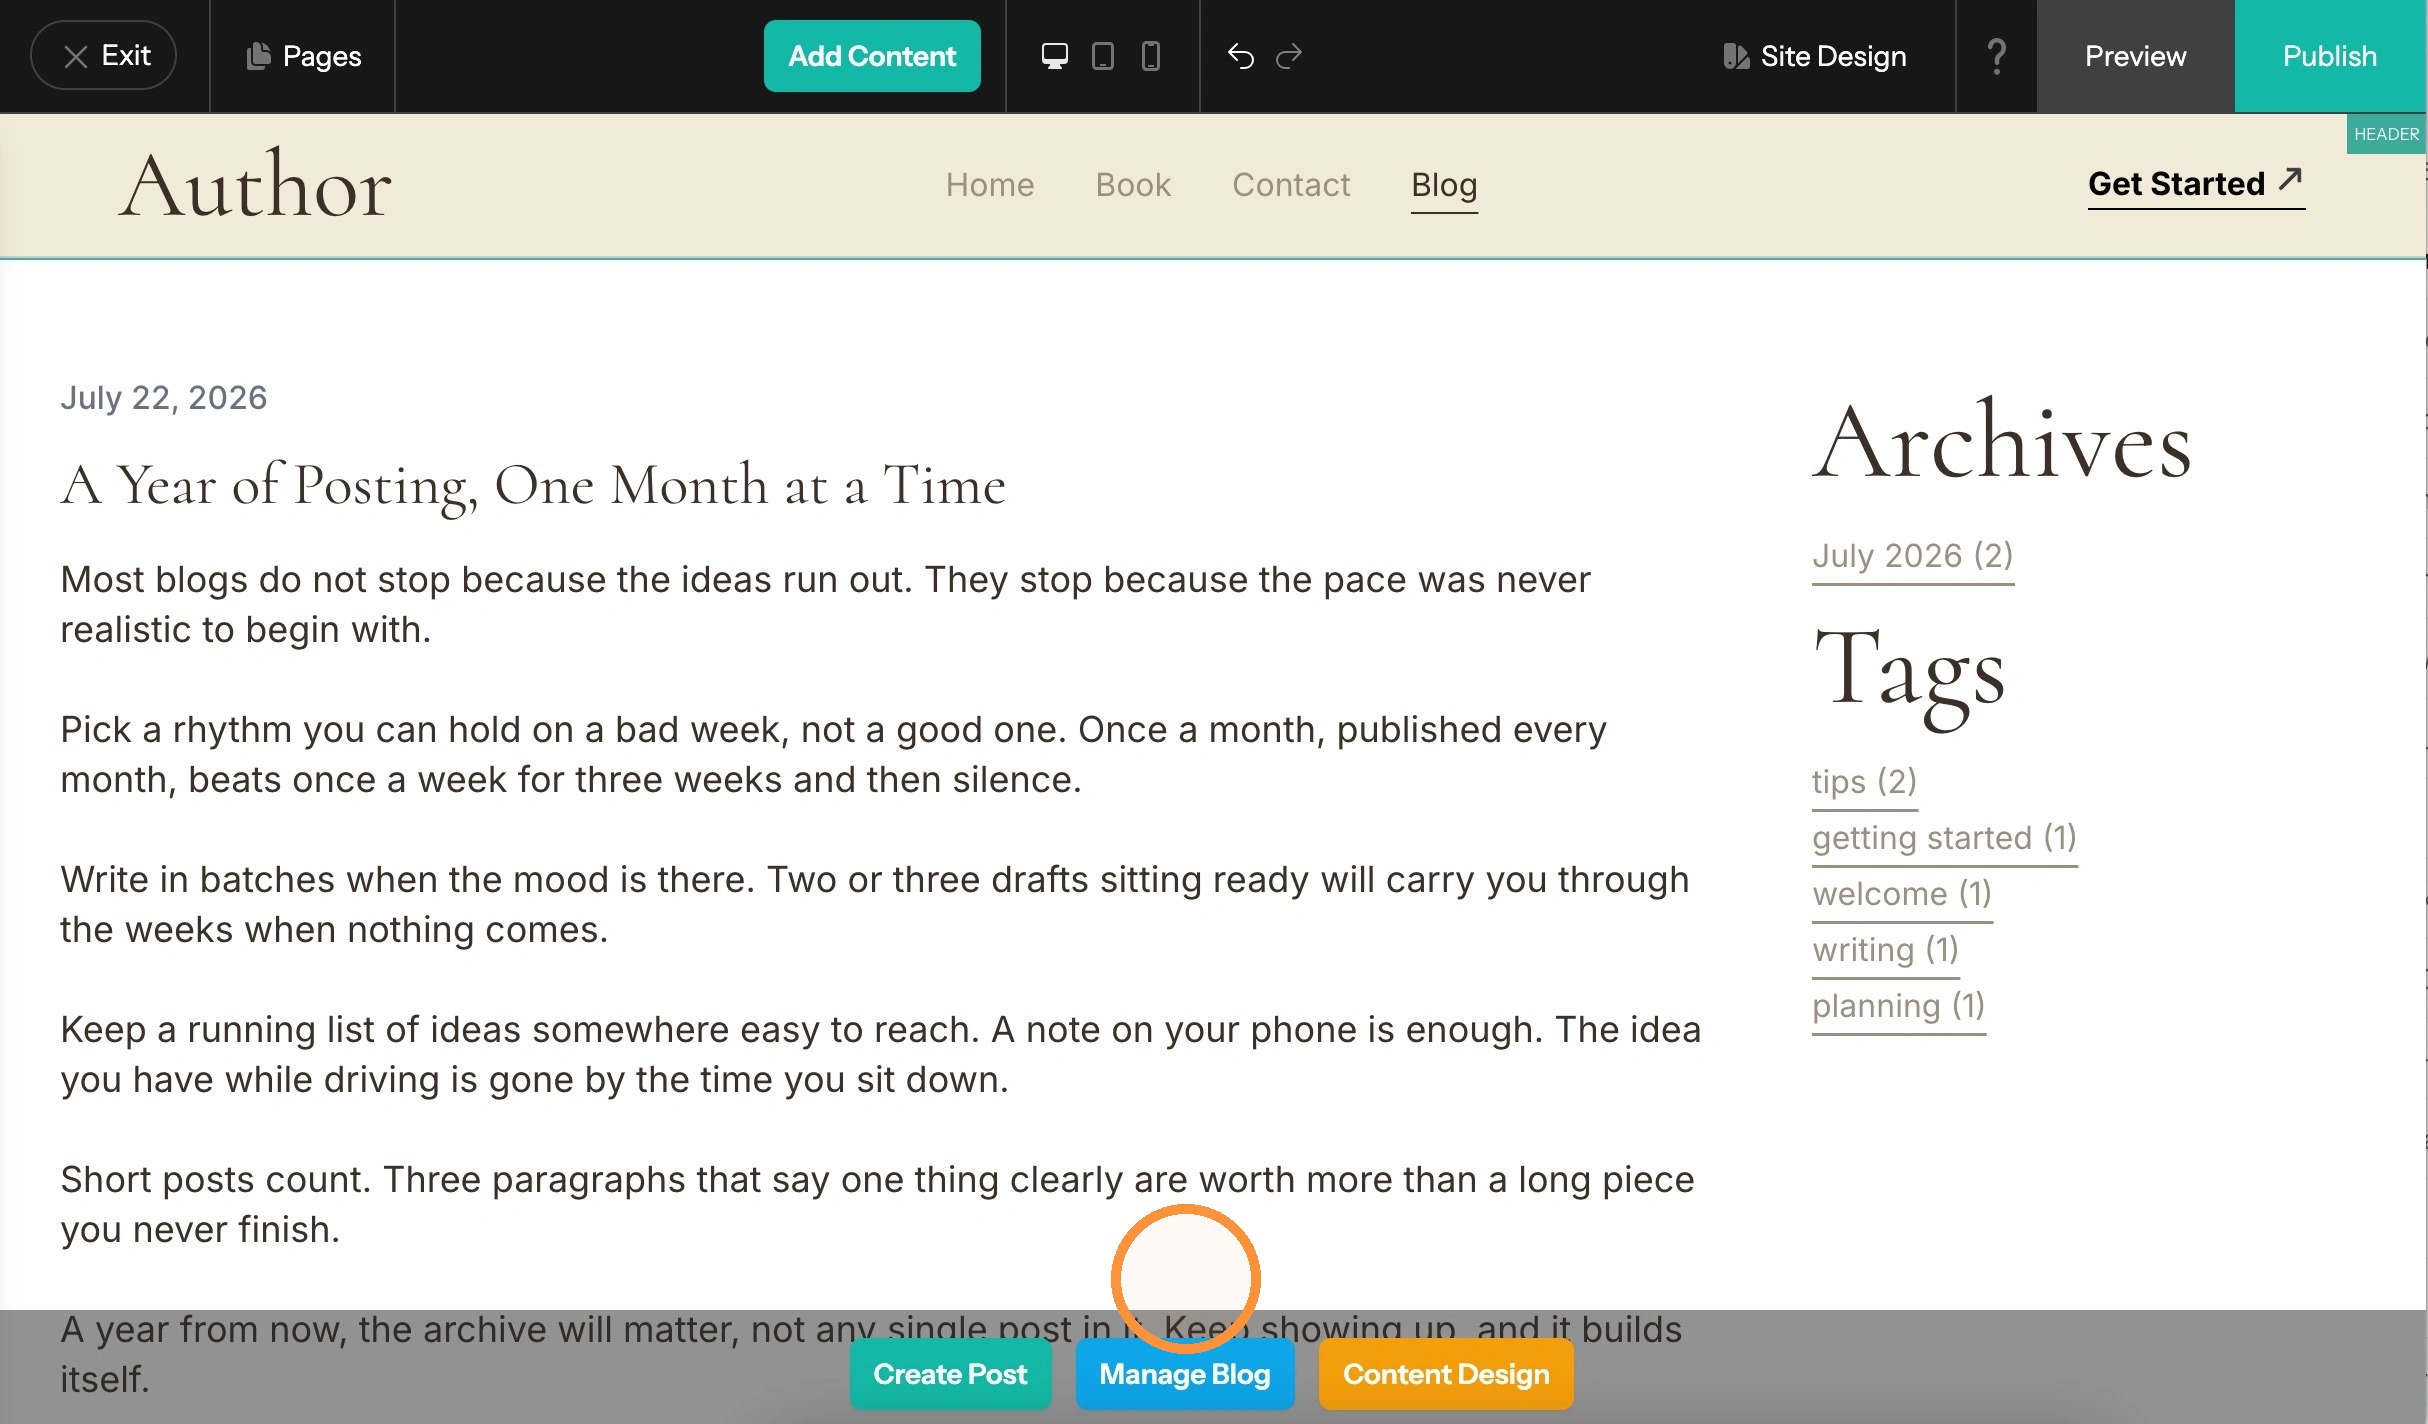
3. From the editor:
1 - Open your blog page.[[ ]]
2 - Below the page, click Manage Blog. It sits between Create Post and Content Design.
Choosing Which Blog You Are Managing
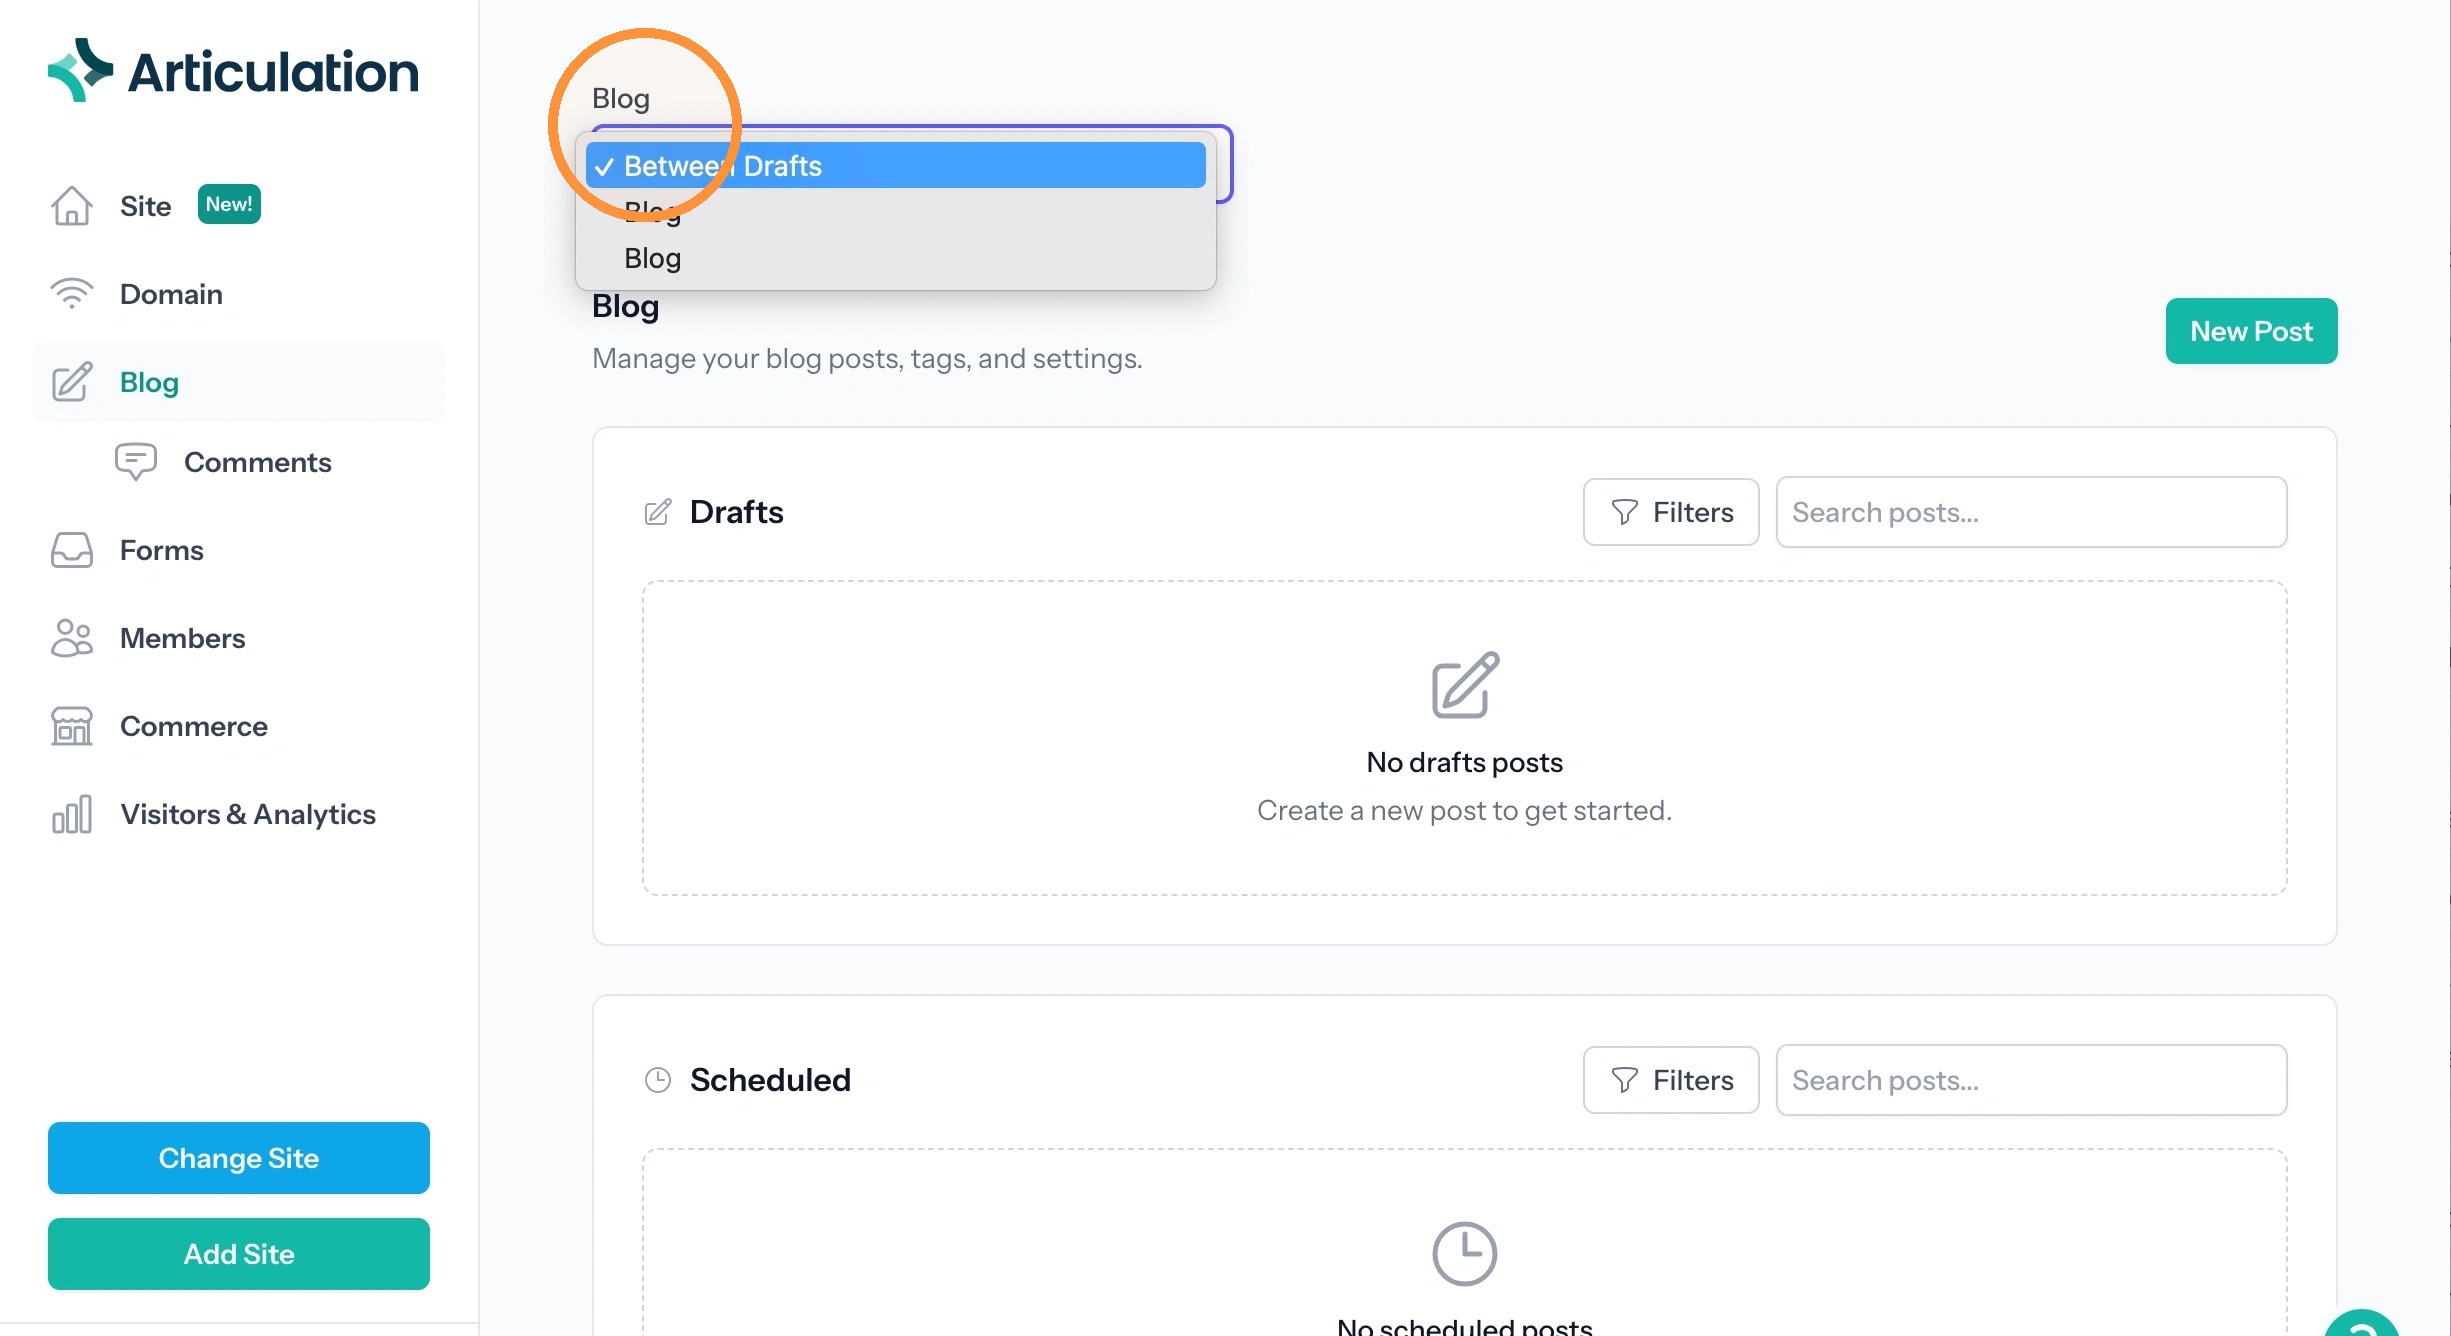
4. The Blog dropdown at the top of the page shows the blog you are working on.
If your site has more than one blog, use the dropdown to switch between them.[[ ]]
Posts
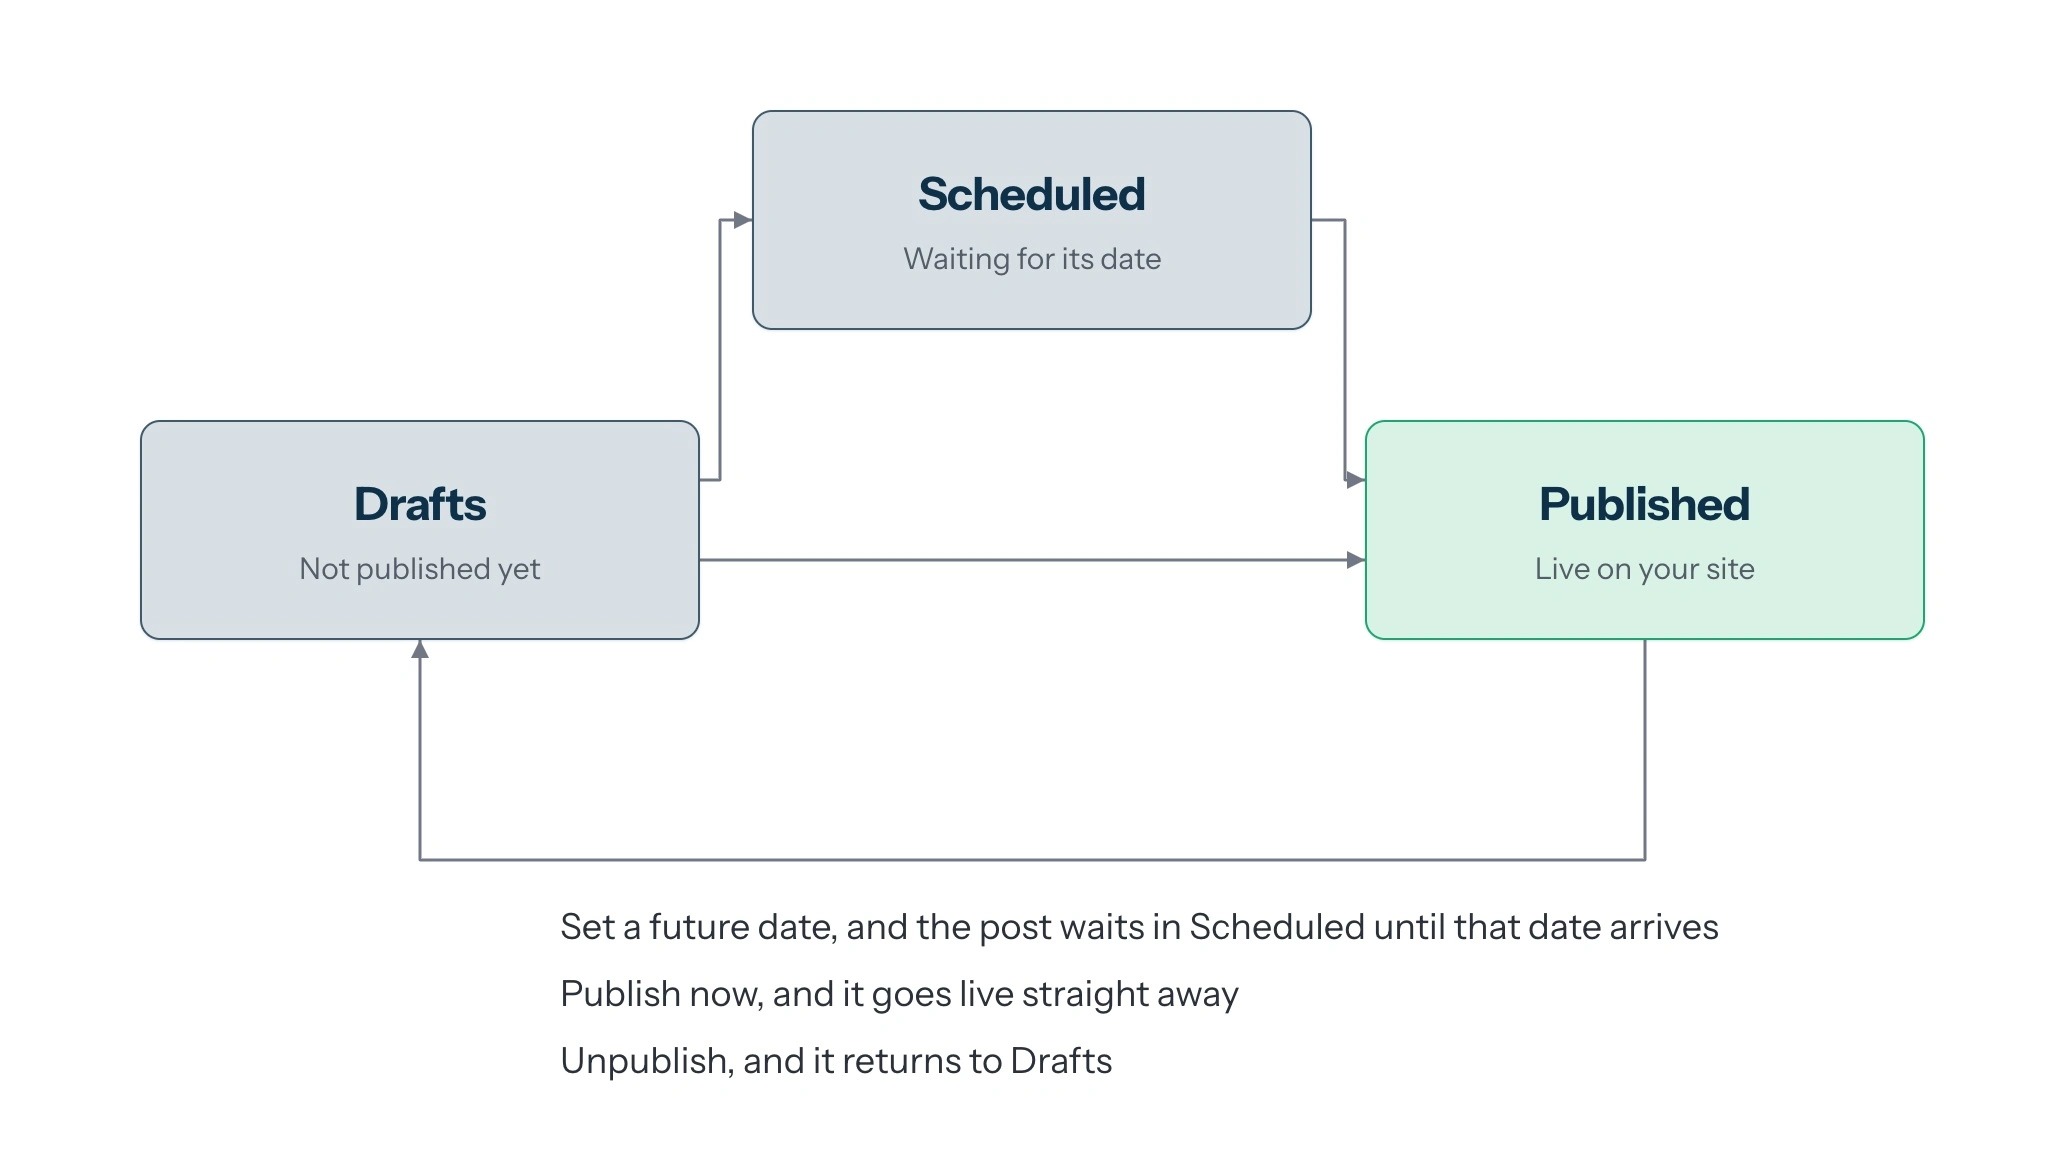
5. Your posts sit in three sections, one for each state a post can be in:
- Drafts: started, not published
- Scheduled: waiting for a publish date to arrive
- Published: live on your site
A post moves between the three on its own as you work, so it is worth knowing which action sends it where.
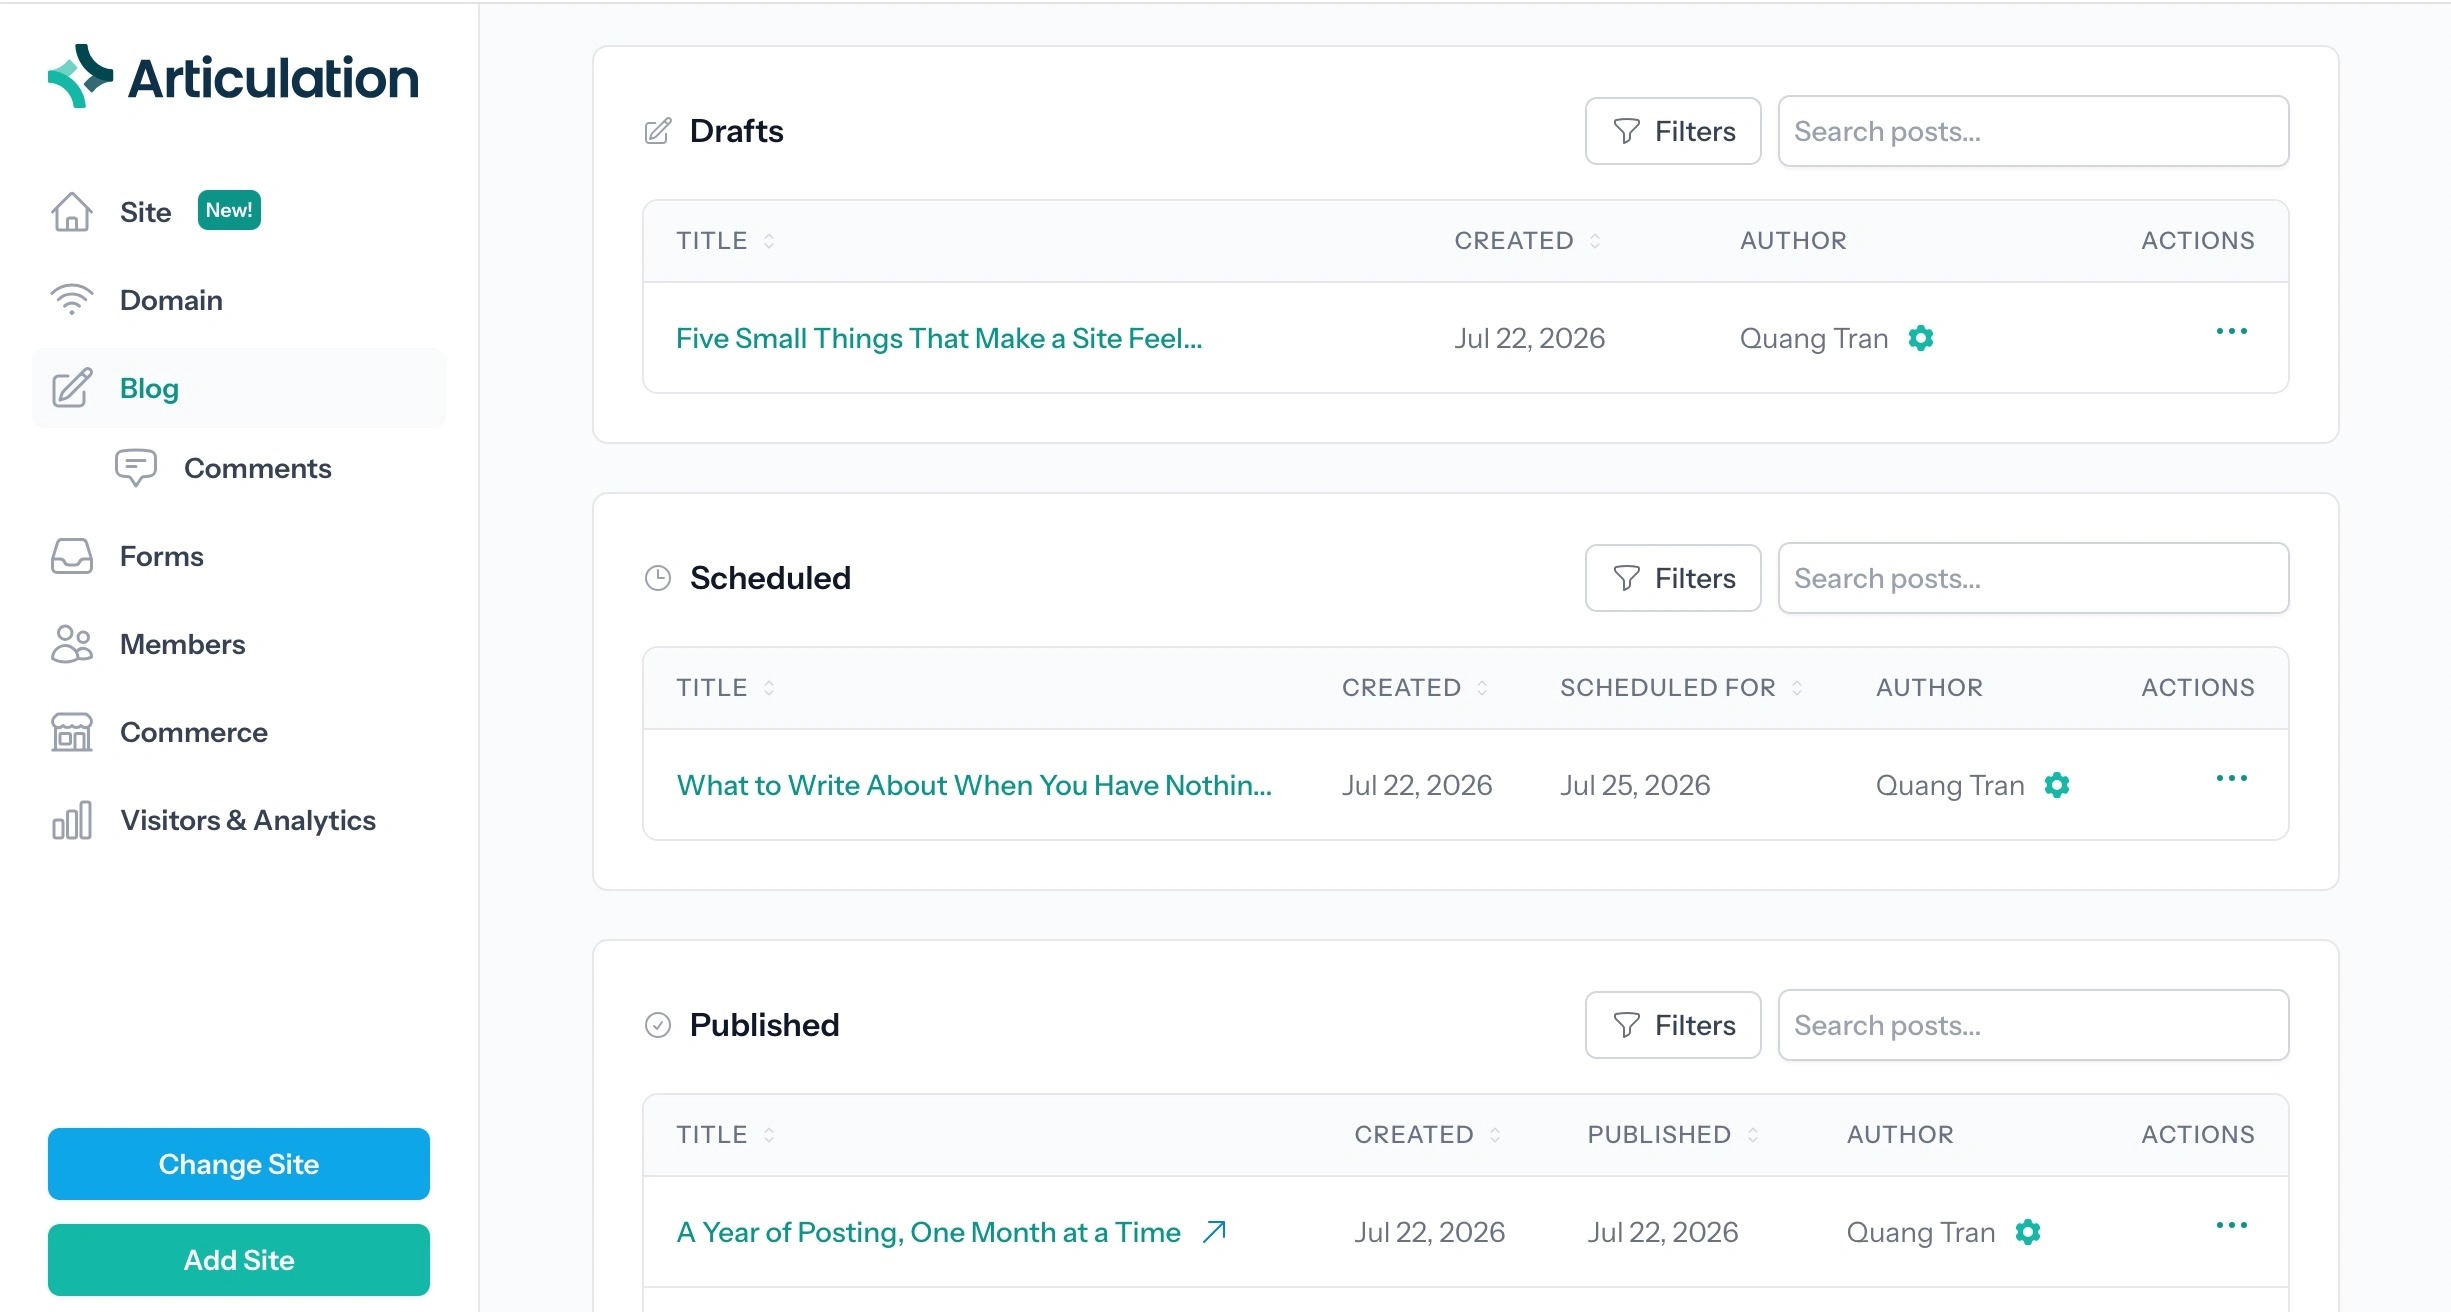
Tip: Three things are the same in all three sections:
- Filters and Search posts, for narrowing a long list without leaving the page
- A gear icon beside each author’s name, for reassigning the post
- A three-dot Actions menu at the end of each row
The gear and the Actions menu are described under Published below.
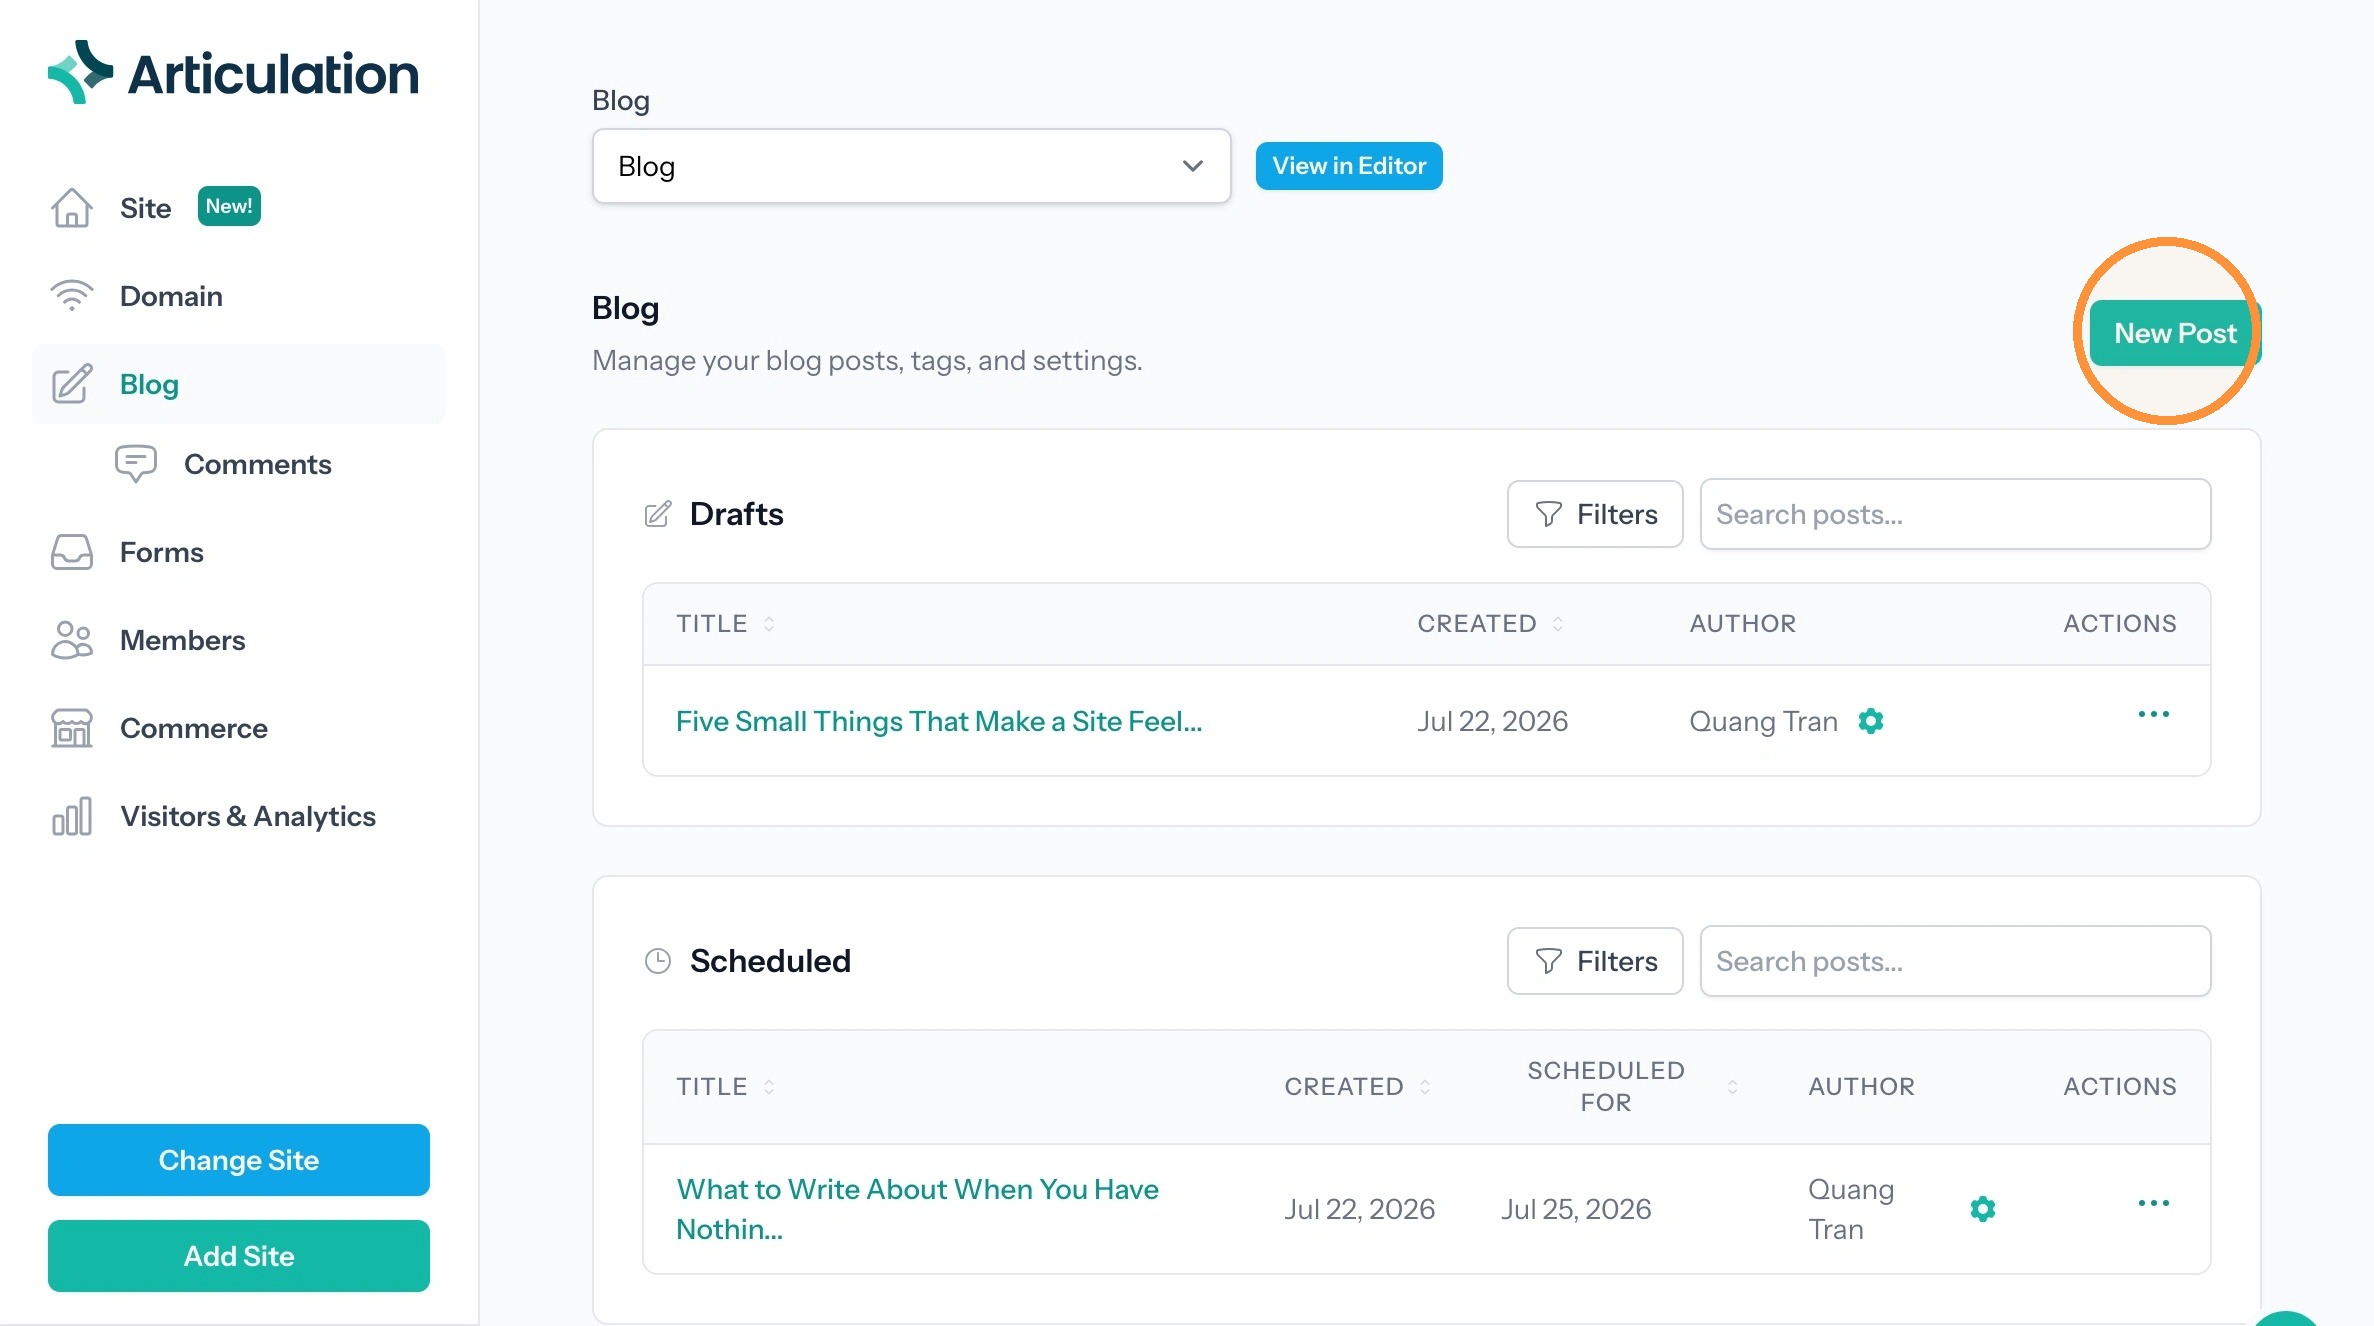
Tip: The New Post button at the top right starts a new post.
Writing, tagging, scheduling, and publishing are covered in the Creating and Publishing a Blog Post section.
Drafts
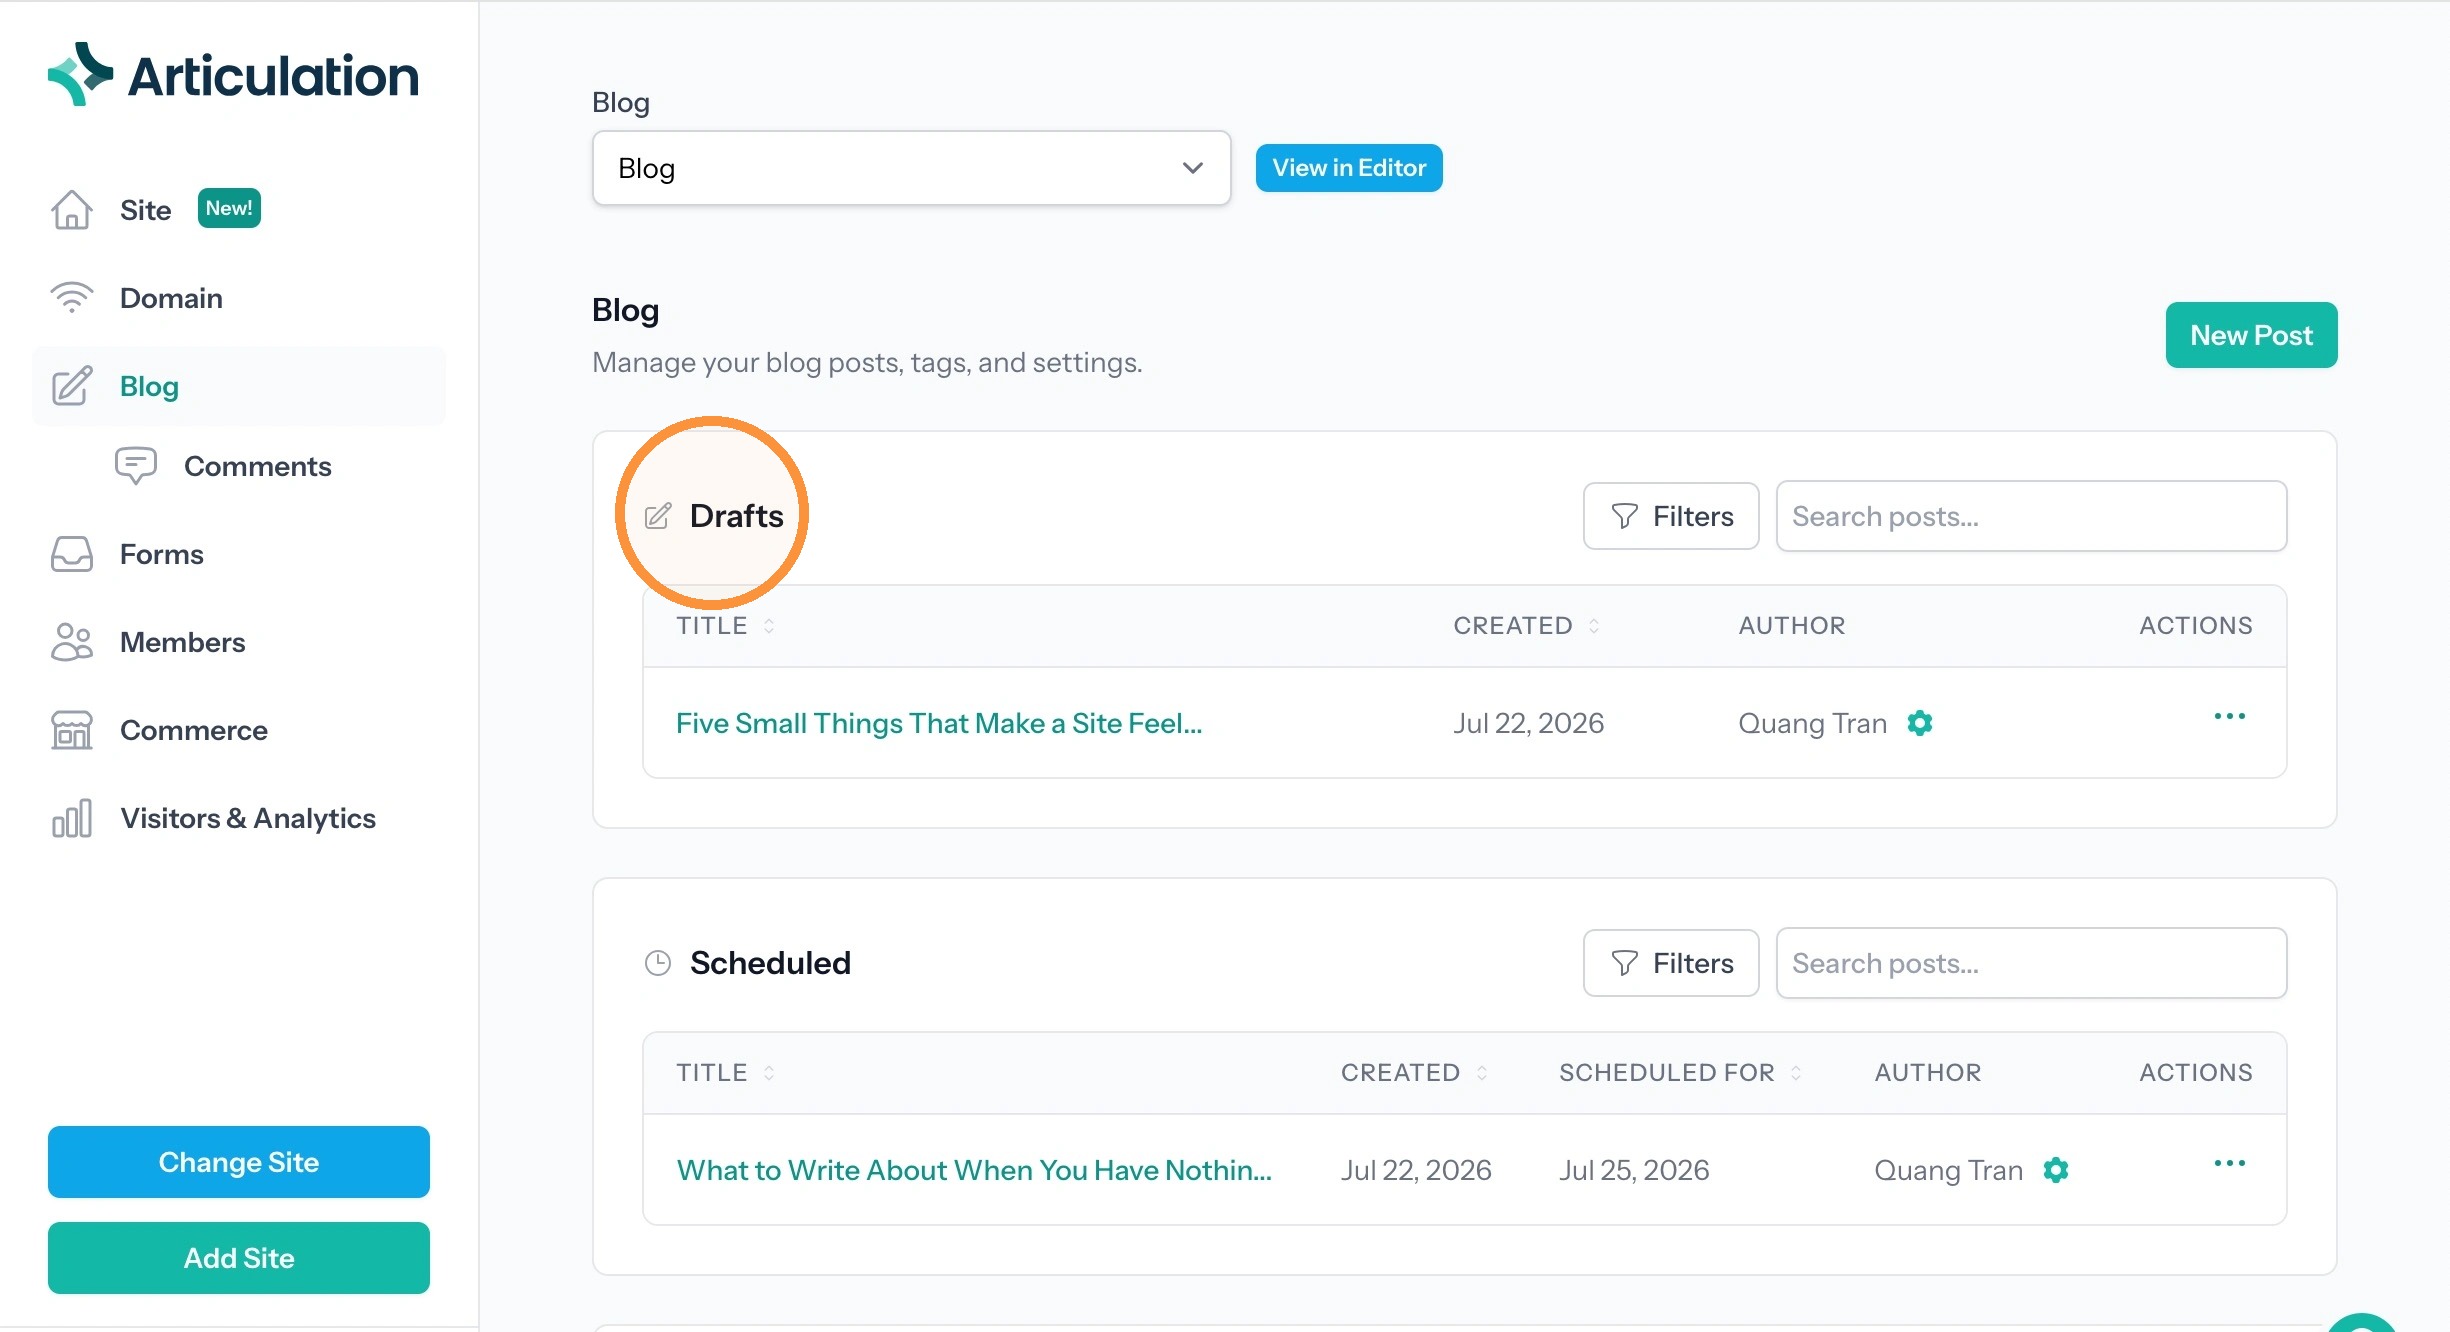
6. Posts you have started but not published.
Drafts are listed with four columns: Title, Created, Author, and Actions. There is no Published column, because a draft has not been published yet.
A draft you have not titled yet shows an empty Title cell, so you can still find it by its date.
Scheduled
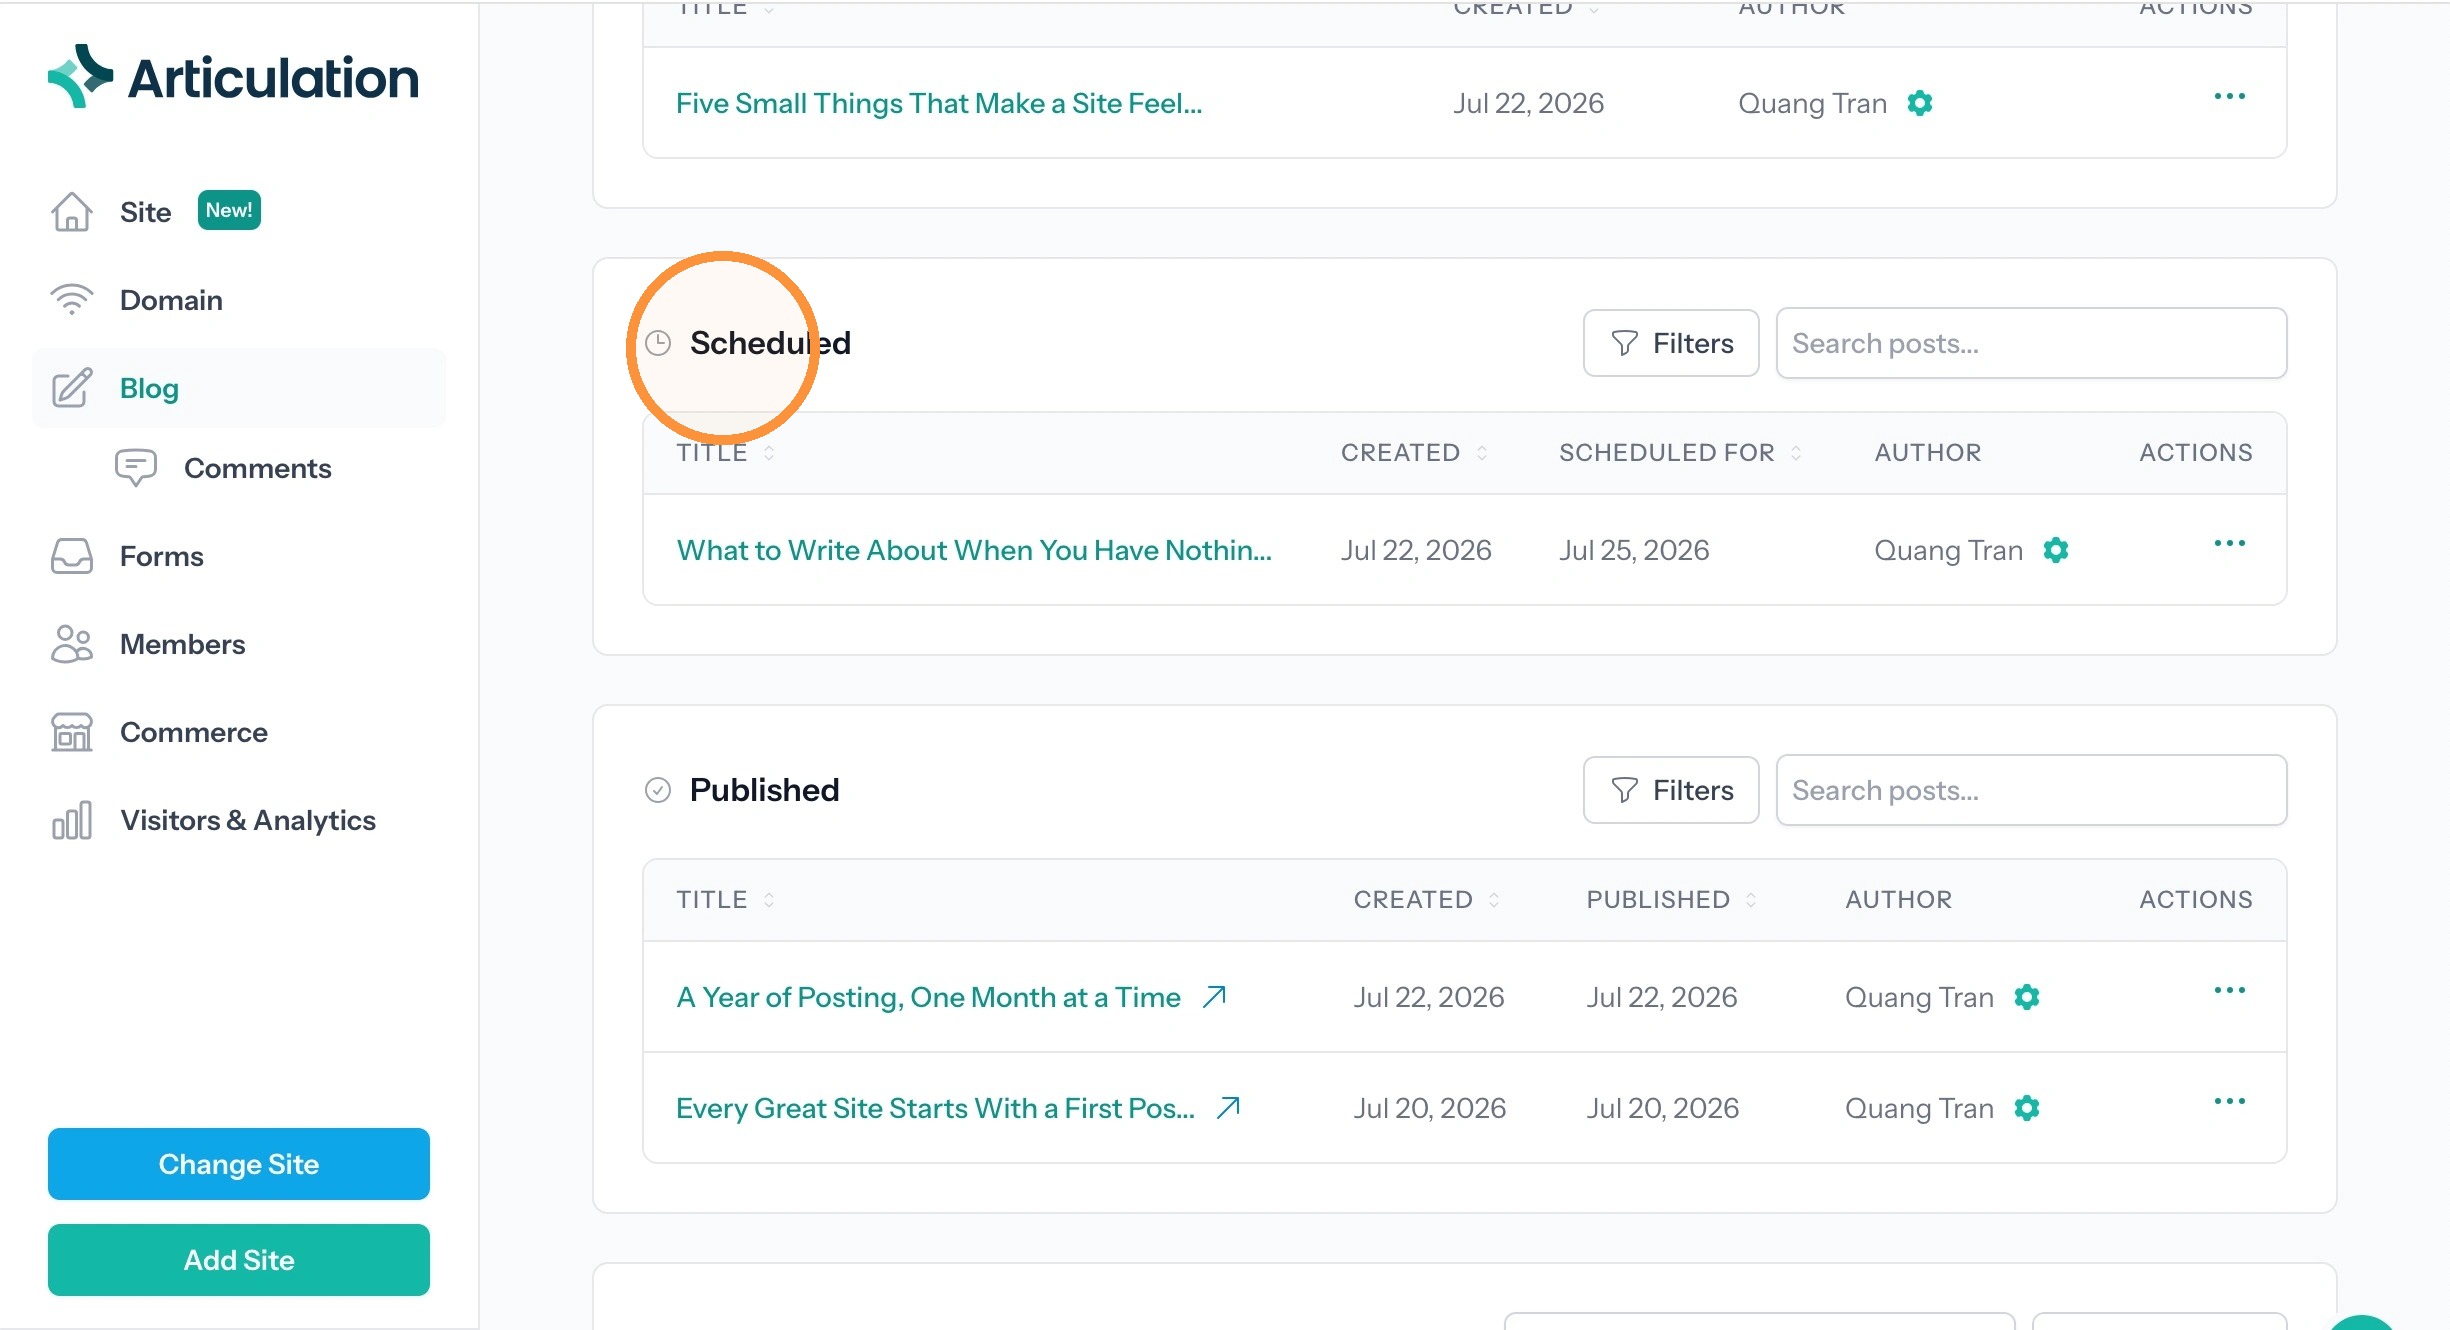
7. Posts with a future publish date are waiting for that date to arrive.
This is where a scheduled post sits until it goes live on its own. If you have queued posts ahead and want to check what is coming, look here rather than in Published.
The columns are the same four as Drafts.
Published
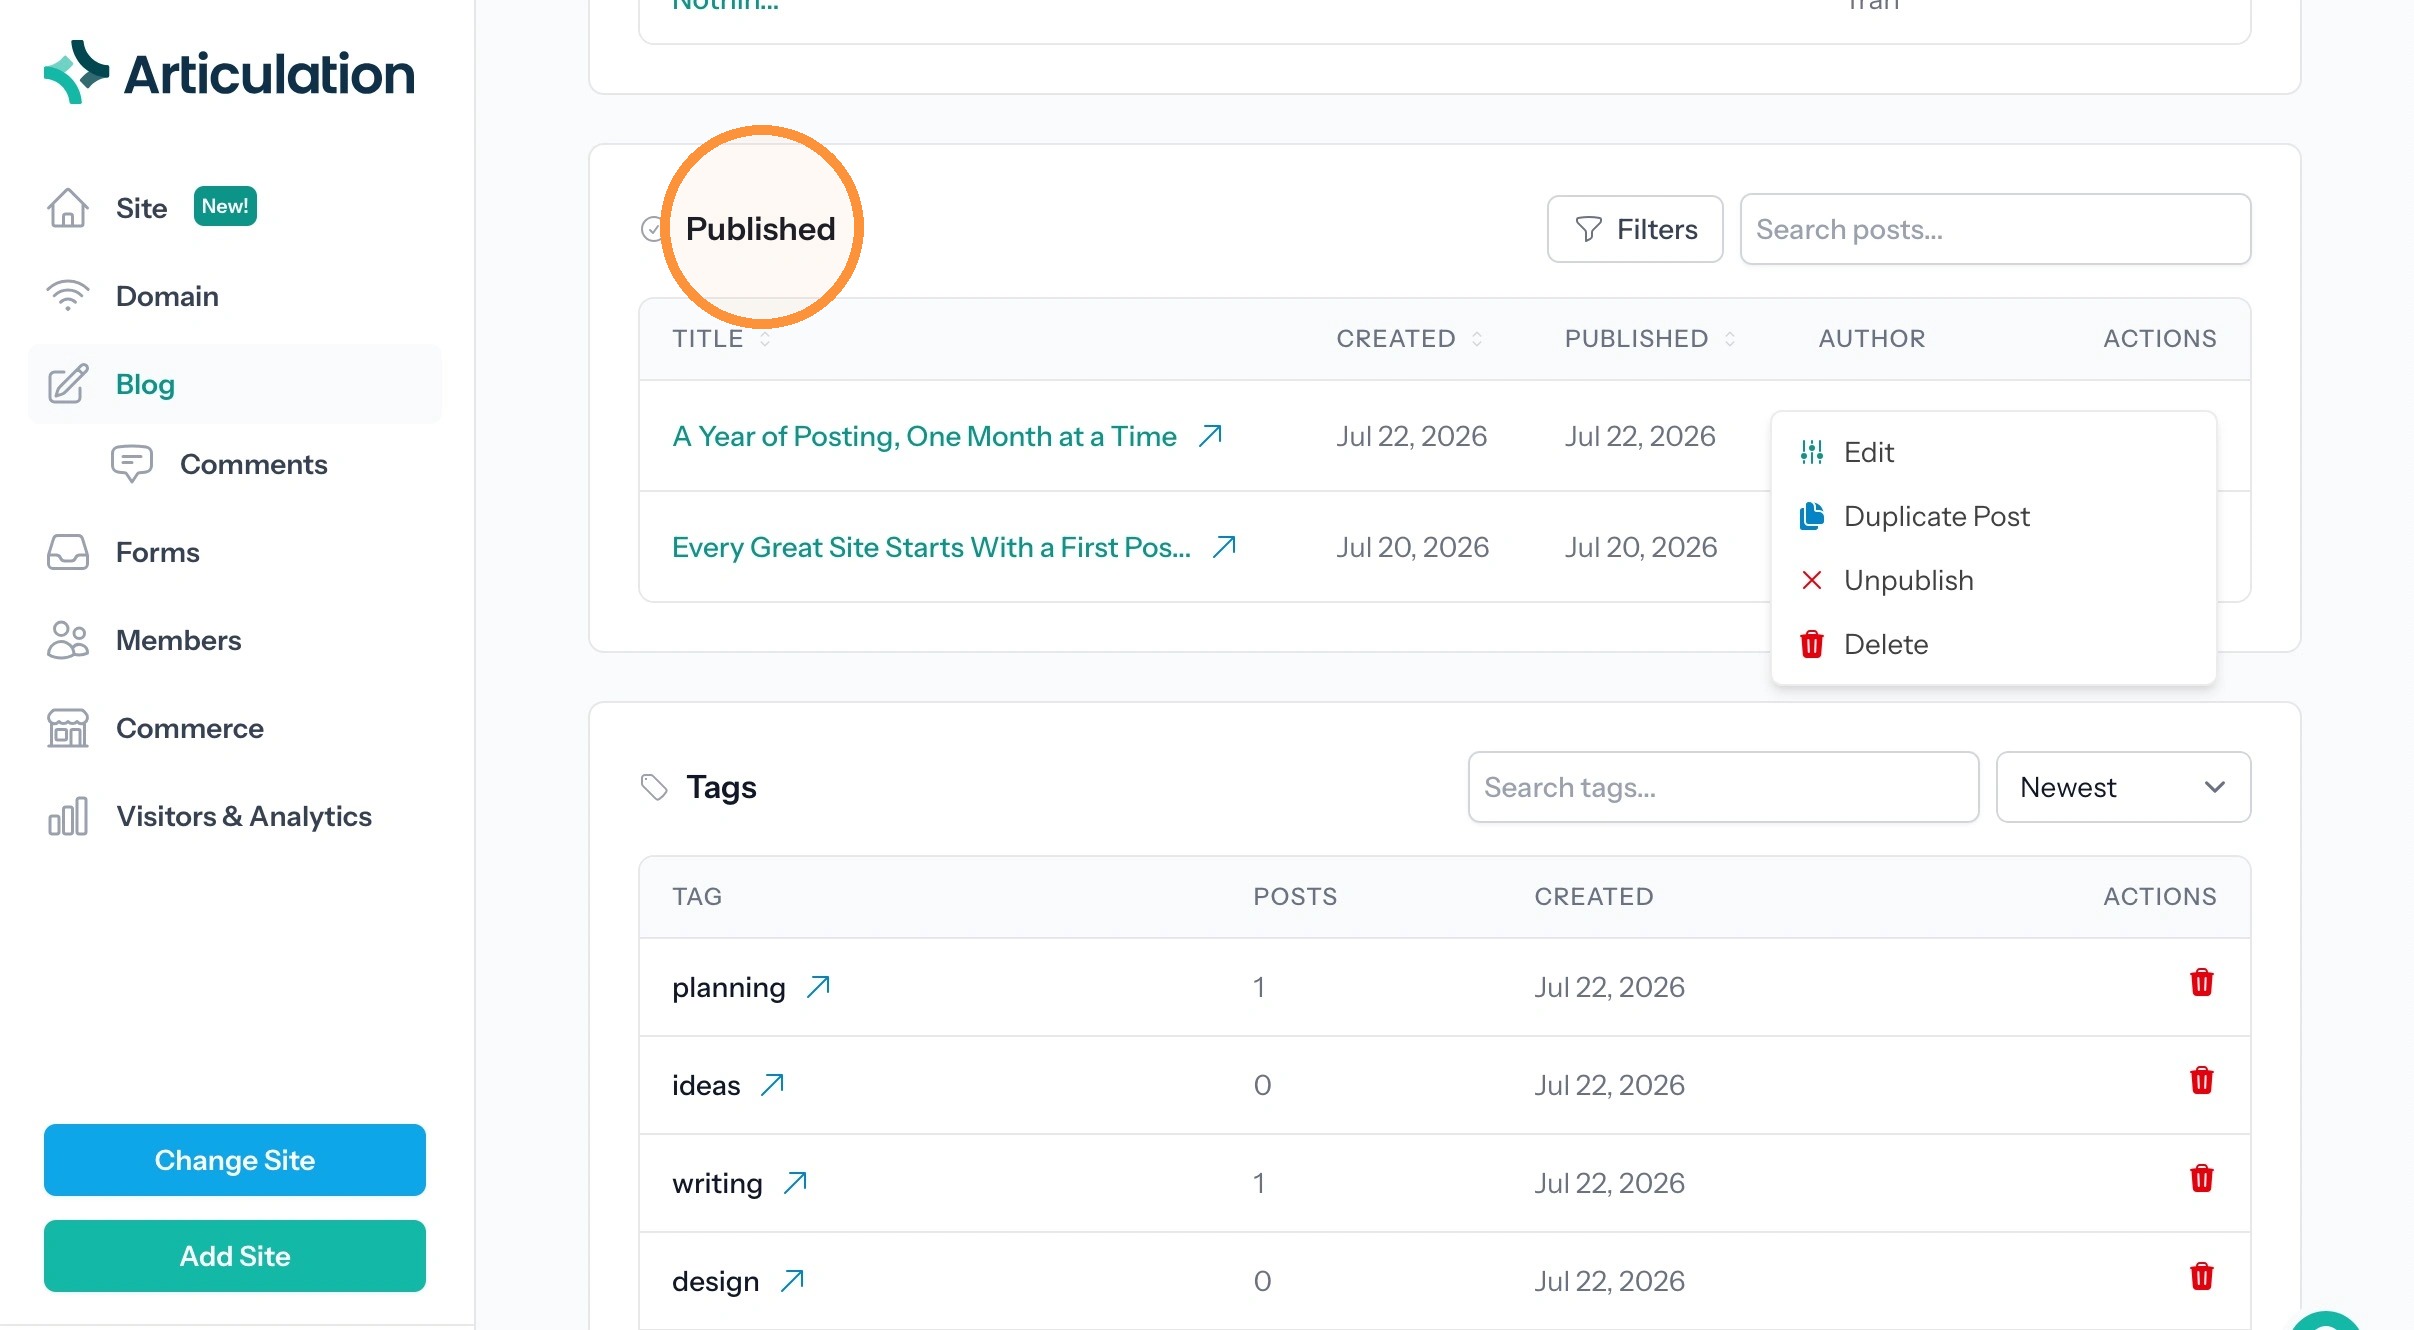
8. Everything is currently live on your site.
The table has five columns:
- Title: the post title, with a link icon that opens the live post in a new tab
- Created: when the post was first made
- Published: when it went live
- Author: to whom the post is credited
- Actions: the three-dot menu for that post
Title, Created, and Published are sortable, so you can reorder the list by whichever one you are working from.
Tip: One thing worth knowing: this list is ordered by most recently updated, which is not the order your visitors see. Your live blog orders posts by published date, newest first. So a post you edited this morning jumps to the top of this table while staying where it was on the site.
The Actions Menu
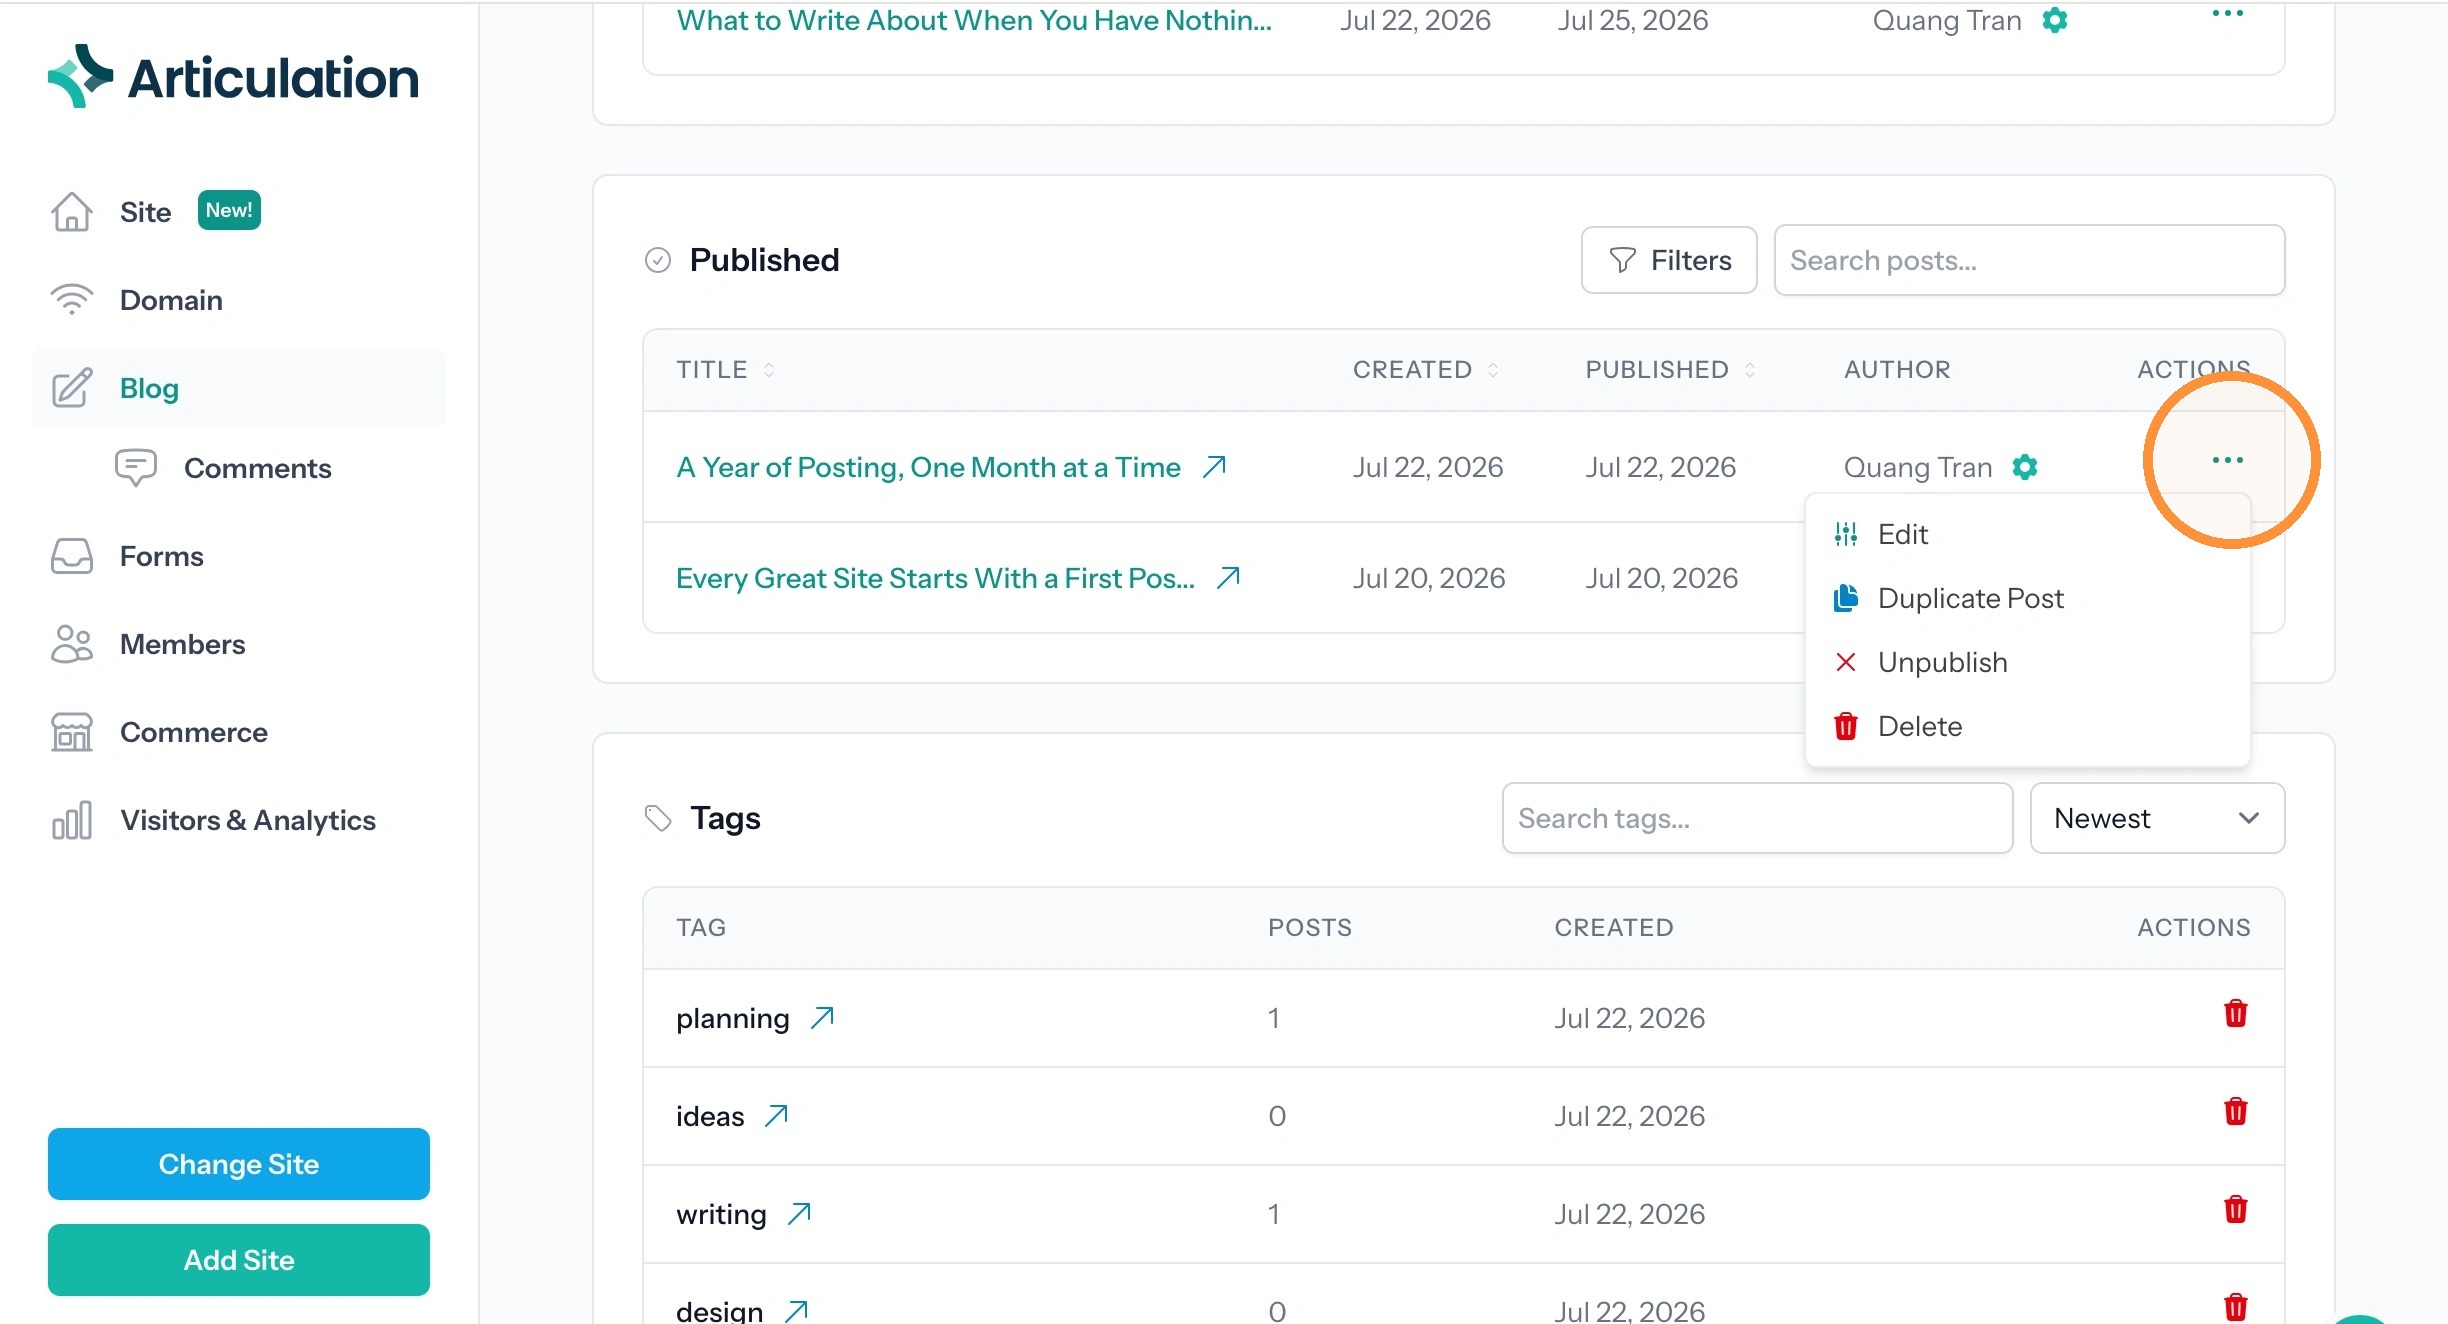
9. The three-dot menu at the end of a row lets you act on a post without opening it:
- Edit: opens the post to work on
- Duplicate Post: makes a copy, useful when several posts share a structure
- Unpublish: takes the post off your live site and returns it to Drafts, so nothing is lost
- Delete: removes the post
Changing a Post's Author
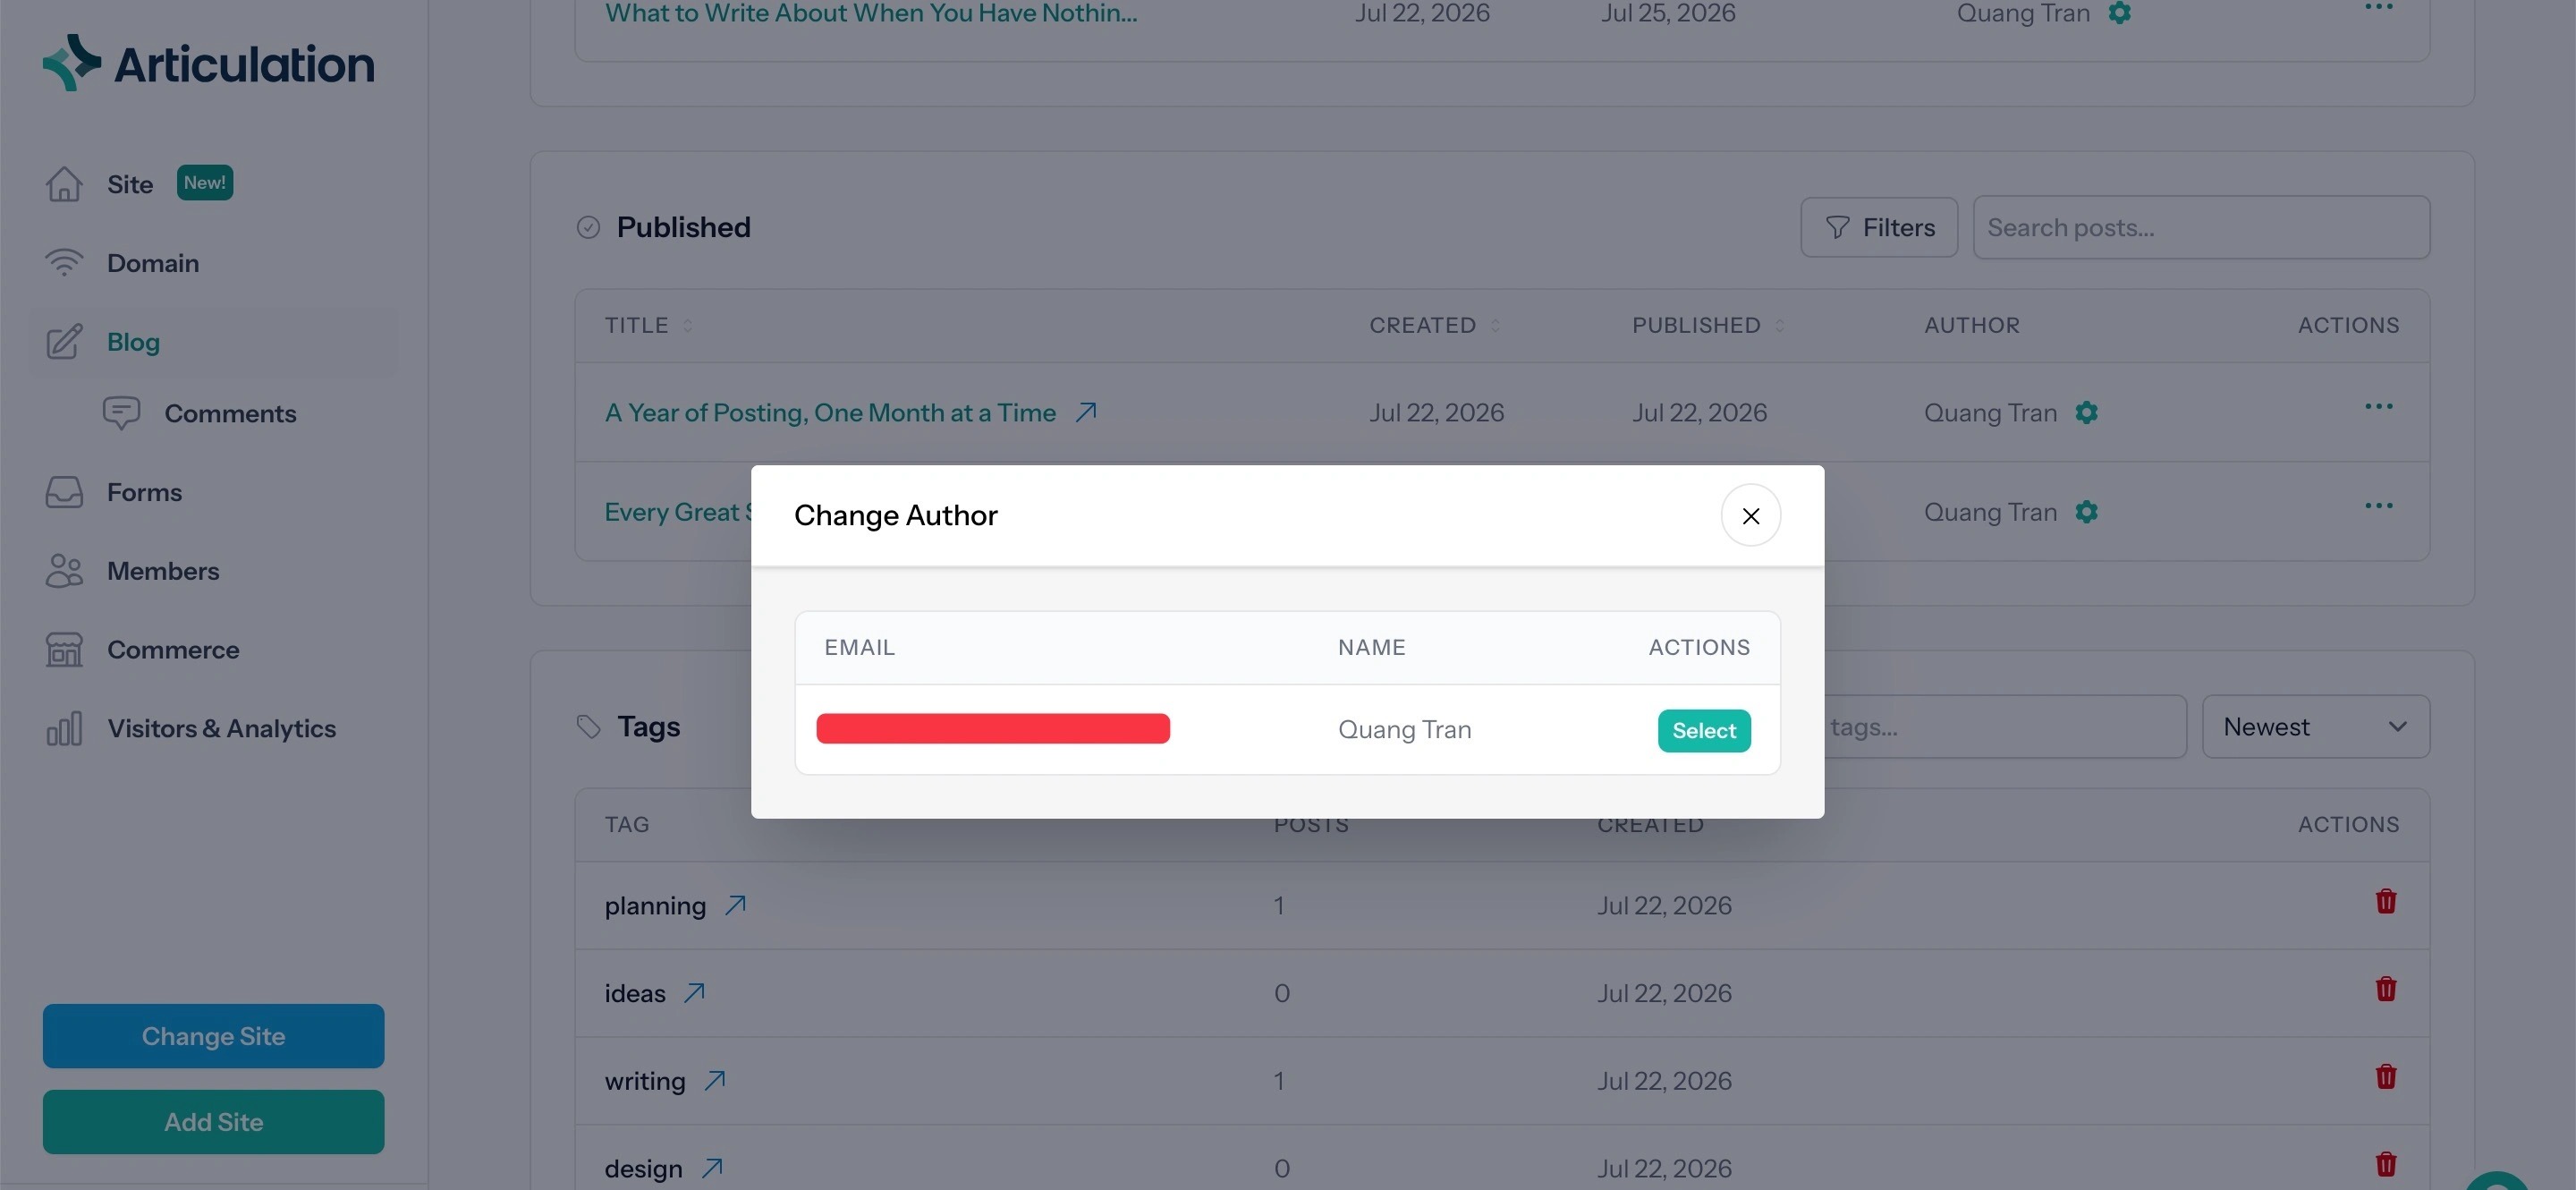
10. To credit a post to someone else:
1 - Click the gear icon beside the author’s name.
2 - Find the person in the Change Author window, which lists each one by email and name.
3 - Click Select on their row.
Tags
11. Tags are the labels you put on posts so readers can browse by topic.
The table lists every tag on the blog, in four columns:
- Tag: the tag name, with a link icon that opens that tag's posts
- Posts: how many posts currently carry the tag
- Created: when the tag was first added
- Actions: a trash icon to delete the tag
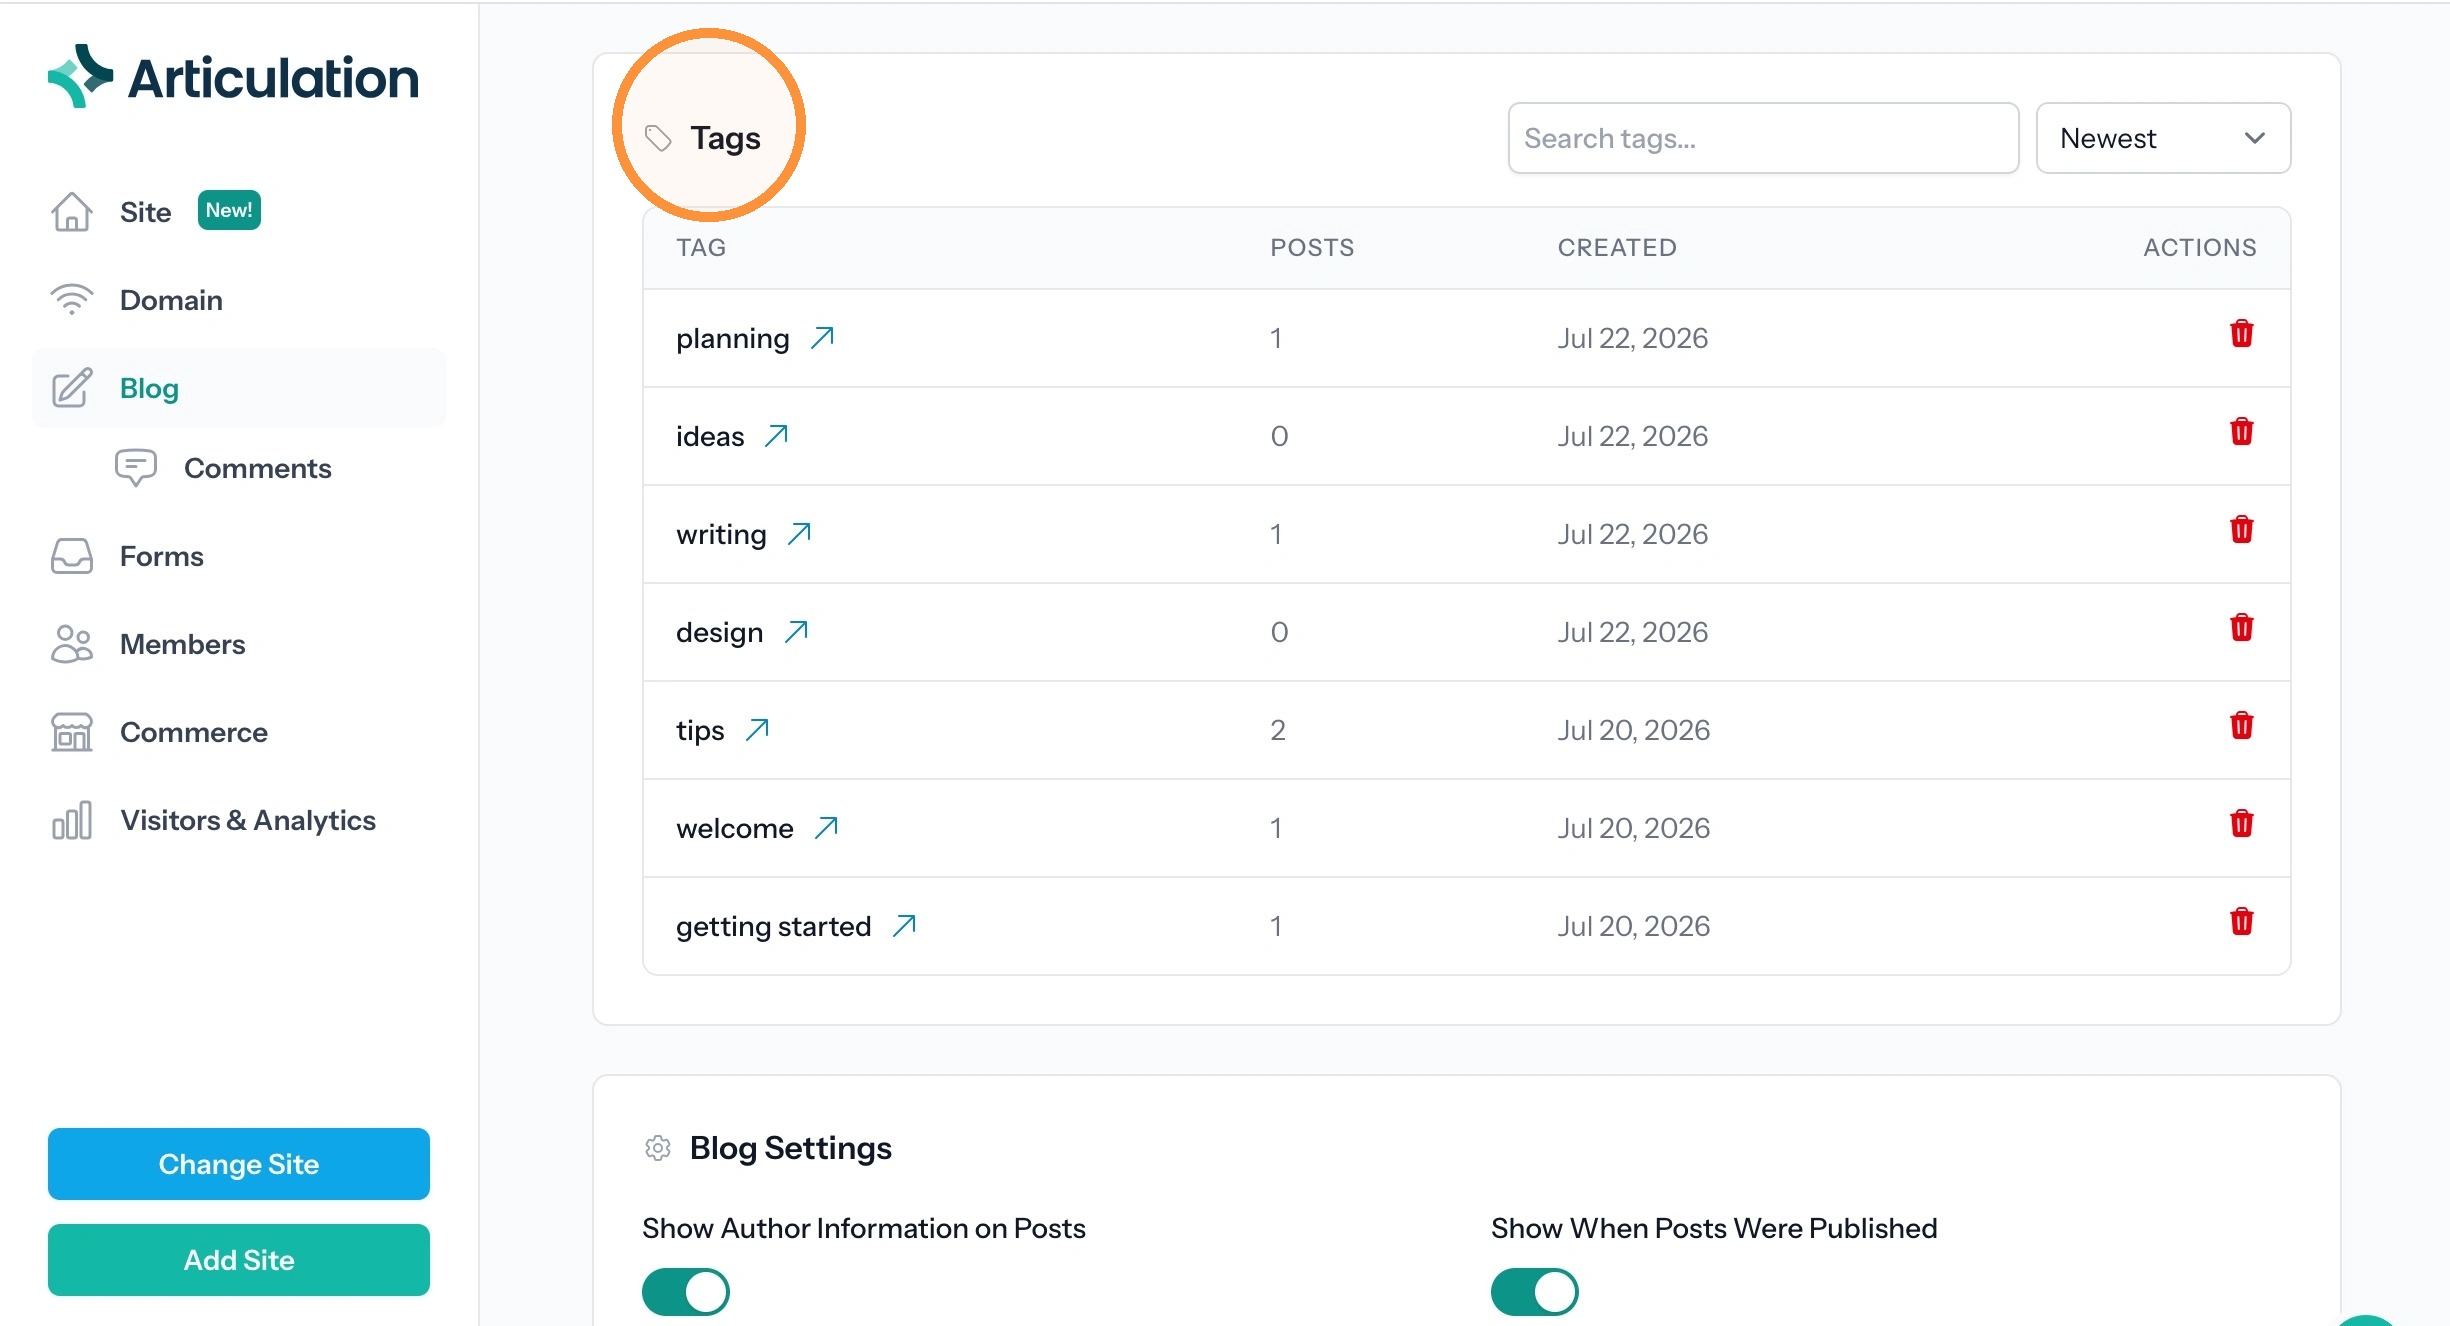
Tip: A Search tags box and a sort dropdown sit above the table for blogs with a long tag list.
Tip: Tags reach this table by being added to a post while you write it, not from this page.
So a blog whose posts carry no tags yet shows an empty Tags section.
Blog Settings
12. These settings apply to the whole blog rather than to one post.
They are also per blog, so a site with two blogs has a separate set for each.
- Show Author Information on Posts: shows or hides the author credit. Turning this off removes the author from every post on the blog, not just new ones.
- Show When Posts Were Published: shows or hides the publish date on posts.
- Posts Per Page: how many posts appear before readers page to the next set.
- Date Format: how dates are written on your posts. Five formats are available.
- Hide Blog from Search Engines: keeps the blog from appearing in search results. Leave this off if you want your posts found.
- Show sharing links on blog posts: adds Facebook, X/Twitter, LinkedIn, and Pinterest sharing links to your posts.
Click Save Settings at the bottom when you are done.
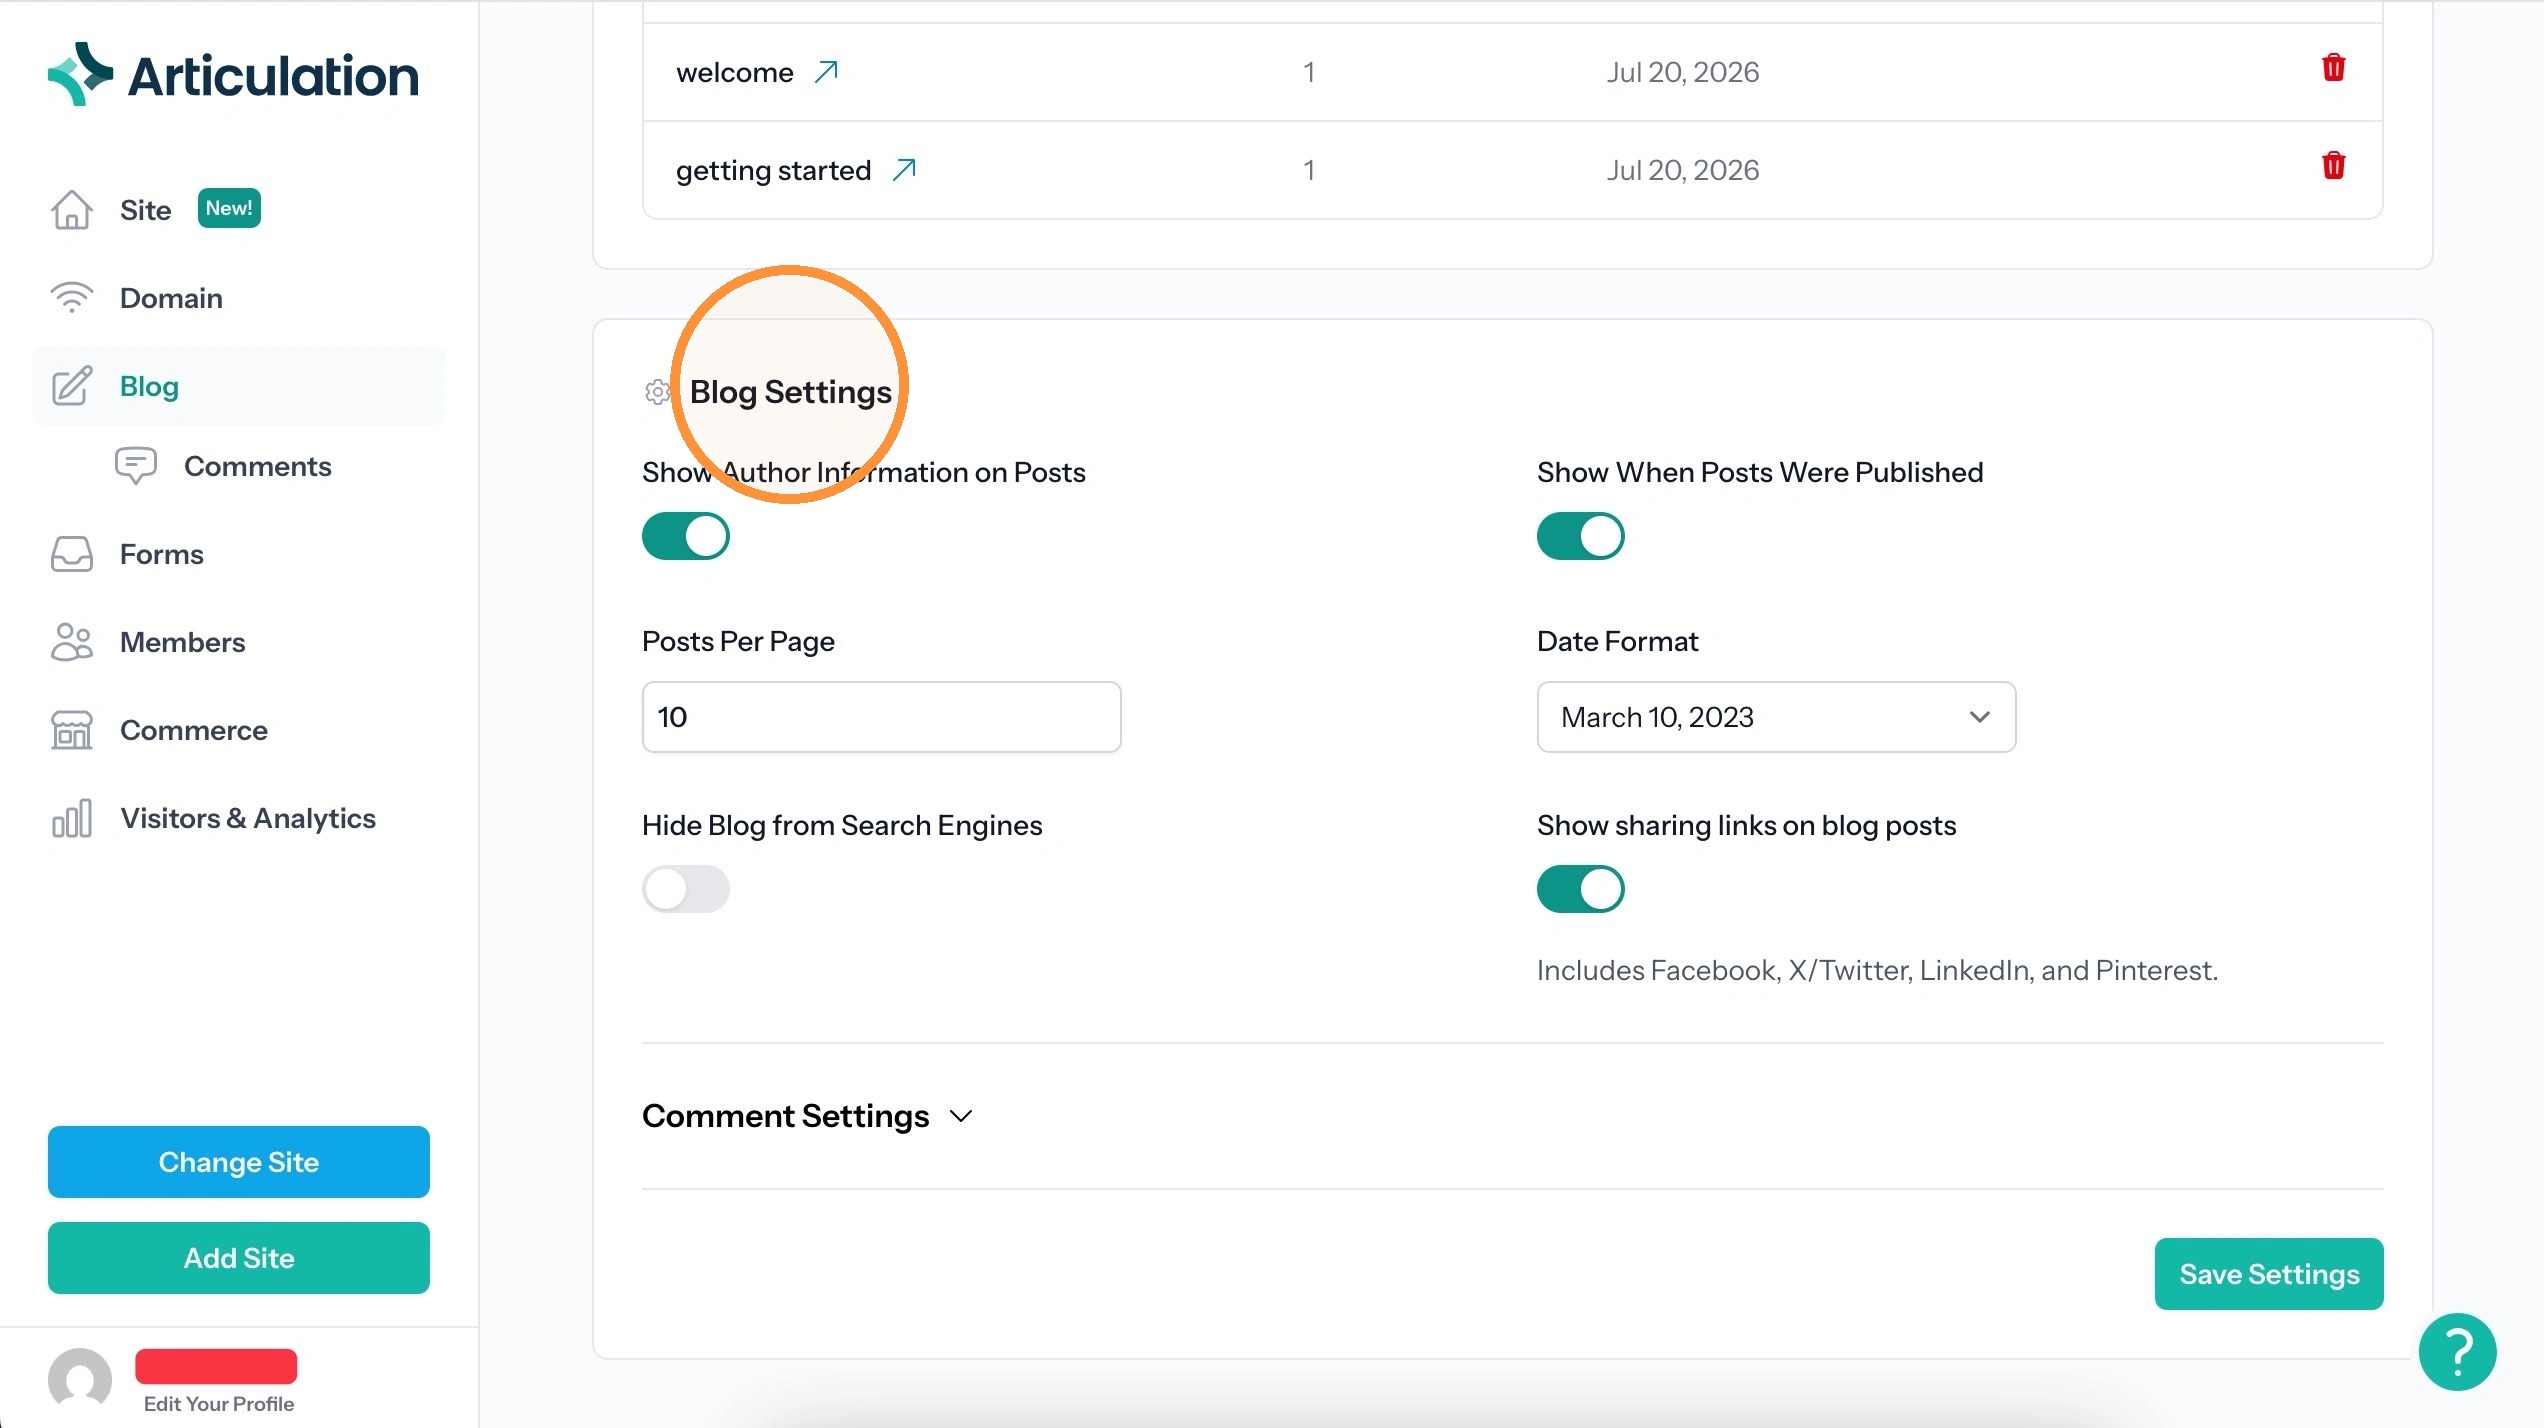
Tip: The Date Format choices all show the same date:
- March 10, 2023
- 10 March 2023
- 2023-03-10
- 03/10/2023
- 10/03/2023
The last two are the month-first and day-first orders for that date, so pick whichever your readers expect.
Comment Settings
13. Comment Settings is a collapsible group at the bottom of Blog Settings. Click it to expand.
- Allow comments on posts: turns commenting on or off for the blog.
- Comment Approval: Which comments go up without you reading them first?
- Enable CAPTCHA: adds a check that filters out automated spam comments.
The Comment Approval choices:
- Approve all comments: everything goes up as it arrives.
- Approve comments from logged-in users only: comments from signed-in site members go up straight away, and the rest wait for you.
- Manually approve all comments: nothing goes up until you approve it.
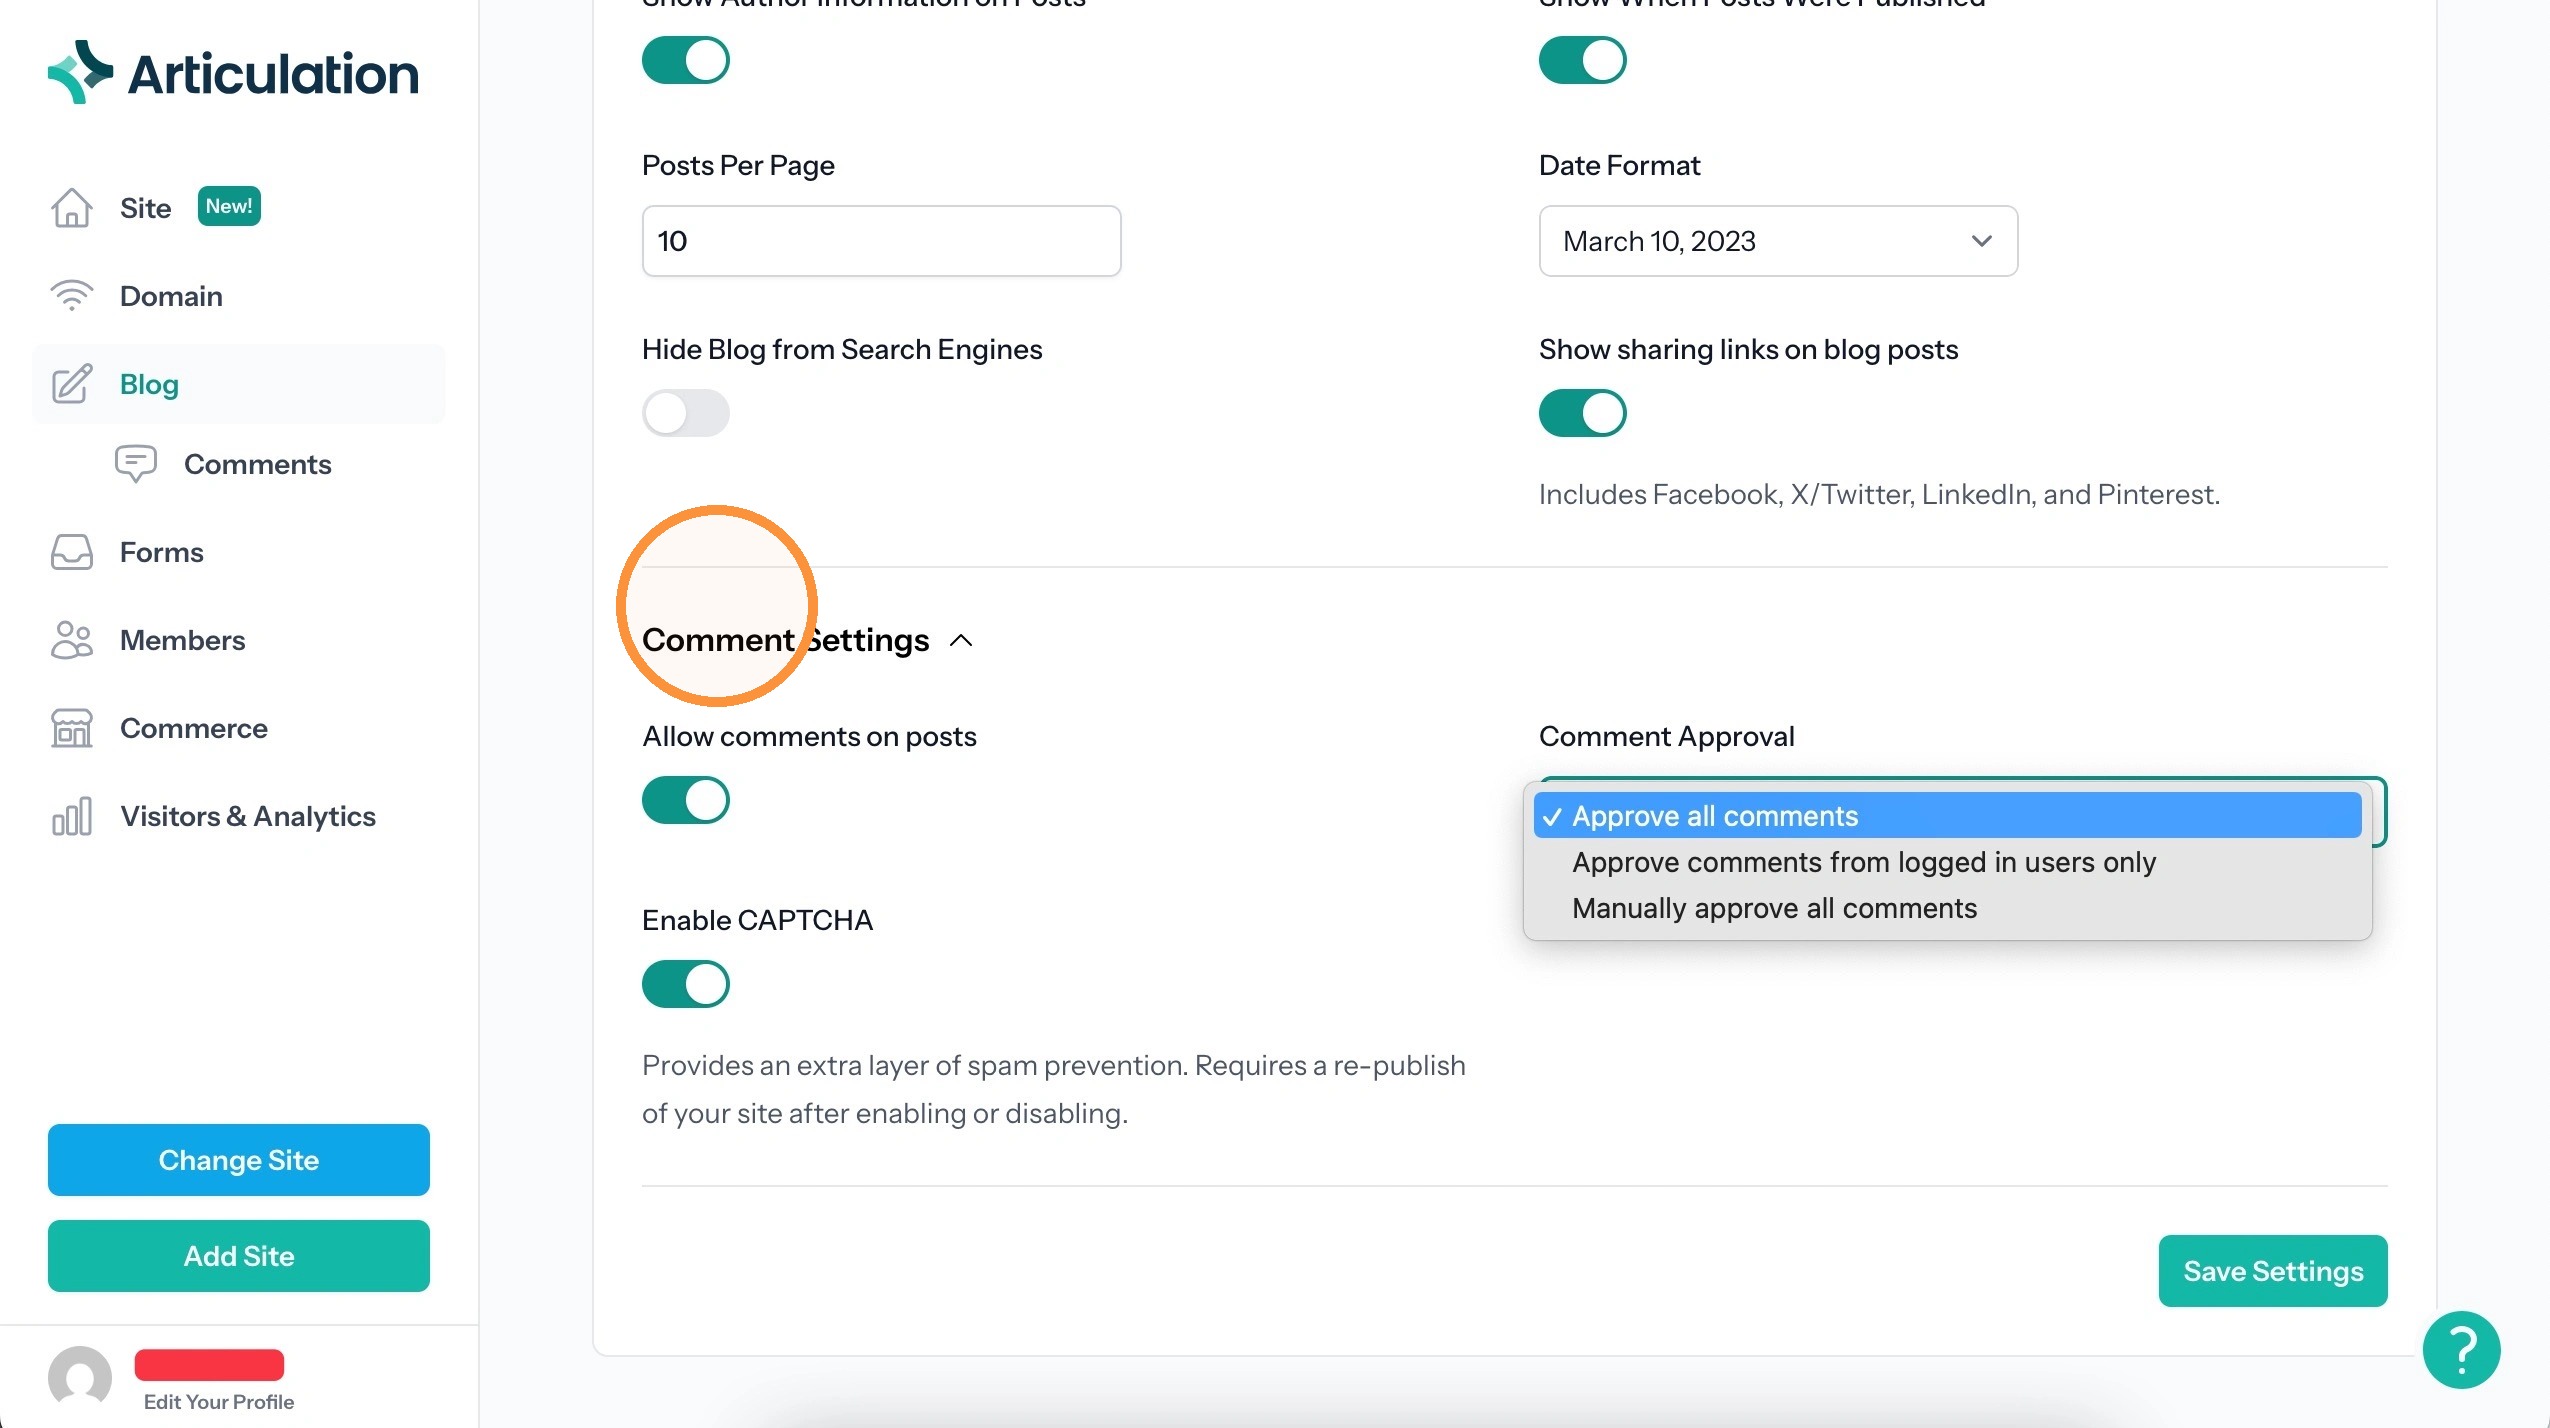
Tip: Enabling CAPTCHA needs a re-publish to take effect.
After you turn it on or off, save, then publish your site so the change reaches your live blog.