Create And Publish A New Blog Post
How to write and publish blog posts
Tip: This How-To is about writing and publishing posts on your Articulation blog. How to display the blog in your site's navigation is a separate How-To.
Initial Navigation
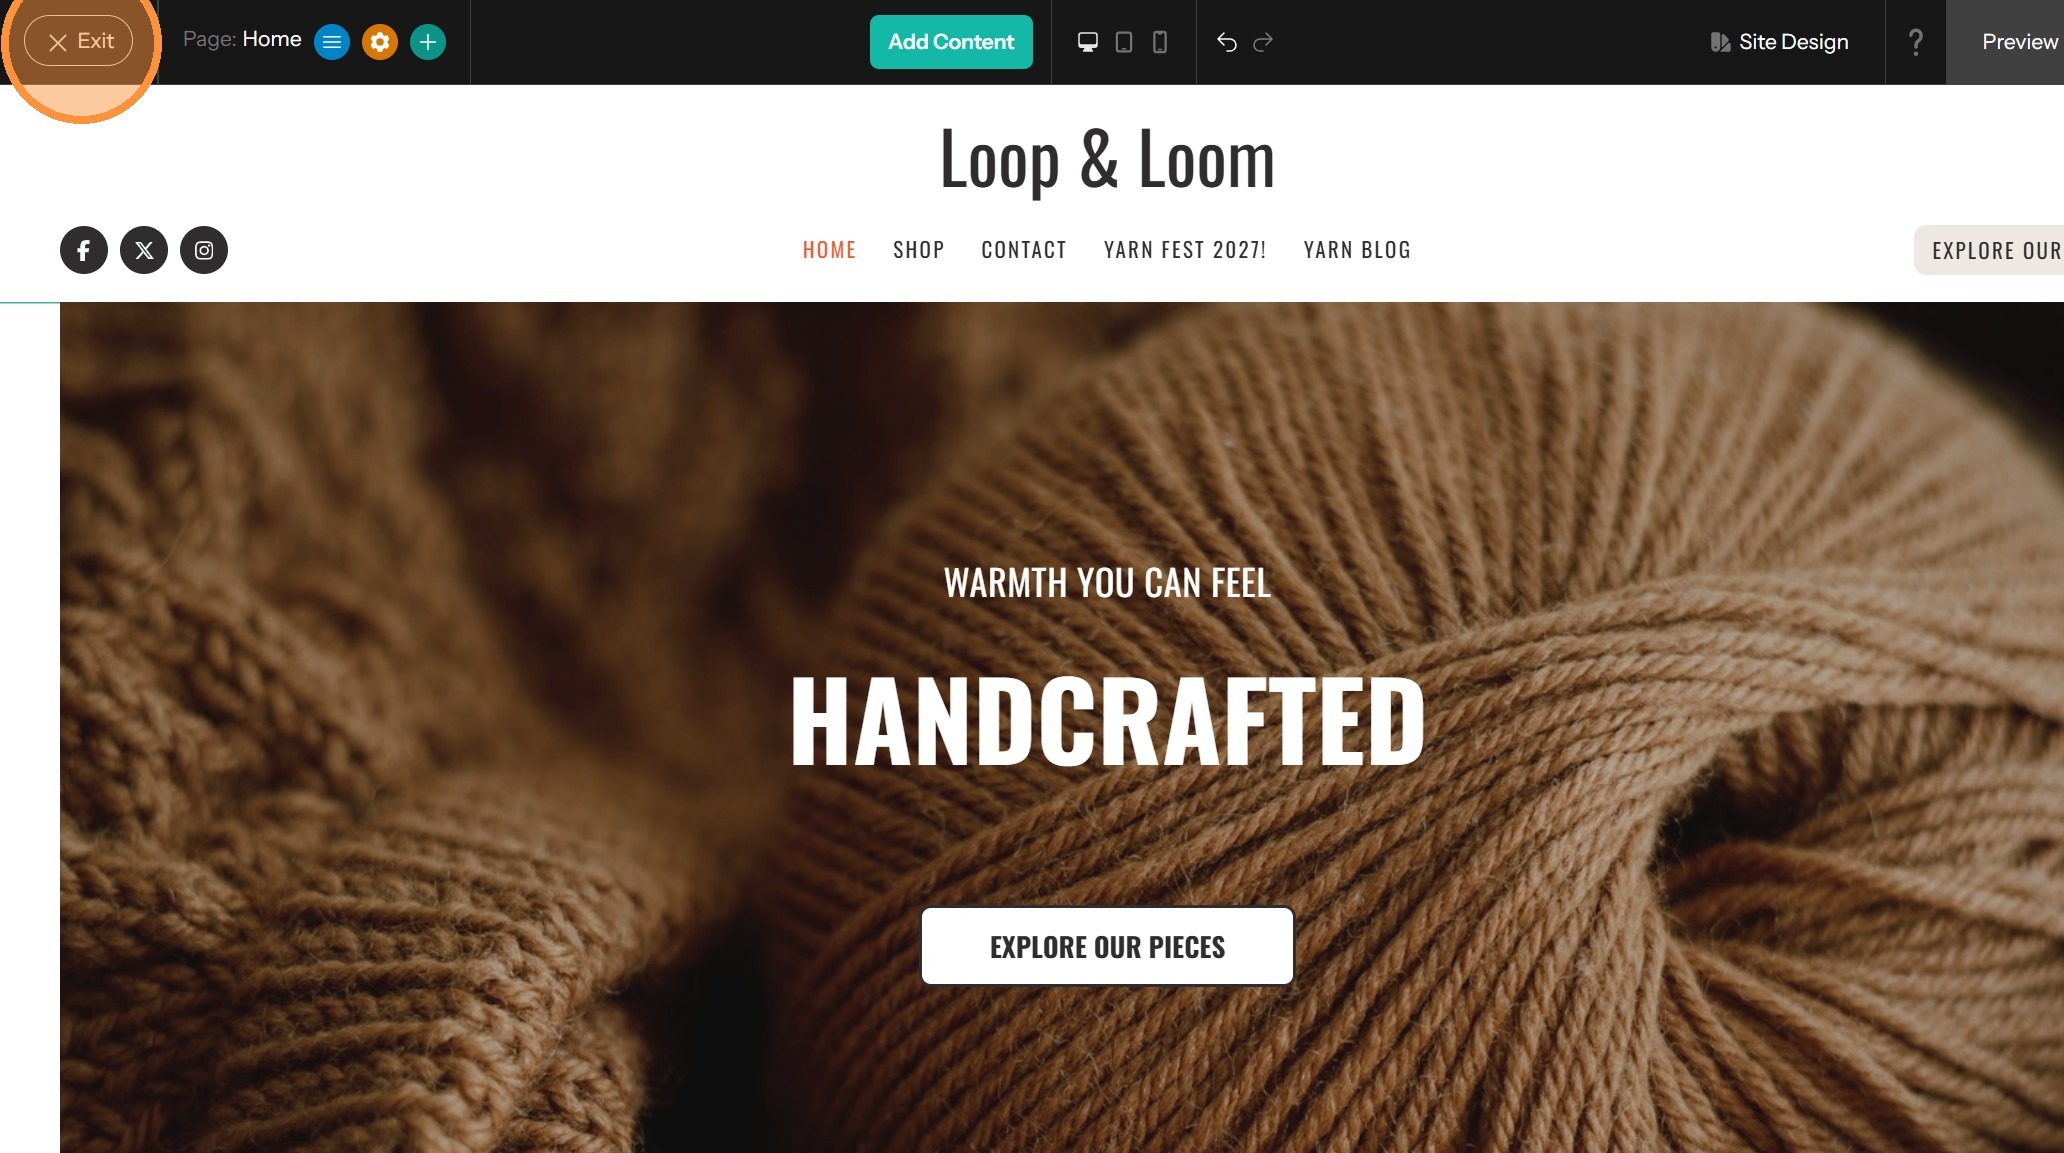
1. Start from the Dashboard. To access the Dashboard while editing the site, click on Exit.
2. Select "Blog" from the left-hand navigation menu.
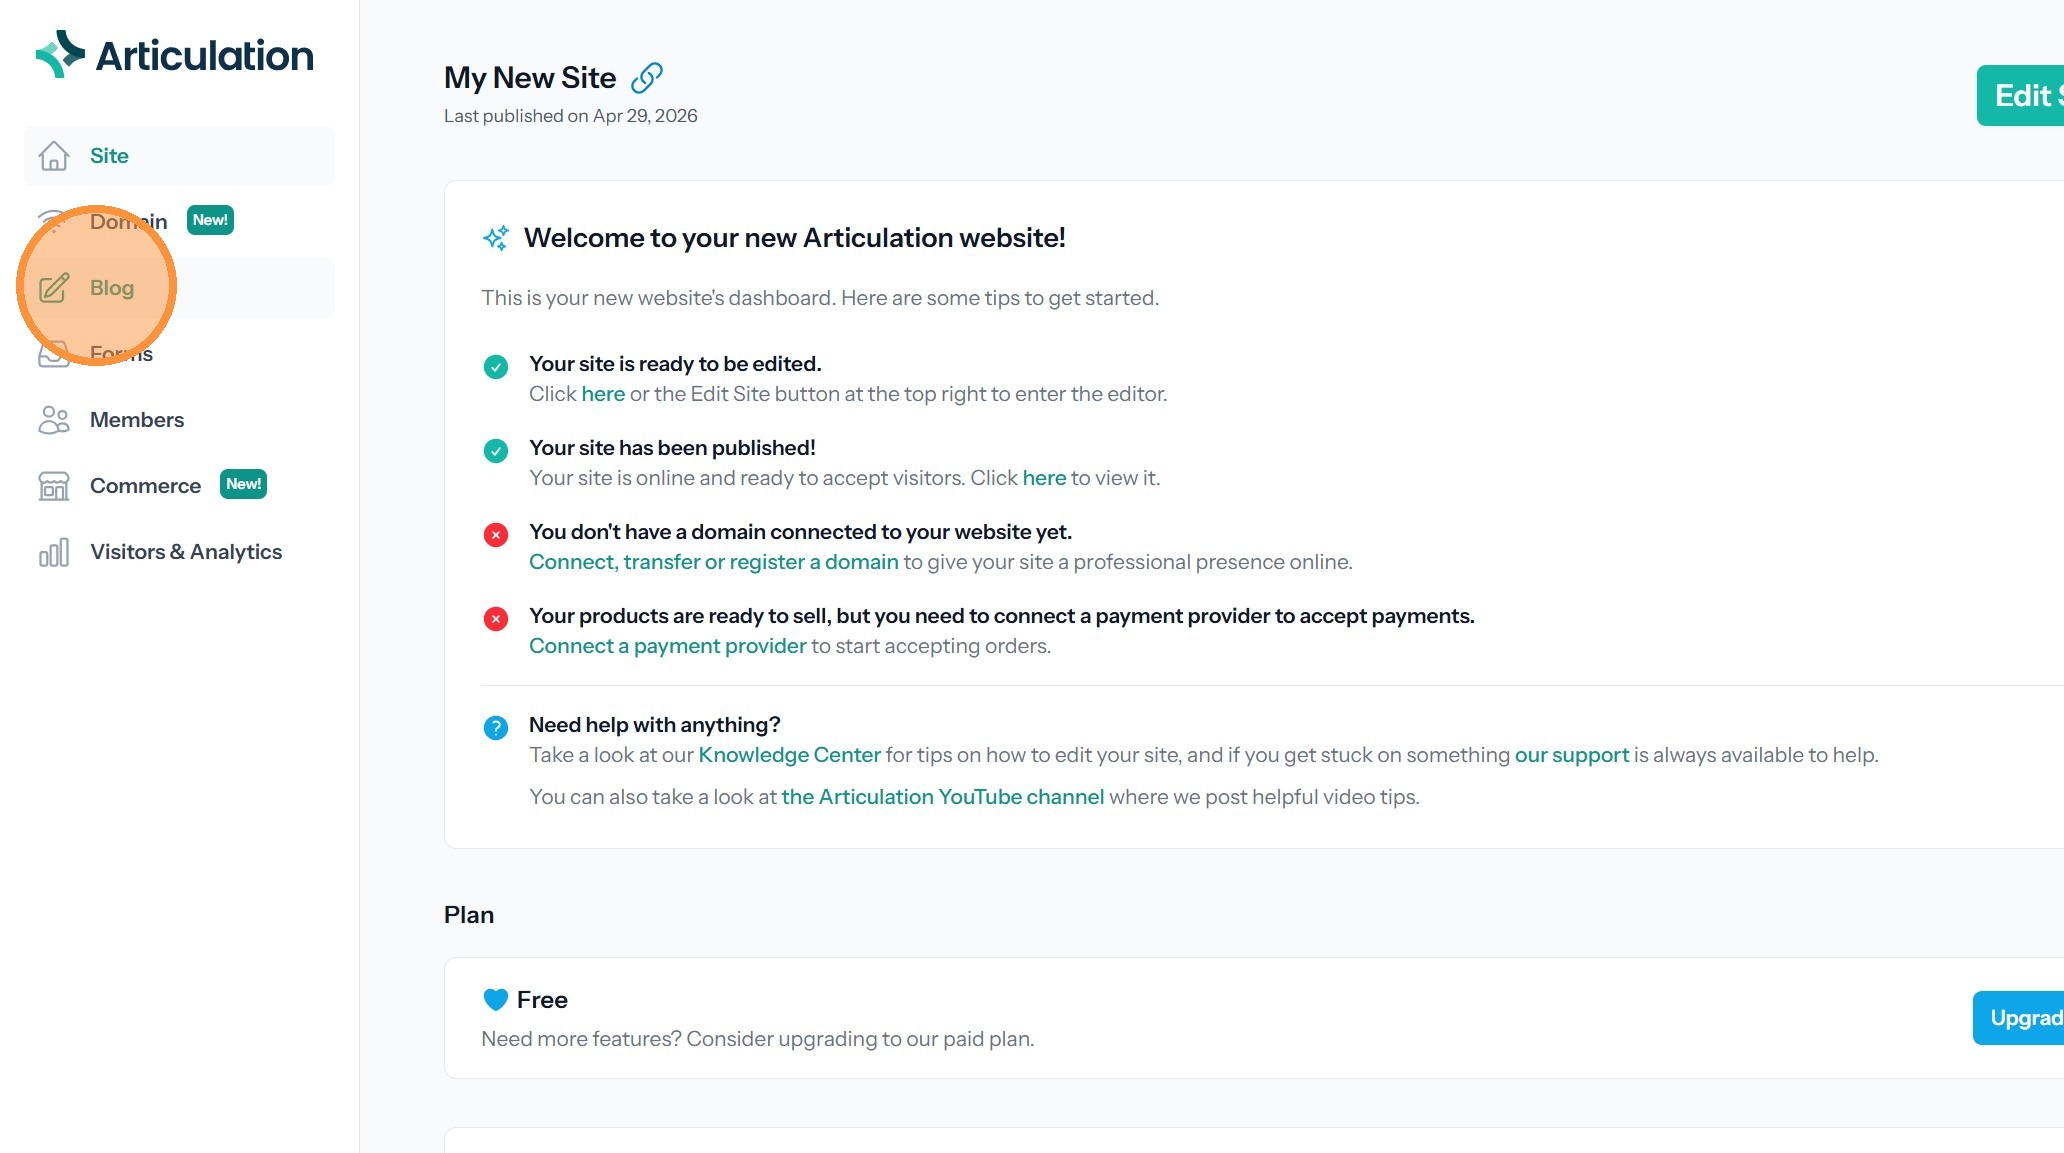
Tip: Your site automatically has a blog. You can start writing posts at any time. Even if you publish them, they won't be visible within your site until you add a link to the blog in the navigation.
3. Click "New Post" to create a new blog post.

Post Configuration
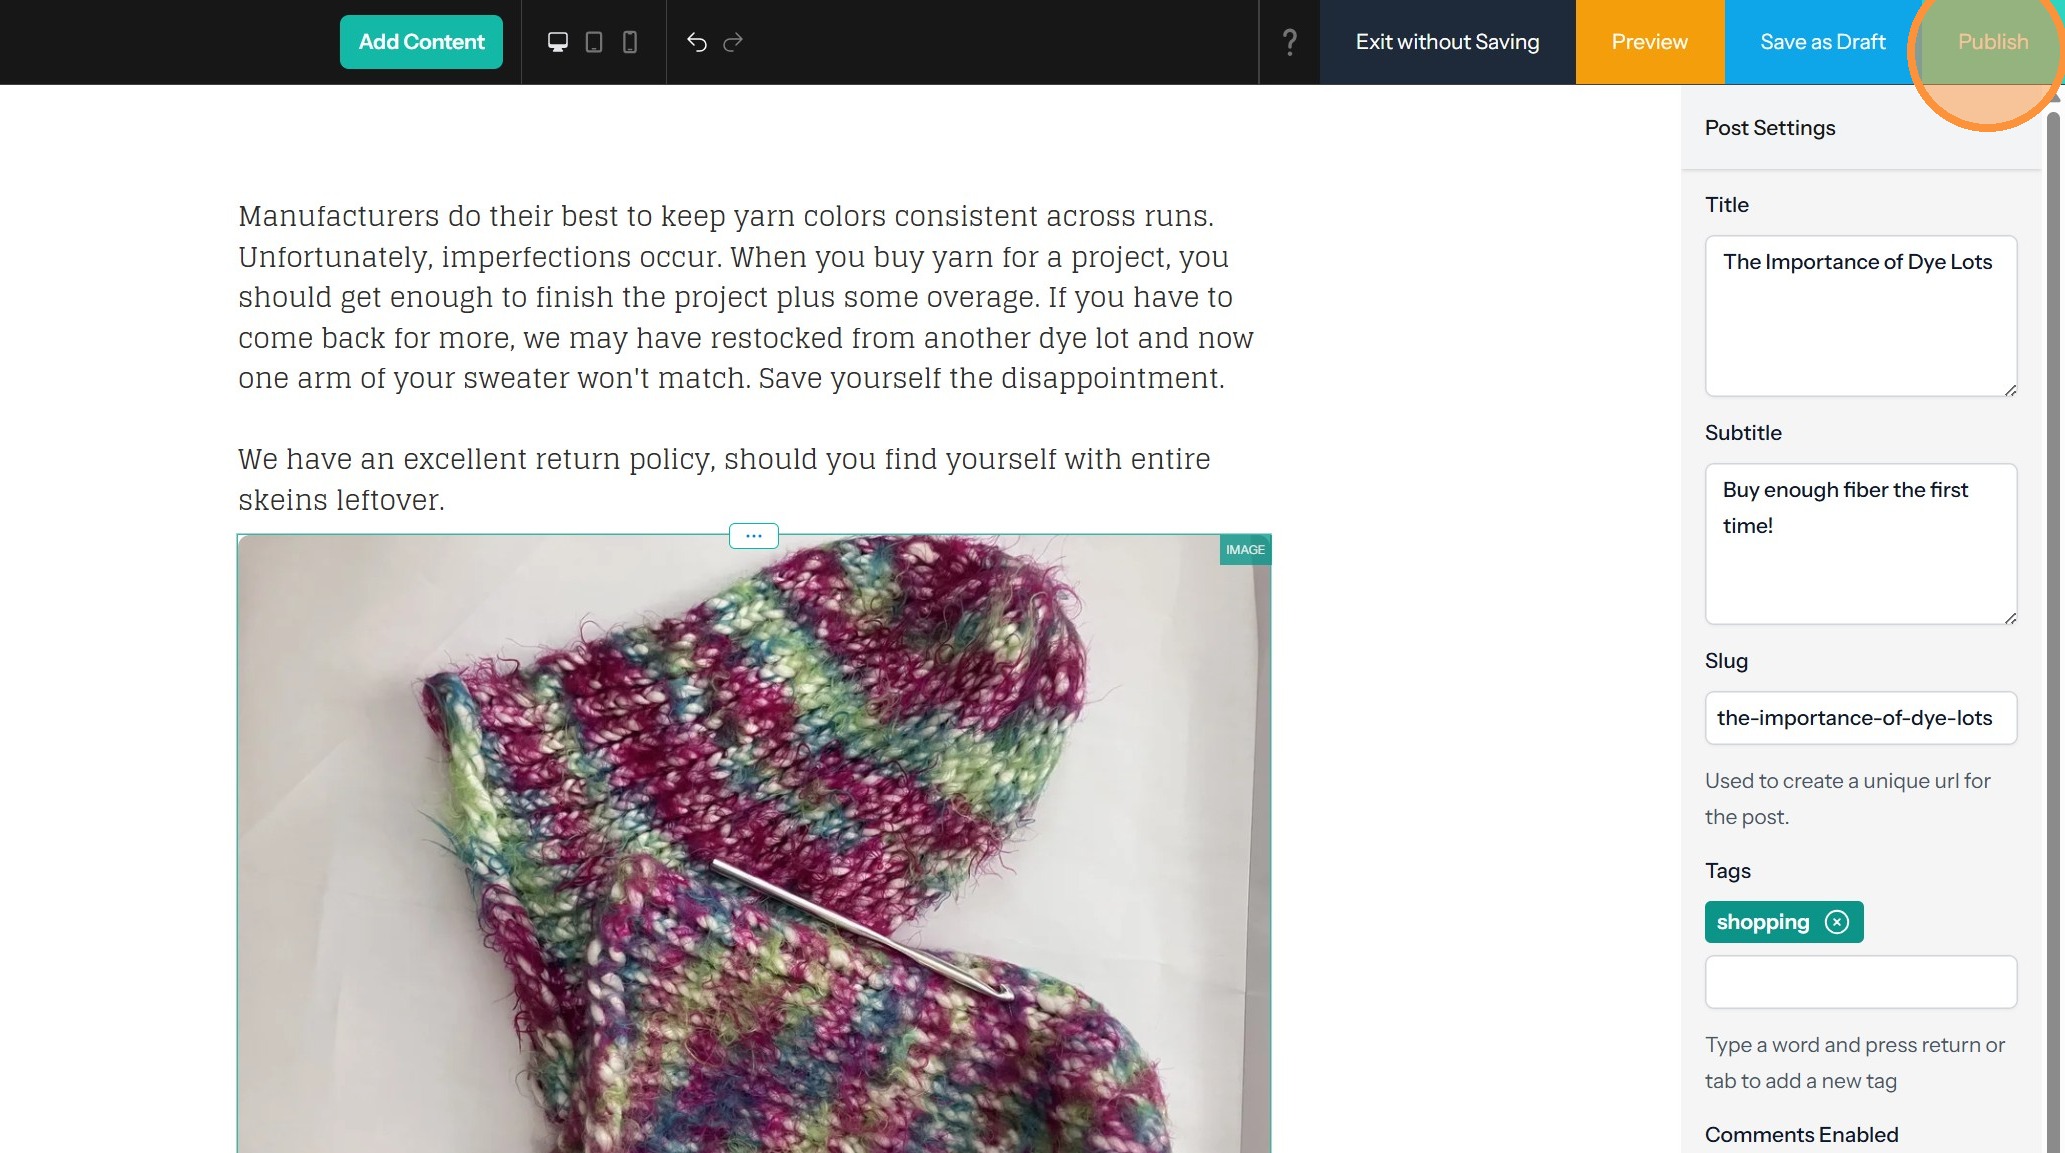
4. Enter your Post Settings
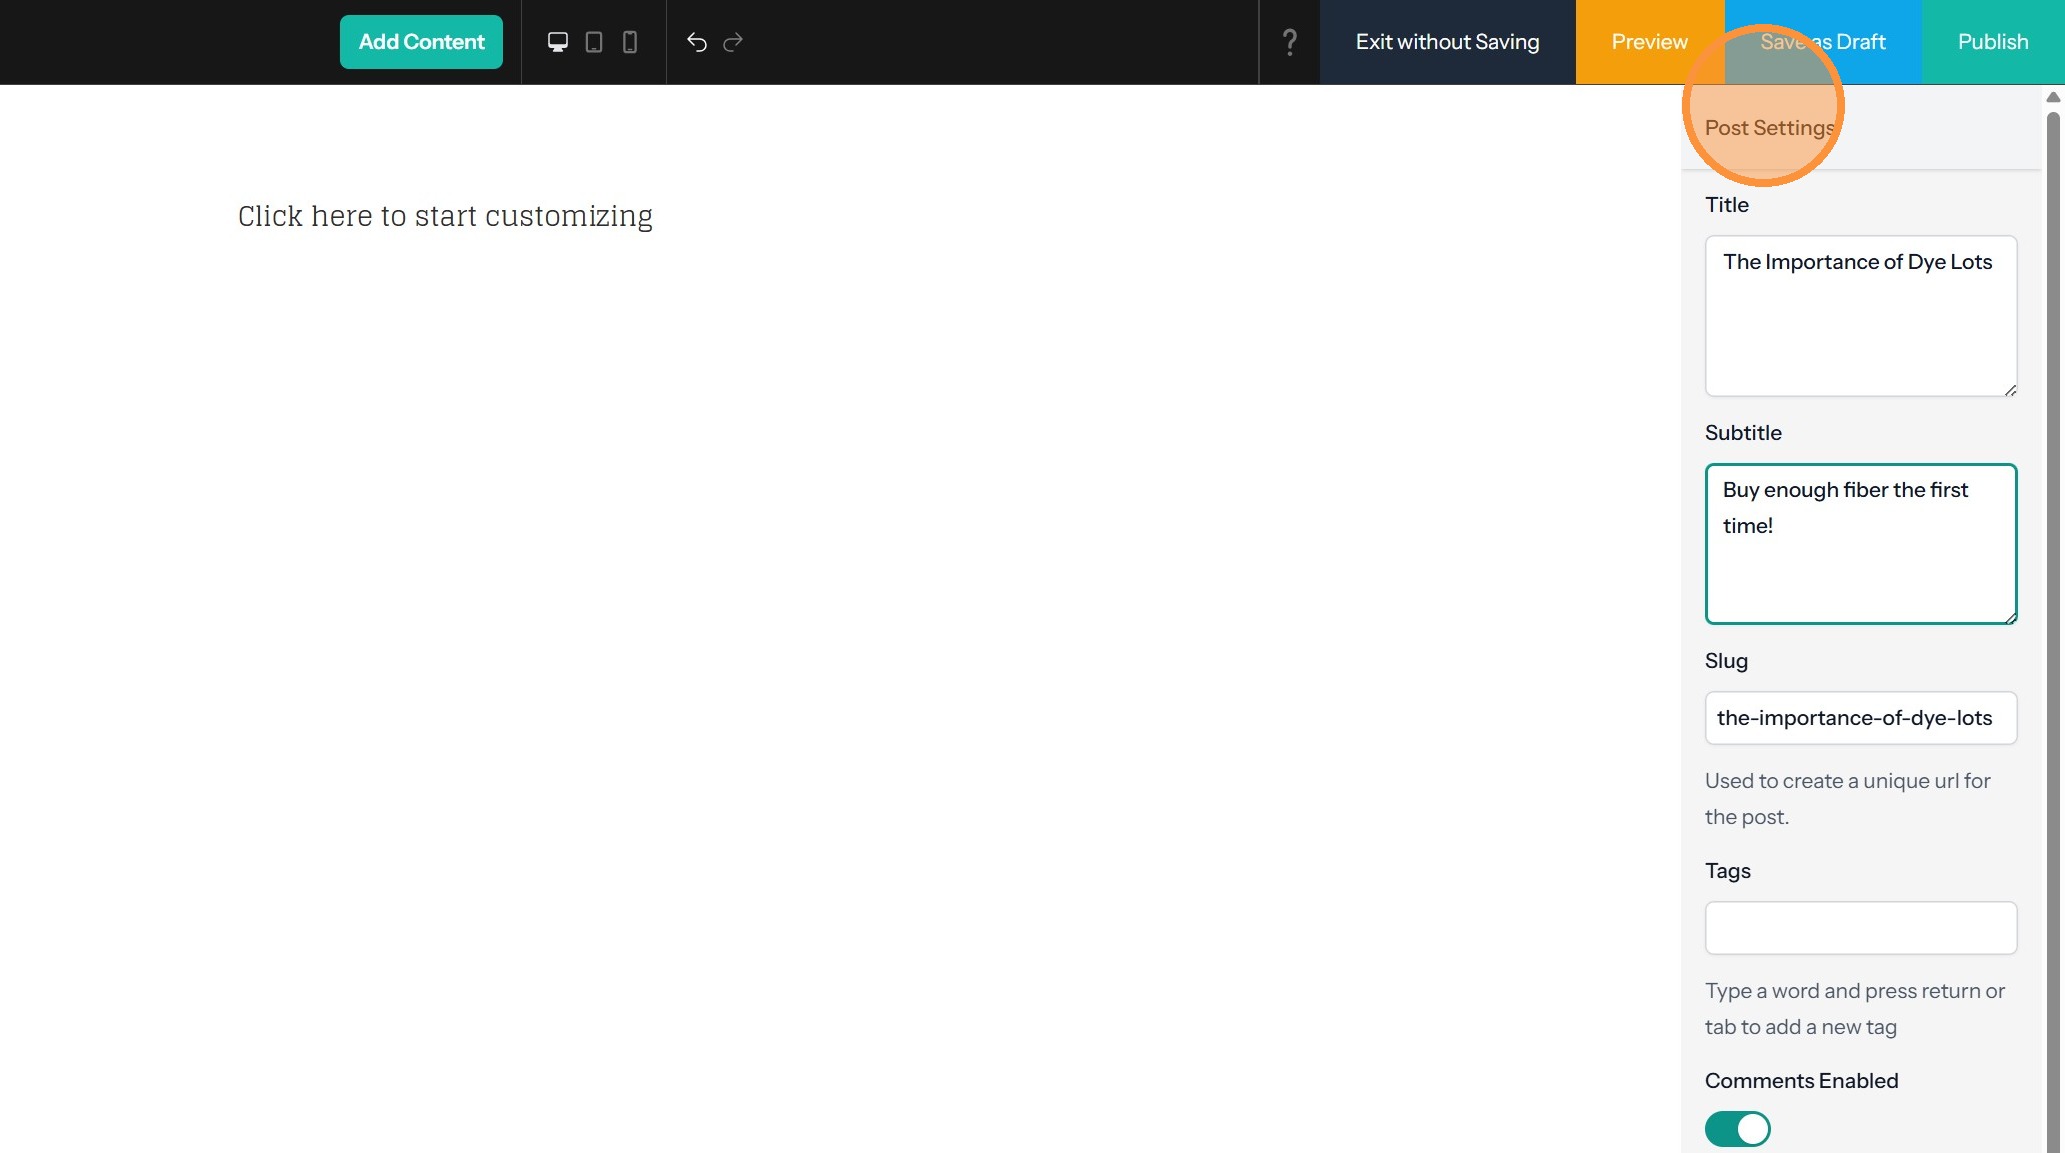
Tip: On the panel to the right are the post settings, with many options used with your blog post.
- Title - The title of your post.
- Subtitle - An optional subtitle for your post. This is shown on the full post page.
- Slug - The last part of the URL of your post. We automatically create this from your post title, but you can customize this to something else.
- Tags - Type a word and hit enter to add it as a tag. You’ll also see a dropdown showing existing tags which you can add as well. On your published site these tags are listed with the post, and visitors can click on them to view a page showing all posts with the tag.
- Comments Enabled - This option allows you to disable comments on a post if you have comments enabled globally for your blog.
- Published Date Type - There are two options: automatic, and scheduled. The first will let you publish immediately, and the second will provide you with a date field so you can schedule the publication of your post.
- Cover photo - A cover image used with the Featured Posts component as well as on the Blog Index page and the post page itself.
- Cover image alt text - You should enter alt text for your cover image, which is helpful for screen readers and SEO.
- Visibility - Use this option to control who can see the post. By default this is set to Visible to everyone, but you can change this to Visible to specific group, then select which groups you created as part of setting up memberships with your site.
Content Creation
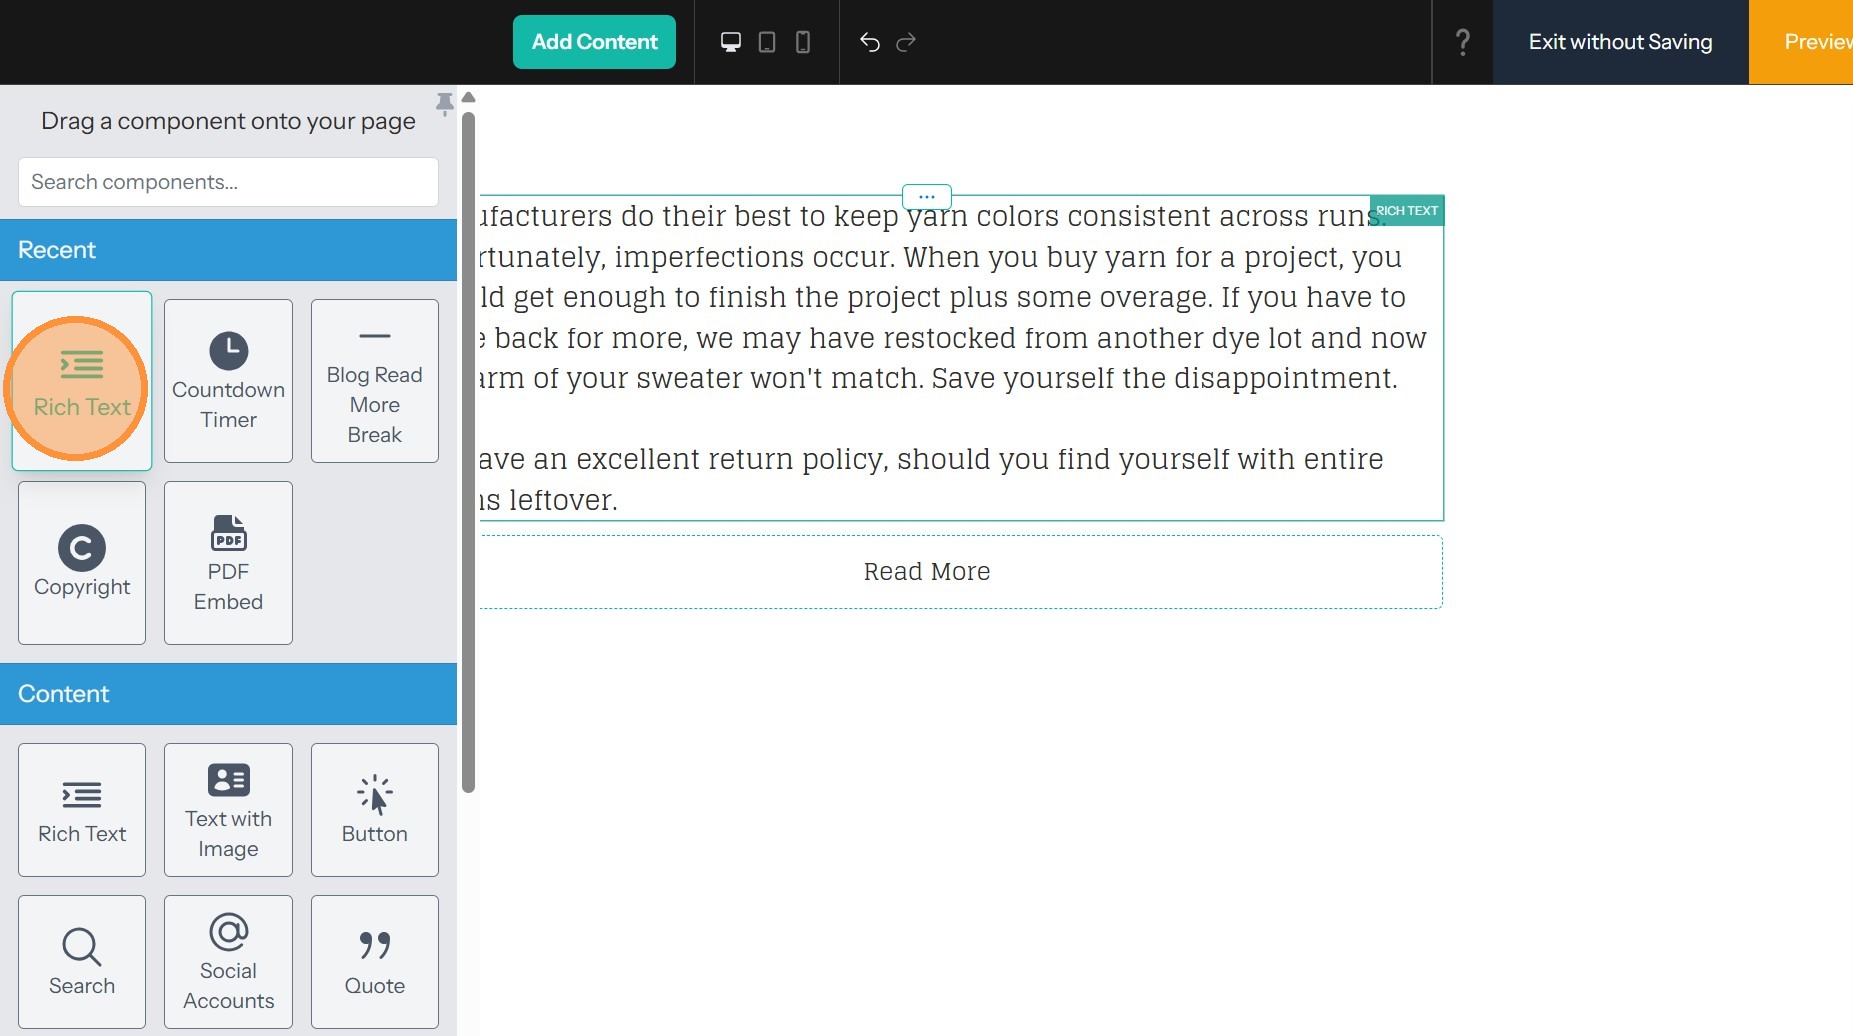
5. Your blog post comes with a rich text component on the page to become the text of your post.
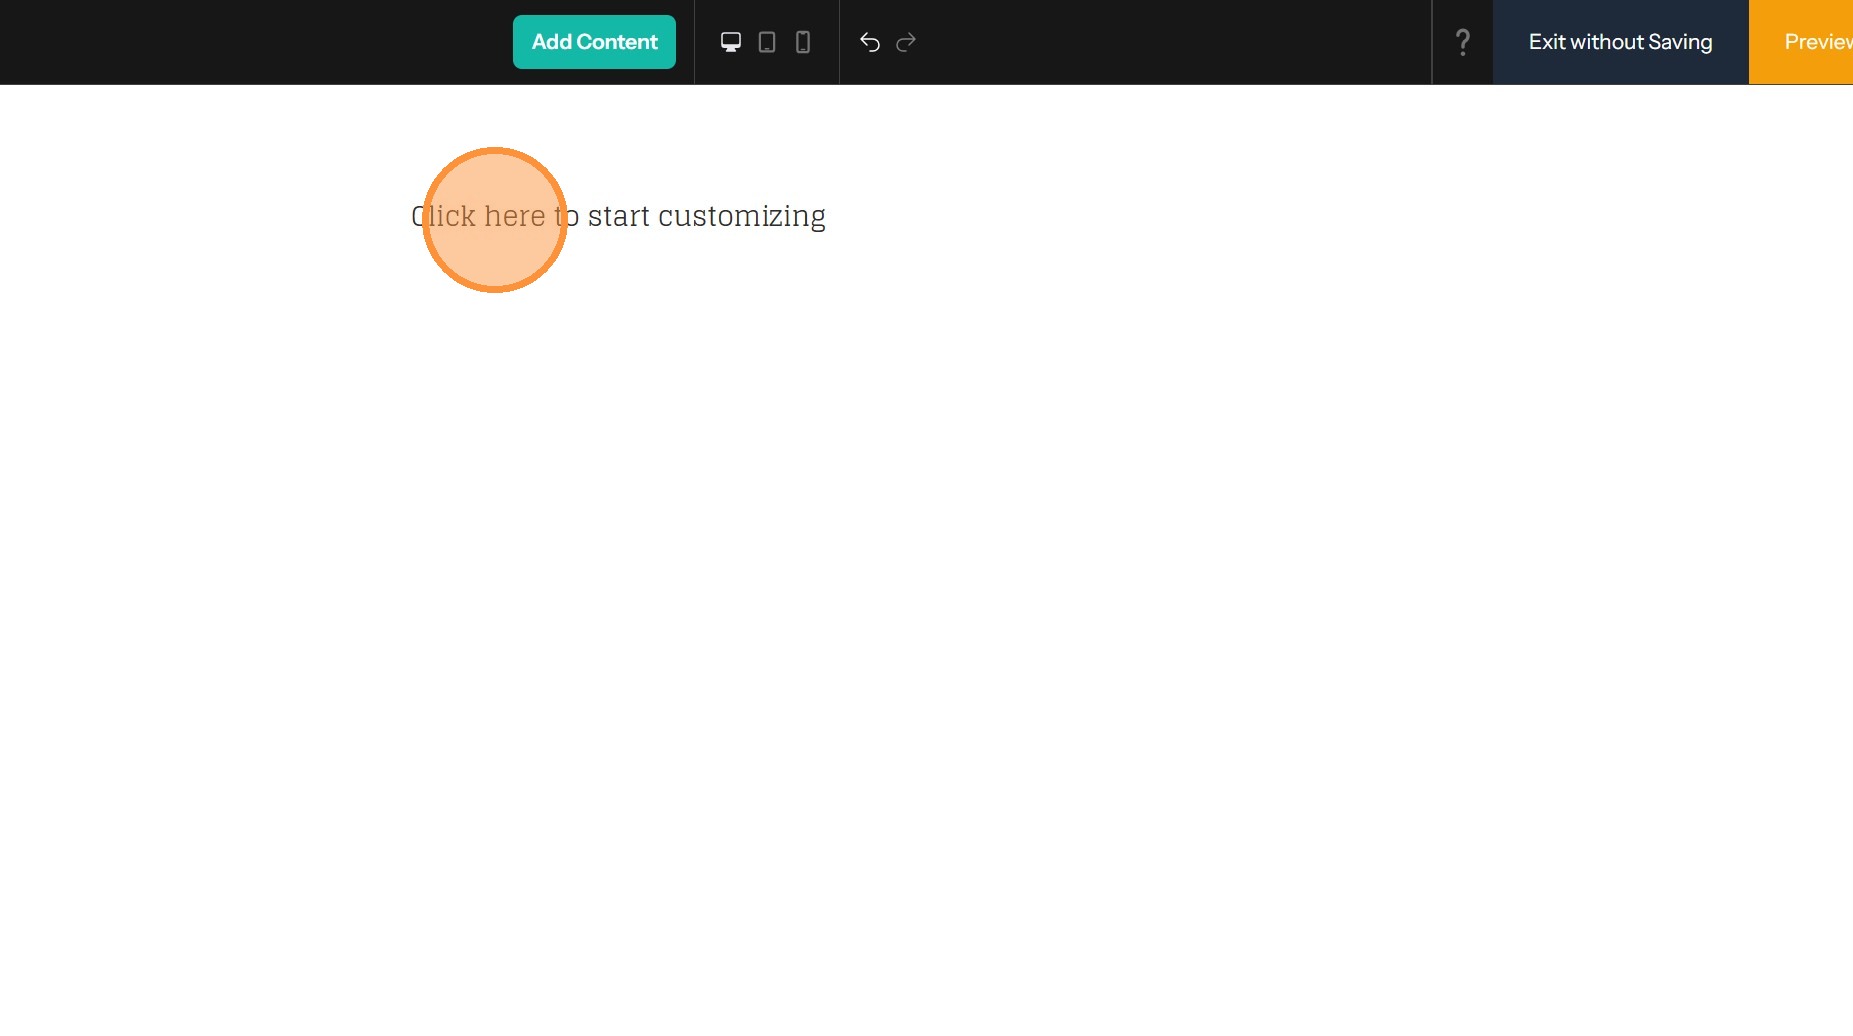
6. Click on Add Content to start adding components.

Tip: Blog Posts can have the same components that pages can have -- click on Add Content and add whatever you'd like to your blog post.
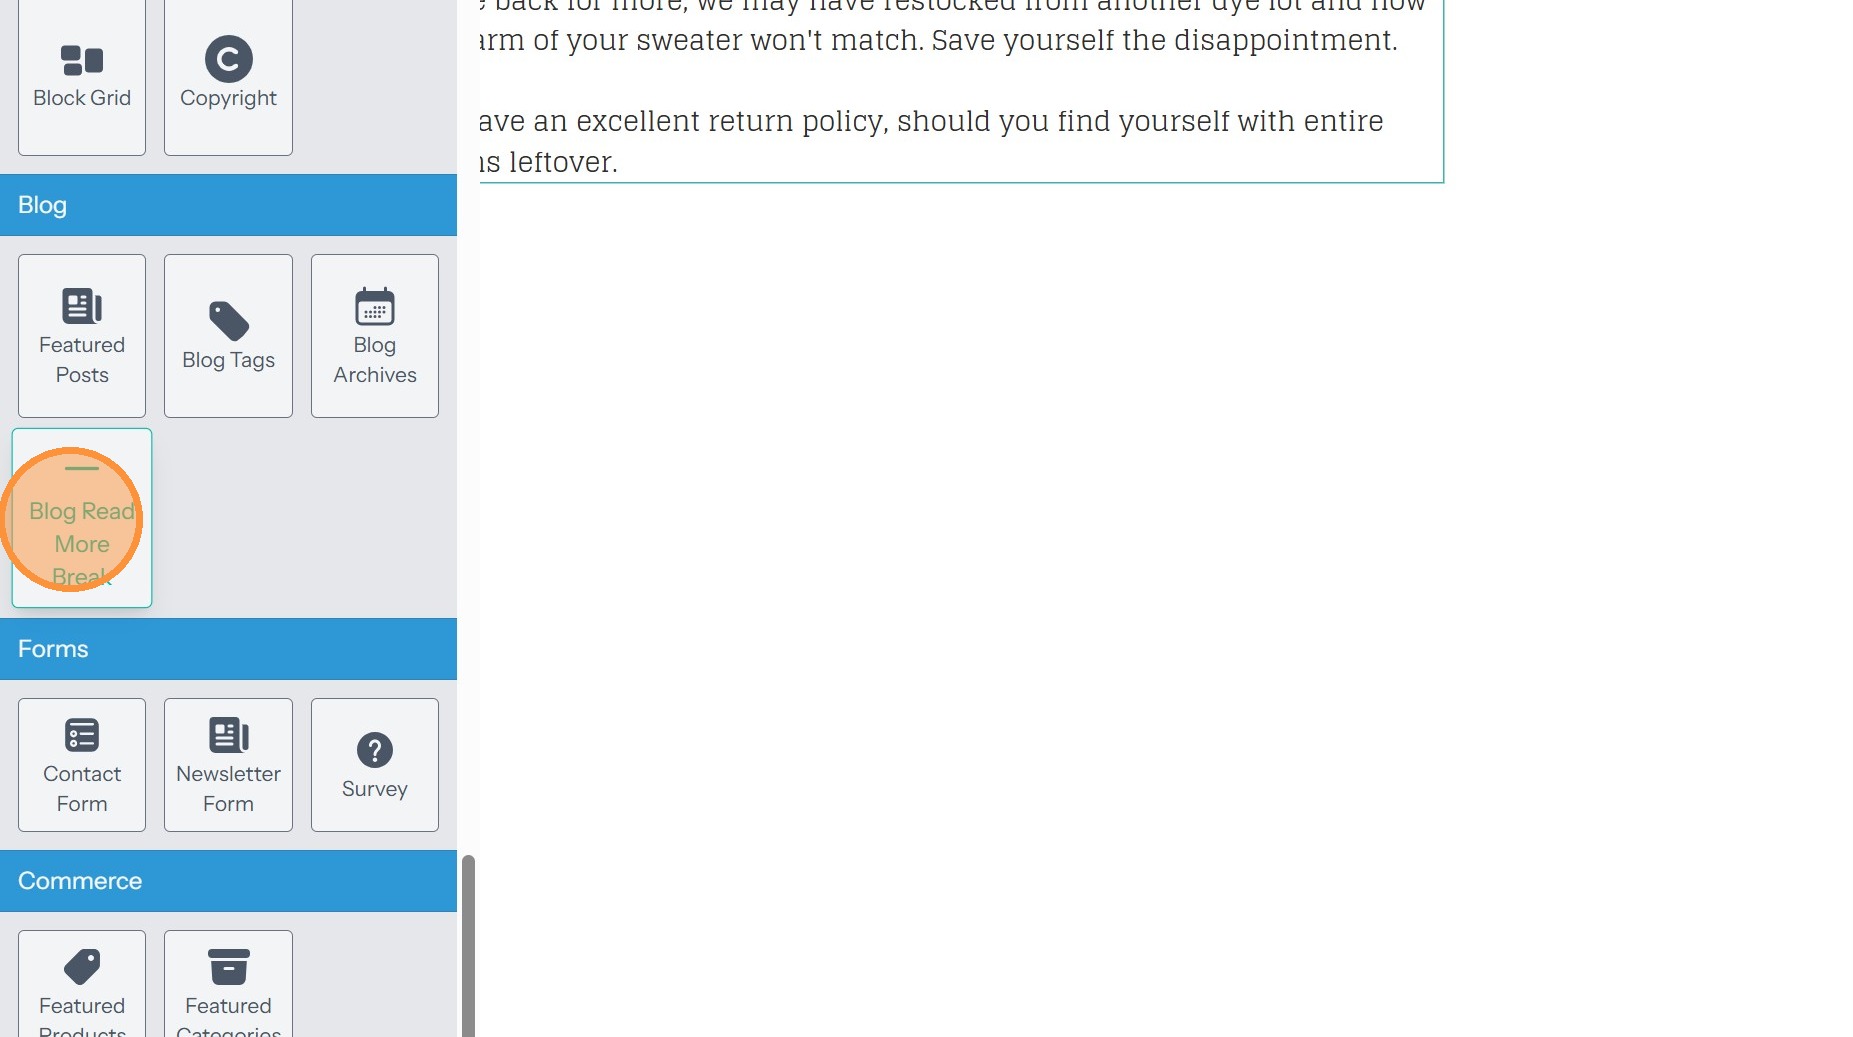
7. If your post is long and you want to add a Read More break, drag the "Blog Read More Break" component below your Rich Text component.
8. To add the next component, click on Add Content

9. Add the next component. In this example, we are adding more text after the Read More break.
10. To add additional components, click "Add Content" and drag the component to where you'd like it. Repeat until your blog post has all of the content and components you'd like.

Review and Publication
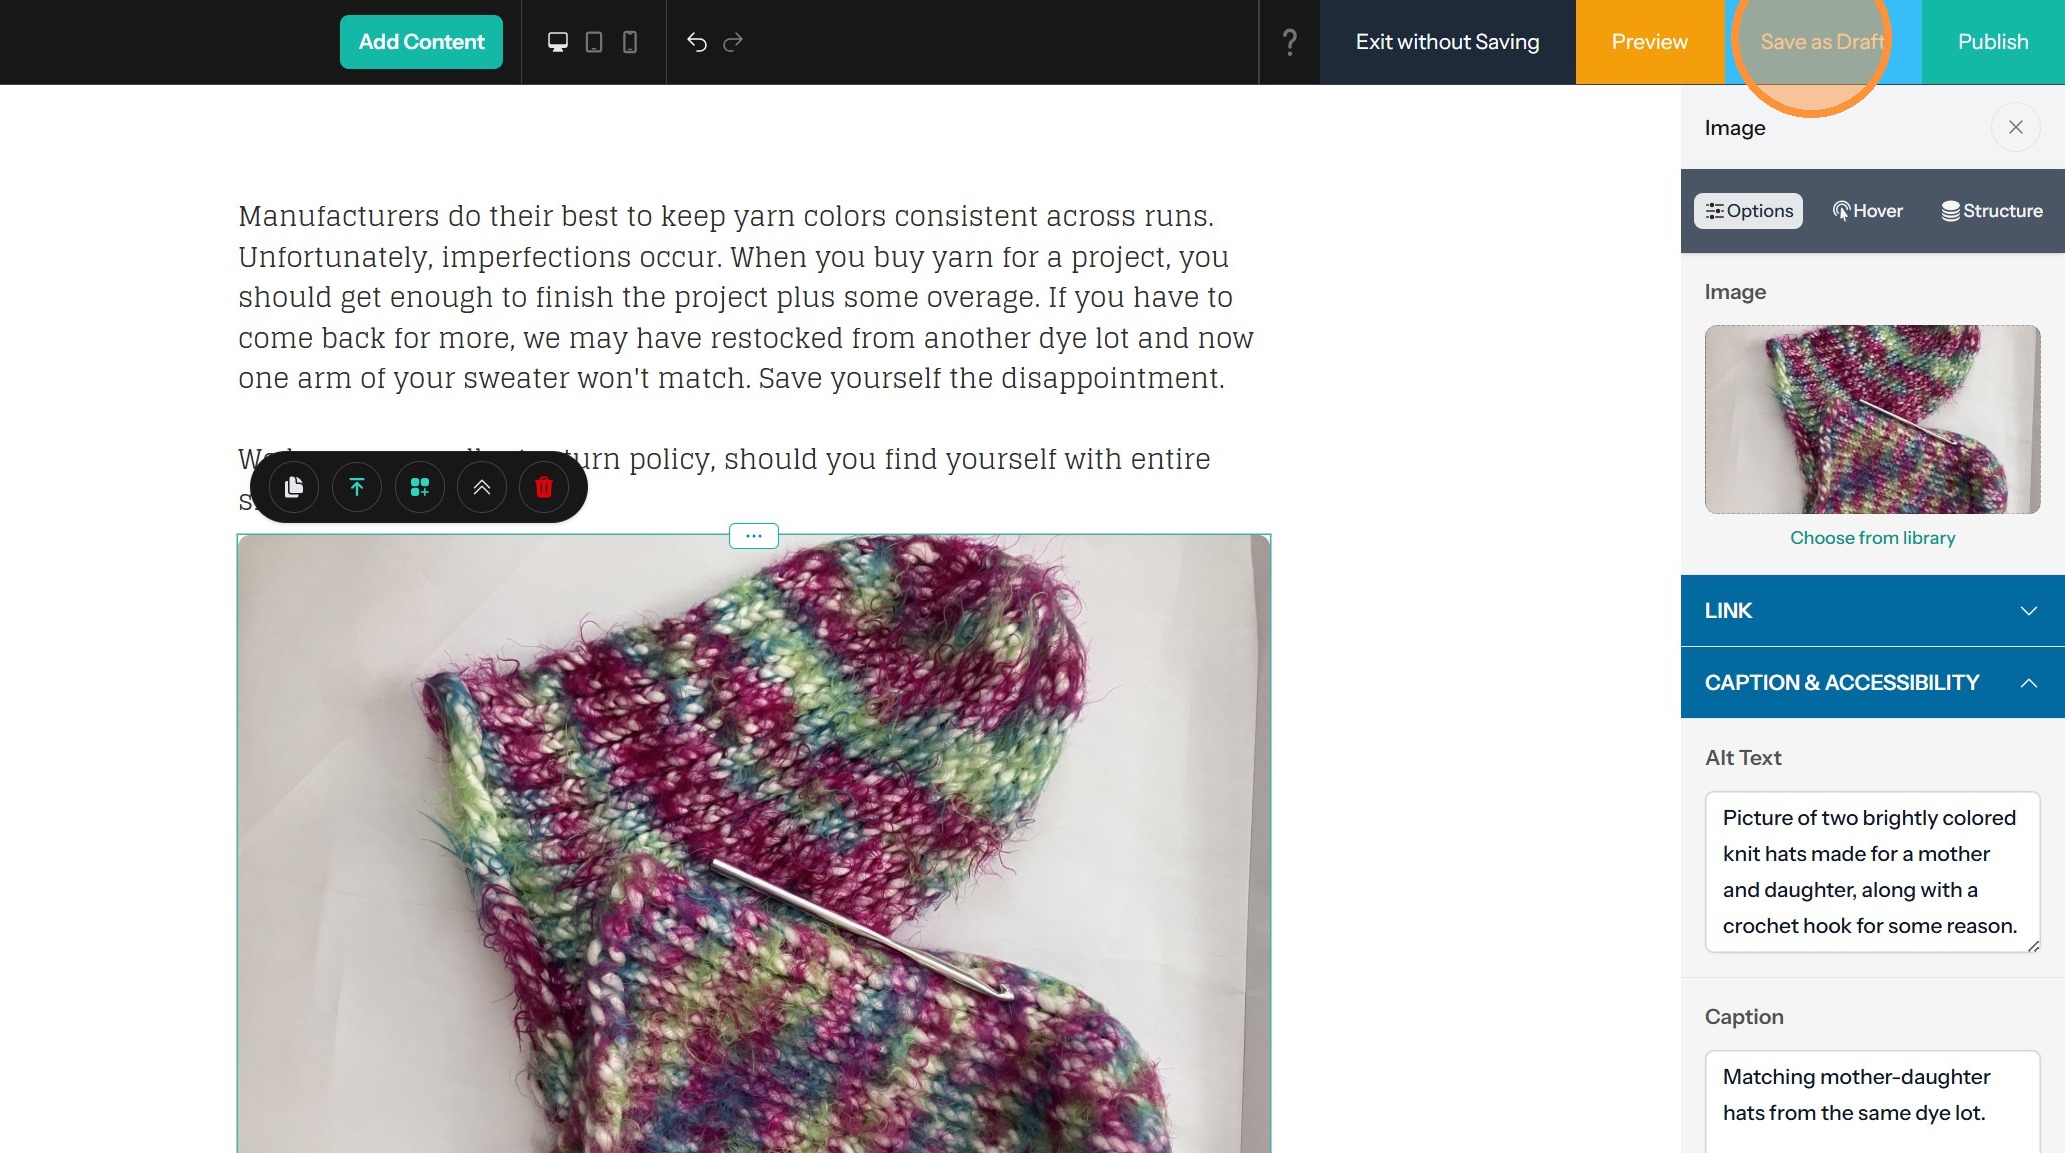
11. Click "Save as Draft" to save your progress without publishing.
12. Click "Preview" to view the post draft as it will appear on the site.

13. Click "Publish" to make your post live.
Alert: When you click Publish on your blog post, the entire site will publish. Every update you've made will be published along with the blog post.